10
To Open Lid
Whenpressurecookingcycleisnished,the
unitwillautomaticallyswitchtotheKeepWarm
mode.Atthispointyoumaychoosetorelease
pressurein1of3ways–NaturalPressureRelease,
QuickPressureRelease,oraInterruptPressure
Release.Thechoicewillbedictatedbythe
particularfoodbeingcookedandindicated
intherecipe.Ifadaptingyourownrecipefor
pressurecooking,ndasimilarrecipeinour
recipebookletandusethatasaguide.
1. NaturalPressureRelease–Followingpressure
cooking,allowtheunittoremainonKeep
Warm.Thepressurewillbegintodrop–time
forpressuretodropwilldependonthe
amountofliquidinthepressurecooker
andthelengthoftimethatpressurewas
maintained.NaturalPressureReleasewill
takefrom12to30minutes.Duringthistime
cookingcontinues,soitisrecommendedfor
certaincutsofmeats,andsomedesserts.
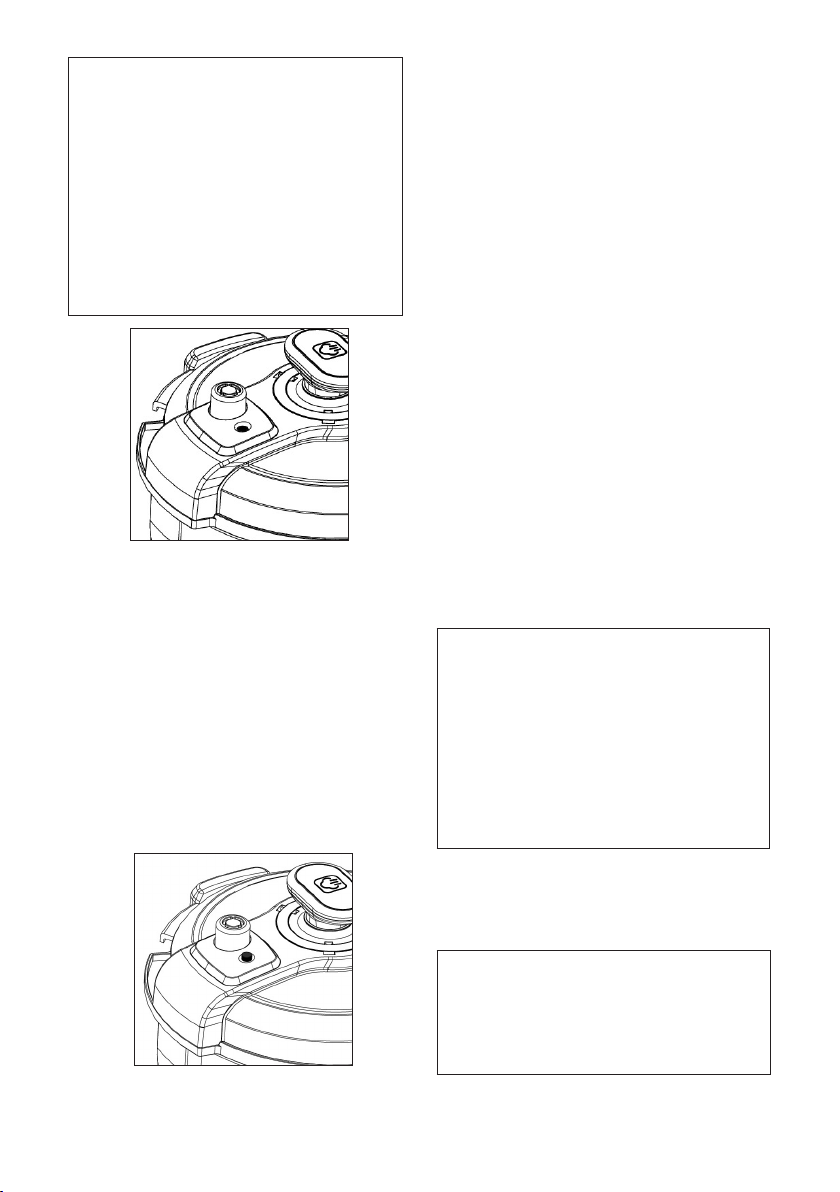
Whenpressureisfullyreleased,theFloat
Valve(PressureIndicator)willdropandthelid
canbeunlockedandremoved.
2. QuickPressureRelease-TurnthePressure
limitValvecontrolringbythetabunderlid
handletothe“Release”position,thePressure
limitValvewilltiltandSteamwillimmediately
begintoreleasethroughthevalvevents.
Keepface,handsandforearmsawayfrom
steamwhenitisreleasing.
Donotreleasethepressurewiththe
appliancepositionedunderoverhanging
cabinets,asthesecanbedamagedbythe
steam.Whenpressureisfullyreleased,the
RedFloatValve(PressureIndicatornearthe
PressurelimitValve)willdropandlidcanbe
unlockedtoopen.
3. InterruptPressureRelease–Thereisapressure
releasebutton onthelidhandle
center,pressdownandholdthebutton
theSteamwillimmediatelybegintorelease
throughthevalvevents,whenreleasing
downwardpressureonthebutton,steamow
willstopandappliancewillmaintainpressure.
Forsomerecipes,wehavechosentousethis
pressurereleaseway.
AllowNaturalPressureReleaseforthetime
indicatedintherecipe(foodwillcontinue
tocookslightly)followedbyQuickPressure
Release..
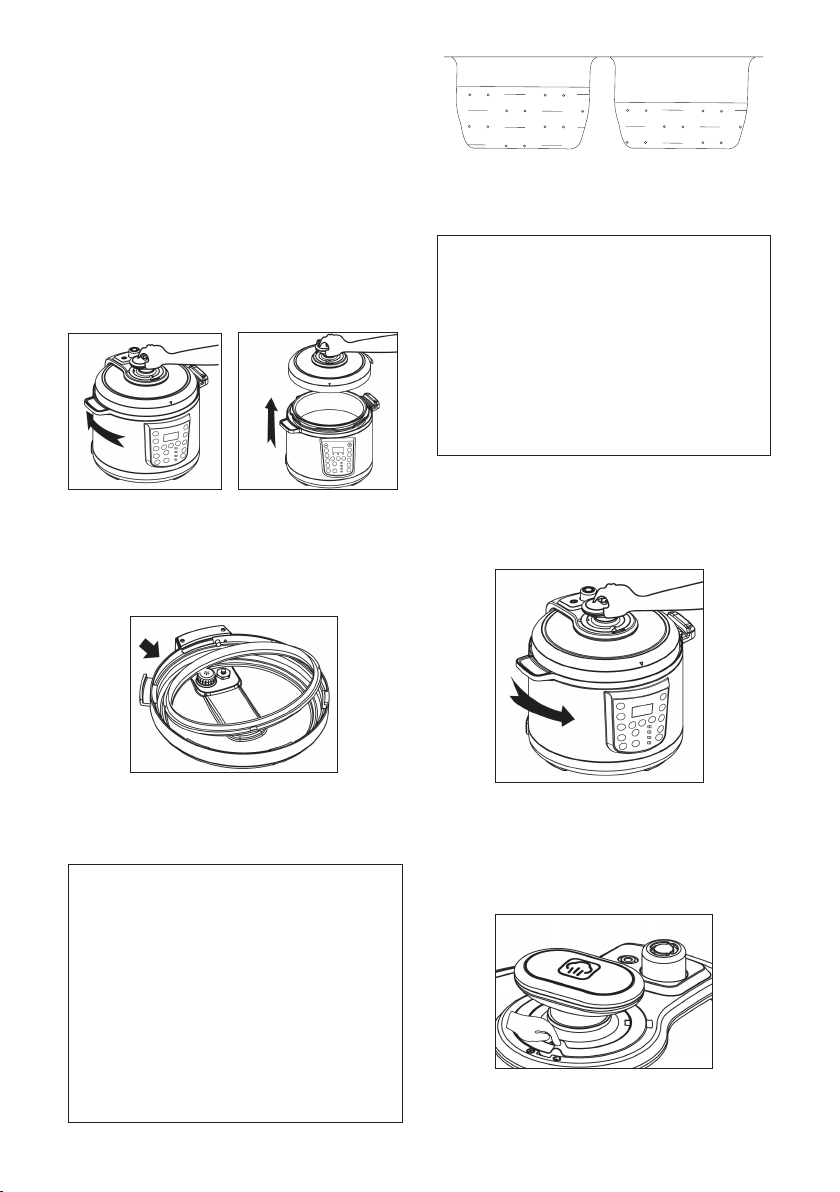
Open The Lid:
WhenRedFloatValve(PressureIndicator)
iscompletelydroppeddown(Indicating
pressurehasbeenreleased)tothelidsurface
level(SeeFig.10),turnthelidclockwiseand
lifttoremove.
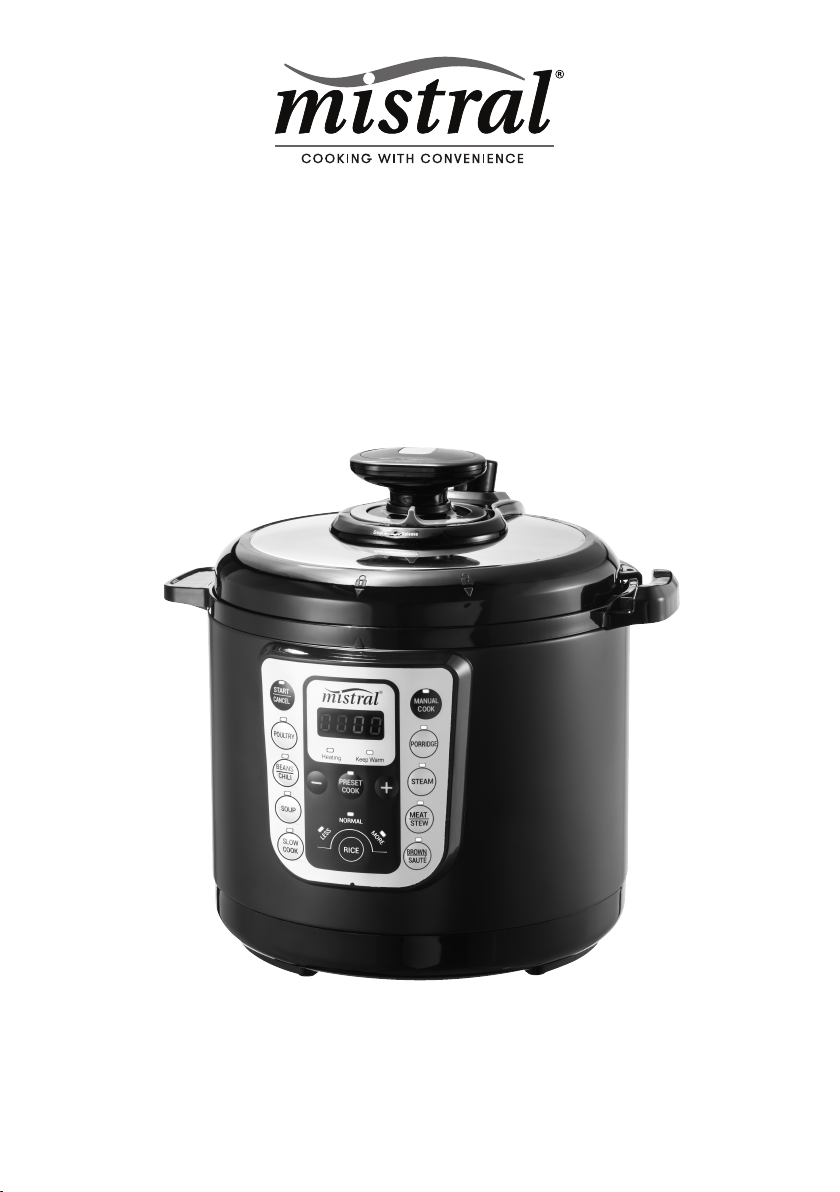
“+,-” Button
Pressingthesebuttonsallowsyouto:
a.Manuallysetanycookingtimebetween2and
99minutesat1minuteintervalsafterhaving
pressedManualcookbutton.
b. DecreaseorIncreasededicatedcookmodes
defaultcookingtimestosuityourliking(Under
cookorovercook).
c. Settimer(AfterpressingPresetcookbutton)
fordelaycookingstart.
Note: you can either continuously press
buttons to increase or decrease time at 1
minute intervals or hold buttons to speed
scroll to desired time setting.
Forexample,wheninstand-bymodepressthe
dedicated“RICE”button,theDefaultcooking
Timedisplayedis12Minutes,bypressing“+”
Buttonyoucanincreasethisto16Minutesorby
pressing“-”Buttondecreaseitto5Minutes.
Pressthe“START/CANCEL”button,thepressure
cookerwillstarttocooking.
Note : After the dedicated cooking
mode buttons have been pressed you
can change the cooking time before by
press the “START/CANCEL” button.
Automatic Keep Warm Feature
Atcompletionofthecookingperiod,theunit
willbeep5timesandautomaticallyshifttokeep
warmmode,withthelightofthe“keepWarm”
indicatorlightilluminating.
Note : where possible, limit the time
the appliance remains in Keep Warm
Mode as the quality / texture of the
food will change progressively after an
hour compared to freshly cooked food.
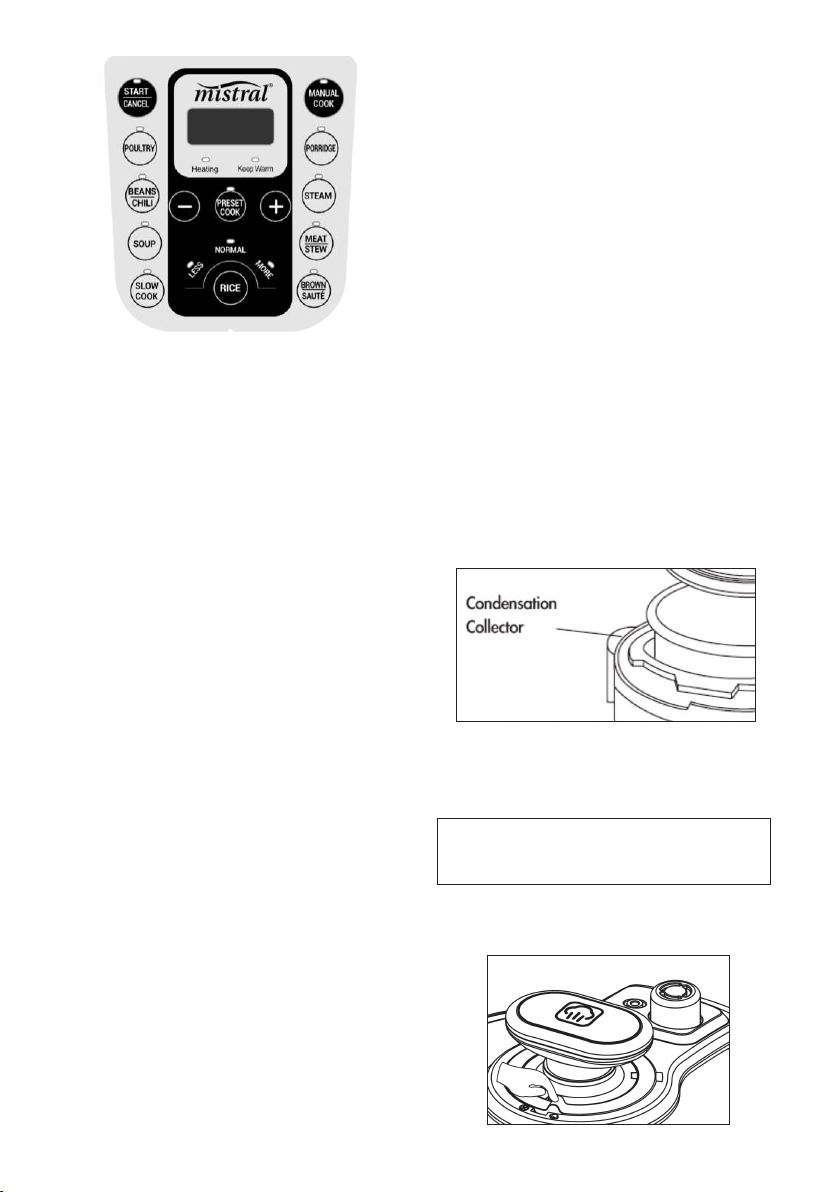
During the Keep Warm period a little
condensation will settle in the upper rim
of the appliance, this is as a result of
the appliance naturally de-pressurizing
during the rst half hour in Keep Warm
Mode, this is normal.
To Stop Or Cancel
Atanytimeduringtheoperationofthe
applianceorsetupprocess(incorrectly
chosencookingmode/timeetc.)youcanstop
operationorcancelsettingsbypressing“START/
CANCEL”Buttonandtheappliancewillrevert
backtoStand-ByMode.