manuals.online logo
Brands
  1. Home
  2. •
  3. Brands
  4. •
  5. Prestige
  6. •
  7. Electric Pressure Cooker
  8. •
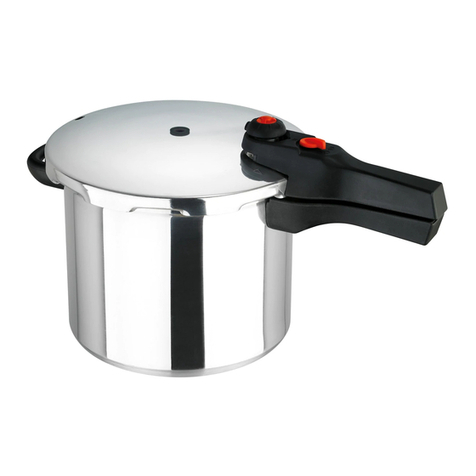
  9. Prestige 47286 User manual

Prestige 47286 User manual

This manual suits for next models

1

Other Prestige Electric Pressure Cooker manuals

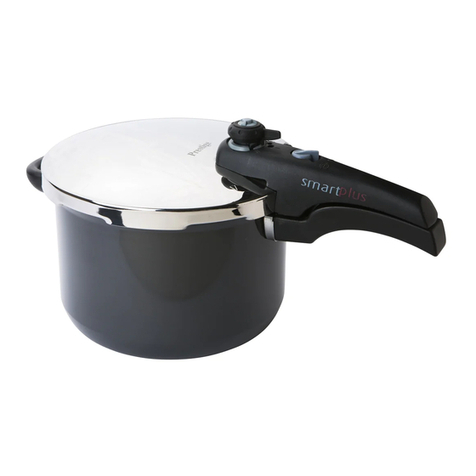
Prestige Smartplus 57051 Installation guide

Prestige

Prestige Smartplus 57051 Installation guide

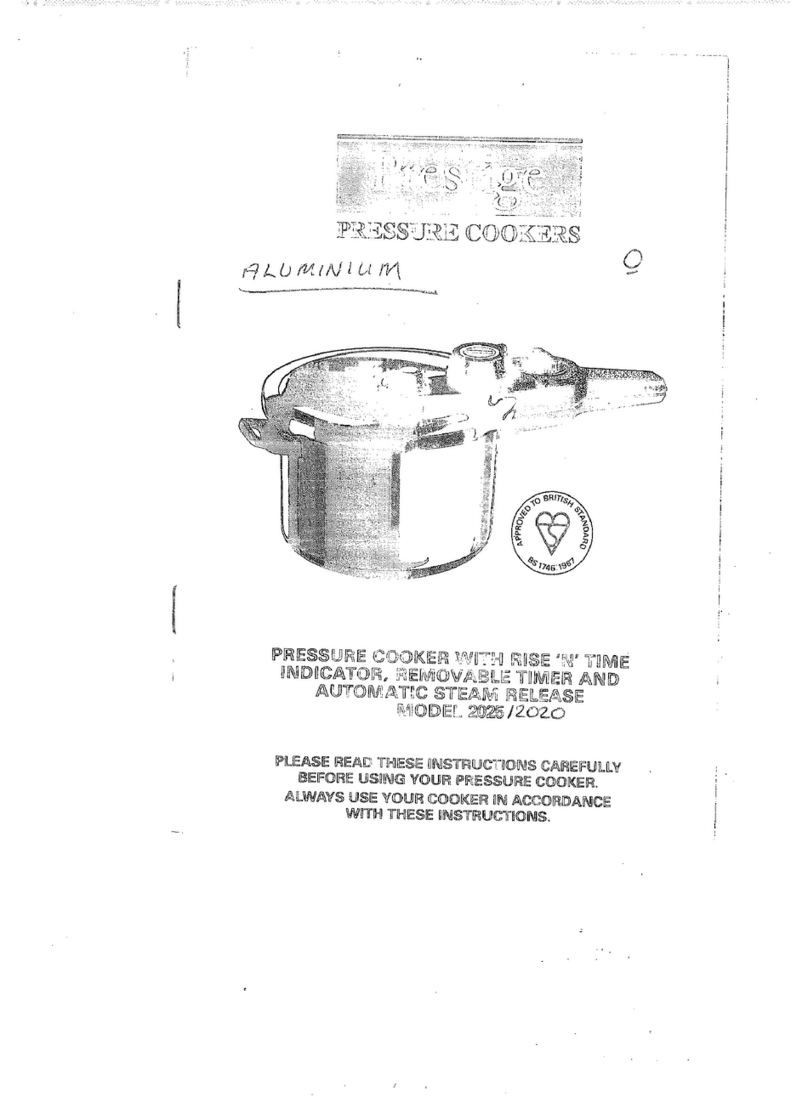
Prestige 2025 User manual

Prestige

Prestige 2025 User manual

Prestige Smartplus Installation guide

Prestige

Prestige Smartplus Installation guide

Prestige Smartplus 57051 Installation guide

Prestige

Prestige Smartplus 57051 Installation guide

Prestige Quick & Easy Quick reference guide

Prestige

Prestige Quick & Easy Quick reference guide

Prestige Popular User manual

Prestige

Prestige Popular User manual

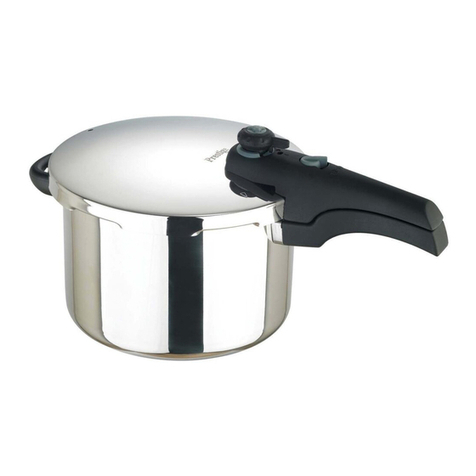
Prestige 47282 User manual

Prestige

Prestige 47282 User manual

Popular Electric Pressure Cooker manuals by other brands

Presto 6-Quart Stainless Steel instructions

Presto

Presto 6-Quart Stainless Steel instructions

Orbegozo HPL 70 Series instruction manual

Orbegozo

Orbegozo HPL 70 Series instruction manual

Maestro MR790 owner's manual

Maestro

Maestro MR790 owner's manual

Rosewill RHPC-15001 user manual

Rosewill

Rosewill RHPC-15001 user manual

Magefesa mageplus instruction manual

Magefesa

Magefesa mageplus instruction manual

Big boss STAINLESS STEELPRESSURE COOKER instruction manual

Big boss

Big boss STAINLESS STEELPRESSURE COOKER instruction manual

Klarstein 10028679 manual

Klarstein

Klarstein 10028679 manual

Ninja Foodi OP101BRN Assembly Hints and Tips

Ninja

Ninja Foodi OP101BRN Assembly Hints and Tips

Presto 1282 Instructions and recipes

Presto

Presto 1282 Instructions and recipes

AmazonBasics B079LNTDQV Welcome guide

AmazonBasics

AmazonBasics B079LNTDQV Welcome guide

MONIX CLASSICA Instructions for use

MONIX

MONIX CLASSICA Instructions for use

Cuckoo CRP-M10 Fuzzy Series operating instructions

Cuckoo

Cuckoo CRP-M10 Fuzzy Series operating instructions

Moulinex CE400031 manual

Moulinex

Moulinex CE400031 manual

Fagor M16301272 user manual

Fagor

Fagor M16301272 user manual

West Bend ELECTRIC PRESSURE COOKER instruction manual

West Bend

West Bend ELECTRIC PRESSURE COOKER instruction manual

Midea MY-SS5051P user manual

Midea

Midea MY-SS5051P user manual

Morgan MPC-800 user manual

Morgan

Morgan MPC-800 user manual

Salter EK1847 manual

Salter

Salter EK1847 manual

manuals.online logo
manuals.online logoBrands
  • About & Mission
  • Contact us
  • Privacy Policy
  • Terms and Conditions

Copyright 2025 Manuals.Online. All Rights Reserved.

4 L & 6 L
These instructions cover the following models:
47286 & 47287 -6L aluminium model & 4L aluminium model
This temperature is dictated by atmospheric pressure and cannot
increase no matter how long boiling continues. The weight on your
Prestige pressure cooker increases the pressure inside the cooker which
in turn raises the temperature at which the liquid boils. The result is
faster cooking times because of the higher temperature obtained and at
the same time the steam is forced through the food, cooking and
tenderising it.
2
If you have any difficulty in using your pressure cooker or if you require
spare parts, please visit our website www.prestige.co.uk
See page 6 ‘To fit the lid on the cooker’
See page 7 ‘Releasing steam after cooking’
Dishwasher suitability –your pressure cooker is not dishwasher safe
3
CAUTION: It is important that you read the above instructions carefully
before using your pressure cooker.
Regularly check all removable parts and if necessary re-tighten
See page 8 ‘Cleaning the lid’
4
Both main pot handle and the lid handle must be aligned with
each other when fully closed.
15lbi (103 kPa)
5
Secondary Safety Device (SSD)
Gasket
visit us at www.prestige.co.uk
IMPORTANT
Please note that the gasket and SSD should be replaced every 12 months.
Failure to do so may result in boil dry, prolonged cooking times, personal
injury or damage to property.
NB: For all spare part reference numbers and further details, please
refer to the Customer Assistance page on www.prestige.co.uk
LO C KIN G PIN
/ VPI
15lb (103kPa) weight supplied
Nominal operating pressure N.O.P 103 kPA/15 psi
Maximum operating pressure M.A.P 160 kPA/23 psi
Place the lid on the cooker body, lining up the arrow mark on the lid
with the arrow mark on the body handle. Gently depress the lid, on
the opposite side to the lid handle, while turning the lid handle
clockwise to precisely align it with the pan body handle.
You may find that after fitting a new gasket the lid may be a little
stiff, but a thin coat of cooking oil will help.
6
anti-clockwise.
Press the weight assembly onto the vent tube until it clicks into
position.
temperature has been reached, start timing potatoes for 4 minutes.
9. After 4 minutes, turn the heat off.
10. Some recipes call for ‘quick release’ cooking, usually to rapidly cool
down the food to prevent further cooking. To do this, lift the
pressure cooker off the hob, carefully carry it to the sink, run cold
water over the lid, avoiding the valves, and the visual pressure
indicator should drop in around 20 seconds, enabling you to unlock
the lid and remove your food.
Always remember to use oven gloves as your pressure cooker may
get hot during/after use and do not touch hot surfaces.
4
Gasket Release System (GRS)
If the vent tube and SSD become blocked, pressure inside the cooker will
rise. To prevent it reaching unsafe levels the gasket is designed to 'expand'
through the slot on the lid rim opposite the handle and release pressure.
Please note that the gasket should be replaced every 12 months. Failure to
do so may result in damage to you or the pressure cooker.
Place the 15lb (103kPa) weight onto the vent tube, make sure it clicks
into place.
Place the cooker onthe heat source and turn the heat to a high setting,
ensuring gas flames do not spread upthe side walls of your cooker.
Wait for the visual pressure indicator (VPI) to rise.
Wait until there is slight hissing as steam escapes from around the
weight regulator. This indicates that the correct cooking
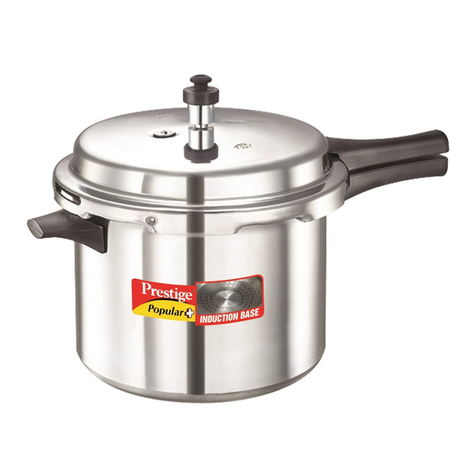
Stand the cooker in the sink and pour cold running water over the lid.
Make sure no water runs into the vent tube or visual pressure indicator
(VPI).
When the pressure has dropped, the VPI will drop down. This tells you
that the cooker can now be opened. Remove the cover by sliding the
top handle to the right.
7
Make sure that the cooker is thoroughly dry before storing otherwise
the metal may discolour and pits may appear
Put the required amount of water in the cooker.
Ensure that gas flames do not spread up the side walls of your cooker.
Remember if slow release is used the cooking time is increased as the
cooker remains at pressure for longer.
MFSD / VPI
8
If you make sure that you always have sufficient liquid, that you do
not leave the cooker steaming or cooking for long periods on too high
a heat, and you replace the gasket and secondary safety device
regularly, your cooker should never boil dry.
If the cooker ever does boil dry, the heat must be turned off and the
cooker left to cool before moving.
If your cooker ever does boil dry, the cooker will overheat and the
base of the cooker may become distorted. Distortion of the base is
not covered by the guarantee.
NB: Your pressure cooker is not suitable for the dishwasher
What to do if Possible C ause Acon Advice
C ooker w ill not come to p ressure Lid gasket leaking
Lid is not closed properly
W eight assembly not ed
correctly
C an see leakage of steam
from weight valve assembly
SSD becomes dislodged.
SSD lost / missing
See “ Gasket leakage” .
Ensure the cooker lid is aligned/posioned
correctly
Press the weight assembly onto the vent tube.
C heck for loose weight valve assembly (vent
tube nut loose)
Press the SSD back into the posion ensuring it
moves up &down freely.
R eplace with new SSD
See Page 6 . “ To t lid on the cooker”
C heck and ghten
The pressure cooker will not come to
pressure if the SSD is missing, damaged
or dislodged.
The SSD should be replaced every 12
months regardless of use. Ensure all
parts purchased are original Presge
replacement parts.
G asket leakage Dirty gasket or food parcles on
the rim.
Worn or hardened gasket.
Damaged body or lid.
N on-original gasket used.
W ash the gasket, wipe cooker rim and gasket.
R eplace with new gasket.
N ew pressure cooker has to bepurchased.
R emove / Dispose
See Page 8 . “ C leaning the lid”
The gasket should be replaced every 12
months regardless of use.
Ensure careful handling and storage.
Lids and bodies cannot be repaired.
Ensure all parts purchased are original
Presge replacement parts.
9
What to do if Possible C ause Acon Advice
Visual Pressure Indicator does not
rise.
Visual pressure indicator scking.
Lid gasket leaking.
Lid is not closed properly
Gently tap the lid handle.
See “ Gasket leakage” .
Ensure the cooker lid is aligned/posioned
correctly See Page 6 . “ To t lid on the cooker”
E x cess steam from the Pressure
regulator.
Heat is too high.
W eight assembly not ed
correctly.
W eight assembly is loose
Turn down / reduce heat.
Press the weight assembly into posion.
R emove fromheat source & wait unl cooker
is cool.
W hen reduced make sure the visual
pressure indicator remains up.
Always use protecon “ an oven
glove/mi” or wait unl cooker is cool.
W hen cool, remove lid and ghten
(loose vent tubenut)
C ooker boils dry Insucient liq uid for the cooking
me.
Vent tube is blocked.
Cooking on too high a heat for too
long.
Ensure that the cooker has sucient liq uid.
Clean vent tube
C heck cooking mes and liq uid q uans.
General rule for liq uid q uanty is 1/2
pint up to the st 15 minutes and a
further 1/4 of a pint for each 15
minutes thereaer.
See Page 8 . “ C leaning the lid”
Once VPI has risen reduce heat “ Aim to
maintain a gentle hissing sound & a
very gentle escape of steam from
weight.
C AU TION - if the cooker boils dry it will
over heat. If the base becomes bulged
or warped, this cannot be repaired and
is excluded from the Presge Q uality
Guarantee.
10