mitoredlight Original 2.0 Series User manual

USER MANUAL
© 2020 Mito Red Light, Inc. All rights reserved.
www.mitoredlight.com
Mito Red Original 2.0 Series and MitoPRO+ Series

ABOUT US ..........................................................................................................................................3
GETTING STARTED ....................................................................................................................... 4
CONTRAINDICATIONS ............................................................................................................... 5
FAQS ................................................................................................................................................................. 8
GETTING STARTED: MITO RED ORIGINAL 2.0 SERIES .............................................................. 11
GETTING STARTED: MITOPRO+ SERIES ......................................................................................... 12
MITOPRO+ REMOTE CONTROL ........................................................................................................ 14
MITOPRO FLOOR STAND INSTRUCTIONS ................................................................................... 15
MITOPRO 300+ STAND INSTRUCTIONS ...................................................................................... 18
MITOPRO 300+ STAND REMOVAL .................................................................................................. 19
MITOPRO+ XL SERIES ............................................................................................................................ 20
VERTICAL STAND BRACKET PLACEMENT .................................................................................. 24
HORIZONTAL STAND BRACKET PLACEMENT ............................................................................ 26
LIGHT THERAPY OVERVIEW ................................................................................................................ 27
PRODUCT COMPARISON: MITO RED ORIGINAL 2.0 SERIES ............................................. 30
SAFETY INSTRUCTIONS, WARNINGS, AND DISCLAIMER ..................................................... 31
CAUTIONS & DISCLAIMER .................................................................................................................. 33
WARRANTY POLICY................................................................................................................................ 34
REFUND POLICY ....................................................................................................................................... 35
TABLE OF CONTENTS
2www.mitoredlight.com

If you have any further questions, please feel free to contact us at:
info@mitoredlight.com
You can also call our phone number
Monday - Friday 9am - 5pm MST
+1 866-861-6486
Mail correspondence can be sent to:
Mito Red Light, Inc
9319 N 94th Way, Suite 400 Scottsdale, AZ 85258
ABOUT US
Located in Scottsdale, Arizona, Mito Red Light® is dedicated to bringing the highest
powered, highest quality red light therapy lights to market at the best possible
value.
Having extensively studied and realized the benefits of red light therapy firsthand,
Mito Red Light was brought into existence in order to provide consumers truly
affordable, yet highly effective red light therapy options.
www.mitoredlight.com 3

GETTING STARTED
STANDARD USE
FIRST TIME USERS
INDICATIONS FOR USE
MAINTENANCE
For first time users, we recommend
starting out with 2-3 minute sessions per
area, and slowly working up to a 10-minute
session over the course of 2-3 weeks as
your body acclimates to the therapy.
Mito Red Lights are general wellness
devices and are not intended to cure or
diagnose any medical conditions. Use of
this device is designed to help promote
overall health and wellness by supporting
cellular function. Mito Red Lights should
only be operated based on the user
guidelines, as outlined in this user manual.
Mito Red Original 2.0: We recommend 10-
minute sessions at 6-12 inches from your
device.
MitoPRO Series: We recommend 10-
minute sessions at 12-18 inches from your
device.
Additional 10-minute sessions for specific
areas may be beneficial but beyond a
certain point, the scientific evidence
points to diminishing returns. More is not
always better.
For this reason, we recommend you allow
at least 6 hours between sessions on the
same area. We recommend no more than
15 minutes in any one session. We
recommend using the device 4-10 times
per week. We recommend taking at least
one day off per week.
Because the LEDs are very bright, eye
protection should be worn when looking
directly towards the light, particularly
when NIR is active.
The Mito Red Light® does not require any
maintenance beyond basic care and
regular cleaning. Cleaning the light is
easy, just unplug the light and wipe the
surface with a cloth or paper towel. Do
not use harsh cleaning chemicals or
bleach because they may damage the
light. Make sure the light is dry before
using it again. For safety, the light is only
intended for use indoors.
4www.mitoredlight.com

CONTRAINDICATIONS
POTENTIAL HAZARDS
ABSOLUTE CONTRAINDICATIONS
CONTRAINDICATIONS FOR RED LIGHT
THERAPY
There are no industry-wide accepted
contraindications for red light therapy or
list of accepted contraindications that is
designated or enforced by regulatory
agencies. Research in red light therapy
is ongoing, and contraindications are
derived from existing research and
clinical inferences.
Recent Burns - Recent burns may still
contain residual thermal energy that may
be increased by heat from red light
therapy.
Heat - Red light therapy will generate
thermal energy as light is absorbed. This
heat may present a hazard in some
conditions.
Light - The electromagnetic radiation
used in red light therapy is low in energy,
but it may affect tissues that are sensitive
to light.
Tissue Stimulation - Red light therapy is
intended to stimulate tissues. In some
disease states this may be undesirable.
Malignant Cancers - There is a theoretical
risk that red light therapy may increase
cell proliferation in malignant cancers.
Hyperthyroidism (Neck & Upper Chest) -
Red light therapy on the neck and upper
chest may increase thyroid activity in
those with hyperthyroidism.
Pregnancy (Abdomen) - The effects of red
light therapy that reaches a developing
fetus are not fully understood and may
potentially have a negative effect.
Eye Disease (Eyes) - Red light therapy’s
effects on various eye conditions is not
fully understood and light sensitive cells in
the eyes may respond unfavorably to
intense red light.
www.mitoredlight.com 5

Light Sensitivity - Individuals with rare
conditions causing extreme sensitivity to
light or who have previously reacted to red
light therapy should avoid its use.
Fever or Infection - There is a theoretical
risk that the use of red light therapy can
worsen existing hyperthermia caused by
fever or infection.
Systemic Lupus Erythematosus (SLE) - SLE
can cause skin sensitivity, increasing the
risk of a reaction to red light therapy.
Severe Bleeding or Blood Loss - Some
research suggests that red light therapy
may slow the body’s ability to stop
bleeding.
Use of Photosensitizing Medications -
Medications that increase sensitivity to
light may increase risks of sensitivity to red
light therapy.
Tattoos - Red light therapy may cause
cosmetic defects to body art, especially
body art that uses red inks may be prone
to fading when exposed to intense red
light. The tattoo ink may also cause
uneven absorption of red light, causing
therapy to be less uniform.
Dark skin pigmentation - The effect of skin
pigmentation on red light therapy is still
being studied. Those with darker skin
tones may find that their skin absorbs
more light, making it warmer than those
with lighter skin tones would experience. A
smaller amount of red light may actually
reach deeper tissues, however, this effect
is not likely to be large.
RELATIVE CONTRAINDICATIONS
6www.mitoredlight.com

Dark hair - Darker colors of hair may
absorb more light, causing increased
warmth and decreased penetration of red
light. This effect is not likely to be large.
Melasma / Hyperpigmentation - Our own
product study showed improvement from
red and NIR light on hyperpigmentation,
particularly when paired with a high
antioxidant serum. However, in rare
instances users can experience the
opposite effect. We suggest starting
slowly and using red light only if this is a
concern.
A detailed discussion of this can be found
in our article: Red Light Therapy &
Hyperpigmentation.
Anyone with a contraindication to red
light therapy (or any health condition at
all) should consult with their physician
before using red light therapy.
www.mitoredlight.com 7

FAQS
WHEN USING, DO NOT STARE
DIRECTLY INTO THE LIGHT EMITTING
DIODES (LEDS).
DO I NEED SAFETY GLASSES WITH THIS
LIGHT?
IS RED LIGHT THERAPY SAFE? ARE THERE
SIDE EFFECTS?
ARE THE NIR LEDS NOT WORKING?
WILL LIGHT THERAPY TREATMENTS
CAUSE DETOX SYMPTOMS?
Again, our Mito Red Lights are very bright
and if you have any eye problems, or
any other health conditions at all, please
consult with a licensed healthcare
professional before using a device like
Mito Red.
Mito Red Light uses only the red and near
infrared wavelengths that are clinically
proven to be effective and safe. However,
we always recommend consulting with
your healthcare provider for specific
questions about any concerns or health
conditions.
While there is a growing body of scientific
research suggesting that modest
amounts of red and NIR LED light may
benefit certain eye conditions, Mito Red’s
plug-in lights are very bright! As such, eye
protection is provided and should be
worn when facing the lights, particularly
when NIR is active.
NIR is just beyond the visible spectrum and
is invisible to the naked eye. You will only
actually be able to see a pink dot, or a
subtle pink glow emanating from the LEDs
when they are on. Please rest assured that
there is a significant amount of light
energy emanating from those LEDs and
your Mito Red Light is in fact working
exactly as designed.
It is possible that a Mito Red Light session
can cause some detox related symptoms
while your body acclimates. If you
experience these types of issues, we
recommend stopping use until the
symptoms go away. Then start out at 2-3
minutes per session area and work your
8www.mitoredlight.com

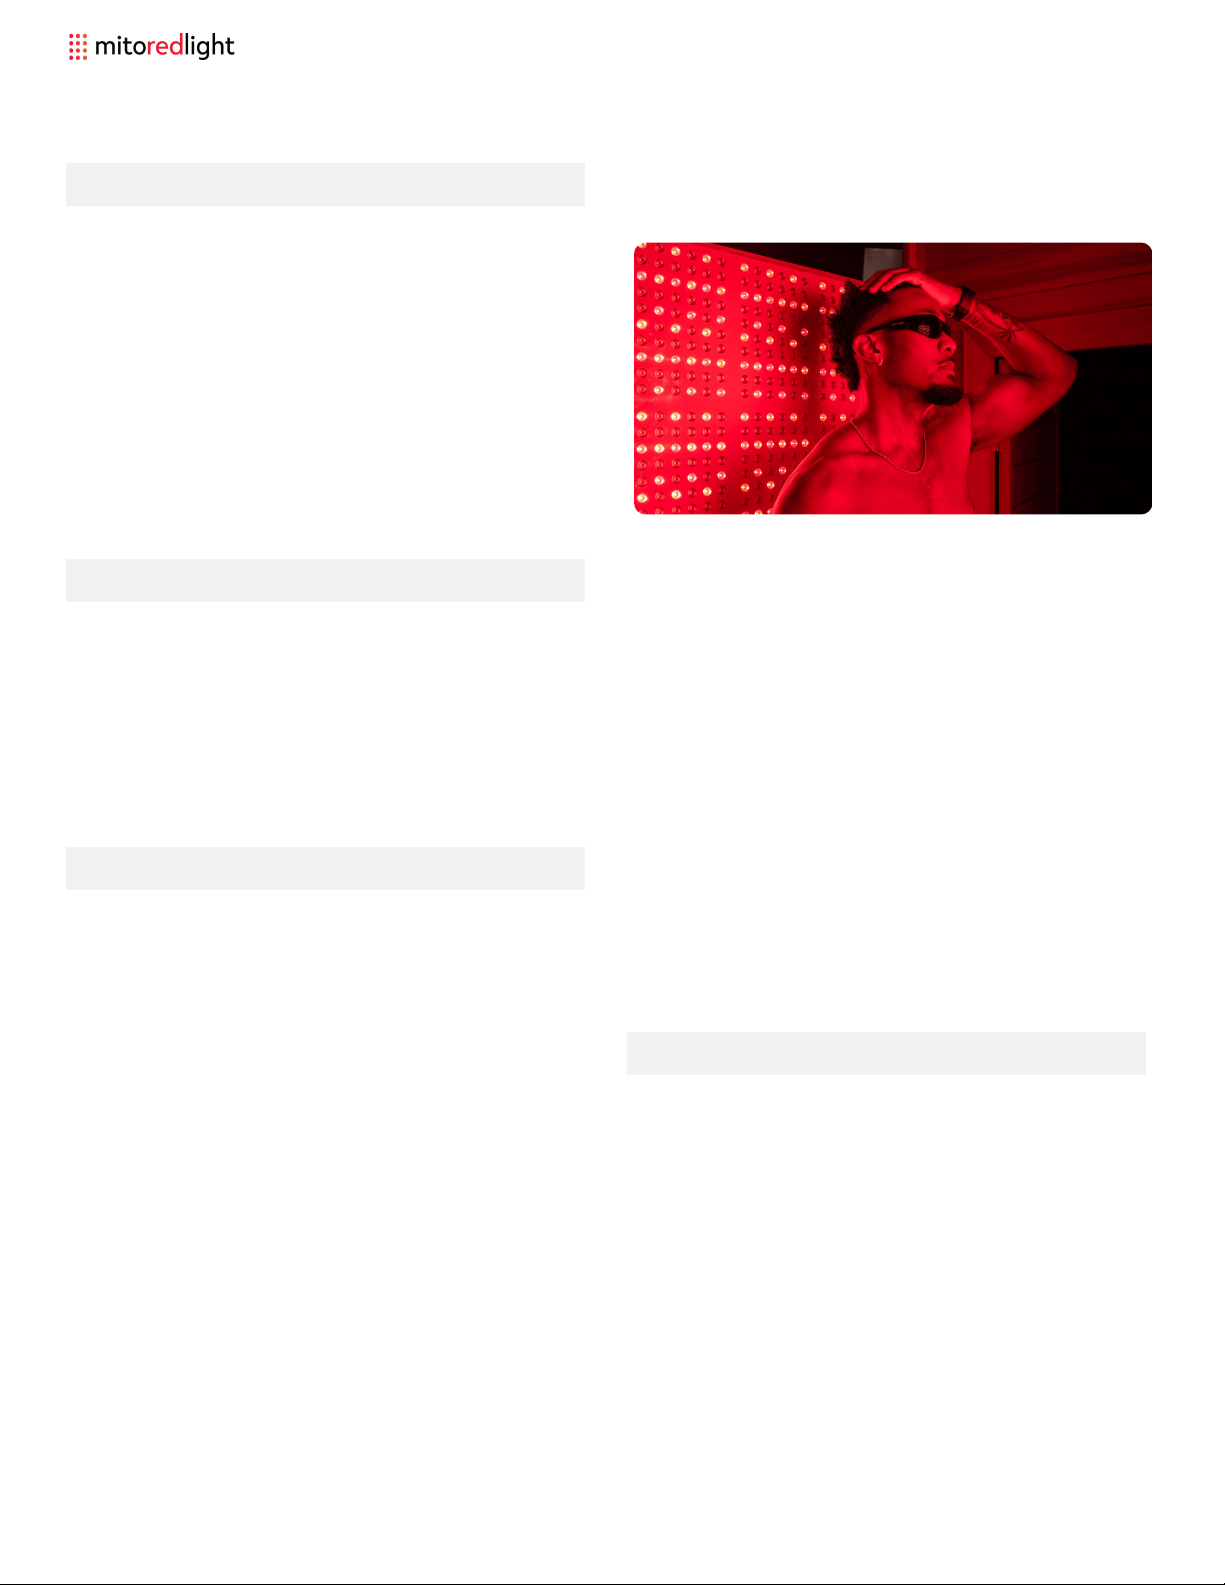
Red light therapy has been clinically-
proven to help damaged skin heal from
cuts, burns, and other blemishes. We
recommend consulting with your
healthcare provider if you have any
concerns.
As we are not licensed healthcare
practitioners, we are not able to offer
way slowly up to 10 minutes over the
course of 2-3 weeks. This will help your
body adapt. If you continue to experience
detox-related symptoms and have any
concerns regarding the use of red light
therapy, we recommend stopping use and
consulting with your healthcare provider.
We have a full 60-day no hassle trial and
full refund policy.
definitive clinical guidance. We
recommend consulting with your trusted
health care provider with specific
questions.
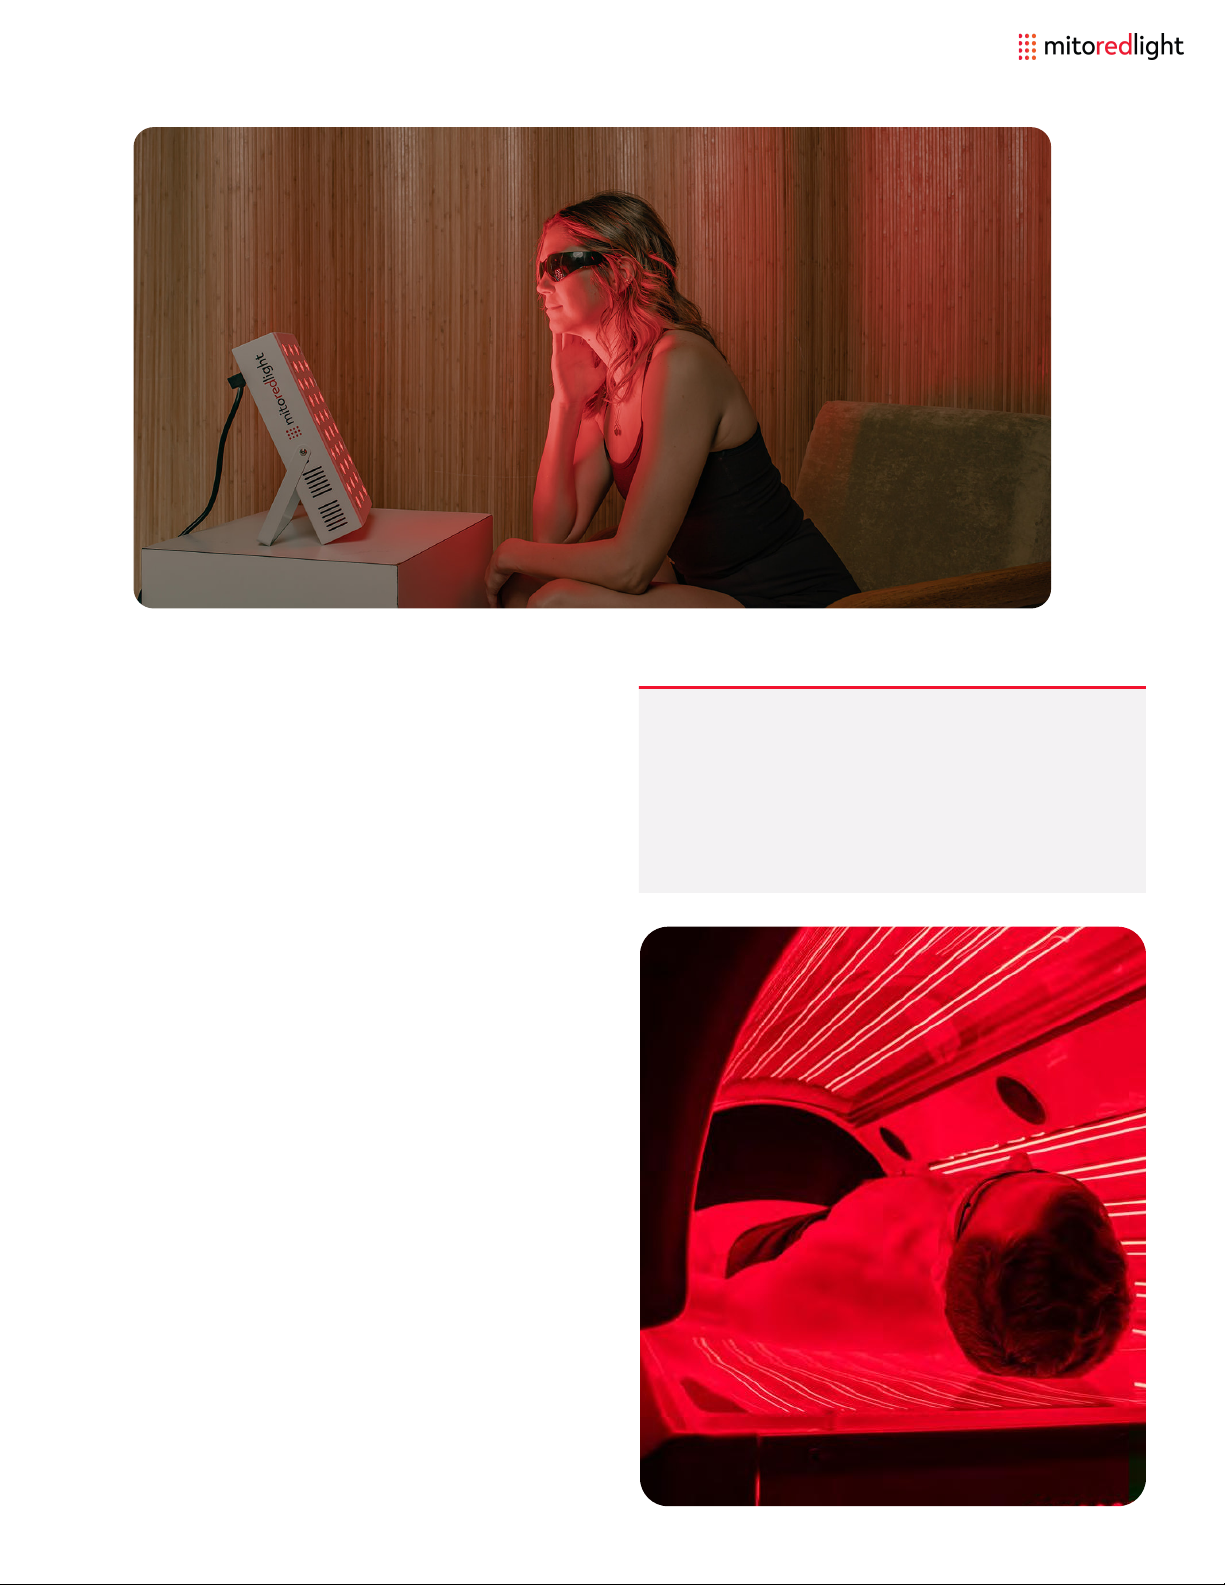
Clinical studies have shown red and NIR
light therapy to be quite safe. However, if
you are considering using it with children,
we recommend consulting with a
healthcare professional. All treatments
with children should be done under adult
supervision.
As there has been no clinical research with
red light therapy treatments on pregnant
or nursing subjects, do not use the device
if pregnant or lactating before consulting
with your healthcare provider.
Mito Red Lights are classified as a general
wellness devices. Out of an abundance of
caution, we recommend you consult with
your healthcare provider if you have any
pre-existing conditions or if you take
photosensitizing drugs. Steroids work to
suppress the immune system while red
light therapy may work to stimulate it. To
the extent that the two therapies may
work against each other, we do not
recommend they be used together.
WHAT IF MY SKIN IS BURNED OR
DAMAGED?
CAN CHILDREN USE MITO RED LIGHT®?
CAN PREGNANT OR NURSING WOMEN
USE THE LIGHTS?
WHAT IF I HAVE A PRE-EXISTING
HEALTH CONDITION OR TAKE
MEDICATIONS?
www.mitoredlight.com 9

OTHER CONSIDERATIONS: BOTOX, BREAST IMPLANTS AND LASIK
Users with a history of facial fillers and/ or Botox injections should consult their
dermatologist prior to use.
Users with breast implants should consult their plastic surgeon prior to use.
Do not use the device during the healing period post Lasik eye surgery. Before
resuming use, we recommend getting clearance from your doctor. As always, we
recommend following our user guidelines and making sure to use the provided
goggles when facing directly into the light panel.
10 www.mitoredlight.com

GETTING STARTED:
MITO RED ORIGINAL 2.0 SERIES
Step 3: Select the mode and time, and
press OK to start/stop your session.
Mode - choose between Red only (A),
Near Infrared only (I), or both (A I).
Time - choose up to a 20 minute session.
To select a lower time keep pressing TIME
and the count will reset after 20 minutes.
Step 1: Start by unboxing your panel and
connecting the power cable into the
plug located on the top of the unit.
Step 2: Attach steel cables and hang
(optional vinyl straps included to hang
at different heights).
www.mitoredlight.com 11

GETTING STARTED:
MitoPRO+ Series
Step 1: Unbox your MitoPRO+ device and accessories.
Step 2: Attach to stand (see page 16), or use the over the door hook and attach
either the steel cable or material straps. Two of each size vinyl strap are included.
Vinyl Straps can be doubled up for added hanging security. Material straps can also
be folded over to create a shorter length (use carabiner on both sides).
12 www.mitoredlight.com

GETTING STARTED:
MitoPRO+ Series
(CONTINUED)
Step 4: Hit the ‘Mode’ button to program the session.
A = Red Light only
I = Near Infrared Light only
A I = Red and Near Infrared Light
Step 5: Press the ‘Time’ button to select the desired session time.
When powered on the timer defaults to 10 minutes.
When pressing the ‘time’ button the timer will count up to 20
minutes then start over at 1 minute.
Step 6: To start your session Hit the ‘OK’ and the timer will
automatically start counting down until the session ends.
Step 3: To operate your new MitoPRO+
device.
Plug in device and turn the power switch
on (orange switch).
www.mitoredlight.com 13

MitoPRO+ REMOTE CONTROL
CONNECTING POWER TO TWO OR MORE PANELS
Step 1: Power can be daisy-chained to 2 or more panels with the
included connecting power cord.
NOTE: No more than 4 panels (MitoPRO 1500+ or smaller) should
ever be connected in a daisy chain power set up (due to the total
wattage draw).
XL Panels should always have their own individual power cord
and dedicated outlet / circuit.
Step 2: Use the remote control to control the panels. If the panels ever go out of sync
press the 'Reset' button, to reset the settings on all panels to the default (10 minutes,
red and near infrared active).
Increase time Decrease time
Select mode - choose between Red only (A),
Near Infrared only (I), or both (A I).
Reset panels
Turn on panels Turn off panels
* 2 x AAA batteries required, but not included
14 www.mitoredlight.com

Step 1: You will need to remove the
lower two rubber feet from the back of
your unit using a small Philips head
screwdriver before installation into the
floor stand. Then screw on castor
wheels.
Step 2: Insert your light into the Floor
stand and ensure it is seated properly.
Important note: ensure the panel is fully seated into the bottom of the stand by pushing
downwards on the top of the panel.
This is a quick start guide. Please see Floor Stand User Manual for full
Floor Stand assembly instructions.
MITOPRO+ FLOOR STAND INSTRUCTIONS
SINGLE PANEL
www.mitoredlight.com 15

MITOPRO+ FLOOR STAND INSTRUCTIONS
TWO PANELS
Step 1: Start by laying down both
MitoPRO 1500+ and MitoPRO 750+
panels face down with the 750+
oriented on top of the 1500+ like shown
below. Layout the provided brackets
and hardware. You will need a
minimum of 16 screws (4 screws top
and bottom of each panel per side).
Step 2: You will need to remove the
lower two rubber feet from the back of
the bottom of the 750+ and all four from
the 1500+. Lay out the brackets on the
back of the panel and screw down as
shown below.
16 www.mitoredlight.com

Step 3: Using the provided two-panel power cable, plug one end into the 750+
panel and the other into the 1500+. The power cord with outlet plug will plug into
the remaining port on the 1500+ and will plug into wall power.
MITOPRO+ FLOOR STAND INSTRUCTIONS
TWO PANELS CONTINUED
These brackets can also be used to hang a
MitoPRO 750+ & MitoPRO 1500+ from a door. In a
door hang or vertical stand install the MitoPRO
1500+ should be on TOP."
www.mitoredlight.com 17
Some helpful assembly videos are
available here: https://mitoredlight.
com/pages/user-manual

MITOPRO 300+ STAND INSTRUCTIONS
To open, firmly push up as shown. Flip over light and you are ready to go!
The stand may be rigid when you first receive your MitoPRO 300+. Pull back from top to
extend the stand.
18 www.mitoredlight.com

Remove four screws on outer part of stand
with screwdriver.
After removing screws grasp stand cover
and lift straight up.
If hanging the light on its own, screw the
legs to the back of the light.
Remove four screws from the inner plate.
Stand can now be removed from the
light.
MITOPRO 300+ STAND REMOVAL
www.mitoredlight.com 19

MEGA
Floor mount (secure to wall
with L bracket), vertical
stand or horizontal stand.
ELITE
Floor mount (secure to
wall with L bracket), or
vertical stand only.
Due to the size and weight of the XL panels they should only be installed as below:
The floor to wall mounting bracket is designed to allow the bottom of the panel to be
rested on the floor and with the top of the panel secured against the wall. This
bracket is not intended to support the weight of the light suspended off the floor!
ULTIMATE
Floor mount (secure to wall
with L bracket) only.
Floor to wall mounting:
Attach the 4 double ended screws to the top of the panel. Place panel up against wall in
the final position it will be mounted in. Install the L bracket by aligning groves and sliding
as shown in the pictures.
WARNING!
MITOPRO+ XL SERIES
20 www.mitoredlight.com
This manual suits for next models
1
Table of contents
Other mitoredlight Lighting Equipment manuals
Popular Lighting Equipment manuals by other brands

SCHOTT
SCHOTT KL 1500 compact Instructions for use

Contest
Contest LE CLUB CYCLONE-120R user guide

Patriot Lighting
Patriot Lighting MV040 Assembly instructions

EuroLite
EuroLite LED MCL 420 Master user manual

Cooper
Cooper IB520081ML installation instructions

Ovation
Ovation SPACE MINI PROFILE 40Z user manual