manuals.online logo
Brands
  1. Home
  2. •
  3. Brands
  4. •
  5. MIYAWAKI
  6. •
  7. Plumbing Product
  8. •
  9. MIYAWAKI ER120 User manual

MIYAWAKI ER120 User manual

 













OPERATING MANUAL
FOR
BELL MIGHTY STEAM TRAP
MODEL:ER120




INVERTED BUCKET STEAM TRAP


SAFETY
The following warnings and cautions are shown
at appropriate places in this manual.
WARNING
Failure to observe this type of
precaution may lead to serious
injury or death.
CAUTION
Failure to follow this type of
precaution can lead to injury or
damage to equipment and
property.
S No. on the name plate of our product indicates a manufacturing date.
Indicating method of S No.
S.No. □□□□
indicates a day
indicates a month
indicates a year
Example of indicating a year
03 →200313 →2013
Method of indicating a month
Mark
Month
Mark
Month
Mark
Month
Mark
Month
1
January
4
April
7
July
X
October
2
February
5
May
8
August
Y
November
3
March
6
June
9
September
Z
December
Method of indicating a day
Mark
Day
Mark
Day
Mark
Day
Mark
Day
1
1
9
9
H
17
Q
25
2
2
A
10
J
18
R
26
3
3
B
11
K
19
S
27
4
4
C
12
L
20
T
28
5
5
D
13
M
21
U
29
6
6
E
14
N
22
V
30
7
7
F
15
O
23
W
31
8
8
G
16
P
24
(Example)
In case that S.No. is 0316, the manufacturing date is January 6, 2003
In case that S.No. is 13XM, the manufacturing date is October 21, 2013
8
7. S No.
The S. No. is indicated on the side of the cover.
S.No. 
Represents the day.
Represents the month.
Represents the year. (lower two digits of the
year in the Western calendar)
Month designation system
Symbol
Month Symbol Month Symbol Month Symbol Month
1 1 4 4 7 7 X 10
2 2 5 5 8 8 Y 11
3 3 6 6 9 9 Z 12
Day designation system
Symbol
Day
Symbol
Day Symbol
Day Symbol
Day
1 1 9 9 H 17 Q 25
2 2 A 10 J 18 R 26
3 3 B 11 K 19 S 27
4 4 C 12 L 20 T 28
5 5 D 13 M 21 U 29
6 6 E 14 N 22 V 30
7 7 F 15 O 23 W 31
8 8 G 16 P 24
Example of serial number designation
0991 → Sep. 1, 2009 19XM → Oct. 21, 2019
8
S No. on the name plate of our product indicates a manufacturing date.
The following 4-digit or 9-digit ’S.No.' is displayed on the product.
●For 4-digit display
S.No. □□□□
�
Represents the day.
Represents the month.
Represents the year. (last two digits of the
year according to the Western calendar)
●For 9-digit display
S.No. □□□□□□□□□
�
MIYAWAKI identification number
Represents the month.
Represents the year. (last two digits of the
year according to the Western calendar)
Month designation system
Month 1 2 3 4 5 6 7 8 9 10 11 12
Symbol 1 2 3 4 5 6 7 8 9 X Y Z
Day designation system
Day 1 2 3 4 5 6 7 8 9 10 11 12
Symbol 1 2 3 4 5 6 7 8 9 A B C
�
Day 13 14 15 16 17 18 19 20 21 22 23 24
Symbol D E F G H J K L M N O P
�
Day 25 26 27 28 29 30 31
Symbol Q R S T U V W
Example of serial number designation
1711 → Jan 1, 2017
29XM → Oct 21, 2029
Example of serial number designation
17112C020 → Jan , 2017
29X05M050 → Oct , 2029



CONTENTS
1.Introduction・・・・・・・・・・・・・・・・・・・・・・・・・・・・・・・・・・・・ P.1
2.Dimensions and Specifications・・・・・・・・・・・・・・・・・・・P.1
3.Installations・・・・・・・・・・・・・・・・・・・・・・・・・・・・・・・・・・・・P.2
4.Trouble Shooting・・・・・・・・・・・・・・・・・・・・・・・・・・・・・・・P.3
5.Maintenance, Disassembling and Assembling・・・・・P.4・5
6.Construction
・・・・・・・・・・・・・・・・・・・・・・・・・・・・・・・・・・・・
P.6
★ Guidance for reading special product name・・・・・・・ P.8
7. Warranty・・・・・・・・・・・・・・・・・・・・・・・・・・・・・・・・・・・・・ P.7
- 1 -


1. Introduction
“Bell Mighty” inverted bucket Model ER120 Series are for multipurpose steam traps.
Especially for medium and large capacities.
This manual contains Installations, Trouble Shooting and Maintenance etc..
Never fail to read them to the end before using.
2. Dimensions and Specifications









㻌
㻌
Size
Operating
Maximum
Material
Dimensions
Weight
Model No.
Connections
mm
Pressure
Temperature
of
(mm)
㻌
㻌
㻌
(inch)
(MPa)
℃
(
F
)㻌
Body
L
H1
H2
W
(kg)
ER120-8
Flanged
40(1_1/2)
0.05 to 0.8
220
(428)
Cast Iron
(FC250) 400
220
217
235
46
50(2)
65(2 1/2)
ER120-16
40(1_1/2)
0.05 to 1.6
50(2)
65(2 1/2)
03D NJIFP2
Inverted Bucket steam trap, inverted bucket Model ER120 Series are for multipurpose steam traps.
1
- 2 -
3. Installations



●Before installing the trap always blow off the sludge, scales, etc.
from the piping.
●This trap can be installed horizontally.
1) Install trap according to the direction of the arrow on the body.
2) Pipe the outlet condensate recovery piping at the lowest point of the steam using
equipment.
The trap should be installed that condensate will flow naturally into the trap.
3) When recovering the condensate outlet branch line should be piped from the steam trap
as the drawing A below.
Install a check valve on the downstream side on the trap.
4) If the trap is installed higher than the steam using machinery please install lift fitting
as drawing B below for better performance.
5) If installed on cylinder dryer please install lower than the lowest point of the cylinder
and minimize the horizontal piping.
Also do not insulate the piping.
6) The trap should be installed for easy maintenance. 200mm clearance is necessary for
disassembling the cover.
7) Upon start up inspect the followings.
a) Leak from the sealing of Body(1) and Cover(2) if leaking retighten the Cover Bolt(25)
and bolt(24) evenly.
b) Leak from the Plug(3),(4),(21),(22).
Re-tighten it.



! &$87,216
Lift Fitting
One size smaller
Heat Exchanger
Steam Trap
Condensate Tank
Branch Line
Recovery Main
Check Valve
Drawing A
Drawing B
Steam Trap
2
- 3 -


4.Trouble Shooting



1)Inlet valve closed.
2)Over pressure
A)Check operating conditions reduce inlet pressure or change
the Super Discharger Unit to higher pressure.
3)Plugged Strainer
A)Disassemble Body Plug(3) and clean the strainer Screen(20)
4)Plugged air vent.
A)Disassemble Cover(2) clean the air vent on the Bucket(18).
B)To prevent further clogging scrabble wire can be installed.
5)Plugged orifice on Valve Seat(5) and/or Main Valve(6)
A)Disassemble Cover(2) clean the orifice on the Valve Seat(5)
and/or Main Valve(6).
6)Bucket out of place with valve closed.
A) Disassemble Cover(2) install Bucket(18) in correct place.
1)No condensate coming to the trap.
A)Leaking by-pass-valve or flanges upstream.
B)For cylinder dryers, broken or damaged siphon tubing.
C)Vacuum created on the upstream piping.
Install vacuum breaker upstream.
1)Normal Function
1)Loss or prime
A)Our ER Series
requires minimum hourly condensate
amount of 50kg/hr.
B)Close the upstream valve for a few minute and open the
valve gradually.
C)It is not recommended to install inverted bucket on super
heated lines and lines the pressure fluctuates.
2)Scales lodged between Valve Seat(5) and Main Valve(6) and/or
Pilot Valve(7).
A)Disassemble Cover(2) clean the Main Valve(6),
Valve
Seat(5) and/or Pilot Valve(7).
3)Worn Parts
Disassemble Cover(2) exchange the Main
Valve(6) Valve
Seat(5) and Pilot Valve(7).
4)Bucket out of place with valve opened.
Disassemble Cover(2) install Bucket(18) in correct place.
Disassemble Cover(2) install Bucket(9) in correct place.
A)Lack of capacity
Check the operating conditions, replace the trap with larger
capacity.
1)By installing on trap to several lines short circuiting will
occur.
A)Install trap to each line.
2)Steam locking-Cylinder Dryer.
A)Having steam formed inside the siphon tube, although
condensate is made in the cylinder dryer, the trap might
lack capacity.
Replace to another trap with larger capacity.
3)Steam locking-Submerged coils, and similar conditions:
A)By not having lift fitting structure steam will come to the
trap even though condensate formed.
Check the upstream piping and install lift fitting.
COLD
IS THE TRAP
COLD
OR
HOT
HOT
IS THE TRAP
DISCHARGING
CONTINUOUS
CONDENSATE
STEAM
IS THE STEAM
USING
EQUIPMENT
OBTAING
ENOUGH HEAT
IS THE TRAP
OPERATING
INTERMITENT
NO.
YES.
YES.
YES.
NO.
Inverted bucket steam trap has
intermittent operation function. It will
discharge and stop at certain cycles.
The improper operations will be:
No discharge, trap hot or cold.
Continuous discharge condensate or
steam.
NO.
YES.
NO.
3
- 4 -
5.Maintenance, Disassembling and Assembling

When disassembling a hot trap, be sure to release the pressure
inside to atmospheric pressure, and cool the trap before the work.
1. Disassemble Body Plug(3) from the Body(1) take out the Screen(20) check and clean.
2. Unscrew the Cover Bolt(25) and Bolt(24) take off the Cover(2), the internals(Valve Seat(5),
 Main Valve(6), Pilot Valve(7), C-Ring(8), Bonnet(9), Piston(10), Gland (11), Connector(12),
Connector Cap(13), Cap Pin(14), Eyebolt(15), Eyebolt Pin(16), U-Nut(17), Bucket(18),
Pin(31) )will come together as the drawing C.
Drawing CDrawing D
3. Unscrew the U-Nut(19), the Bucket(18) will come off. Take off the Pin(31) and
Eyebolt Pin(16) the Eyebolt(15) will come off.
4. Firm the Cover(2) with a vise and with a box wrench disassemble the Bonnet(9).
5. Firm the Bonnet(9), unscrew the Bolt(23), take off the Gland(11), then the Pilot Valve
 Mechanism(Pilot Valve(7), Connector Cap(13), Cap Pin(14))will come apart with the
Connector(12), Main Valve(6), C-Ring(8) Piston(10) will also come apart come apart.
Also disassemble the Valve Seat(5) with a wrench.
6. Clean and check the parts accordingly if all the parts are in normal condition,
 install in the opposite of disassembling. If parts are worn or defected please replace.
Especially the Pilot Valve(7), Main Valve(6) and Valve Seat(5) should be checked
thoroughly.

●
When reassembling always replace the Cover Gasket(26) to new one.
●Gasket (26) is fragile, so please handle it with care.
●Also Bolt(23),(24), (25) should be tightened evenly.
No.
Parts
Size
Shape
Clamp Torque
Tools
23
Bolt
13mm
Hexagon
15N
・
m (150kgf
・
cm)
Wrench
24
Bolt
19mm
Hexagon
79N
・
m (800kgf
・
cm)
Wrench
25
Bolt
17mm
Hexagon
30N
・
m (300kgf
・
cm)
Wrench
! &$87,216
! :$51,1*
4
- 5 -
4.Plug
19.Pipe
15.Eyebolt
22.Plug
2.Cover
10.Piston
5.Valve Seat
26.Gasket
27.Gasket
17.U-Nut
23.Bolt
24.Bolt
12.Connector
16.Eyebolt Pin
18.Bucket
1.Body
3.Plug
20.Screen
25.Bolt
9.Bonnet
13.Connector Cap
14.Cap Pin
21.Plug
11.Gland
29.Rivet
28.Name Plate
6.Main Valve
30.Plug
8.C-Ring
7.Pilot Valve
5
- 6 -
6.Construction
1. Body
2. Cover
3. Plug
4. Plug
5. Valve Seat
6. Main Valve
7. Pilot Valve
8. C-Ring
9. Bonnet
10. Piston
11. Gland
12. Connector
13. Connector Cap
14. Cap Pin
15 Eyebolt
16. Eyebolt Pin
17. U-Nut
18. Bucket
19. Pipe
20. Screen
21. Plug
22. Plug
23. Bolt
24. Bolt
25. Bolt
26. Gasket
27. Gasket
28. Name Plate
29. Rivet
30. Plug
31. Pin
6
8
6 WARRANTY
6.1 Warranty period
The warranty period shall last 12 months from the date of product delivery.
6.2 Details of the warranty
If the product stops working correctly within the warranty period, we will repair or replace
the product free of charge if the cause of the trouble is not one of the following items.
1) The precautions described in this manual were not observed
2) User's errors or mistakes such as an inappropriate installation or incorrect handling,
or an excessively large impact caused by dropping
3) Problems caused by devices or equipment other than ours, or a disallowed use
environment
4) When a repair or modification has been performed by anyone other than us or people
who are authorized to make such repairs
5) Intrusion of salt or other substances that promote significant rust or corrosion or
problems from fluids that contain the same substances
6) Consumable parts such as Packing, Gasket, O-ring, Diaphragm, etc
7) Attachment or accumulation of foreign matter in the pipe, such as dust and scale
8) Problems from fires, natural disasters, or other force majeure which is not our
responsibility
6.3 Warranty limitation
The remedy available under the warranty shall not exceed the sales price of the products
delivered, for any cause whatsoever.
7
7
7
7
Warranty
The warranty period is 18 months after shipment or 12 months after installation, whichever
occurs rst.
★
Guidance for reading special product name
○○○
-
○○
-
□
㻌
㻌
Special symbol: symbol apply only to special product
(Please refer to table 1 for details)
1 suffix English letter after “-“.
Model symbol: Product model number
㻌
Table 1 Symbol description
Suffix
Special contents
A
Approved high-pressure gas trap
C
Blow valve attached & countermeasure against scale
K
Change of gasket
L
Special face to face dimension
M
㻌
Change of parts material
P
㻌
Change of operating pressure
R
Change of screen mesh or countermeasure against scale
T㻌
Parts are standards, and the specification (operating temp, press.
etc.) is changed
V
Change of air vent
X
㻌
Other than mentioned above or complex of special contents above

8

































z࠾㈙࠸ୖࡆࡢ〇ရཬࡧࡇࡢྲྀᢅㄝ󰩣᭩ෆᐜ࡟ࡘ࠸࡚ࡢࡈ㉁ၥ࣭࠾ၥ࠸ྜࢃࡏࠊࡲࡓࡇࡢ
ྲྀᢅㄝ󰩣᭩ࢆ⣮ኻࡋࡓࡾࠊởᦆ࡟ࡼࡾㄞࡵ࡞ࡃ࡞ࡗࡓሙྜࡢ㈨ᩱ➼ࡢࡈㄳồࡣࠊ࠾㈙࠸
ୖࡆ㡬࠸ࡓ㈍኎ᗑࡶࡋࡃࡣ᭱ᐤࡢᘢ♫࣑ࣖ࣡࢟࡬ࡈ㐃⤡ࡃࡔࡉ࠸ࠋ
z≉Ṧ௙ᵝࡢ〇ရ࡟ࡘ࠸࡚ࡣࠊྲྀᢅㄝ󰩣᭩ࡢෆᐜ࡜୍㒊␗࡞ࡿሙྜࡀ࠶ࡾࡲࡍࠋ≉Ṧ௙ᵝ
࡟㛵ࡍࡿྲྀᢅㄝ󰩣᭩ෆᐜ࡟ࡘ࠸࡚ࡢࡈ㉁ၥࡣࠊ࠾㈙࠸ୖࡆ㡬࠸ࡓ㈍኎ᗑࡶࡋࡃࡣ᭱ᐤࡢ
ᘢ♫࣑ࣖ࣡࢟ࡲ࡛࠾ၥ࠸ྜࢃࡏࡃࡔࡉ࠸ࠋ
zFor any questions about the product that you purchased or about the details in this
user’s manual, please contact MIYAWAKI, our local authorized agent, or the place
where you purchased.
zSome special specifications of the product you have, may found to be different from the
ones in the user's manual. If you have any question, please contact MIYAWAKI, our
local authorized agent, or the place where you purchased.
z© 2016 MIYAWAKI INC.
This user’s manual may not be reproduced or copied in whole or in part, without the
written consent of MIYAWAKI INC.




ࡣࡌࡵ࡟Ᏻ඲࡟౑⏝ࡋ࡚࠸ࡓࡔࡃࡓࡵ࡟



z࠾㈙࠸ୖࡆ࠸ࡓࡔ࠸ࡓ〇ရࢆṇࡋࡃᏳ඲࡟ࡈ౑⏝࠸ࡓࡔࡃࡓࡵ࡟ࠊ
ᮏྲྀᢅㄝ󰩣᭩ࢆ࠾ㄞࡳࡃࡔࡉ࠸ࠋࡲࡓ㐺󰪍࡟ࡈά⏝࠸ࡓࡔࡅࡿࡼ࠺
࡟ࠊ࠾ㄞࡳ࡟࡞ࡗࡓᚋࡶ࠸ࡘ࡛ࡶྲྀࡾฟࡏࡿᡤ࡟ಖ⟶ࡋ࡚ࡃࡔࡉ࠸ࠋ



ᮏྲྀᢅㄝ󰩣᭩ࡣࠊḟࡢ㆙࿌⾲♧ࠊὀព⾲♧ࢆ㐺ᡤ
࡟ᤄධࡋ࡚࠸ࡲࡍࠋ 

ேࡢṚஸࡶࡋࡃࡣ㔜യࢆ㈇࠺ྍ⬟ᛶࡀ
᝿ᐃࡉࢀࡿෆᐜࢆグࡋࡲࡍࠋ

ேࡀയᐖࢆ㈇࠺ྍ⬟ᛶࠊཬࡧ≀ⓗᦆᐖ
ࡢࡳࡢⓎ⏕ࡀ᝿ᐃࡉࢀࡿෆᐜࢆグࡋࡲࡍࠋ



㆙࿌



ὀព


   
ୗྥࡁࣂࢣࢵࢺᘧࢫࢳ࣮࣒ࢺࣛࢵࣉ
㹃㹐㸯㸰㸮ᆺ
ྲྀ ᢅ ㄝ 󰩣 ᭩
࠾ၥ࠸ྜࢃࡏ❆ཱྀ
〇ရࡢ౑࠸᪉ࡸ࢔ࣇࢱ࣮ࢧ࣏࣮ࢺ࡞࡝ࠊ〇ရ࡟㛵ࡍࡿ࠾ၥ࠸ྜࢃࡏ
ࡣࠊྑࡢ QR ࢥ࣮ࢻ࠿ࡽࠊ᭱ᐤࡾࡢᘢ♫஦ᴗᡤࡲ࡛ࡈ㐃⤡ࡃࡔࡉ࠸ࠋ
ᘢ♫஦ᴗᡤ୍ぴ(㐃⤡ඛ)ࡣྑࡢ QR ࢥ࣮ࢻࢆࢫ࣐࣮ࢺࣇ࢛ࣥࠊ
ᦠᖏ㟁ヰ➼࡛ㄞࡳྲྀࡗ࡚࠸ࡓࡔࡃࡇ࡜࡛࢔ࢡࢭࢫ࡛ࡁࡲࡍࠋ
ᮏ♫࣭ᕤሙ
ࠛ532-0021 ኱㜰ᕷᾷᕝ༊⏣ᕝ໭ 2-1-30
Tel㸸06-6302-5531(௦)
www.miyawaki-inc.com
INTERNATIONAL SALES DEPT.
2-1-30, Tagawakita, Yodogawa-ku, Osaka, 532-0021, Japan
Tel: +81-6-6302-5549
www.miyawaki.net e-mail: [email protected]
EU Importer and Authorized representative:
MIYAWAKI GmbH
Birnbaumsmühle 65, 15234 Frankfurt (Oder), Germany
Tel: +49-335-4007-0097
www.miyawaki.net e-mail: info@miyawaki.de
China Importer and Authorized representative:
MIYAWAKI WEST Co.,ltd
Room 1705, No.1, Building,No.311, Yanxin Road, Huishan Economic Development Zone,
Wuxi, Jiangsu, China
Tel: +86-510-8359-5125
www.miyawaki-inc.com.cn e-mail: myw[email protected]
808ࠐۑۑ-ࠐࠐ(ྲྀㄝ No.) 1905
ࠐࠐࠐ㸦ᆺᘧྡ⛠㸧
808070-02 2301
ER120

This manual suits for next models

2

Other MIYAWAKI Plumbing Product manuals

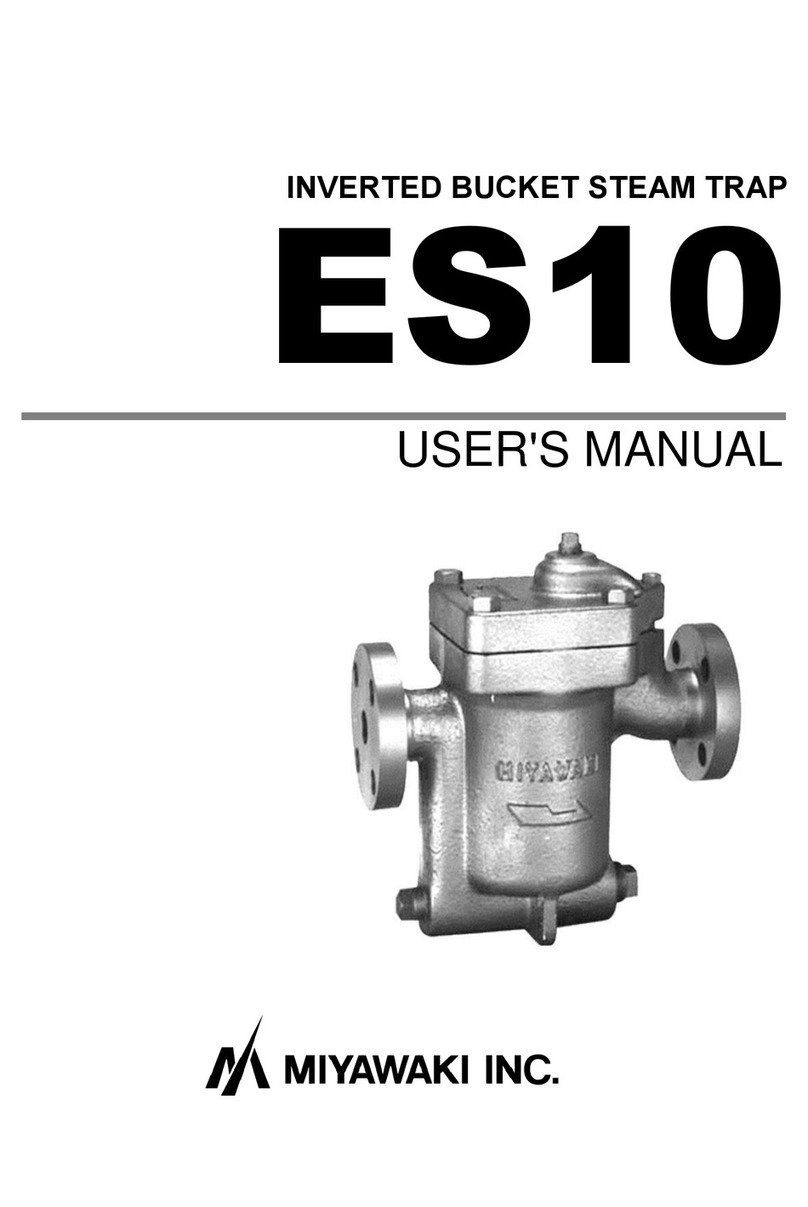
MIYAWAKI G11N User manual

MIYAWAKI

MIYAWAKI G11N User manual

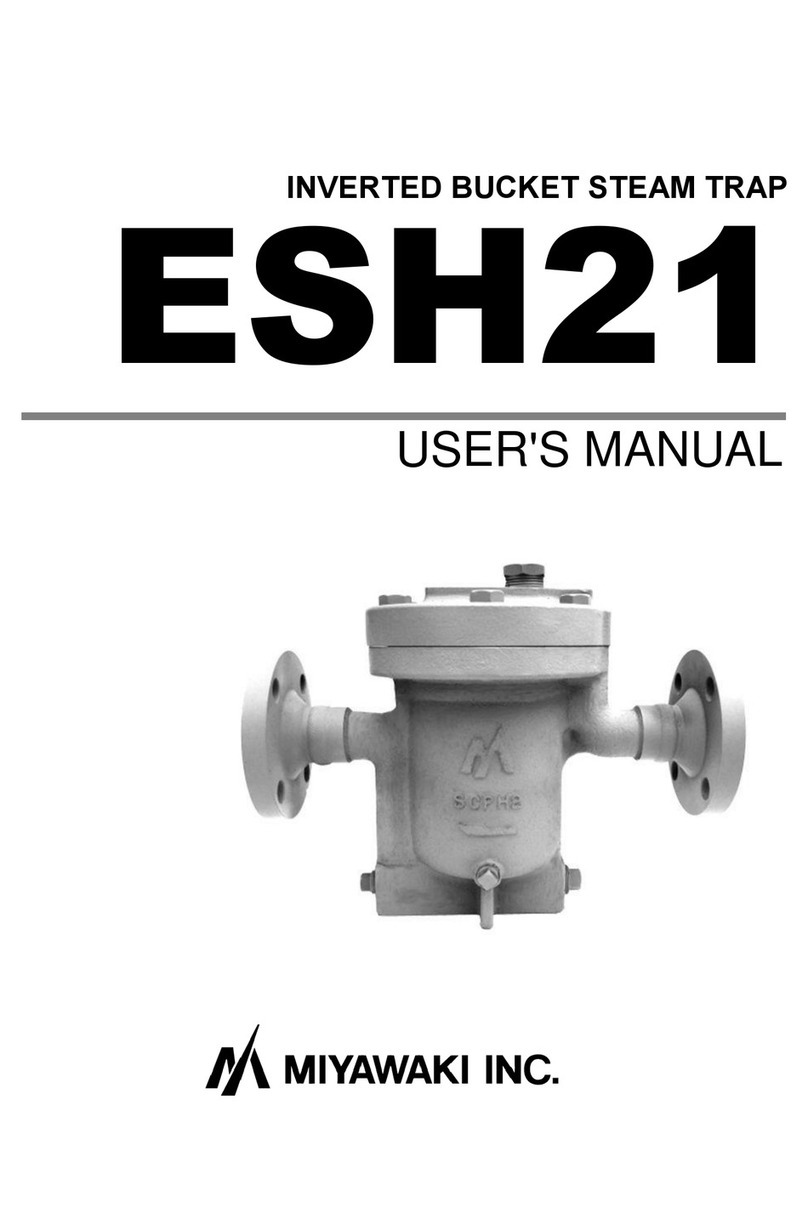
MIYAWAKI ES10 User manual

MIYAWAKI

MIYAWAKI ES10 User manual

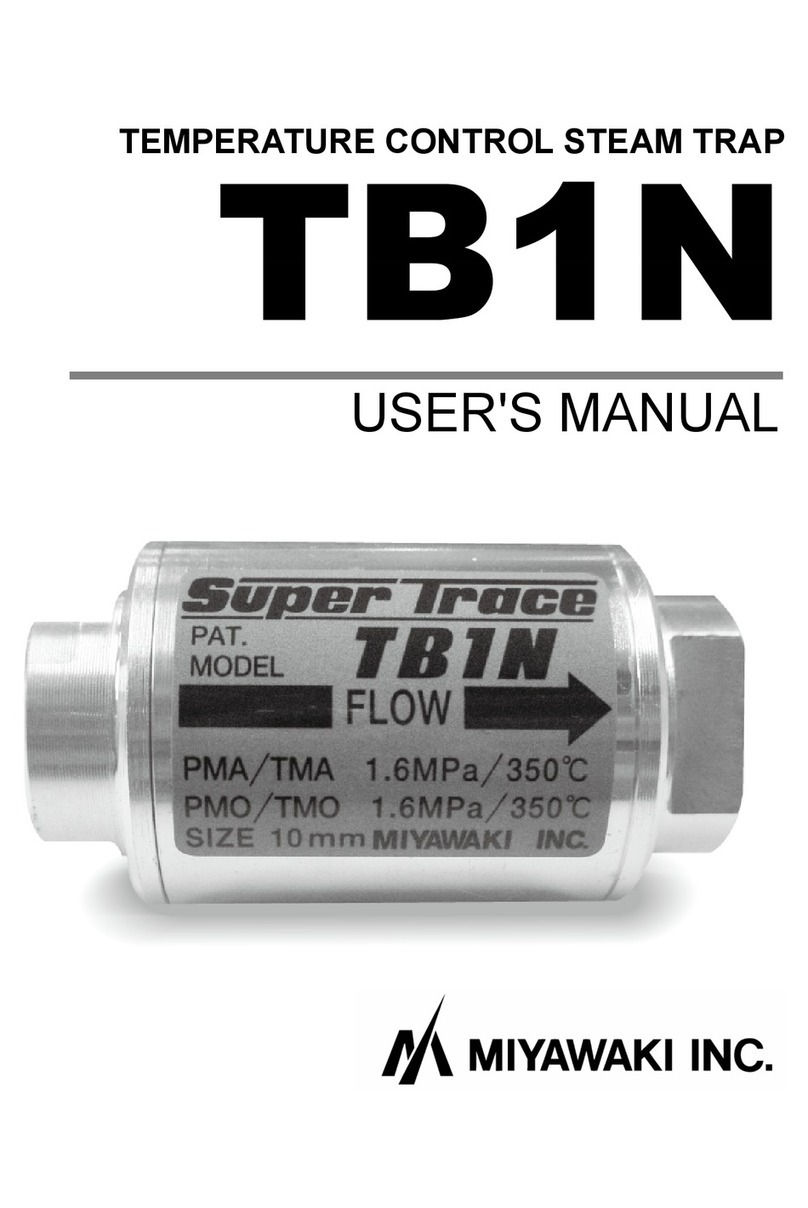
MIYAWAKI TB1N User manual

MIYAWAKI

MIYAWAKI TB1N User manual

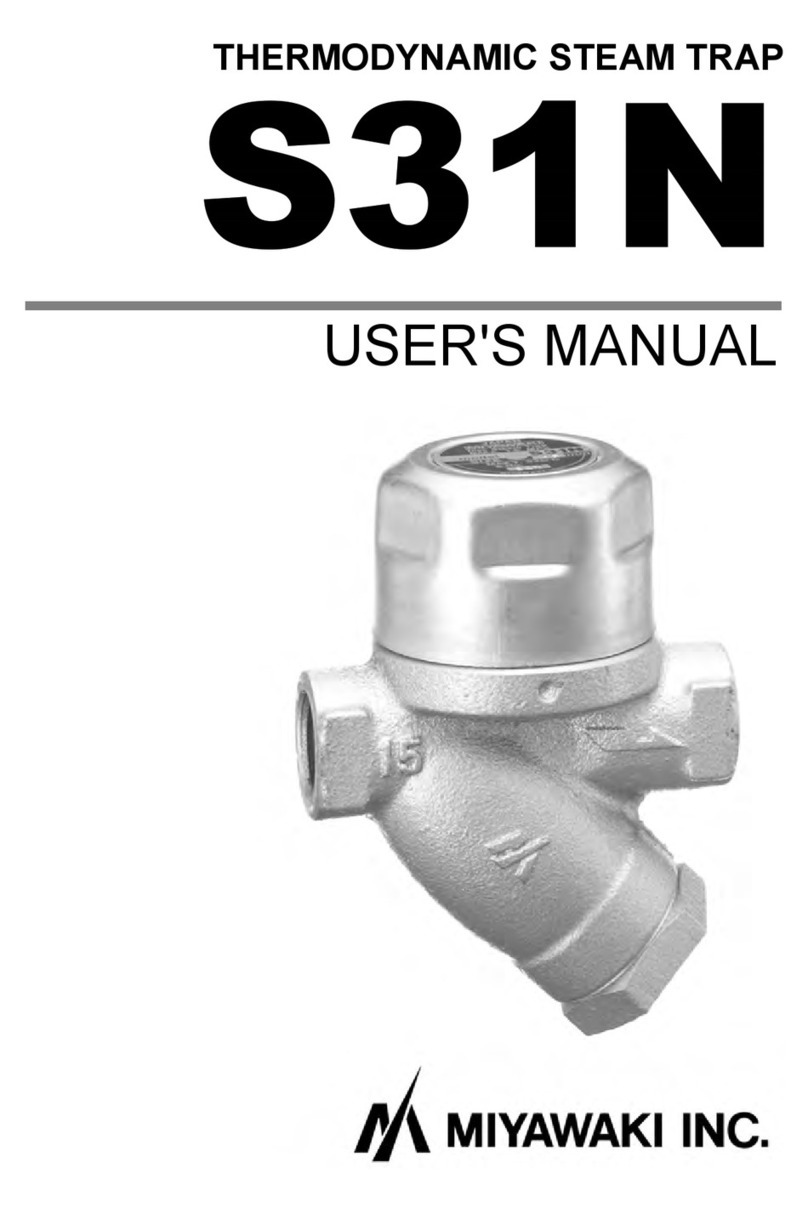
MIYAWAKI S31N User manual

MIYAWAKI

MIYAWAKI S31N User manual

MIYAWAKI ESU5 User manual

MIYAWAKI

MIYAWAKI ESU5 User manual

MIYAWAKI ESH21 User manual

MIYAWAKI

MIYAWAKI ESH21 User manual

Popular Plumbing Product manuals by other brands

Hans Grohe Axor Citterio 39927 1 Series Installation instructions / warranty

Hans Grohe

Hans Grohe Axor Citterio 39927 1 Series Installation instructions / warranty

Zenith FlushMaster Solo 42214 Installation and maintenance instructions

Zenith

Zenith FlushMaster Solo 42214 Installation and maintenance instructions

Hansa HANSAPOLO 5140 2373 Mounting and operating instructions

Hansa

Hansa HANSAPOLO 5140 2373 Mounting and operating instructions

Mofem MLU-01N230 Mounting instructions

Mofem

Mofem MLU-01N230 Mounting instructions

IKEA HALLVIKEN quick guide

IKEA

IKEA HALLVIKEN quick guide

Dundalk LeisureCraft Luna Assembly instructions

Dundalk LeisureCraft

Dundalk LeisureCraft Luna Assembly instructions

Sensea Remix Assembly, Use, Maintenance Manual

Sensea

Sensea Remix Assembly, Use, Maintenance Manual

Flushmate 501-A Series Owner's service manual

Flushmate

Flushmate 501-A Series Owner's service manual

Helvex UH-105-WOA installation guide

Helvex

Helvex UH-105-WOA installation guide

Glacier bay 67557-0008D2 Installation and care guide

Glacier bay

Glacier bay 67557-0008D2 Installation and care guide

Hans Grohe Talis 32055008 Instructions for use/assembly instructions

Hans Grohe

Hans Grohe Talis 32055008 Instructions for use/assembly instructions

Zanussi 132344 Specifications

Zanussi

Zanussi 132344 Specifications

Glacier bay 874-0101 Installation and care guide

Glacier bay

Glacier bay 874-0101 Installation and care guide

Megius EXEN manual

Megius

Megius EXEN manual

Moen PureTouch 7850 owner's manual

Moen

Moen PureTouch 7850 owner's manual

Toto Connelly TS221E Installation and owner's manual

Toto

Toto Connelly TS221E Installation and owner's manual

Viega Prevista 8524.19 Instructions for use

Viega

Viega Prevista 8524.19 Instructions for use

Abode Ceramic Inset Sink AX4002 manual

Abode

Abode Ceramic Inset Sink AX4002 manual

manuals.online logo
manuals.online logoBrands
  • About & Mission
  • Contact us
  • Privacy Policy
  • Terms and Conditions

Copyright 2025 Manuals.Online. All Rights Reserved.