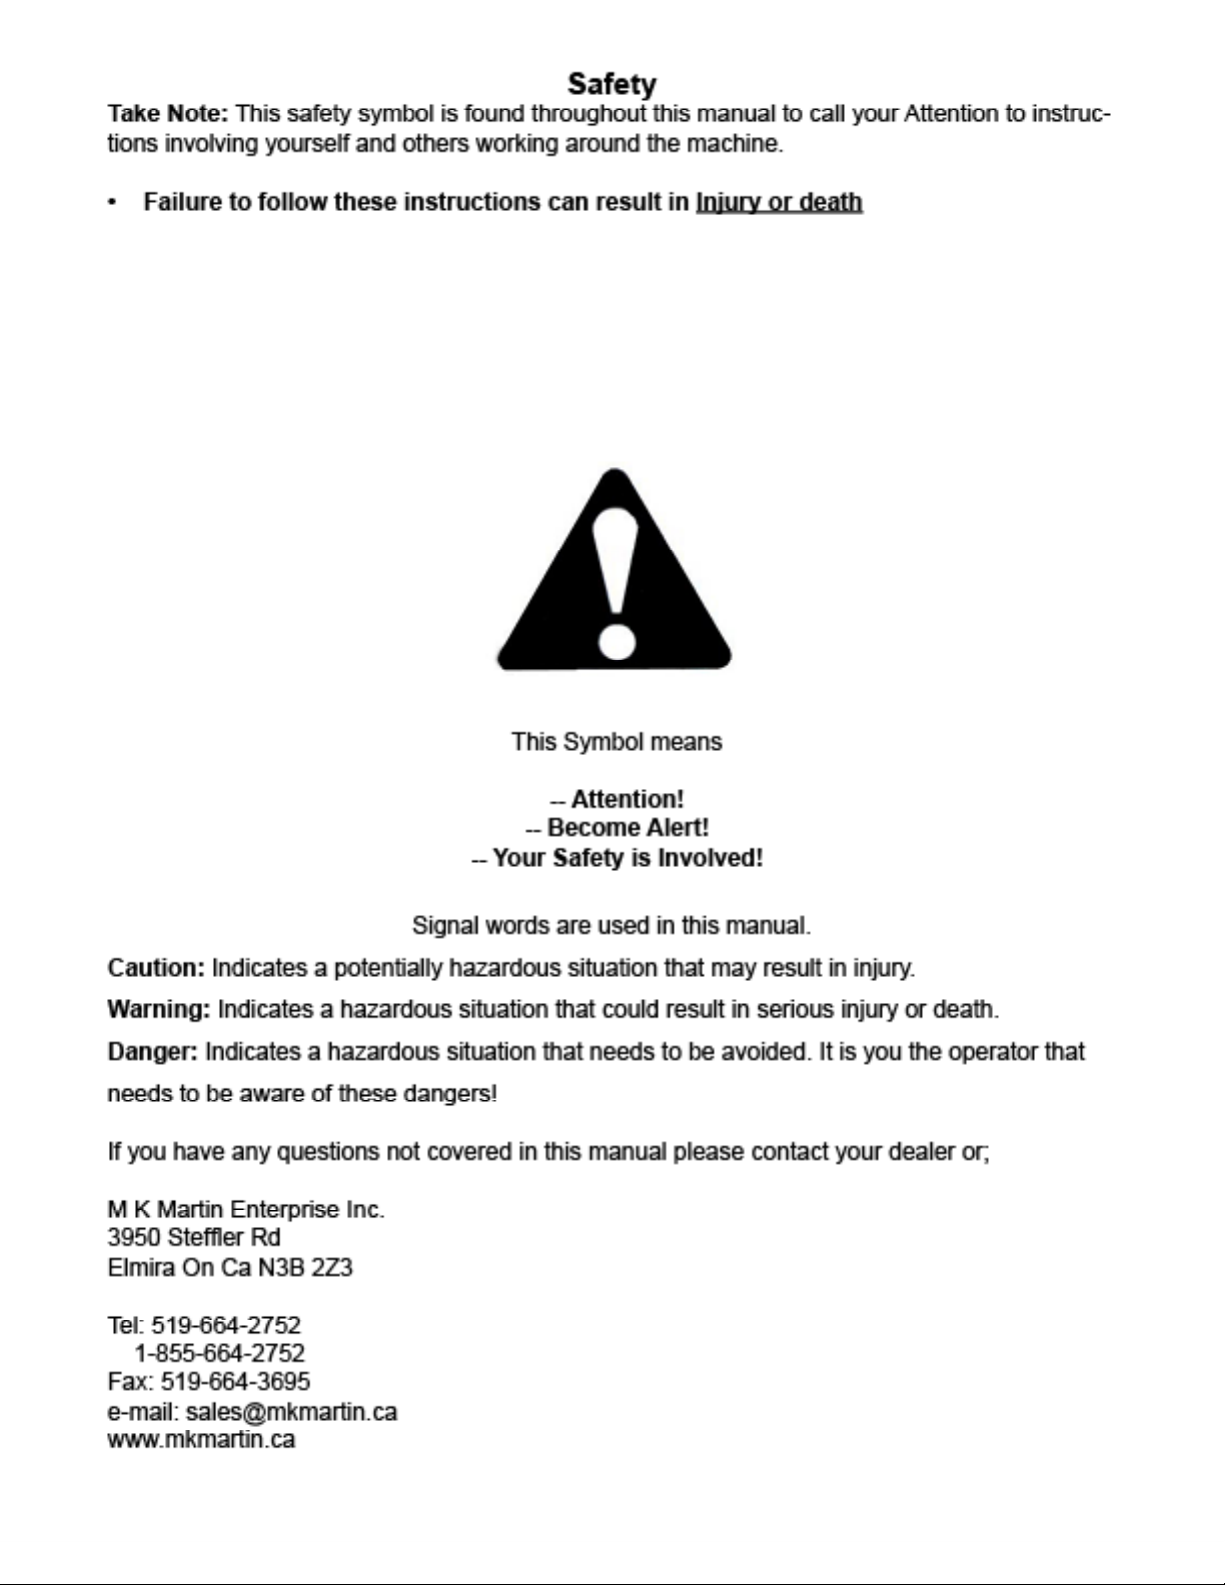
MK Martin Meteor Loader Blower Programming manual

MK Martin Enterprise Inc.
3950 Stef er Rd Elmira, ON, Canada N3B 2Z3
Tel: 519-664-2752
Toll Free: 1-855-664-2752
Fax: 519-664-3695
E-mail: [email protected]
www.mkmartin.ca
Meteor Loader Blower with Power Pack
Operator’s / Parts Manual
REV: 17-6

Intentionally Le Blank

• Warranty -------------------------------------------------------------------------------------------
• Registration ----------------------------------------------------------------------------------------
• Safety -----------------------------------------------------------------------------------------------
• Decal Location -----------------------------------------------------------------------------------
• Assembling ---------------------------------------------------------------------------------------
• Attaching -------------------------------------------------------------------------------------------
• Electrical Installation ----------------------------------------------------------------------------
• Operating ------------------------------------------------------------------------------------------
• Sign Off sheet ------------------------------------------------------------------------------------
• Power Pack Parts -------------------------------------------------------------------------------
• Blower Parts --------------------------------------------------------------------------------------
• Blower Hydraulic ---------------------------------------------------------------------------------
• Hydraulic Deector ------------------------------------------------------------------------------
• Electric Wiring Diagrams ----------------------------------------------------------------------
• Attachment Plates -------------------------------------------------------------------------------
• Bolt Torque Chart --------------------------------------------------------------------------------
• Maintenance -------------------------------------------------------------------------------------
Table of Contents
2
3-4
5-7
8
9
10
11
12
13
14-15
16-17
18
19
20-21
22
23
24

2
Warranty and Limitations of Liability
All equipment is sold subject to mutual agreement that it is warranted by M K Martin Inc. (Here-
after called the company) to be free of any defects in material and workmanship. The company
shall not be liable for special, indirect or consequential damage of any kind under this con-
tract or otherwise. The company’s liability shall be limited exclusively to replacement or repair
without charge at it’s factory or elsewhere, at it’s discretion, any materials or defects, which
become apparent within one year from the date of purchase. In no event shall M K Martin
Enterprise Inc. be liable for special, direct or incidental or consequential damages of any kind.
The purchaser by acceptance of the equipment will assume all liability for damage which may
result from use or misuse by the operator. The purchaser shall maintain and service the equip-
ment as recommended in the Operator’s Manual.
This warranty does not cover Rental/Commercial or Industrial use of the equipment. This
equipment is rated as agricultural.
For Rental/Commercial or Industrial use, Warranty is for defective material and workman-
ship for a period of 90 days from the date of purchase.
Warranty is null and void unless the Warranty Registration form has been completed and on
le at
M K Martin Enterprise Inc
3950 Stef er Rd
Elmira On Ca N3B 2Z3
For your Record
Purchase Date _________________________________
Model # ______________________________________
Serial # _______________________________________
Manufactured by
M K Martin Enterprise Inc
3950 Stef er Rd
Elmira On Ca N3B 2Z3
Tel: (519)-664-2752
(855)-664-2752
Fax: (519-664-3695
E-mail: [email protected]
www.mkmartin.ca
Please contact your retailer

3
M K Martin Enterprise Inc
3950 Steffl er Rd
Elmira ON CA N3B 2Z3
---------------------------------------------------------------------------------------------------------------------
Purchaser’s warranty protection is valid only when this completed form or a copy of this form
is on fi le at M K Martin Enterprise Inc. By fi lling out this form the purchaser has acknowledged
delivery of equipment and owner’s / operator’s manual and has accepted the condition of the
equipment.
Date of delivery to purchaser -------------------------------------------------------
Type of Equipment -------------------------------------------------------------------
Model # ------------------------------- Serial # -------------------------------------
Retailer’s Signature Indicates
• Equipment was properly assembled as directed by manufacturer
• Equipment was tested for functionality and operates properly
• Purchaser was instructed in safe and proper operating procedures
• Warranty was explained to purchaser
• Purchaser was given the operators manual
Retailer
Signature ----------------------------------------------------------------
Company ---------------------------------------------------------------
Address ---------------------------------------------------------------
-------------------------------------------------------------
Purchaser’s signature indicates
• Acceptance of equipment fully assembled
• Received operator’s manual
• Clearly understands conditions of warranty
• Received instructions of safe and proper operation of equipment
Purchaser
Signature -----------------------------------------------------------
Company ---------------------------------------------------------
Mailing address -------------------------------------------------
City ------------------------------------------ Prov/State -------- Postal Code/Zip ---------------
Available phone number -----------------------------------------
Warranty is valid only when it has been received by manufacturer at address above

4
-------------------------------------------------------------------------------------------------------------------------
Postage
Stamp
M K Martin Enterprise Inc
3950 Stef er Rd
Elmira ON CA N3B 2Z3
Fold Here
Please Cut and Return to M K Martin Enterprise Inc
Fold And Tape here Do not tape all edges or use staples
Warranty Registration

5

6
Please be careful with the extra weight on the tractor. Note: you have added weight to
the front and back of the tractor. Keep the blower close to the ground at all times. Do
not drive with the loader raised up more than a few feet.

7
Warning! Do not check for high pressure leaks with your hands or ngers. Use a
piece of cardboard or a thin piece of wood to detect the leak.
A high pressure stream of uid from a pin hole can penetrate the skin and inject hydraulic uid
into your blood veins.
Hydraulic Leak Test
Hydraulic lines may have high pressure uid in the lines, even when the lines are dis-
connected.
Remember a small leak at high pressure may be invisible yet can penetrate the skin. If this
happens get medical attention immediately, serious infection or toxic reaction can develop when
hydraulic uid pierces the skin.
Use caution when working with hydraulic components. Ensure there are no leaks, all ttings are
tight and all components are in good repair.
Use a piece of wood or cardboard as a backstop when searching for leaks, NEVER your
hand or ngers.
Always relieve pressure before disconnecting or working on hydraulic system.
RIGHT
WRONG
DANGEROUS
Figure 1. Detecting pinhole leaks in a hydraulic system.
IF THE SKIN HAS BEEN PENETRATED GET MEDICAL ATTENTION IMMEDIATELY!
Pin hole leaks are
often invisible

8
Meteor Loader Blower Decal Location
THIRD ANGLE PROJECTION
6 5
4
3
1
2
7
5
4
3
1
Folder
S:\Solidworks\Solidworks_Elo\Snowblower\LoaderBlower\33365 Hyd Power Pack.SLDASM
DWG. NO.
REV
Model
SCALE 1:24
SHEET 6 OF6
DATE DRAWN
MATERIAL
33365 Hyd Power Pack
October-01-12 10:56:13 AM
DESCRIPTION
Hyd Power Pack Assy
S:\Solidworks\Solidworks_Elo\Snowblower\LoaderBlower\
Weight(lbs.)
0
Width
Height
Length
0 0
535.03
0
Blank Size
Unit of Measure
ITEM ID.
33365
Config ID
33365
DIMENSIONS ARE IN INCHES
TOLERANCES NON SPECIFIED:
FRACTIONAL
1/64
BEND
1.0
TWO PLACE DECIMAL
0.01"
THREE PLACE DECIMAL
0.002"
Notes
DO NOT SCALE DRAWING
Meteor Loader Blower Decals Power Pack Decals
1- Meteor small decal 2 pieces
THIRD ANGLE PROJECTION
1
11
12
10
2
4
5
6 7 8 9
3
5
4
3
1
Folder
S:\Solidworks\Solidworks_Elo\Snowblower\LoaderBlower\76 Blower\33886.SLDASM
DWG. NO.
REV
Model
SCALE 1:48
SHEET 2 OF2
DATE DRAWN
MATERIAL
33886
June-08-17 4:48:03 PM
DESCRIPTION
76 Loader Blower Assy
S:\Solidworks\Solidworks_Elo\Snowblower\LoaderBlower\76 Blower\
Weight(lbs.)
0
Width
Height Length
0 0
1013.79
0
Blank Size
Unit of Measure
ITEM ID.
33886
Config ID
33886
DIMENSIONS ARE IN INCHES
TOLERANCES NON SPECIFIED:
FRACTIONAL
1/64
BEND
1.0
TWO PLACE DECIMAL
0.01"
THREE PLACE DECIMAL
0.002"
Notes
DO NOT SCALE DRAWING
2- 244 Avoid uid escaping under
pressure. Consult technical manual for
service procedures. 1 piece
3- Serial number plate 1 piece
4- 213 Do not open or remove safety
shields while engine is running. 1 piece
5- 224 Keep safe distance from this
machine. 1 piece
6- Chute decal. 2 pieces
7- SmallMKMartin Made in Canada. 1pc
8- 226 Shut off engine and remove key
before performing maintenance or repair
work. 1 piece
9- F9 Read operators manual
1 piece
10- 212 Do not open or remove safety
shields while engine is running.
1 piece
11- Grease decal. 2 pieces
12- 236 Stay clear of rotating auger
2 pieces
1- SmallMKMartin
Made in Canada 1 piece
2- Decal SMV, slow moving
vehicle. 1 piece
3- 226 Shut off engine and
remove key before performing
maintenance work. 1 piece
4- F9 Read operators manual
1 piece
5- 207 Stay clear of draft link
lifting range while operating
rockshaft controls. 1 piece
6- 220 Do not open or remove
safety shields while engine is
running. 1 piece
7-244 Avoid uid escaping under
pressure. Consult manual for
service procedures. 1 piece

9
Meteor Loader Blower Assembly
For shipping the chute is not installed on the Snowblower.
After receiving the blower unpack the chute and attach it to the blower as shown below.
Apply a light coat of grease to both sides of the plastic Anti Friction Ring and center on top of
the fan outlet.
Next place Chute on top of plastic ring.
Position the Lower Retainer below the ange of the fan outlet -- place the Spacer on top of the
Lower Retainer and bolt it to th Chute with 5/16x1 1/2 bolts.

10
Attaching the Meteor Loader Blower
The Loader Blower has two basic parts. The Power Pack and the Blower. The Power Pack is
attached on the rear 3ph and driven with the PTO. The Blower is attached to the loader and
driven with hydraulic lines from the power pack.
The Power Pack and the power Pack lines use Flat Face Couplers and the line that is attached
to the loader arms have Flat Face couplers at each end. The hoses that are routed along the
loader arms need to be positioned so they won’t get pinched, kinked, stretched or get caught
at any point during the movement of the loader arms, tilting forward and back. The hoses to the
power Pack also need to be positioned so they will not interfere.
Attach the Power Pack to the 3ph in the same manner as an implement is attached. Adjust the
top link to level the reservoir in the working position. After the Pack is on the tractor, put the
back stand in the transport position.
Attach the Blower the same as any loader attachment. Ensure that all pins are locked and
secure.
The Chute Rotator and Deector are operated by 12 volt electrics from the battery and con-
trolled by the operator. The electric control consists of a Battery wire, a Control Handle, an
Extension wire and wire leads on the Blower.
The Battery wire should be attached to the Battery or a 25 amp source of power. The Battery
wire is connected to the Control Handle, the Extension wire is plugged into the other Handle
plug and strung along the Hydraulic lines to the Blower. The Battery wire has a 20 amp breaker
inside to protect the wires and the Valve Block.

11
Installing Electric Chute Control
The Chute is controlled with a control pendent that has two switches. One switch is for the
rotator and the other is available for the deector control.
The Chute Control consists of;
1 Battery wire, (has Red and Green sleeves on battery end with battery clips)
1 Extension wire
1 Control Handle
1 Control Wire
1. Attach the Red sleeved wire to the Positive + Battery terminal
2. Attach the Green - Battery wire to the Negative Terminal or Ground
3. Connect the other end of this wire into the Control Handel Connector, 2 prong
4. Attach the Control Wire; from the Valve Block to the Control Handle.
5. Route the Control Wire along the Loader Frame to the Snowblower.
6. Route the wire along the loader frame and secure with wire ties.
7. Ensure that the wire will not get pinched, stretched or entangled in any way during any
and all movement of the loader.
The Battery Wire has a 20 amp Breaker inside to protect the Control Wire and solenoids on
the Snowblower. inspect this wire periodical for abrasion and damage. Rectify if any damage is
noted.
Notice
The wires on the valve block may be reversed if you prefer the switch to work in the opposite
way. This may be done where the wire is attached to the valve block.

12
Operating the Meteor Loader Blower
Before operating this equipment, inspect all electrical connections and hydraulic couplings for
proper connection.
Raise the Power Pack far enough to have adequate ground clearance of the front stand. Place
the back stand in transport position to keep it from getting damaged.
To start the Blower idle the engine down and engage the PTO, slowly bring the engine to 540
PTO speed. This will also start the Blower motors. There is no on/off valve in the system.
There is a relief valve to protect the hydraulics and blower fan and auger.
Please note that there is added weight to both ends of the tractor. The Power Pack
lled with oil weighs approx 700 lbs and the Blower at 950 lbs for a total of approx 1650
lbs. Ensure you have proper tire pressure! The tractor will also handle differentially
with the added weight.
Slow down and do not drive with the blower raised too high as this would cause the
tractor to become unstable and top-heavy and easier to roll over!
To ensure your safety. Before doing any work on the blower, removing foreign matter,
unjamming, adjusting or cleaning off, Stop the tractor engine and remove the key AND
unplug the battery wire from the chute control handle! This ensures that the hydraulics
or the electrics will not become activated and cause an injury or death.

13
Sign Off Form
M K Martin Enterprise Inc. follows the general Safety Standards speci ed by the American
Society of Agricultural Engineers (ASAE) and the Occupational Health and Safety Administration
(OSHA). Anyone who will be operating and/or maintaining the equipment must read and clearly
understand ALL Safety Operating and Maintenance instructions presented in this manual. Do not
operate or allow anyone else to operate this equipment until such information has been reviewed.
Annually review this information before the season start-up. Make these reviews of SAFETY and
OPERATION annually as a standard practice for all your equipment. We feel that an untrained op-
erator is unquali ed to operate this machine. A sign-off sheet is provided for your record keeping
to show that all personnel who will be working with the equipment have read and understood the
information in the operator’s manual and have been instructed in the operation of the equipment.
Date Employees Signature Employers Signature

14
33
35
38
39
40
41
42
43 1
2 3 4
5
6
9
8
10
1413
12
11
16
17
18
19
20
21
22
2324
25
26
27
28
29
30
32
7
15
31
36
34
37
Item # Part # Description Qty
1H112-M-NA10 Filter Indicator Gauge 1
25406-2012 Adapter 1
35602-1212 Adapter Tee 1
41501-1212 Adapter Elbow 1
533626 Relief Vale Return Hose 1
633629 Return Hose 1
733347 Main Frame 1
8OL 7/16 Lynch Pin 2
Hydraulic Power Pack

15
Item # Part # Description Qty
9FF3-4 Male Flat Face Coupler 1
10 382710 Hitch Pin 2
11 OL Bolt 8- 1.25x16 mm Bolt c/w 5/16 lw 4
12 6901-1212 Adapter Elbow 2
13 33627 Main Pressure Hose 1
14 FF3-4 Female Flat Face Coupler 1
15 VMPK20 Relief Valve 1
16 6902-1212 Adapter 45° Elbow 1
17 OL M12x1.75x20 Bolt c/w 1/2 lw 4
18 519-871187 PTO Assembly 1
19 33628 Pump to Relief Valve Hose 1
20 6400-1220 Adapter 1
21 23597 Hydraulic Pump c/w Gearbox 1
22 24053 Pump Line in Adapter 1
23 OL 5/32 Hair Pin 2
24 33334 Weight Lock Pin 2
25 52777 Heavy Hose Clamp 2
26 33642 Pump Suction Hose 1
27 24052 Adapter Tank Out 1
28 TMF-50-0 Suction strainer 1
29 OL 3/8 PTO Pin 1
30 33364 Stand 1
31 246-102 Magnetic Plug 1
32 OL Bolt 3/8x3 c/w lw, n 4
33 33363 Main Reservoir 1
34 HL91-20 Oil Level Gauge 1
35 24082 Gasket 1
36 33399 Main reservoir Top 1
37 52776 5/16 sealing washer 16
38 OL Bolt 5/16 x 3/4 Hex ange serrated 16
39 706-970-115 Filter Breather 1
40 33643 Drop Hose 1
41 OL #24 Clamp 1
42 24054 Return-line Filter 1
43 OL Bolt 3/8x1 c/w lw 3

16
1
2
3
4
5
6
9
10
11
12
13 14
15
16
17
18
19
20
21
22
23
24 25 26 27 28
29
33
35 34
32 31
30
36 37
39
40
4142
434445
46
47
48
49
52
50
53
54
7
51
8
38
Item # Part # Description Qty
134741 66” Auger 1
34743 76” Auger 1
34744 86” Auger 1
2OL Bolt 7/16 x 1 1/2 c/w lw, n 8
352730 Bearing 2
4OL Bolt 1/2 x 1 1/2 c/w lw, n 4
552774 Auger Sprocket 1
6OL Bolt 3/8 x 1 c/w lw 1
734748 Fan Retainer 1
852775 Taperlock Hub 1
933316 Fan 1
10 34811 Chute Stop 1
11 21155 Lower Chute Clamp 2
12 21154 Chute Clamp Spacer 2
13 52731 Anti Friction Ring 1
Meteor Loader Blower

17
Item # Item # Description Qty
14 OL Bolt 5/16 x 1 3/4 c/w lw, n 2
15 21139 Deector Hinge Pin 1
16 OL 1/2” SAE Washer 1
17 OL 1/8x1 Cotter Pin 1
18 34643 Deector 1
19 OL Hair Pin 5/16 2
20 21773 Deector Adjuster Pin 2
21 10701 Deector Adjuster Bar 1
22 34640 Chute 1
23 OL Bolt 5/16 x 1 1/2 c/w lw, n 4
24 OL Bolt 3/8 x 1 1/4 c/w (2)fw, lw, n 4
25 52732 Chute Rotator Gear 1
26 OL Bolt 3/8 x 1 c/w lw 4
27 34805 Chute Rotator Mount 1
28 34808 Rotator Shield 1
29 OL Bolt 1/4 x 3/4 c/w lw n 2
30 OL Socket Head Cap Screw 5/16 x 1 1/2 4
31 52761 Relief Valve 1
32 OL O Ring 3/32 x .75 id 2
33 52760 Rotator Motor 1
34 21569 Skid Shoe 2
35 OL 1/2” Bent Pin 2
36 OL Bolt 1/2 x 2 1/4 c/w lw, n 4
37 24056 Fan Motor 1
38 OL Bolt 1/2 x 2 1/2 c/w lw, n 2
39 OL Bolt 1/2 x 3 1/2 c/w lw, n 2
40 33339 Loader Bracket Blank (see alternitive attachments) 1
41 OL Flange Bolt 1/4 x 3/4 c/w ange nut 2
42 52649 Manual Tube 1
43 52715 Blower Wiring Harness (Diagram on page 18) 1
44 52759 Valve Block 1
45 24057 Auger Motor 1
46 OL Bolt 1/2 x 1 1/2 c/w lw 4
47 OL Bolt 5/8 x 3 c/w fw, lw, n 1
48 OL Flatwasher 5/8 2
49 33332 Spacer 1
50 34739 Auger Motor Sprocket 1
51 24059 Auger Drive Chain 1
52 52655 Idler Sprocket 1
53 OL 1/8” Hair Pin 1
54 33340 Chain Cover 1

18
Item # Part # Description 66 Qty 76 Qty 86 Qty
133641 Main Tractor Hose 2 2 2
2FF3-4 Female Female Flat Face Coupler 333
3FF3-4 Male Male Flat Face Coupler 333
434647 Fan Motor Hose 2 2 2
56400-1212 Hyd Adapter 2 2 2
66400-0606 Hyd Adapter 1 1 1
734661 Case Drain Hose 1 1 1
86400-0606 Hyd Adapter 1 1 1
934650 Rotator Motor Hose 2 2 2
10 6801-0610 Hyd Adapter 2 2 2
11 6400-0606 Hyd Adapter 2 2 2
12 6400-1216 Hyd Adapter 2 2 2
13 6801-0610 Hyd Adapter 2
6400-0810 Hyd Adapter 2 2
14 35179 Auger Motor Hose 2 2 2
15 6400-0810 Hyd Adapter 2 2 2
16 52715 Blower Wiring Harness (Diagram on page 18) 111
17 6400-1216 Hyd Adapter 2 2 2
18 34648 Main Blower Hose 2 2 2
Loader Blower Hydraulic
THIRD ANGLE PROJECTION
1 2
34
5
1
2
3
4
75
8
9
10
11
12 6
16
13
14
17 18
15
Fan Motor
Rotator Motor
Auger Motor
Valve Block
5
4
3
1
Folder
S:\Solidworks\Solidworks_Elo\Snowblower\LoaderBlower\66 Blower\33313 Blower.SLDASM
DWG. NO.
REV
Model
SCALE 1:32
SHEET 1 OF1
DATE DRAWN
MATERIAL
Blower hoses
October-14-15 10:28:35 AM
DESCRIPTION
Loader Blower hoses Assy
S:\SOLIDWORKS\SOLIDWORKS_ELO\SNOWBLOWER\LOADERBLOWER\PARTS BOOK HOSES\
Weight(lbs.)
0
Width
Height
Length
0 0
232.04
0
Blank Size
Unit of Measure
ITEM ID.
Config ID
33313
DIMENSIONS ARE IN INCHES
TOLERANCES NON SPECIFIED:
FRACTIONAL
1/64
BEND
1.0
TWO PLACE DECIMAL
0.01"
THREE PLACE DECIMAL
0.002"
Notes
DO NOT SCALE DRAWING
Table of contents
Popular Tractor manuals by other brands

Shibaura
Shibaura ST450 Operator's manual

New Holland
New Holland SmartTrax T8.320 Service manual

MASSEY FERGUSON
MASSEY FERGUSON MF2400 Series Operation and maintenance manual

Hayter
Hayter HERITAGE M10 Instruction book

Allis-Chalmers
Allis-Chalmers WD Operating Instructions and Repair Parts Illustrations

Kubota
Kubota L47TL Operator's manual