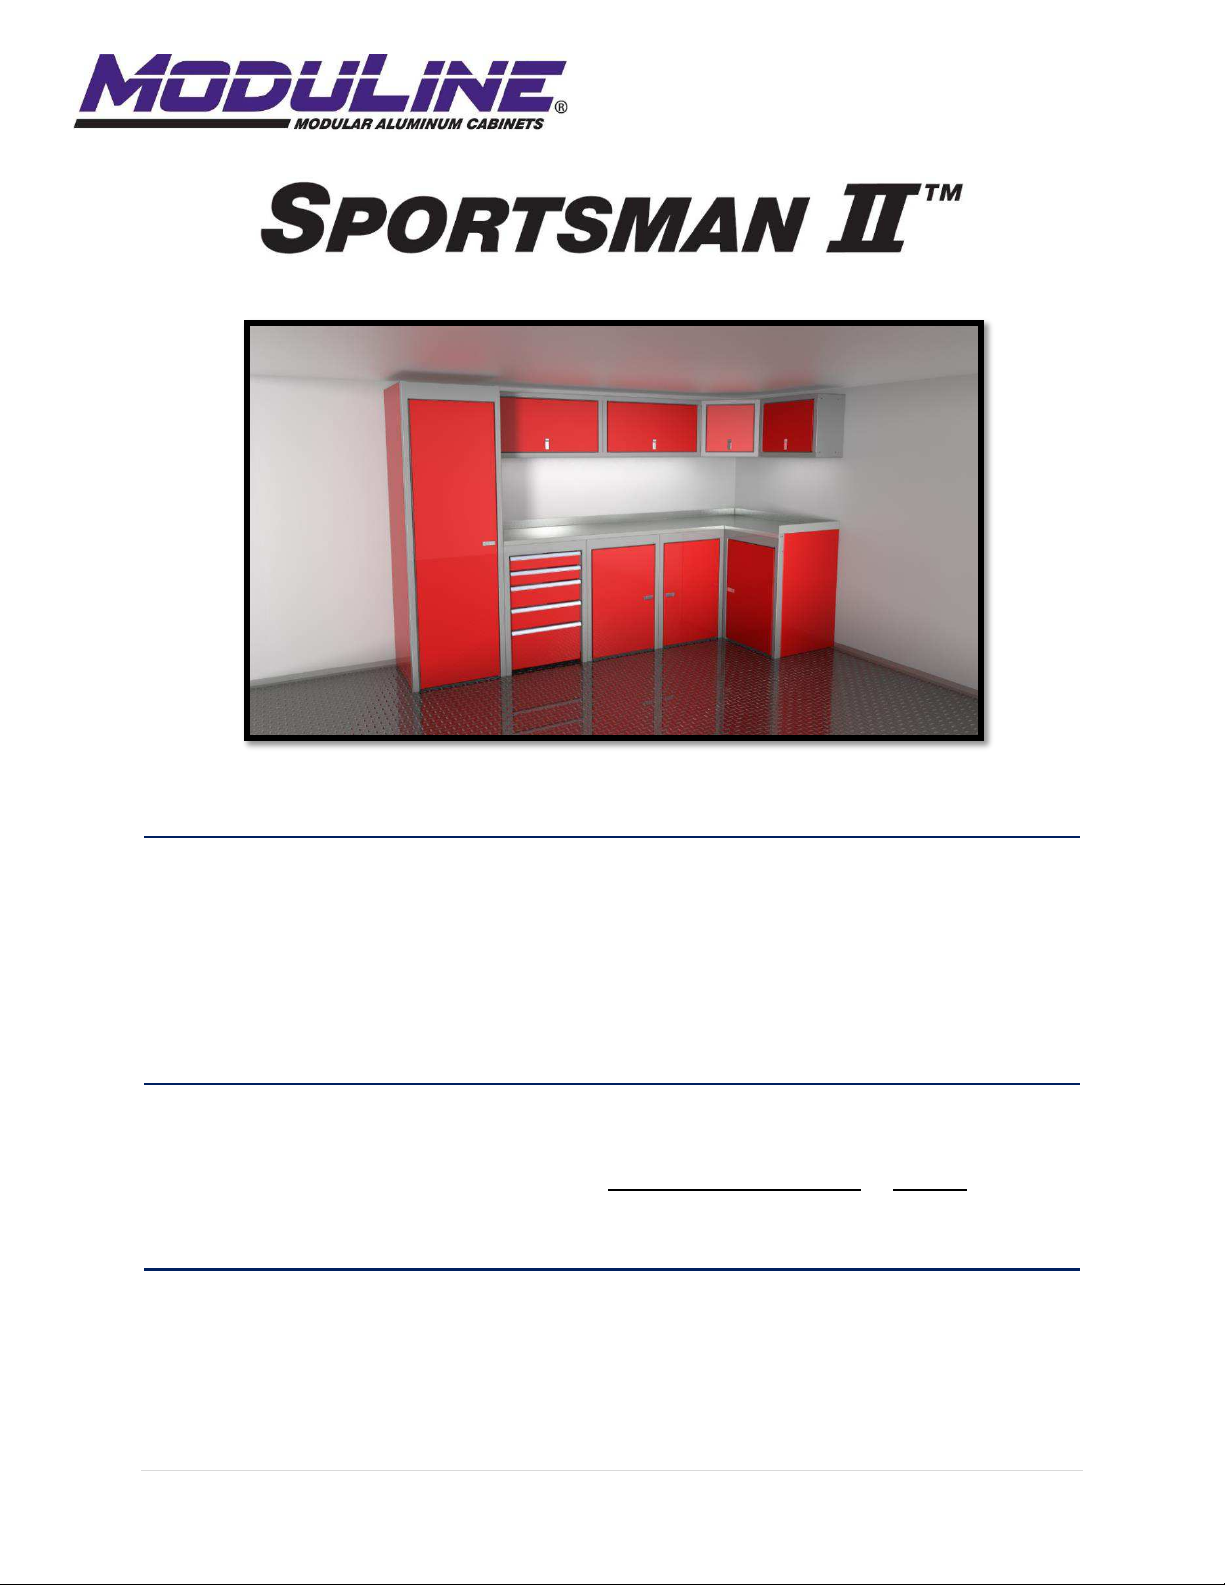
Moduline Sportsman II User manual

M o d u l i n e C a b i n e t s . c o m / pdf/ S p o r t s m a n II- I n s t l - I n s t r . p d f
R e v i s i o n B F i n a l | 12/20/16
Moduline Modular Aluminum Cabinets
20 Holland St., Brockton, MA USA 02301
P: 888-343-4463 | F: 508-580-5199
ModulineCabinets.com
Read these instructions thoroughly before installation and keep for future reference.
TABLE OF CONTENTS
1 Check Your Order
1 Tools You’ll Need
2 Hardware We Supply
2 Before You Begin
3 Tool Boxes
3 Overhead Cabinets
3 Base Cabinets
4 Closets
5 Installing Your Cabinets
5 Countertop
5 Caring For Your Cabinets
6 Frequently Asked Questions
CHECK YOUR ORDER
When your order is delivered, remove the packing material and thoroughly inspect all cabinets for
damage. Every cabinet is inspected and free of defects when it leaves our facilities. If you believe your
order has been damaged, sign the bill of lading as Possible Concealed Damage or Damage and contact
your Moduline sales representative.
TOOLS YOU’LL NEED
o#2 Phillips Screwdriver
oCordless Drill/Driver with #2 Phillips bit
o/”, /” & /” Wehes o Rathets
oTape Measure
oLevel
oCarpentry Square
oMasking Tape
oMicrofiber Cloth
oGlass Cleaner
oStainless Steel Polish
INSTALLATION INSTRUCTIONS

2 | P a g e
HORSESHOE SHIMS
A
C
B
DOUBLE-SIDED TAPE
HARDWARE WE SUPPLY
A. 10- x /8” Self-Tapping Screws for Assembling Base Cabinets & Closets
B. ¼- x /” Bolts & Hex Nuts for Installing Shelves
C. ¼- x /” Bolts & Hex Nuts for Joining Cabinets
” Wide Double-Sided Tape for Installing Countertops
Horseshoe Shims for Leveling Cabinets
Because each installation is unique, Moduline does not supply wall mounting hardware.
BEFORE YOU BEGIN
WARNING: HEAVY OBJECTS. Lifting can cause muscle strain or back injury. LIFT WITH 2 PEOPLE.
Unbox your cabinets and set them aside, out of the way. We recommend reusing the cardboard packaging
to protect the floor from damage as you move your cabinets around. Do not remove the protective vinyl
from your cabinets until ou’e fiished asselig the. You’ll hae to peel it ak i plaes to assele
the base cabinets and closets, and when you join the cabinets together, but leave it on where possible to
safeguard against accidental scratches.
No construction is going to be perfectly level and you’ll eed to shi ou aiets to keep the suae.
Use a level to identify the high point in the floor where your cabinets will eventually go. You should plan
to start here when joining your cabinets together to make shimming them easier.
Locate and mark the ete of ou all studs. You a loate ou studs ith a stud fide, ut do’t
trust it to determine the centerline. Instead, using a thin nail or drill with a small bit, make holes around
where you think each edge of the stud is. Repeat this until you hone in on the exact edge of the stud.
This ill euie seeal holes spaed lose togethe. Oe ou’e foud the edges, ou a ak the
center of the stud. Continue this process to locate all wall studs behind your cabinets.

3 | P a g e
TOOLBOXES
Toolboxes are shipped fully assembled.
You will need to remove the drawers before you can install your
toolbox. Open a drawer, hold down the release levers located on the
inside of both slides (see right) and pull the drawer out of the toolbox.
Set the drawers aside and reinsert them after installation is complete.
OVERHEAD CABINETS
Overhead cabinets are shipped fully assembled.
BASE CABINETS
Base cabinets require some assembly. Peel back protective vinyl from contact surfaces as you go.
Assembly Steps:
1. Attach both sides with (7) 10-24 self-tapping screws [A] each. To make this easier, you can first
temporarily bolt the sides on with ¼- /” olts [B] through the shelf holes.
2. Put the braces in between the sides and fasten each with (4) 10-24 self-tapping screws [A].
DO NOT overtighten self-tapping screws. Sportsman II cabinets are assembled easily with self-tapping screws.
Start your driver on a low clutch setting and gradually increase it until the screws drive in completely. Overtightening them
will cause the holes to strip, and you'll need to use a #10 nut and bolt instead (not provided). Reset your driver's clutch this
way each time you change batteries.
Drawer release lever
Braces

4 | P a g e
CLOSETS
Closets require some assembly. Peel back protective vinyl from contact surfaces as you go.
Assembly Steps:
1. Attach both sides with (14) 10-24 self-tapping screws [A] each. To make this easier, you can first
temporarily bolt the sides on with ¼- /” bolts [B] through the shelf holes.
2. Put the closet top down between the sides and fasten with (11) 10-24 self-tapping screws [A].
DO NOT overtighten self-tapping screws. Sportsman II cabinets are assembled easily with self-tapping screws.
Start your driver on a low clutch setting and gradually increase it until the screws drive in completely. Overtightening them
will cause the holes to strip, and you'll need to use a #10 nut and bolt instead (not provided). Reset your driver's clutch this
way each time you change batteries.

5 | P a g e
INSTALLING YOUR CABINETS
Start at the high point on the floor that you identified earlier. Put the first base cabinet or closet into
place, shim and fasten it to the wall with appropriate hardware. Do not use drywall screws. The
cabinets have pre-punched holes for mounting, but you may need to drill your own to line up with studs.
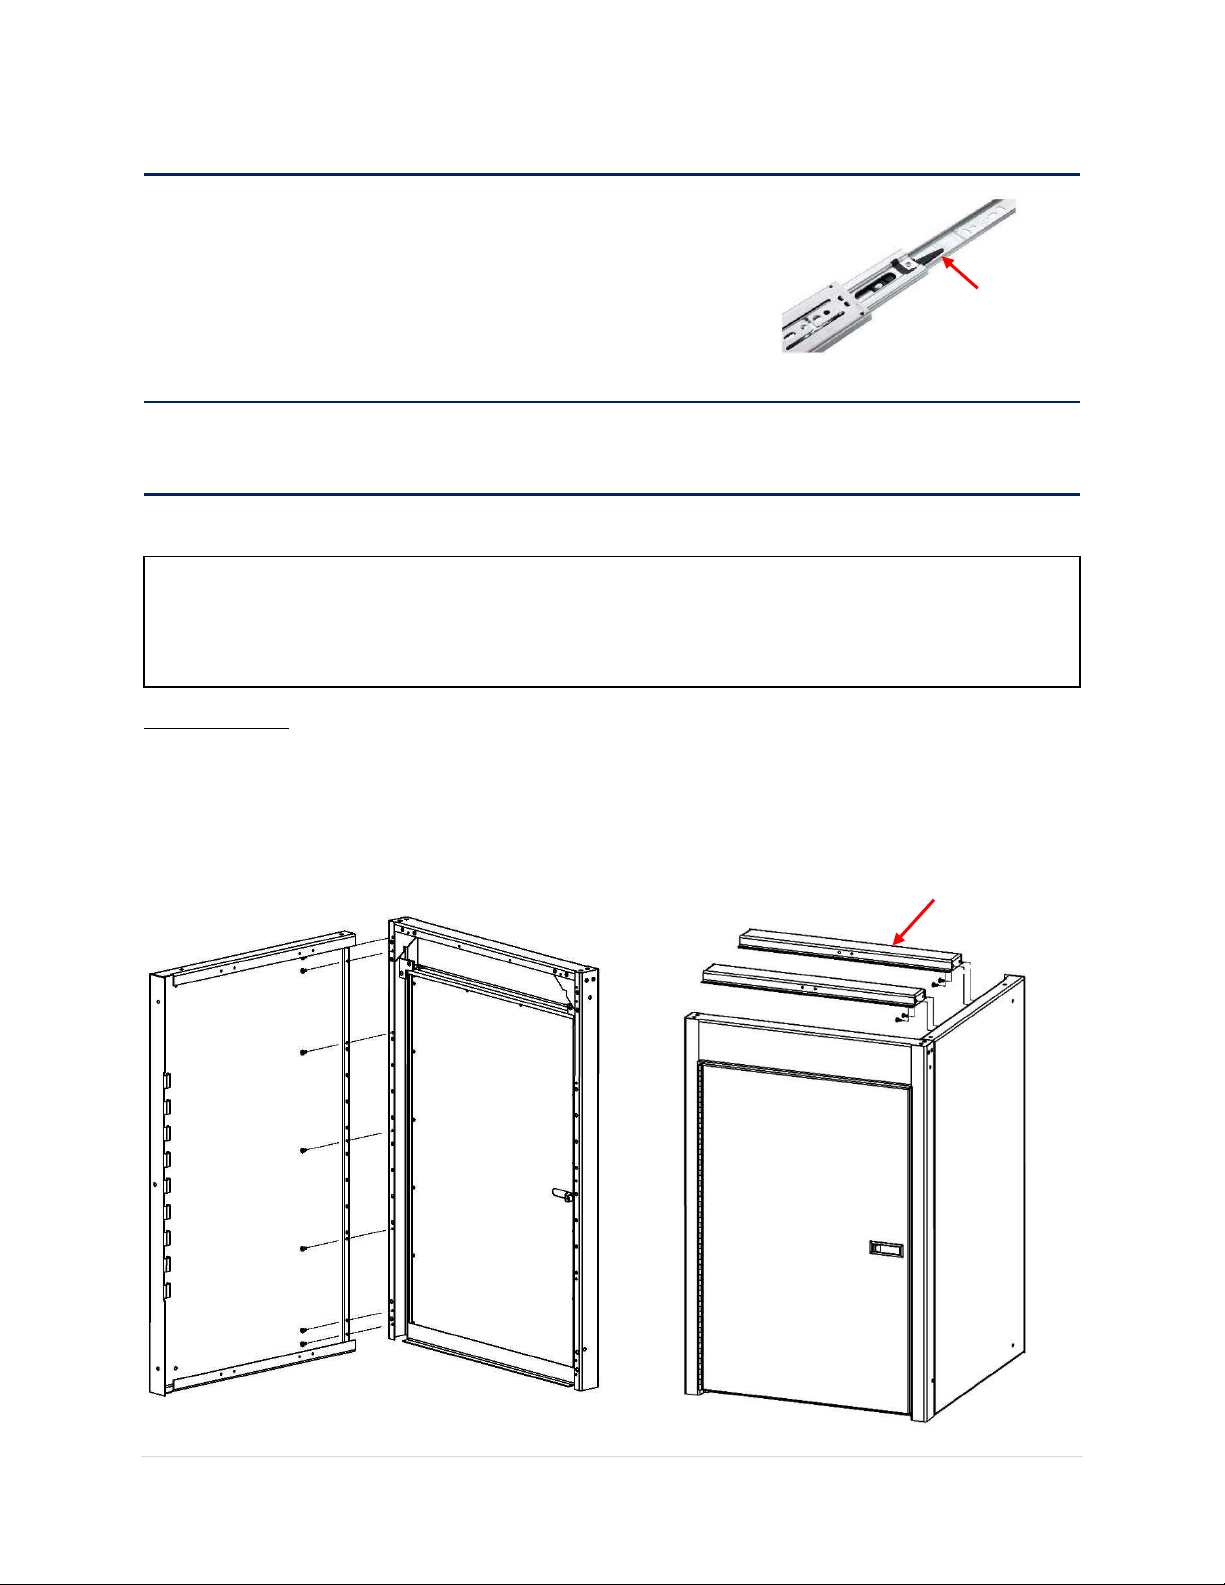
Put the next cabinet into place and attach it to the first with
(4) ¼- /” bolts [C]. Make sure the front frames are
aligned. Then fasten it to the wall. For added rigidity, you can
drill and fasten through the sides into the floor. Repeat for
each base cabinet and closet in the combo.
Shim as you go to keep everything square and level. You can
visually check for squareness, just make sure the space
around each door is consistent.
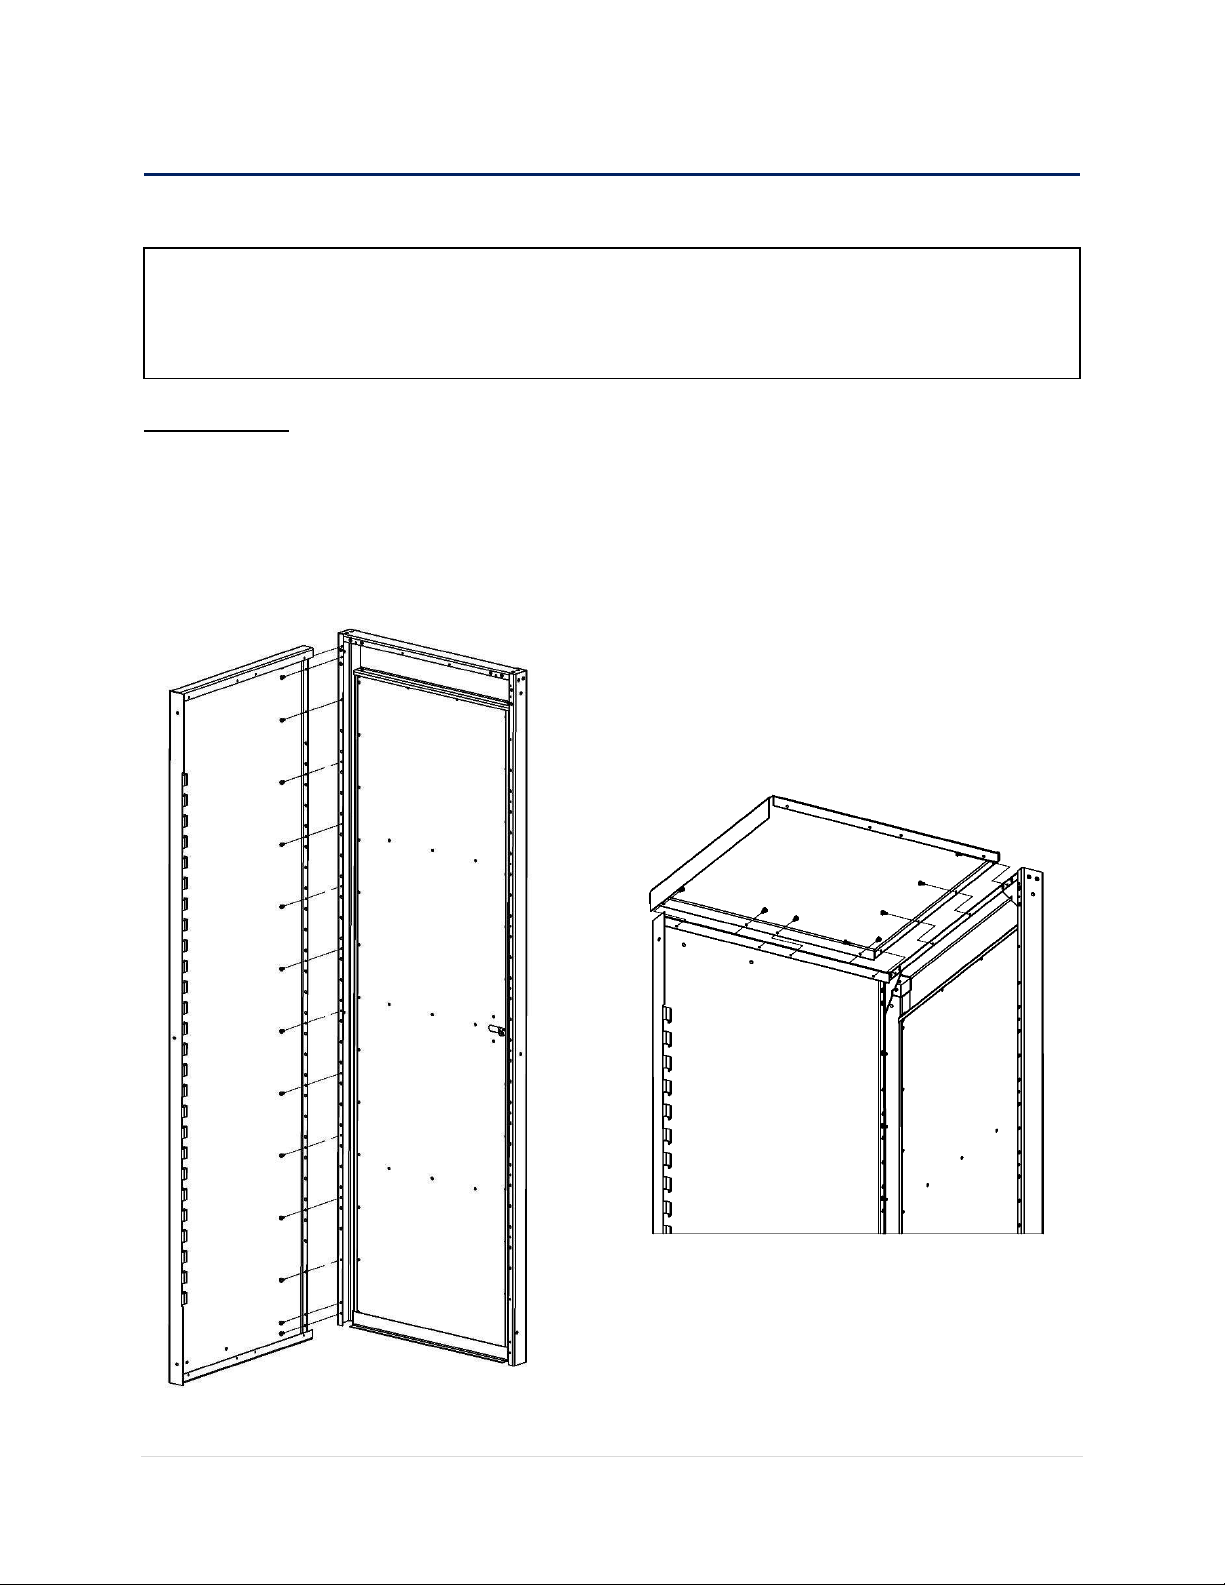
Install the overhead cabinets. To attach an overhead to
a closet ou’ll need to transfer the front mounting
holes from the overhead to the closet. You can
construct a box out of wood or reused packing
cardboard to prop the cabinets up while you work.
If your combo has closets at both ends you may want
to leave one closet for last, until after the countertop
and overheads have been installed. It’s eas to aidetall damage your cabinets while trying to slide
the countertop or overheads between them.
COUNTERTOPS
Dry fit the countertop to make sure you like how it fits before using any adhesive. Tape off any exposed
surfaces—especially closet sides—that could be scratched while moving the countertop around.
Apply double-sided tape to the tops of base cabinets and tool boxes. Remove the backing from the tape
to expose the adhesive. Spray the tape with glass cleaner to temporarily stop the tape from sticking. This
will give you some time to align the countertop, but holds fast once the tape dries.
Set the countertop straight down into place. Apply even pressure to the countertop to smooth it out.
CARING FOR YOUR CABINETS
Remove any remaining protective vinyl once installation is complete. A little maintenance will keep your
cabinets looking brand new.
To clean the cabinets and remove fingerprints use glass cleaner and a microfiber cloth.
To clean the countertops wipe with a microfiber cloth and a solution of water and a few drops of dish
soap. Dry thoroughly. Use stainless steel cleaner to remove fingerprints and make the countertop shine.

6 | P a g e
Avoid using the following on your cabinets:
Abrasive Cleaners
Chemical Solvents
Strong Detergents
Cleaners with Bleach
Furniture Polish
FREQUENTLY ASKED QUESTIONS
Q: Wh do’t aiets hae aks?
A: Caiets do’t oe stadad ith aks, but are available as an option. Backs aren’t visible inside
toolboxes, so the’e ee included unless specified.
Q: Do I have to use the pre-punched mounting holes or can I drill my own?
A: Holes are pre-punched for easy installation to a solid wall. However, when mounting to a studded
wall you’ll need to drill your own holes to catch the studs. Moduline recommends fastening to two
studs per cabinet if possible.
Q: How do I install a countertop brace in the open space between cabinets?
A: The countertop brace has holes to bolt to the adjacent cabinets. Just be sure to put the side with 2
formed flanges in front for extra strength.
Front of countertop brace
Table of contents
Other Moduline Indoor Furnishing manuals
Popular Indoor Furnishing manuals by other brands

BROSA
BROSA Hans Assembly guide

homechoice
homechoice Orlando Assembly instruction

Takara Belmont
Takara Belmont RS III PRIME installation instructions

Safco
Safco 9420 Assembly instructions

TIMBER ART DESIGN
TIMBER ART DESIGN BR 990198 Assembly instructions

Argos
Argos Normandy 2 Door Tall Robe 357/1505 Assembly instructions