manuals.online logo
Brands
  1. Home
  2. •
  3. Brands
  4. •
  5. Moen
  6. •
  7. Bathroom Fixture
  8. •
  9. Moen Darcy Y1518 Series User manual

Moen Darcy Y1518 Series User manual

This manual suits for next models

10

Other Moen Bathroom Fixture manuals

Moen RAIN FOREST Series User manual

Moen

Moen RAIN FOREST Series User manual
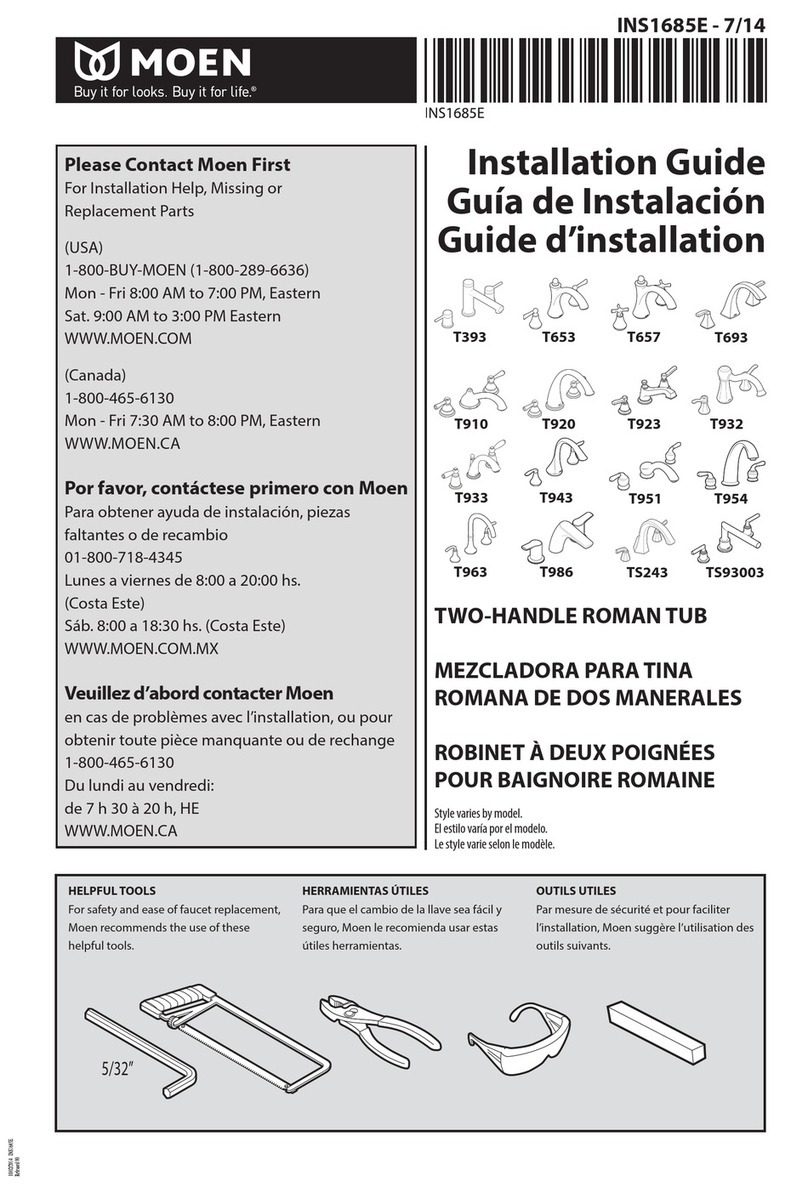
Moen T653 User manual

Moen

Moen T653 User manual

Moen 8413 Series User manual

Moen

Moen 8413 Series User manual
Moen Eva ACC2501 User manual

Moen

Moen Eva ACC2501 User manual

Moen Home Care Series User manual

Moen

Moen Home Care Series User manual
Moen Eva ACC2505 User manual

Moen

Moen Eva ACC2505 User manual
Moen S116 User manual

Moen

Moen S116 User manual

Moen T693 User manual

Moen

Moen T693 User manual

Moen ANNEX TS3661NH User manual

Moen

Moen ANNEX TS3661NH User manual

Moen 84661SRN User manual

Moen

Moen 84661SRN User manual

Moen T2191 User manual

Moen

Moen T2191 User manual

Moen TS8810 User manual

Moen

Moen TS8810 User manual

Moen TS3213 User manual

Moen

Moen TS3213 User manual

Moen 90102 User manual

Moen

Moen 90102 User manual

Moen 4792 User manual

Moen

Moen 4792 User manual

Moen 186117 Series User manual

Moen

Moen 186117 Series User manual

Moen Nebia User manual

Moen

Moen Nebia User manual

Moen 87552 Series User manual

Moen

Moen 87552 Series User manual

Moen RAIN FOREST Series User manual

Moen

Moen RAIN FOREST Series User manual

Moen T2805 Series User manual

Moen

Moen T2805 Series User manual

Moen 3662EP User manual

Moen

Moen 3662EP User manual

Moen 207738 User manual

Moen

Moen 207738 User manual

Moen Show House TS8813 Series User manual

Moen

Moen Show House TS8813 Series User manual

Moen 4945 User manual

Moen

Moen 4945 User manual

Popular Bathroom Fixture manuals by other brands

Kohler Mira Sport Max J03G Installation and user guide

Kohler

Kohler Mira Sport Max J03G Installation and user guide

Hans Grohe Raindance Showerpipe 27235000 Instructions for use/assembly instructions

Hans Grohe

Hans Grohe Raindance Showerpipe 27235000 Instructions for use/assembly instructions

Signature Hardware ROUND SWIVEL BODY SPRAY 948942 Install

Signature Hardware

Signature Hardware ROUND SWIVEL BODY SPRAY 948942 Install

fine fixtures AC3TH installation manual

fine fixtures

fine fixtures AC3TH installation manual

LIXIL HP50 Series quick start guide

LIXIL

LIXIL HP50 Series quick start guide

KOLO ATOL PLUS installation manual

KOLO

KOLO ATOL PLUS installation manual

Hans Grohe PuraVida 15073000 Instructions for use/assembly instructions

Hans Grohe

Hans Grohe PuraVida 15073000 Instructions for use/assembly instructions

Toto TS111B8 Installation and owner's manual

Toto

Toto TS111B8 Installation and owner's manual

Kohler K-1158-H2 Homeowner's guide

Kohler

Kohler K-1158-H2 Homeowner's guide

Coram Showers OFFSET QUADRANT manual

Coram Showers

Coram Showers OFFSET QUADRANT manual

baliv DU-2010 manual

baliv

baliv DU-2010 manual

odass OD-1710 instruction manual

odass

odass OD-1710 instruction manual

Oxygenics Evolution Easy installation instructions

Oxygenics

Oxygenics Evolution Easy installation instructions

Bradley Express SS Series installation instructions

Bradley

Bradley Express SS Series installation instructions

Helvex TH-974 installation guide

Helvex

Helvex TH-974 installation guide

DURAVIT C.1 C15240 0090 Instructions for mounting and use

DURAVIT

DURAVIT C.1 C15240 0090 Instructions for mounting and use

Sunshower PURE SOLO manual

Sunshower

Sunshower PURE SOLO manual

Heatstore HSTRL500WTN Installation and operating instructions

Heatstore

Heatstore HSTRL500WTN Installation and operating instructions
manuals.online logo
manuals.online logoBrands
  • About & Mission
  • Contact us
  • Privacy Policy
  • Terms and Conditions

Copyright 2025 Manuals.Online. All Rights Reserved.

Y1518CH –18” Towel Bar
Chrome Finish
Y1518BN –18” Towel Bar
Brushed Nickel Finish
Y1524CH –24” Towel Bar
Chrome Finish
Y1524BN –24” Towel Bar
Brushed Nickel Finish
25300 AL MOEN DRIVE NORTH OLMSTED, OH 44070
CORPORATE HEADQUARTERS: (800) 321-8809 FAX: (800) 848-6636
INTERNATIONAL: (440) 962-2000 FAX: (440) 962-2726
CUSTOMER SERVICE (USA): 800-882-0116 FAX: (888) 379-2720
WWW.MOEN.COM
© 2015 Moen Incorporated. Moen is a registered trademark and Darcy is a trademark of
Moen Incorporated. All rights reserved.
Towel Bar is constructed of zinc.
Cleaning Instructions:
Stock Number: ______________ Towel Bar
Materials:
Installation Instructions:
Stock Numbers:
Dimensions:
18 in. & 24 in. Towel Bar
Y1518 & Y1524
Darcy™Technical Specification
To preserve the fine finish of this product, clean only with a soft
damp cloth. Dry well. Do not use commercial or abrasive cleaners.
Tools Required: Phillips screwdriver, drill, 1/4” drill bit, hammer, level, tape
Hardware Kit Contents: 2 anchors, 1 hex wrench
Note: Directions below are for installation into drywall. If installing product
into a stud, use the wood screws only.
1) Remove mounting posts from the product assemblies by loosening each
setscrew.
2) Position the mounting plate on the wall in the desired location and mark
holes at the Horizontal screw location on the template if installing into
drywall or vertical screw location if installing into a stud.
3) Drill 1/4” pilot holes in marked locations.
4) Lightly tap anchors until flush with the wall.
5) Place each mounting plate over anchors and insert screws through post
into anchors.
6) Tighten screws.
7) Place posts over the mounting plates with setscrew facing down and
tighten setscrew.
Paper Holder is constructed of zinc.
Y1586CH –Paper Holder
Chrome Finish
Y1286BN –Paper Holder
Brushed Nickel Finish
25300 AL MOEN DRIVE NORTH OLMSTED, OH 44070
CORPORATE HEADQUARTERS: (800) 321-8809 FAX: (800) 848-6636
INTERNATIONAL: (440) 962-2000 FAX: (440) 962-2726
CUSTOMER SERVICE (USA): 800-882-0116 FAX: (888) 379-2720
WWW.MOEN.COM
© 2015 Moen Incorporated. Moen is a registered trademark and Darcy is a trademark of
Moen Incorporated. All rights reserved.
Cleaning Instructions:
1. Remove mounting post from product assembly by loosening the setscrew.
2. Position the mounting post on the wall at desired location with notch facing
downward, and mark both horizontal hole locations.
3. Drill 2 holes as marked using 5/16” drill bit.
4. Fold ends of the plastic toggle anchor together (see Figure 1) and insert into
each hole in the wall.
5. Lightly tap anchors until flush with the wall.
6. One at a time, insert plastic pin into each anchor and lightly tap to activate
anchor (see Figure 2). Remove pin and repeat on other anchor.
7. Place mounting post over anchors with notch facing downward, and insert
screws through post into anchors.
8. Tighten screws.
9. Place assembly over the mounting post with setscrew facing down and tighten
setscrew.
Stock Number:______________________Paper Holder
Materials:
Installation Instructions:
Stock Numbers:
Dimensions:
European Paper Holder
Y1509
Darcy™ Technical Specification
To preserve the fine finish of this product, clean only with a soft
damp cloth. Dry well. Do not use commercial or abrasive cleaners.
Y1586CH –Towel Ring
Chrome Finish
Y1586BN –Towel Ring
Brushed Nickel Finish
25300 AL MOEN DRIVE NORTH OLMSTED, OH 44070
CORPORATE HEADQUARTERS: (800) 321-8809 FAX: (800) 848-6636
INTERNATIONAL: (440) 962-2000 FAX: (440) 962-2726
CUSTOMER SERVICE (USA): 800-882-0116 FAX: (888) 379-2720
WWW.MOEN.COM
© 2015 Moen Incorporated. Moen is a registered trademark and Darcy is a trademark of
Moen Incorporated. All rights reserved.
Towel Ring is constructed of zinc.
Cleaning Instructions:
Stock Number: _____________ Towel Ring
Materials:
Installation Instructions:
Stock Numbers:
Dimensions:
Towel Ring
Y1586
Darcy™Technical Specification
To preserve the fine finish of this product, clean only with a soft
damp cloth. Dry well. Do not use commercial or abrasive cleaners.
Tools Required: Phillips screwdriver, drill, 1/4” drill bit, hammer, level, tape
Hardware Kit Contents: 2 anchors, 1 hex wrench
Note: Directions below are for installation into drywall. If installing product
into a stud, use the wood screws only.
1) Remove mounting posts from the product assemblies by loosening each
setscrew.
2) Position the mounting plate on the wall in the desired location and mark
holes at the Horizontal screw location on the template if installing into
drywall or vertical screw location if installing into a stud.
3) Drill 1/4” pilot holes in marked locations.
4) Lightly tap anchors until flush with the wall.
5) Place each mounting plate over anchors and insert screws through post
into anchors.
6) Tighten screws.
7) Place posts over the mounting plates with setscrew facing down and
tighten setscrew.