18 19
Installation Aer Installation
STEP 1
Locate and turn o the main
water supply valve
STEP 2
Relieve water pressure by opening
as many xtures as possible
STEP 3
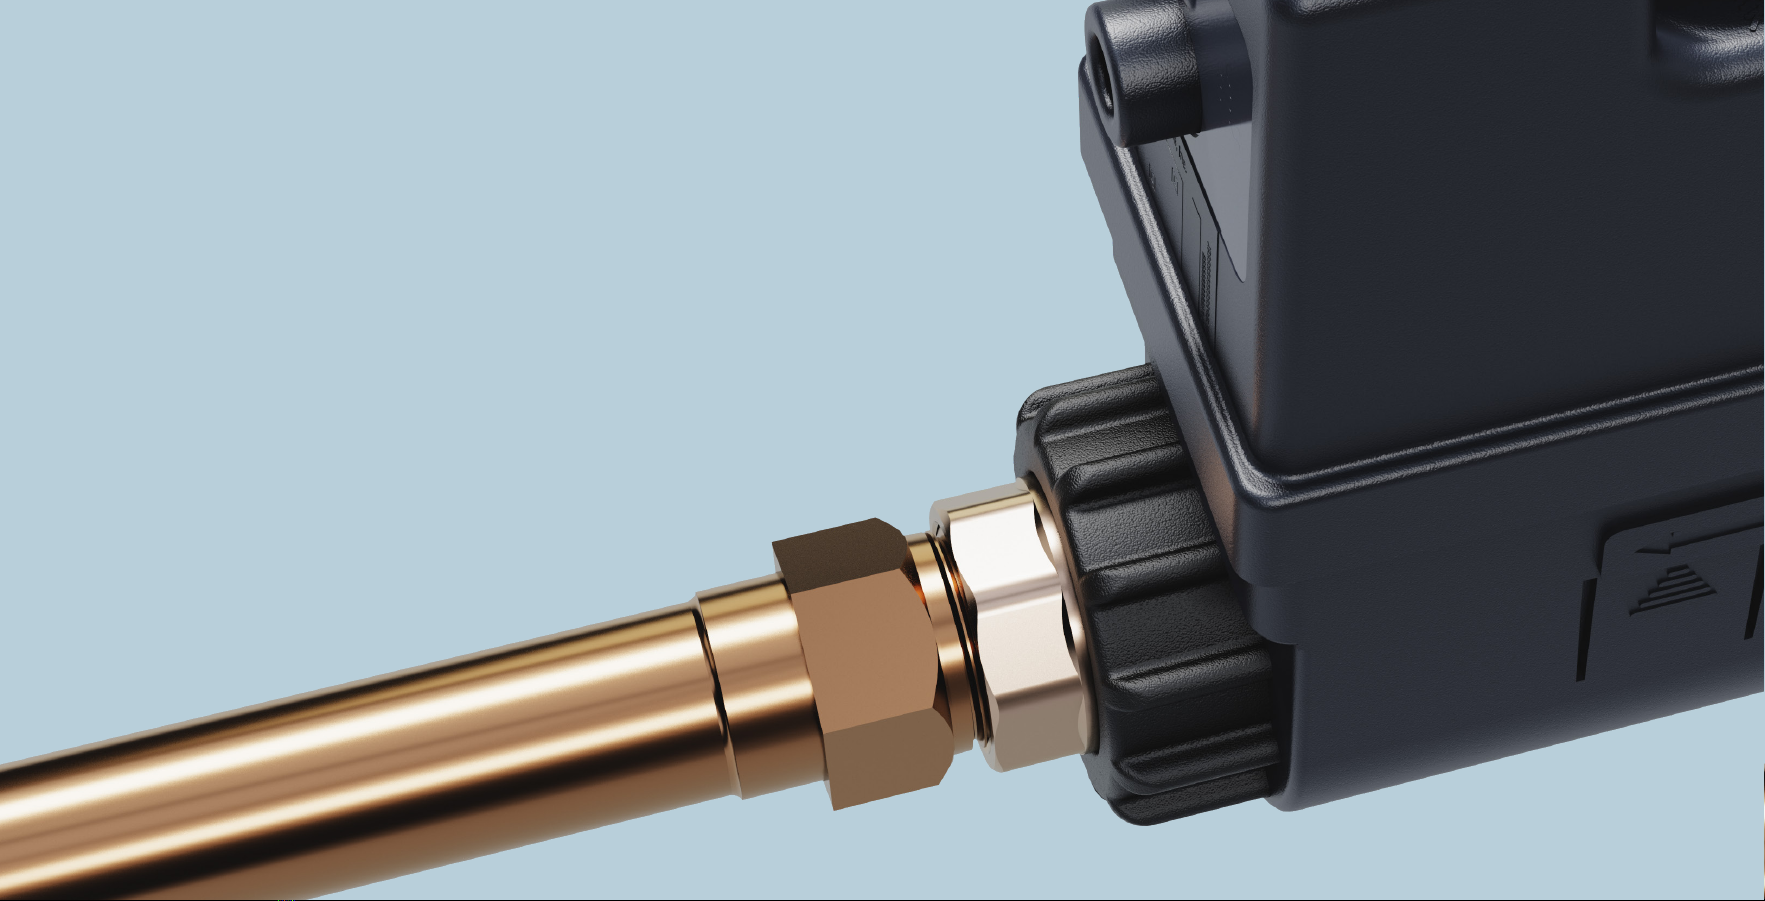
Install the Smart Water Shuto on the main water line aer the
manual shuto and the pressure reducing valve (if applicable)
Do not solder ttings with the Smart Water Shuto on the
line. Doing so risks damage to the Smar Water Shuto
Use the Installation Spacer if needed
Position the Smart Water Shuto with the arrow pointing
in the direction of the ow of water into the home (Shuto
can be installed in either a horizontal or vertical position)
On well systems, install the Smart Water Shuto aer the
well pressure tank with 100 mesh or ner wye strainer
DO NOT install the Smart Water Shuto on re sprinkler or suppression systems or hot water distribution lines.
DO NOT install the Smart Water Shuto underground.
A.
B.
C.
D.
STEP 5
Turn o the xtures opened from
Step 2 and check for any possible
leaks in the installation
STEP 4
Slowly turn on the main water
supply and look for any possible
leaks around the point of installation
Note: For outdoor installations, a weatherproof
receptacle enclosure MUST be used.
A.
B.
STEP 6
Connect the power adapter
If there is no outlet nearby you may have to drill
through the home’s exterior wall to an interior outlet.
Verify that there are no pipes or obstructions behind
the wall before drilling. (You may also wish to pur-
chase a power extension cord)
STEP 7
Verify LED status
Valve LED is solid green when valve is open; solid
red when closed
Status LED is green when connected to the home’s
WLAN; Status LED is blinking green when connected
to the home’s WLAN but there is no internet connec-
tion; Status LED is solid white when there is no con-
nection to the home’s WLAN or internet connection