Moen 5922 Series User manual
Other Moen Plumbing Product manuals

Moen
Moen MONTICELLO 84437ORB Setup guide

Moen
Moen Kingsley 6101 Series User manual

Moen
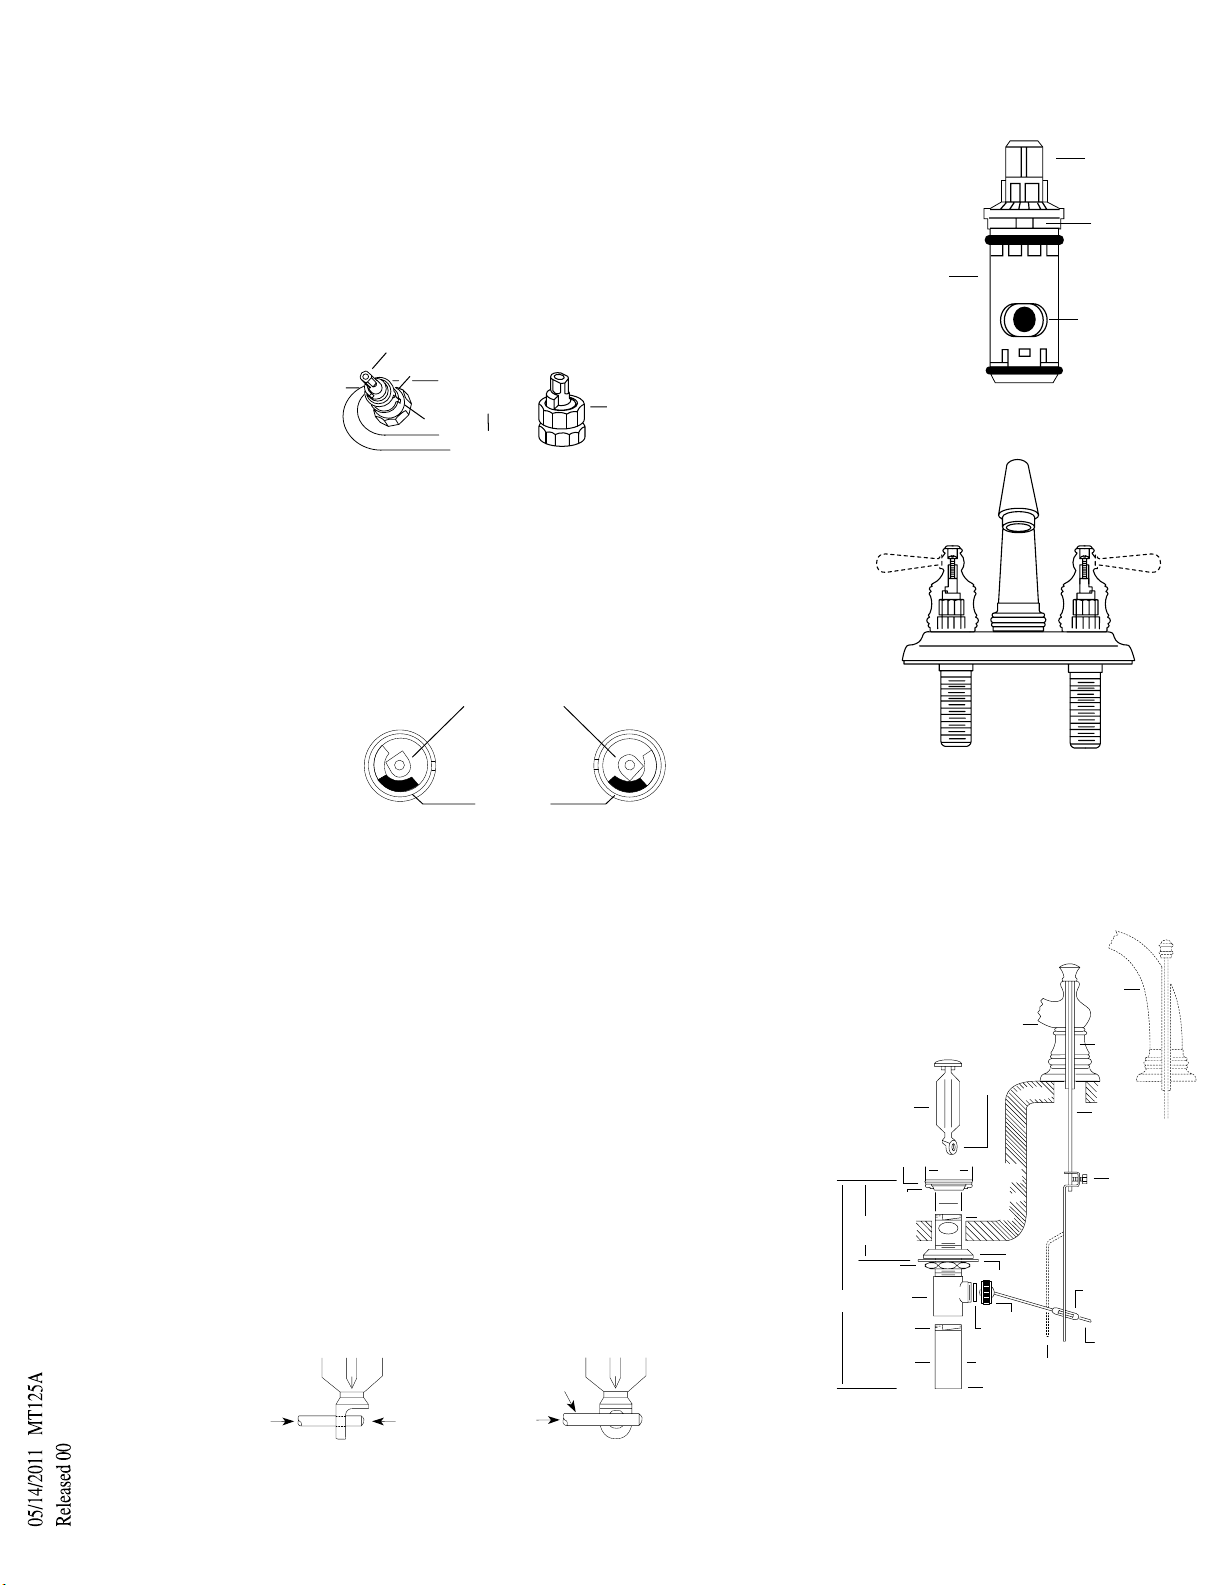
Moen TS310 Series User manual

Moen
Moen Brushed Nickel TS244BN Setup guide

Moen
Moen ShowHouse TS885 Series User manual

Moen
Moen MONTICELLO T3132 User manual

Moen
Moen M-CORE 3 Series User manual

Moen
Moen Genta LX 6702BN User manual

Moen
Moen 4520 User manual

Moen
Moen 84804 Series User manual

Moen
Moen 4796 User manual

Moen
Moen 4871E Series User manual

Moen
Moen Villeta Posi-Temp TL2301CP User manual

Moen
Moen TL181 Series User manual

Moen
Moen 84420 User manual

Moen
Moen 6111 SERIES Operational manual

Moen
Moen 6202 Series User manual

Moen
Moen ShowHouse S611ORB User manual

Moen
Moen io KINGSLEY T9211 series User manual

Moen
Moen F9900 Instruction sheet


Popular Plumbing Product manuals by other brands

Grohe
Grohe Allure Brilliant 19 784 manual

Cistermiser
Cistermiser Easyflush EVO 1.5 manual

Kohler
Kohler Triton Rite-Temp K-T6910-2A installation guide

BEMIS
BEMIS FNOTAB100 Installation instruction

Hans Grohe
Hans Grohe ShowerTablet Select 700 13184000 Instructions for use/assembly instructions

Akw
Akw Stone Wash Basin Installation instructions manual

Enlighten Sauna
Enlighten Sauna Rustic-4 user manual

Sanela
Sanela SLWN 08 Mounting instructions

Franke
Franke 7612982239618 operating instructions

Heritage Bathrooms
Heritage Bathrooms Granley Deco PGDW02 Fitting Instructions & Contents List

Tres
Tres TOUCH-TRES 1.61.445 instructions

STIEBEL ELTRON
STIEBEL ELTRON WS-1 Operation and installation