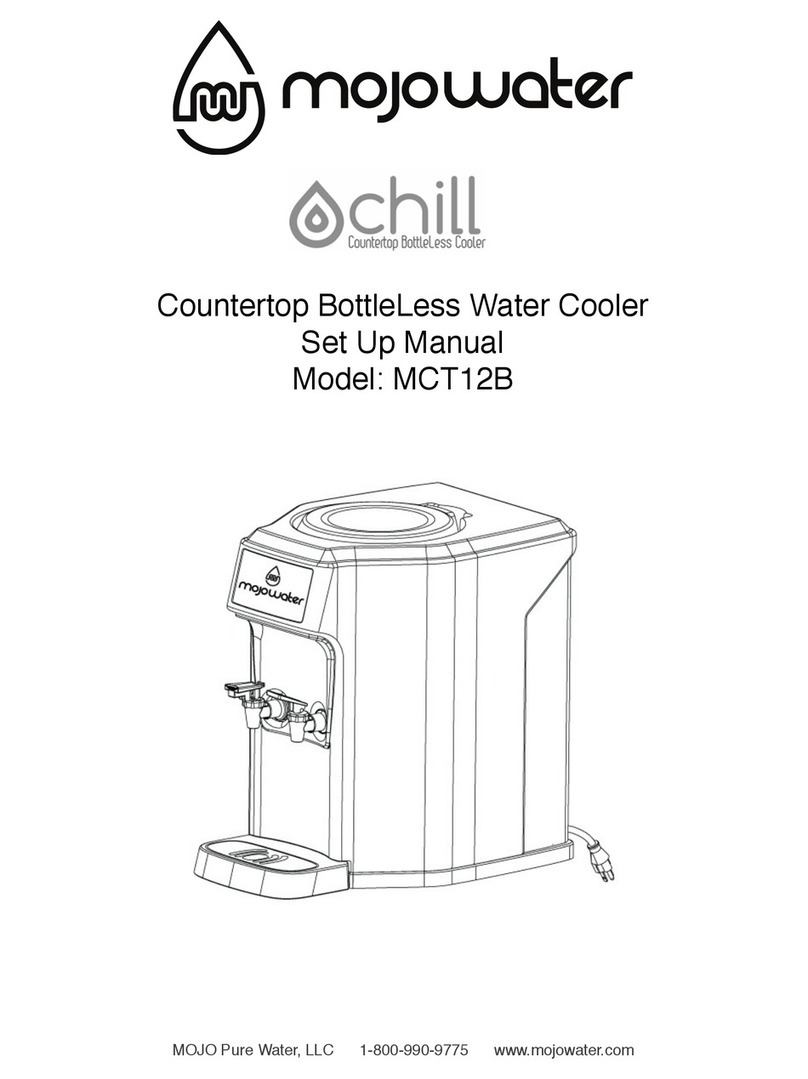
Mojowater M1-CT12 User guide

Page of 2 7
IMPORTANT SAFEGUARDS
When using electrical appliances, basic safety precautions should always be followed, including the
following:
1. Read all instructions before using.
2. Do not let cord hang over edge of table or counter, or touch hot surfaces.
3. To protect against electric shock, do not immerse cord, plug, or dispenser body in water or any other
liquid.
4. Close supervision is necessary when any appliance is used by or near children.
5. Unplug from outlet when not in use and before cleaning.
6. Do not operate any appliances with a damaged cord, plug or after the appliances malfunction, or has
been damaged in any manner. Return the appliances to the nearest authorized service facility for
examination, repair or adjustment.
7. The use of accessory attachments not recommended by the appliances manufacturer may cause
injuries.
8. Do not use in outdoors.
9. Allow at least 2” (5cm) of space between the back of the water dispenser and the wall to allow for
proper air circulation.
10. Install the water dispenser on a level counter or table. Do not install where it will be subject to direct
sunlight, heat or moisture.
11. Do not install the water dispenser where the temperature will go below 59°F (15°C) or above 100°F
(38°C).
12. Do not plug in the power cord or turn on the power switch when the water dispenser is empty.
13. To disconnect the power cord, turn the switch to “off “, then remove plug from wall outlet.
14. Always wash and dry your hands thoroughly before touching the water dispenser.
15. Extreme caution must be used when moving an appliance that contains hot liquid.
16. Do not use this dispenser to dispense anything other than water.
17. Do not use with water that is micro biologically unsafe or of unknown quality.
SAVE THESE INSTRUCTIONS
18. This appliance must be grounded. In the event of an electrical short circuit, grounding reduces the risk
of electric shock.
19. This appliance has a power cord having a grounding wire with a grounding plug. The plug must be
plugged into an outlet that is properly installed and grounded. The water dispenser is intended to be
plugged into a receptacle of the ground fault circuit interrupting type (GFCI) for water dispenser
installations in North America.
20. Consult a qualified electrician if the grounding instructions are not completely understood, or if doubt
exists as to whether the appliance is properly grounded.
21. If the outlet is a standard 2-prong wall outlet, it is your personal responsibility and obligation to have it
replaced with a properly grounded 3-prong wall outlet.
22. Do not under any circumstances cut or remove the third (ground) prong from the power cord.
23. Do not use an adapter plug with this appliance.
24. Do not use an extension cord with this appliance. If the power cord is too short, have a qualified
electrician install an outlet near the appliance.
25. Never place your fingers or any sharp metal object inside the water dispenser, as doing so may
damage the cooler, and also increase the risk of electric shocks.
26. Do not immerse the appliance in the water to clean.
27. The appliance should not be exposed to rain.
28. If the supply cord is damaged, it must be replaced by the manufacturer its service agent or similarly
qualified persons in order to avoid a hazard.
MOJO Pure Water, LLC 1440 Conchester Hwy - Suite 17 - Garnet Valley, PA 19060
1-800-990-9775 www.mojowater.com

Page of 3 7
IMPORTANT
DO NOT TURN HOT TANK SWITCH ON (ON THE BACK OF
THE COOLER) UNTIL THE COOLER’S RESERVOIRS ARE
FILLED WITH WATER. THEY ARE FULL WHEN WATER
COMES OUT OF BOTH THE COLD AND HOT FAUCETS.
GENERAL OVERVIEW
1. LID
2. CONTROL PANEL
3. WATER OUTLET
4. DRIP TRAY GRILL
5. DRIP TRAY
6. POWER INLET
7. HOT TANK ON/OFF SWITCH
8. CONTROL BUTTONS
(OPTIONAL)
9. HOT TANK DRAIN HOLE
10. HOT TANK DRAIN PLUG"
MOJO Pure Water, LLC 1440 Conchester Hwy - Suite 17 - Garnet Valley, PA 19060
1-800-990-9775 www.mojowater.com
MOJO Cooler SET-UP VIDEOS & MORE INFO
Please visit www.mojowater.com/set-up for updated
installation manuals and videos. Thank you.

Page of 4 7
INSTALLATION QUICK TIPS
1. Locate cooler in a well-ventilated space where temperature is always above freezing.
2. Insure proper ventilation by maintaining a minimum clearance of 2″(5cm) on sides and
rear of cooler . Maker sure cooler is on a level surface.
3. Verify that the heating switch on the back of the unit is off. Plug the power cord
into an electrical outlet. NOTE: The water dispenser is intended to be plugged into a
receptacle of the ground fault circuit interrupting type (GFCI).
4. Connect the 1/4" water supply line to the push-in connector located on the back of the
cooler. It is labeled “Water In”.
5. Follow filter system manual to install the filtration system.
6. Wait about 10 minutes for the cold tank to fill (time may vary). It shuts off automatically
when full.
7. Place a cup under the Water Outlet. Press and hold the Lock/Unlock button for about 1
second. You will hear a tone and see a red light at the hot water outlet. Then, press and hold
Hot Water button until a steady stream of water flows from Water Outlet. It will not dispense
water until the internal hot tank is completely full. So, it may take a few minutes. Once water
comes out of the Water Outlet by holding the Hot Water Dispense Button, you can let go.
8. Press and hold Cold Water button until a steady stream of water flows from Water
Outlet. You have not filled both the hot and cold water internal reservoirs.
9. Turn on the Heating switch located on the back of the unit. Allow 40 minutes for water to
reach hot and cold temperature and both heating indicating light and cooling indicating light stop
flashing.
NOTE: Do not use this cooler to chill or heat any liquids other than potable water. Inlet water
supply pressure should not exceed 85PSI.
MOJO Pure Water, LLC 1440 Conchester Hwy - Suite 17 - Garnet Valley, PA 19060
1-800-990-9775 www.mojowater.com

Page of 6 7
USING THE WATER DISPENSER
Dispensing Water:
1. Place a glass or cup under the Water Outlet.
2. For hot water, press and hold the Lock/Unlock button and wait for the beep (about 1
second), Then, press and hold Hot Water button. Release the button when the desired hot water
volume is reached.
3. For cold water, press and hold Cold Water button. Release the button when the desired
cold water volume is reached
Removing and assembling the Drip Tray:
1. Pull out the Drip Tray away from the dispenser to empty and clean.
2. Push in the Drip Tray to assemble.
NOTE: Clean and empty the Drip Tray regularly to ensure the proper hygiene.
Date/Time Setting:
1. Press and hold the “SET” button for 7 seconds to enter the Date/Time setup mode.
2. When LCD display message shown "TIME", press ”UP" or "DOWN" button to adjust the
TIME setting.
3. When LCD display message shown "DATE", press ”UP" or "DOWN" button to adjust the
DATE setting.
4. Press the “SET” button to confirm the setting and go to the next setting item.
5. Setup mode will be exited automatically 15 seconds after the last button pressed.
Draining the dispenser:
1. Set Hot Tank Switch (on the back of the dispenser) to “0" (off) position and unplug the
power cord. Let the unit cool before draining.
2. Disconnect water supply.
3. Take the dispenser to a sink or place a bucket beneath the Drain Hole.
4. Remove the Drain Plug from the Drain Hole and allow water to drain.
CAUTION: Water from Drain Hole may be hot.
5. After draining, replace the Drain Plug
NOTE: Always keep the Drain Plug in place after draining.
MOJO Pure Water, LLC 1440 Conchester Hwy - Suite 17 - Garnet Valley, PA 19060
1-800-990-9775 www.mojowater.com

Page of 7 7
CLEANING
CAUTION: Set Heating Switch (on the back of the dispenser) to “0" (off) position and unplug the
power cord before cleaning.
Sweep away or vacuum any dust from the condenser coils on the back of the unit. For best
results, use a brush specially designed for this purpose. It is a available at most appliance
stores.
ALL PLASTIC PARTS ARE DISHWASHER SAFE
Lid, drip tray/drip tray grill and shell can be cleaned with any non-abrasive household cleaner.
To prevent damage to plastic parts, avoid abrasive cleaning aids such as steel wool etc.
MAINTENANCE
Condenser: To ensure optimum cooler performance, condenser must be maintained free of dust
and lint. Condenser must be regularly inspected and cleaned with brush.
Drip Tray: The drip tray should be emptied and cleaned regularly. To remove, pull tray
straightforward from the cabinet.
Shipment: If the cooler is removed from service, the water must be completely drained from the
system before transportation.
WARNING
This appliance is not intended for use by person (including children) with reduced physical,
sensory or mental capabilities, or lack of experience and knowledge, unless they have been
given supervision or instruction concerning use of the appliance by a person responsible for
their safety.
Children should be supervised to ensure that they do not play with the appliance.
Environment friendly disposal
You can help protect the environment!$
Please remember to respect the local regulations: hand in the non-working electrical
equipments to an appropriate waste disposal centre. The packaging material is
recyclable. Dispose of the packaging in an environmentally friendly manner and make
it available for the recyclable material collection-service.
MOJO Pure Water, LLC 1440 Conchester Hwy - Suite 17 - Garnet Valley, PA 19060
1-800-990-9775 www.mojowater.com
!
Table of contents
Other Mojowater Water Dispenser manuals
Popular Water Dispenser manuals by other brands

WaterLogic
WaterLogic infiniti Operating, installation and service manual

Aquavida
Aquavida AQ30 manual

Kenmore
Kenmore IntelliSoft 370 Series owner's manual

Whirlpool
Whirlpool WHES20 Installation and operation manual

Clover
Clover B7A Service manual

Canature WaterGroup
Canature WaterGroup 85UF owner's manual

Royal Sovereign International
Royal Sovereign International RWD-900B owner's manual

Osmofilter
Osmofilter Blue Lake L user manual

Borg & Overstrom
Borg & Overstrom 818 Installation & operation guide

ClearChoice
ClearChoice Premium Series Owner's manual and installation guide

Bartscher
Bartscher 200061 Original instruction manual

Elkay
Elkay LK4595 FTN Series owner's manual