2
Before you begin—Read these instructions completely and carefully.
IMPORTANT: Save these instructions for local inspector’s use.
IMPORTANT: OBSERVE ALL GOVERNING CODES AND ORDINANCES.
NOTE TO INSTALLER: Be sure to leave these instructions with the Consumer.
NOTE TO CONSUMER: Keep these instructions with your Use and Care Book for future
reference.
This appliance must be properly grounded. See “Electric Supply”, page 7.
If you have questions concerning the installa-
tion of this product, call the GE Answer
Center® Consumer Information Service at
800.626.2000, 24 hours a day, 7 days a week.
If you received a damaged range, you should
contact your dealer.
Installation of this range requires basic
electrical, carpentry and mechanical skills.
Proper installation is the responsibility of the
installer. Product failure due to improper
installation is not covered under the GE
Appliance Warranty. See the back cover of the
Use & Care Guide for warranty information.
CAUTION:
THESE RANGES MUST BE INSTALLED IN
CONJUNCTION WITH A SUITABLE OVER-
HEAD VENT HOOD. Due to the high heat
capacity of this unit, particular attention
should be paid to the hood and duct work
installation to assure it meets local building
codes.
Standard installations:
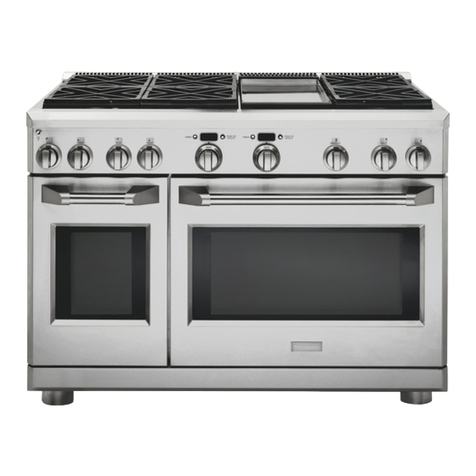
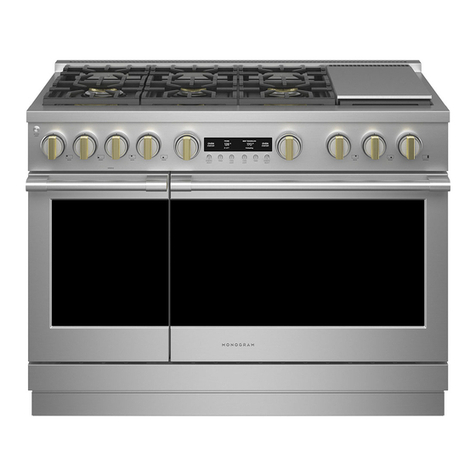
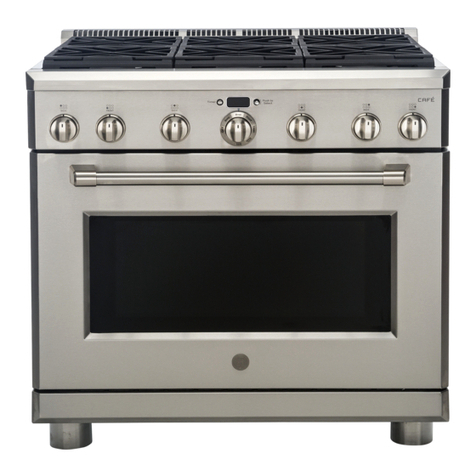
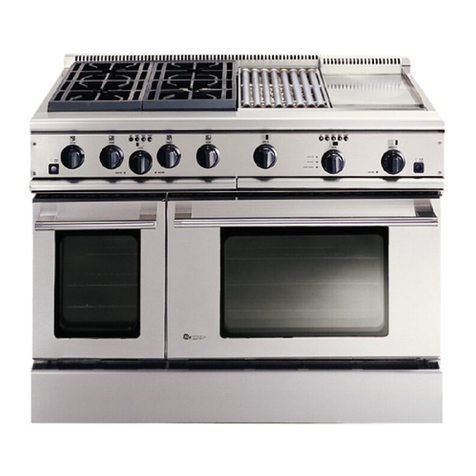
48" Ranges require a 800 to 1200 CFM Hood.
36" Ranges require 600 to 800 CFM Hood.
Hoods should be 24" min. deep and the same
width as the cooktop.
Island installations:
48" Ranges require a 800 to 1200 CFM Hood.
36" Ranges require 600 to 1200 CFM Hood.
Hoods should be 30" min. deep and 36" wide
at the bottom.
Note: When installing a range that includes a
grill, select a blower on the high end of CFM
recommendation.
Check local building codes for the proper
method of gas range installation. Local codes
vary. Installation, electrical connections and
grounding must comply with applicable codes.
In the absence of local codes, the gas cooktop
should be installed in accordance with the
National Fuel Gas Code ANSI 223.1-1990 and
National Electrical Code ANSI/NFPA 70-1990.
CAUTION:
These ranges weigh up to 600 pounds. Some
disassembly will reduce the weight consider-
ably. Due to the weight and size of the range
and to reduce the risk of personal injury or
damage to the product, TWO PEOPLE ARE
REQUIRED FOR PROPER INSTALLATION.
Design Information
Models Available..................................................................................................................................3
Accessory Requirements .....................................................................................................................3
Models Dimensions and Clearances...............................................................................................4,5
Advance Planning ...............................................................................................................................6
Installation Preparation
Tools & Materials Required................................................................................................................7
Power Supply Locations......................................................................................................................7
Installation
Step 1: Remove Packaging..................................................................................................................8
Step 2: Level the range .......................................................................................................................9
Step 3: Connect Range to Gas............................................................................................................9
Step 4: Install the Range Backguard..................................................................................................9
Step 5: Connect Electrical ................................................................................................................10
Step 6: Slide Range Into Position ....................................................................................................10
Step 7: Replace Oven Doors.............................................................................................................10
Step 8: Assemble & Adjust Burners .................................................................................................11
Step 9: Adjustable Low Burner Settings ..........................................................................................11
Finalize Installation...........................................................................................................................11
CAUTION
WARNING
Contents


