2
CONTENTS
SAFETY WARNINGS AND GUIDELINES.............................................................................................................................. 4
INTRODUCTION....................................................................................................................................................................................... 5
FEATURES..................................................................................................................................................................................................... 5
CUSTOMER SERVICE........................................................................................................................................................................... 5
PACKAGE CONTENTS........................................................................................................................................................................ 6
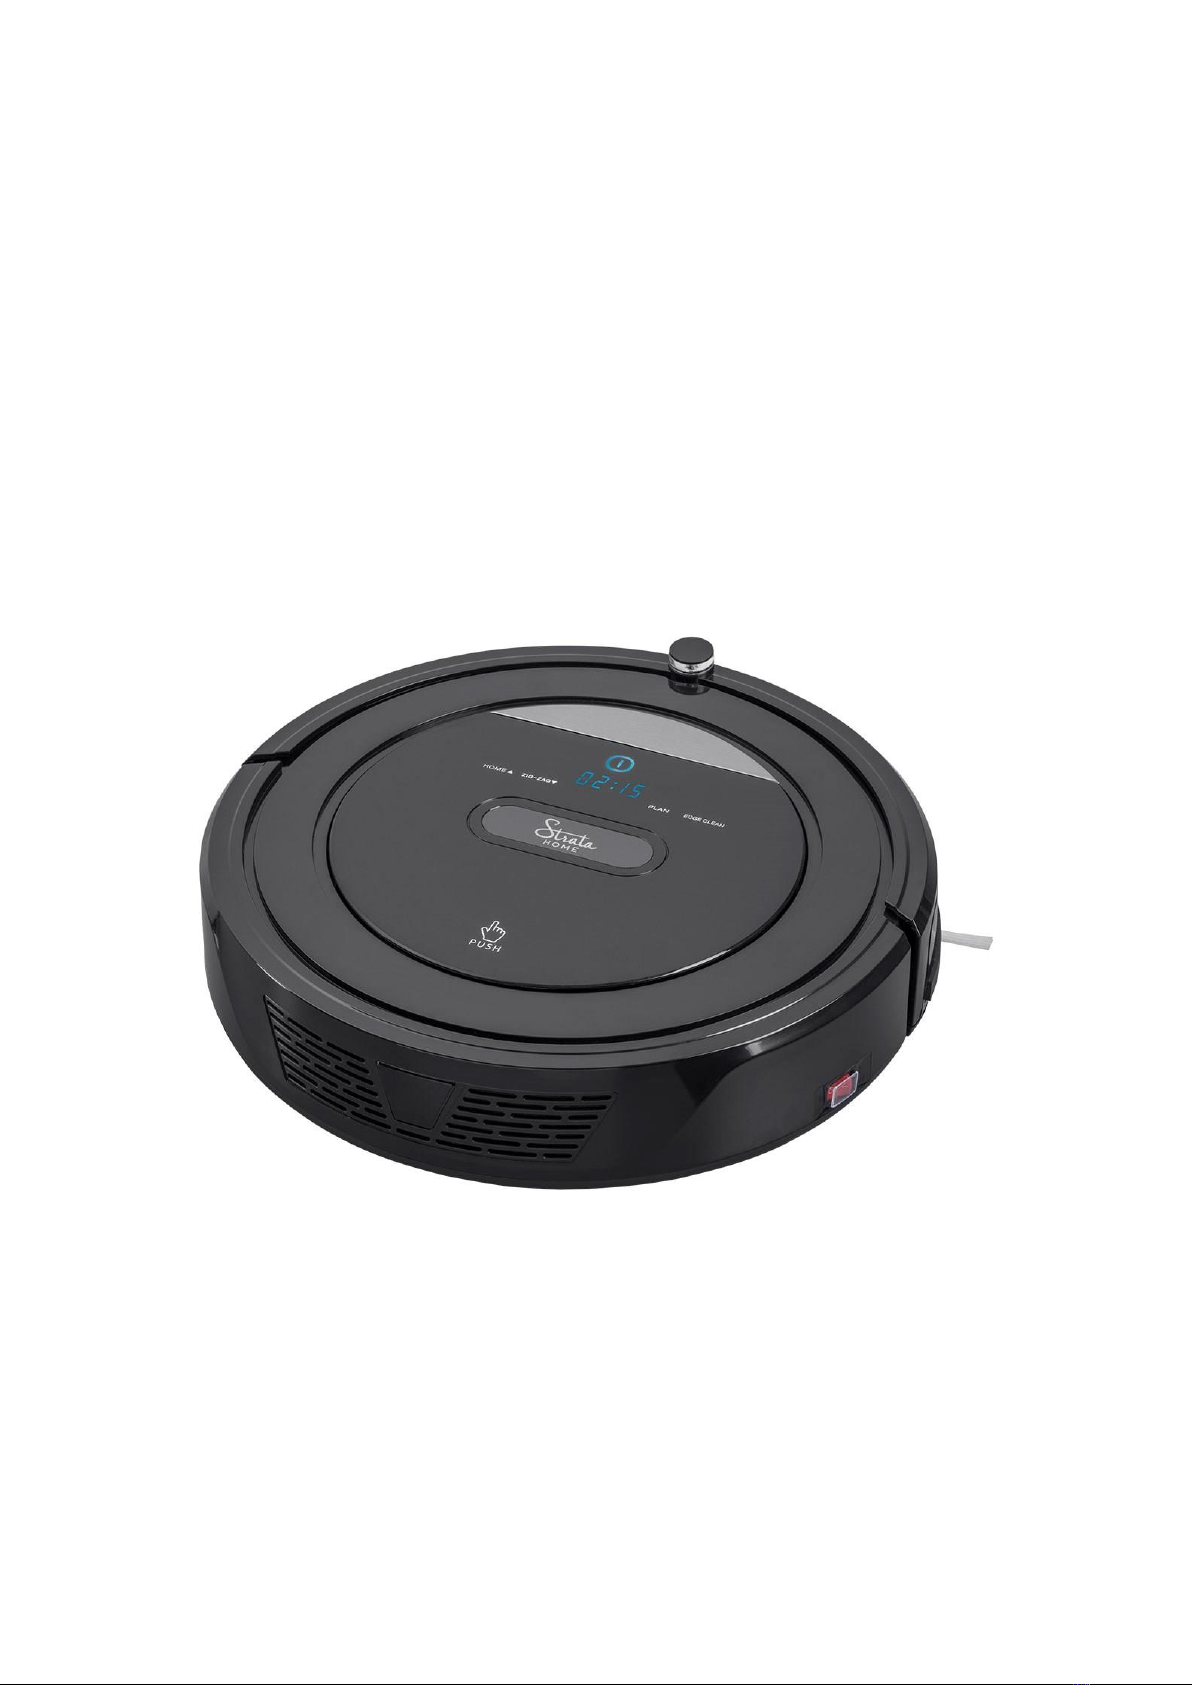
PRODUCT OVERVIEW.........................................................................................................................................................................7
Vacuum.....................................................................................................................................................................................................7
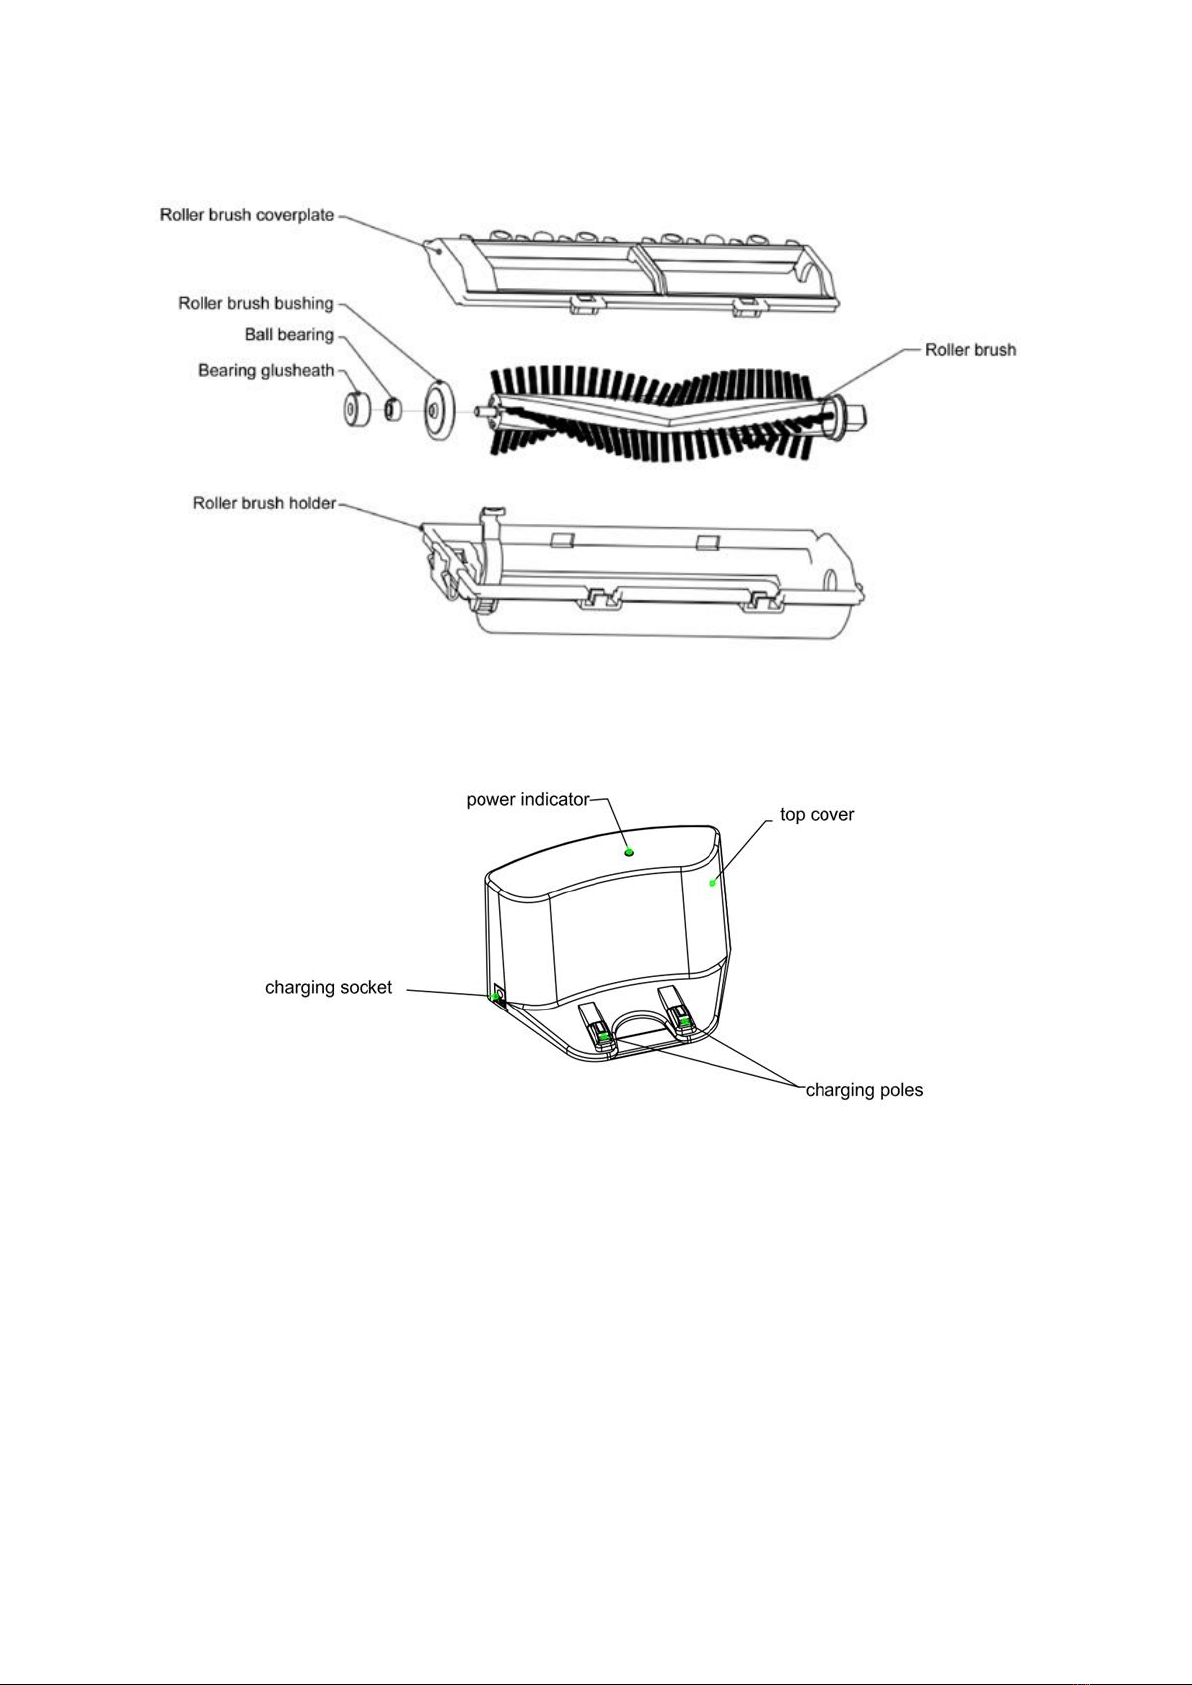
Roller Brush Attachment.......................................................................................................................................................... 8
Charging Station.............................................................................................................................................................................. 8
Remote Control.................................................................................................................................................................................9
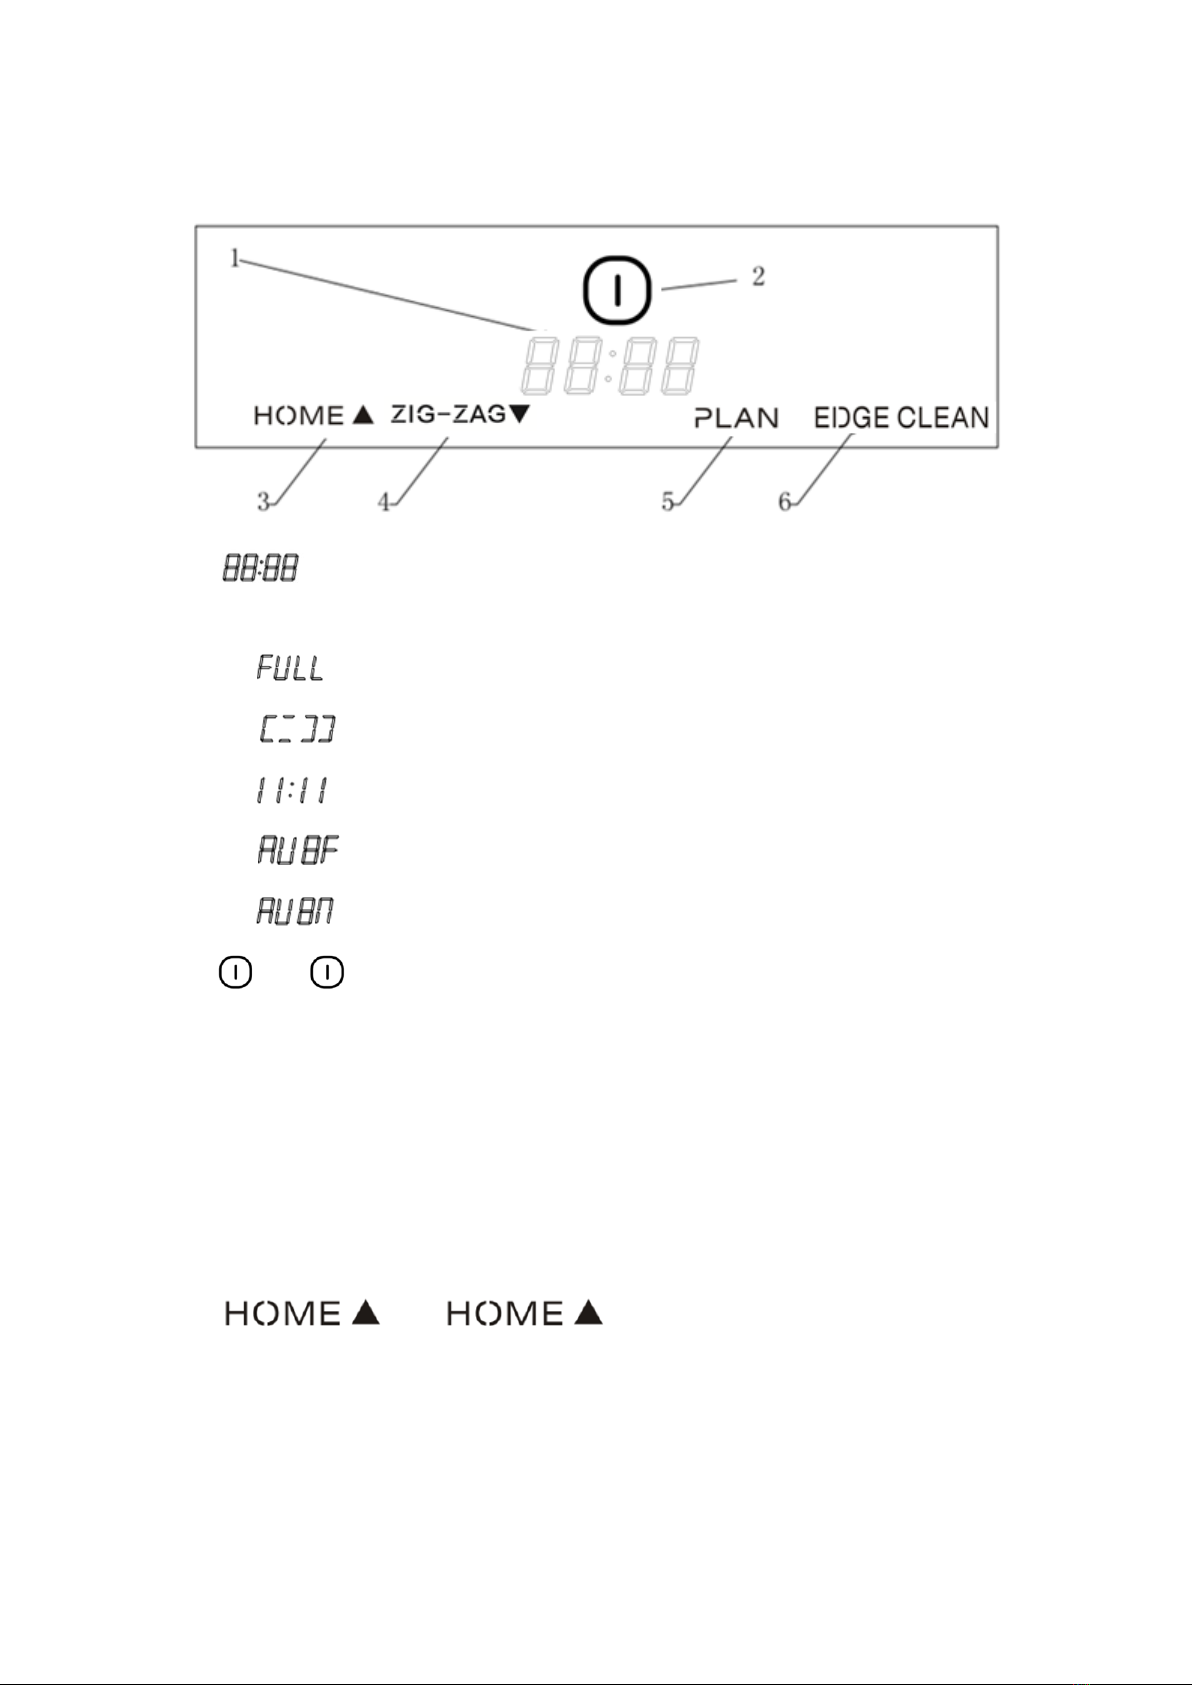
Display/Control Panel............................................................................................................................................................... 10
OPERATING MODES............................................................................................................................................................................11
Normal Cleaning Mode..............................................................................................................................................................11
Spot Cleaning Mode....................................................................................................................................................................11
Edge Cleaning Mode ..................................................................................................................................................................12
Schedule Mode................................................................................................................................................................................12
SETUP AND CHARGING ..................................................................................................................................................................12
OPERATION............................................................................................................................................................................................... 14
Power On/Off................................................................................................................................................................................... 14
Standby and Sleep Modes ................................................................................................................................................... 14
Cleaning................................................................................................................................................................................................. 14
CLEANING MODES..............................................................................................................................................................................15
SCHEDULING............................................................................................................................................................................................17
Setting the Clock ...........................................................................................................................................................................17
Setting the Scheduled Time.................................................................................................................................................17
Clearing the Schedule Time................................................................................................................................................. 18