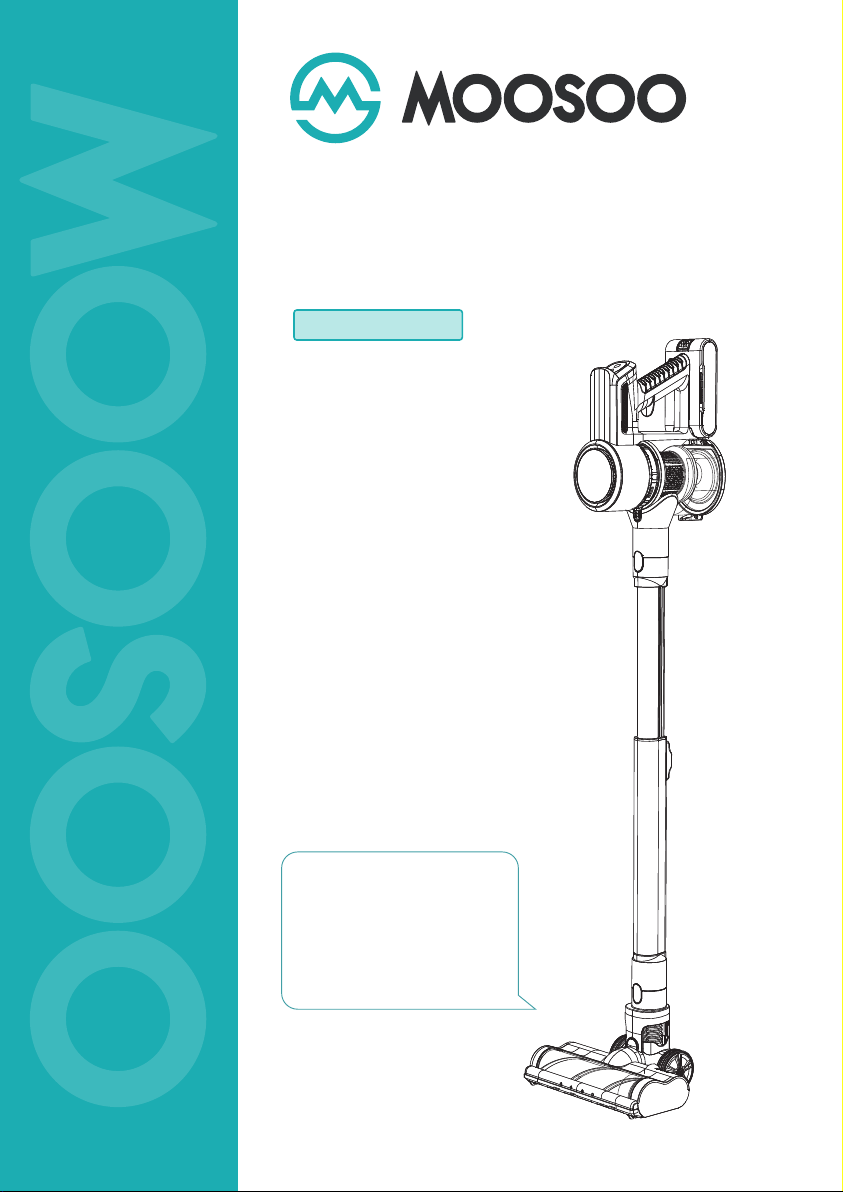
Moosoo K17-Pro User manual

For any questions and
malfunctions of the appliance
during use, please contact our
customer service email:
INSTRUCTION MANUAL
VACUUM CLEANER
Model: K17-Pro

WHAT'S IN THE BOX
OVERVIEW
ASSEMBLY
OPERATING INSTRUCTIONS
SPECIFICATION
CLEANING AND MAINTANANCE
CLEAR A CLOG
IMPORTANT SAFETY INSTRUCTIONS
TROUBLESHOOTING
WARRANTY
01
02
03
04
05
07
11
12
13
14
CATALOGUE

-01-
IMPORTANT SAFETY INSTRUCTIONS
1. To protect against electrical
shock, do not immerse power
cord or plug in water or any other
liquid. To avoid the risk of
electrical shock or serious
personal injury, always operate
with dry hands.
2. Close supervision is necessary
when any appliance is being used
by or near children. This vacuum
is not intended for use by persons
(including children) with reduced
physical, sensory or mental
capabilities, or lack of experience
and knowledge, unless they have
been given supervision or
instruction concerning the use of
the vacuum by a person
responsible for their safety.
3. Do not use the vacuum outdoors.
It is for household use only.
4. Do not use the vacuum if it has
been dropped, damaged, left
outdoors, or dropped in water.
Please contact customer service
for help when the appliance or the
adapter is damaged.
5. Use the vacuum only as described
in this manual. The use of
accessory attachments not
recommended may cause damage
to the vacuum or personal injuries.
6. Do not use abrasive materials to
clean the vacuum. Do not use
spirits or other solvents to clean
the appliance.
7. Do not use the appliance to
vacuum all the below things:
● Water, flammable or combustible
liquids such as gasoline;
● Lighted stub, matches, hot ashes
and other combustible things;
● Needles, pins and other sharp
things;
● Wood pieces, gesso, cement,
calcimine and other tiny granules;
● Pieces of string or fabrics.
8. Do not pick up liquids with the
vacuum or use on wet floors. Do
not immerse the vacuum in water.
9. Do not use the vacuum on
concrete, tar, or similar rough
surfaces.
10. Do not vacuum frayed carpets
or tassels on carpets.
11. Do not use the vacuum without
the dust cup in place.
12. Do not put any object into
openings of the vacuum. Do not
use when any opening is
blocked. Keep free of dust, lint,
hair and anything that may
reduce air flow.
13. Keep hair, loose clothing,
fingers, and all parts of body
away from openings and moving
parts.
14. Store the vacuum indoors. Store
after use to prevent accidents.
15. Keep the vacuum cleaner away
from stoves and heat-emitting
appliance. Heat can deform and
discolor the plastic parts of unit.
Please use the vacuum in 0 to
40 degrees temperature
environment.
16. Always remove the adapter from
the power socket when the
appliance is not in charging.
17. Unplug charging cord from the
appliance and power it off before
cleaning or performing
maintenance, making tool
adjustments, changing
accessories or storing to avoid
powering it accidentally.
18. The battery must be removed
from the appliance before it is
scrapped.
19. The battery has to be disposed
of safely.
20. The appliance includes Li-ion
batteries, do not incinerate the
batteries or expose to high
temperatures, as they may
explode.
21. The thermal cutout will switch
off the vacuum automatically
when it overheats. If this should
happen, turn off the power
switch, wait for 30 minutes to
restart the vacuum.
22. Only the adapter provided by
the manufacturer can be used.
Please keep the adapter
away from liquids.
Do not vacuum large
piece of paper.
Do not vacuum fire or
flammable substances.
Do not vacuum water
or liquids.
Do not remove plug
by grasping the cord.
IMPORTANT SAFETY INSTRUCTIONS
When using an electric appliances, basic precautions should always be followed,
including the following:
READ ALL INSTRUCTIONS
BEFORE USING (THIS APPLIANCE)
WARNING: TO REDUCE THE RISK OF FIRE, ELECTRIC SHOCK, DAMAGE OR INJURY:

-02-
CAUTION: Assemble the vacuum according to chapter "Assembly".
WHAT'S IN THE BOX
Vacuum main body
Crevice tool with light bulb Dust mite removing brush
Adapter HEPA filter
Cleaning brush
Screws and wall anchors
2-in-1 brush
Wall hanger
Telescopic tube
Hose
Floor brush

OVERVIEW
-03-
Dust cup
Suction mode switch
Battery pack
Battery pack
release button
Power switch
Wall hanger
Crevice tool with
light bulb
2-in-1 brush
Brush conversion
button
Extension button
Tube release button
Brush release button
Charging port
Floor brush release
button
Floor brush
Dust cup
release button
Dust cup lid
release button

ASSEMBLY
-04-

SPECIFICATION
Name
Model
Adapter Input Voltage
Adapter Output Voltage
VACUUM CLEANER
K17-Pro
100-240V~50/60Hz 0.5A Max
26V 690mA
CAUTION:
-05-
Since there are no electric wires inside the hose, the crevice tool won't be able to illuminate when it's used as a combination.

-06-
CAUTION:
It is important to fully charge your machine before using for the first time and after every use.
Charge the battery pack alone
OPERATING INSTRUCTIONS
Charge with the vacuum main body
Charging Instruction
1Press the release button at the side of the
battery pack.
3Plug the adapter into wall socket and attach the magnetic head on the slot to charge the battery pack. The
indicator light will grow if the vacuum gets charged.
2Hold the button and pull it out to detach.
Plug the adapter into wall socket and attach the magnetic head on the slot to charge the vacuum. The
indicator light will grow if the vacuum gets charged.
The flashing indicator light shows the battery power is low. Please charge the vacuum when
the last light flashes.

Wall Hanger Use Instruction
-07-
95~105 cm
Method 1: For smooth surface, it is recommended to
use adhesive tapes at the back of the wall hanger for
fixing.
After fixing the wall hanger at the certain height as picture shown, store accessories and the vacuum main body
(tube attached) on it.
Method 2: For rough surface, two wall anchors
(packed in the box) can be used for fixing the wall
hanger.

Dust Cup and HEPA Filter Cleaning
-08-
CLEANING AND MAINTANANCE
1
2
3
CAUTION:
Always be sure that the vacuum is switched to OFF before attempting to empty the dust cup.
Empty the dust cup when dust inside has exceeded the MAX sign, otherwise, the suction may be
weakened.
Remove the telescopic tube from the main body before maintaining and cleaning dust cup and HEPA filter.
Open the dust cup lid to dump dust. Close the lid after emptying the dust cup.
MAX

-09-
4Press and hold the release button, turn it clockwise to detach the dust cup.
Hold and turn the filter case clockwise to remove
it from the vacuum.
Turn the HEPA filter clockwise and take it out
of the mesh shell.
5
Rinse the HEPA filter and mesh shell with running
water.
7
6
Air dry the HEPA filter and mesh shell for 24
hours.
8
≥140°F
CAUTION:
Filter is suggested to be washed (air dry before installing back) every 2 weeks, to be replaced every
2 months, otherwise, it will result in insufficient filter system and loss of suction.

Floor Brush Cleaning
-10-
CAUTION:
click
drywet
Please assemble HEPA filter with mesh shell back to the vacuum when they are both completely dry.
Put the dry HEPA filter back and turn it anticlockwise to fix it.
9
1
Attach the dust cup back to vacuum and turn it anticlockwise until a "click" is heard.
Press the release button and hold to pull out to detach the tube from floor brush.
The flashing indicator light/stopped floor brush shows
the roller brush may be stuck by foreign objects. Please
check and clear clogs on the roller brush.
10

-11-
click
2
3 4
5 6
7 8
Push the release switch toward the " " icon at the side of the floor brush to detach the buckle.
Grab the roller brush head and remove it out
from the floor brush.
Use cleaning brush to remove hair and strings
entangled on the roller brush.
Check the roller brush and make sure the
round side of it attach onto the plastic axle
first when assembling it back.
On the other side of the roller brush, please
make sure the arc-shaped part of it is downward
when assembling it back.
Insert the buckle back to place as the picture
shown.
A "click" will be heard if the buckle is inserted
in place.

-12-
CLEAR A CLOG
Low suction or poor pick up may be due to a clog in the vacuum. The flashing blue
light and stopped vacuum shows there may be clogs in the vacuum. Please check
and clear clogs in floor brush, telescopic tube, dust cup and the HEPA filter.
CAUTION:
Check the floor brush and clear the clog on the
roller brush with the blade. Check and empty the dust cup.
Check and rinse the HEPA filter. Do not assemble
them until completely dry.
Check if there are any clogs inside the telescopic
tube.

-13-
TROUBLESHOOTING
The vacuum
can not be
charged
The vacuum
can not be
powered on
The vacuum
stops
working
suddenly
The cleaning
results are
not good
There is static
during vacuum
working
The electric
floor brush
stops working
Please charge the vacuum with the original adapter
Please contact the customer service for help
Please charge the vacuum with the original adapter
Remove and attach back the battery pack and make sure it
is attached in place
Please contact the customer service for help
Clean foreign objects entangled on the floor brush
Please contact the customer service for help
1. It is recommended to use high suction mode for cleaning
complicated environments
2. It is recommended to use the crevice tool for better
pickup for vacuuming heavy objects such as beans
3. It is recommended to use the floor brush for cleaning
stain
It's normal that there may be much static in the air in winter
and dry regions
Clean foreign objects entangled on the floor brush
Clean the floor brush, telescopic tube, dust cup and the HEPA
filter regularly
Detach and air dry the HEPA filter completely. It is recommended
to clean and replace it regularly
The used adapter is not the
original one
The battery pack/adapter
malfunctions
The battery pack is not
attached correctly
Other malfunctions
Other malfunctions
The battery runs out
The floor brush gets stuck
The battery runs out
1. The air duct is blocked
2. The dust cup is full
Clean the floor brush, telescopic tube, dust cup and the HEPA
filter regularly
1. The air duct is blocked
2. The dust cup is full
There is too much dust inside
the dust cup
The vacuum runs at an
environment full of static
The floor brush gets stuck
Other malfunctions
Please empty the dust cup
Use the original adapter for charging. It is recommended to
charge the vacuum after each time use and use the low
suction mode for long runtime
Incorrect use of the vacuum
The HEPA filter is not dried
completely
Please charge the vacuum fully and try to turn it on againThe battery runs out
PROBLEM POSSIBLE REASONS SOLUTIONS

WARRANTY
1. According to the requirements outlined in this instruction manual, the warranty is subject to the following
conditions and exclusions.
2. This warranty provides, at no extra cost to you all labor and parts necessary to ensure your machine
is in proper operating condition during the warranty period.
3. We provide the repair or replacement of your MOOSOO appliance if your MOOSOO appliance is found
to be defective due to faulty materials, workmanship function within 1 year of purchase or delivery. ( If
any part is no longer available or out of manufacture, we will replace it with a functional replacement
part).
1. Under your MOOSOO guarantee, MOOSOO shall not be liable for costs of repair or replacement of a
product incurred as a result of: Accidental damage, faults caused by negligent use or care, misuse,
neglect, careless operation or handling of the MOOSOO appliance which is not in accordance with
this MOOSOO Instruction Manual.
2. Machines purchased from an unauthorized dealer.
3. Use of parts and accessories other than those produced or recommended by MOOSOO.
4. Repairs or alterations carried out by unauthorized parties or agents.
5. Use of the machine other than for normal domestic purpose, e.g. for commercial or rental purposes.
6. Reduction in battery run time due to battery age or use.
The 1-year Limited Warranty is valid for products purchased from our MOOSOO only, starting from
the date of the original retail purchased. We will provide customer service for any defects in quality or
materials under normal, non-commercial use.
-14-
CUSTOMER CARE
WHAT IS NOT COVERED
1. If you have a query about your MOOSOO appliance, please contact the MOOSOO customer service
email: [email protected]
2. Please inform us your model name/number, purchase date, order number, machine problem and your
requirement.
3. Your model number can be found on rating plate. For information on your rating plate see the inside
front cover.
4. Please keep your purchase receipt in a safe place to ensure you have this information.
Service under this warranty will not extend the available time of warranty.
WARRANTY SERVICE

Dierent for you
Table of contents
Other Moosoo Vacuum Cleaner manuals