manuals.online logo
Brands
  1. Home
  2. •
  3. Brands
  4. •
  5. moovin
  6. •
  7. Indoor Furnishing
  8. •
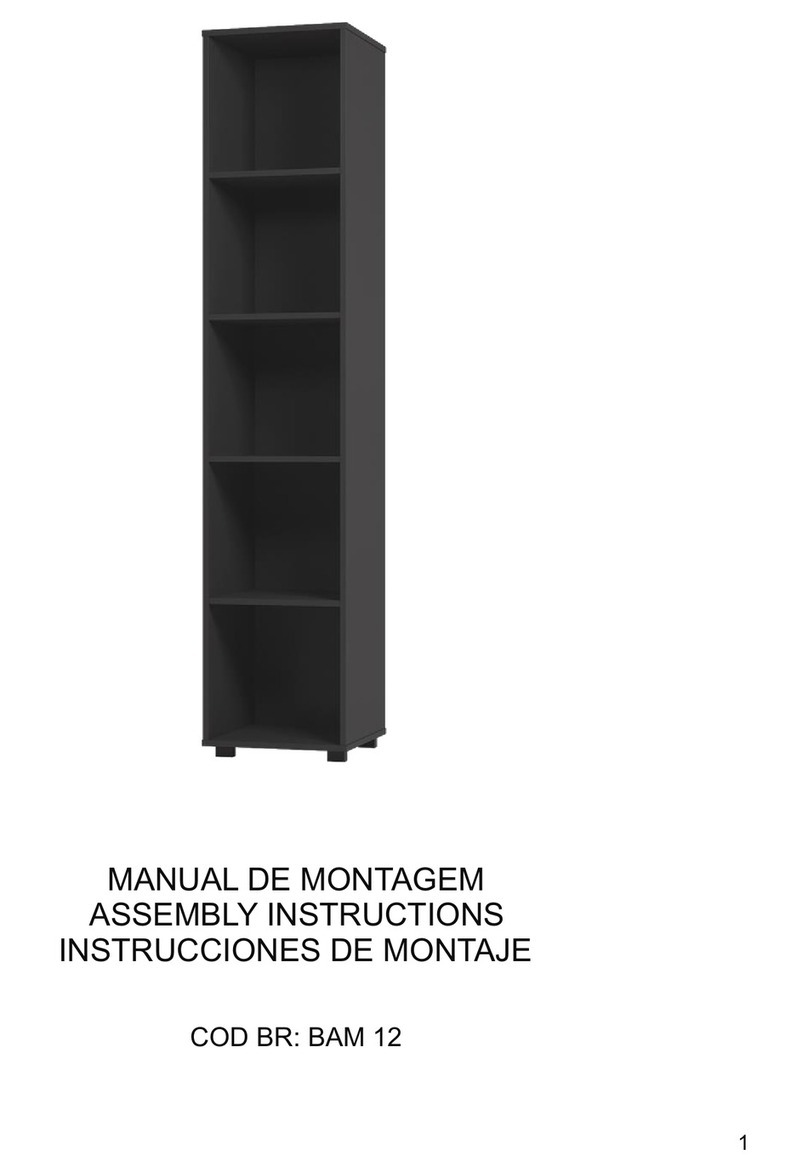
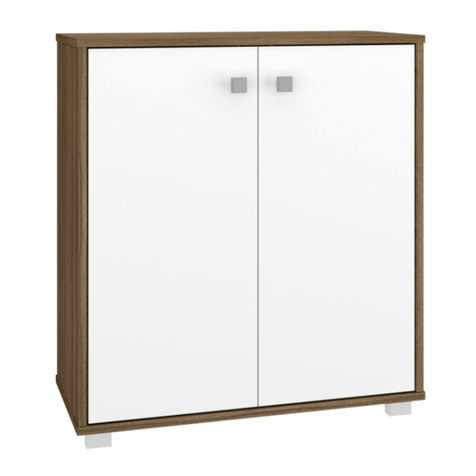
  9. moovin 26AMC6 User manual

moovin 26AMC6 User manual

1V : 01
COD BR: BE 19-06
MANUAL DE MONTAGEM
COD US: 26AMC6, 26AMC49
ASSEMBLY INSTRUCTIONS
INSTRUCCIONES DE MONTAJE
2
V : 01
8
Acessórios incluídos na caixa
Hardware included in box
Accesorios incluidos en la caja
7
6
3
V : 01
Sumário
Resumen
Summary
X
Utilize o papelão da própria embalagem
para separar e apoiar as peças retiradas
das caixas.
Use the cardboard of the packaging to
separate and support the parts removed
from the boxes.
Utilice el cartón de la embalaje para
separary apoyan las piezaz desmontadas
de las cajas.
4
V : 01
Forre a área de montagem com um
cobertor ou tapete. Assim, você evita
avarias nas peças durante o processo de
montagem.
Cubrir la zona de ensamble con una manta o
alfombra. De este modo, se evitan daños
en las piezas durante el proceso de montaje.
Cover the assembly area with a blanket or carpet
to avoid damaging the parts during the
assembly process.
Antes de começar
Antes de comenzar
Before starting
Antes de começar a montagem prepare o ambiente, deixando-o completamente limpo e
com bom espaço para iniciar o trabalho.
Antes de comenzar el montaje preparar el ambiente, dejándolo completamente limpio y
con bueno espacio para comenzar el trabajo.
Prepare the room before starting the assembly, leaving it completely clean and the area in
good condition to start the work.
Evite acidentes
Prevenir accidentes
Avoid accidents
No se suba ni se apoye en el mueble.
Do not climb or lean on the furniture.
Não escale ou se apoie no móvel.
5
V : 01
Dimensões e ferramentas
Dimensions and tools
Dimensiones y herramientas
Dimensiones:
L: 915 A: 900 P: 294 mm
Dimensions:
W: 36.02 H: 38.58 D: 11.57 inches
L: 915 A:900 P: 294 mm
UTILIZE ALCOOL PARA REMOVER O NUMERO DAS PEÇAS
USE ALCOHOL TO REMOVE PART NUMBERS
UTILICE ALCOHOL PARA ELIMINAR EL NUMERO DE LAS PIEZAS
Para facilitar a montagem, utilize uma parafusadeira elétrica.
To improve assembly, use an eletronic screwdriver.
Para facilitar el armado, utilice un destornillador eléctrico.
6
V : 01
PEÇA DESCRIÇÃO QUANT. PIEZA DESCRIPCIÓN CANTIDAD
PART DESCRIPTION QTY
BASE
LATERAL ESQUERDA
PRATELEIRA MAIOR
TAMPO
1
1
1
1
002
003
004
001
PRATELEIRA MENOR
LATERAL DIREITA
DIVISÓRIA A
DIVISÓRIA B
1
4
1
1
006
007
008
005
BASE
LEFT SIDE
LONGER SHELF
TOP
002
003
004
001
LOWER SHELF
RIGHT SIDE
DIVISION A
DIVISION B
006
007
008
005
BASE
LATERAL IZQUIERDA
ESTANTE MAYOR
TAPA
002
003
004
001
ESTANTE MENOR
LATERAL DERECHA
DIVISORIO A
DIVISORIO B
006
007
008
005
COD BR: BE 19-06
COD US: 26AMC6, 26AMC49
PÉS 3
009 FEET PIES
009
1
1
1
1
1
4
1
1
3
1
1
1
1
1
4
1
1
3
009
PÉS REDONDOS x 6
ROUND FEET x 6
PIES REDONDOS x 6
GIZ x 01
CHALK x 01
TIZA x 01
7
V : 01
ACESSóRIOS INCLUÍDOS NA CAIXA 01 - HARDWARE INCLUDED IN BOX 01 - ACCESORIOS INCLUÍDOS EN LA CAJA 01
EF 000033 x 20
EF 000132 x 8
EF 000106 x 24
EF 000168 X 6 EF 000265 X 9
EF 000008x 1
Cola
Glue
Pegamento
TAPA FUROS x 16
STICKER x 16
TAPAS PLÁSTICAS x 16
EF 000016 x 3 EF 000067 X 3 EF 000094 X 2
EF 000215 X 8 EF 000242 X 3 CAPA PLÁSTICA X 3 EF 000247 X 6
EF 000468 X 3
PLASTIC COVER X 3
CAPA PLASTICA X 3
PASSO 1 / STEP 1 / PASO 1
8
V : 01
A= 3KG - 6.61LB
A
A
A
A
A
A
A
A
A
Utilize a cola (EF 000008) antes de inserir a ferragem
EF 000033 nas peças 06 e 07.
Use the glue (EF 000008) before connecting hardware
EF 000033 into pieces 06 and 07.
Utilice el pegamento (EF 000008) antes de añadir el
herraje EF 000033 en las piezas 06 y 07.
EF 000033
PASSO 3 / STEP 3 / PASO 3
PASSO 2 / STEP 2 / PASO 2
PASSO 4 / STEP 4/ PASO 4
9
Utilize a cola (EF 000008) antes de inserir a ferragem
EF 000033 nas peças 01, 02, 03 e 05.
Use the glue (EF 000008) before connecting hardware
EF 000033 into pieces 01, 02, 03 and 05.
Utilice el pegamento (EF 000008) antes de añadir el
herraje EF 000033 en las piezas 01, 02, 03 y 05.
Fixe a ferragem EF 000094 na peça 02.
Fix hardware EF 000094 into piece 02.
Fije el herraje EF 000094 en la pieza 02.
Conecte as peças 01, 06 e 07 utilizando a ferragem EF 000132.
Connect pieces 01, 06 and 07 using hardware EF 000132.
Junte las piezas 01, 06 y 07 utilizando el herraje EF 000132.
EF 000033
EF 000094
V : 01
EF 000215
PASSO 5 / STEP 5 / PASO 5
PASSO 6 / STEP 6 / PASO 6
PASSO 7 / STEP 7 / PASO 7
10
V : 01
Insira a ferragem EF 000067 e EF 000247 nos locais indicados e encaixe a
peça 03 na parte montada no passo anterior, aperte usando a ferragem EF
000215, de acordo com a imagem.
Insert hardwares EF 000067 and EF 000247 in the indicated places and fit
piece 03 at the pieces assembled previously, use hardware EF 000215 to
tighten.
Añade los herrajes EF 000067 y EF 000247 en los lugares indicados. Junte la
pieza 03 en la parte armada en el paso anterior, utilice el herraje EF 000215
para apretar.
Conecte as peças 07 e 08 na parte montada no passo anterior,
insira a ferragem EF 000215 e gire para apertar.
Connect pieces 07 and 08 to the part assembled on previous
step, insert hardware EF 000215 and turn to tighten.
Junte las piezas 07 y 08 a la parte armada en el paso anterior,
añade el herraje EF 000215 y gire para apretar.
Use a ferragem EF 000132 para fixar a peça 03.
Use hardware EF 000132 to fix piece 03.
Utilice el herraje EF 000132 para fijar la pieza 03.
EF 000215
PASSO 8 / STEP 8/ PASO 8
PASSO 9 / STEP 9 / PASO 9
11
V : 01
PASSO 10 / STEP 10 / PASO 10
Encaixe as peças 07 e 02 na parte montada no passo anterior,
insira a ferragem EF 000215 e gire para apertar.
Fit pieces 07 and 02 at the pieces assembled previously, insert
hardware EF 000215 and turn to tighten.
Junte las piezas 07 y 02 en la parte armada en el paso anterior,
añade el herraje EF 000215 y gire para apretar.
Use a ferragem EF 000132 para fixar a peça 05.
Use hardware EF 000132 to fix piece 05.
Utilice el herraje EF 000132 para fijar la pieza 05.
EF 000215
EF 000215
Insira a ferragem EF 000067 e EF 000247 nos locais indicados.
Encaixe a peça 05 na parte montada no passo anterior, aperte
usando a ferragem EF 000215, de acordo com a imagem.
Insert hardwares EF 000067 and EF 000247 in the indicated
places. Fit piece 05 at the pieces assembled previously, use
hardware EF 000215 to tighten.
Añade los herrajes EF 000067 y EF 000247 en los lugares
indicados. Junte la pieza 05 en la parte armada en el paso
anterior, utilice el herraje EF 000215 para apretar.
12
PASSO 11 / STEP 11/ PASO 11
PASSO 12 / STEP 12 / PASO 12
PASSO 13 / STEP 13 / PASO 13
Conecte as peças 09 ao móvel montado utilizando a
ferragem EF 000106 e EF 000265 .
Connect pieces 09 to the part assembled furniture using
hardware EF 000106 and EF 000265.
Junte las piezas 09 al mueble armado utilizando el herraje
EF 000106 y EF 000265.
Use a ferragem EF 000132 para fixar a peça 04.
Use hardware EF 000132 to fix piece 04.
Utilice el herraje EF 000132 para fijar la pieza 04.
Use a ferragem EF 000132 para fixar a peça 02 à peça 01.
Use hardware EF 000132 to fix piece 02 to piece 01.
Utilice el herraje EF 000132 para fijar la pieza 02 a la pieza 01.
PASSO 14 / STEP 14 / PASO 14
PASSO 15 / STEP 15 / PASO 15
Fixe os pés redondos nas peças 09 utilizando a ferragem EF 000168.
Fix the round feet at pieces 09 using hardware EF 000168.
Fije los pies redondos en las piezas 09 utilizando EF 000168.
EF 000168
round feet
PASSO 16 / STEP 16 / PASO 16
Use os tapa furos para cobrir os parafusos aparentes.
Use o giz para dar o acabamento final ao produto.
Use stickers to cover apparent screws.
Use the chalk to give the final finish on the product.
Utilice los tapa huecos para cubrir los tornillos aparentes.
Utilice la tiza para dar el acabado final al producto.
Giz
Chalk
Tiza
Tapa furos
Sticker
Tapas Plasticas
13
Opção para piso
Foor option
Opción para piso
Opção para parede
Wall option
Opción para pared

This manual suits for next models

1

Other moovin Indoor Furnishing manuals
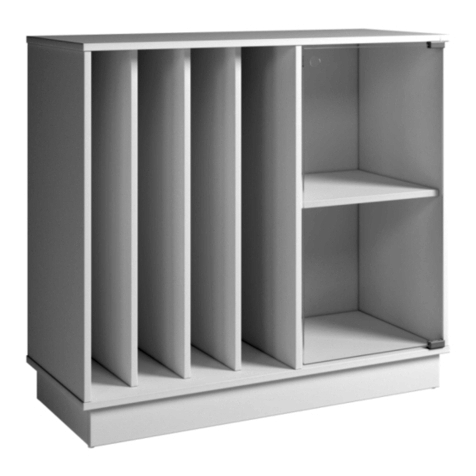
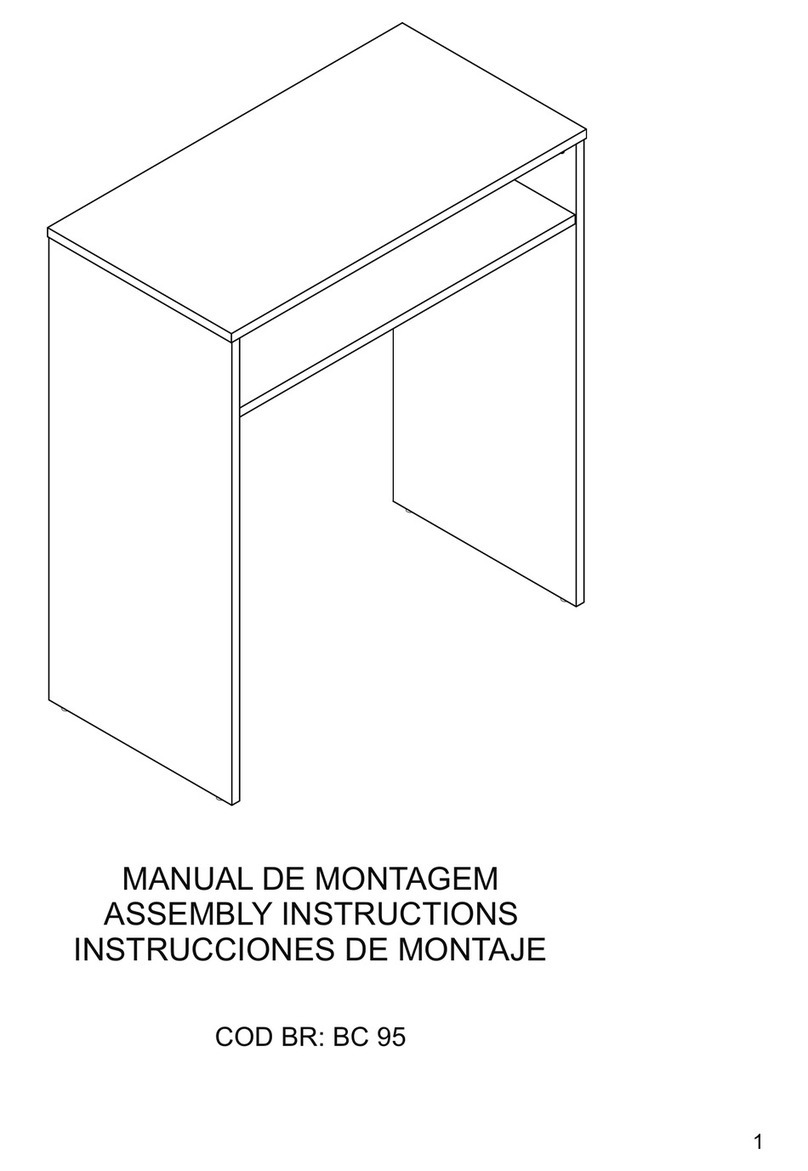
moovin BC 96 User manual

moovin

moovin BC 96 User manual
moovin BHO 39 User manual

moovin

moovin BHO 39 User manual

moovin BPI 101 User manual

moovin

moovin BPI 101 User manual

moovin BST 16 User manual

moovin

moovin BST 16 User manual

moovin BC 88 User manual

moovin

moovin BC 88 User manual
moovin BMU 58 User manual

moovin

moovin BMU 58 User manual

moovin BAM 12 User manual

moovin

moovin BAM 12 User manual

moovin BMU 52 User manual

moovin

moovin BMU 52 User manual

moovin BE 38HB User manual

moovin

moovin BE 38HB User manual

moovin BC 98 User manual

moovin

moovin BC 98 User manual

moovin BBA 05 User manual

moovin

moovin BBA 05 User manual

moovin BMU 64 User manual

moovin

moovin BMU 64 User manual

moovin BHO 29-06 User manual

moovin

moovin BHO 29-06 User manual

moovin BH 06 User manual

moovin

moovin BH 06 User manual

moovin BE 77 User manual

moovin

moovin BE 77 User manual

moovin BR 251 User manual

moovin

moovin BR 251 User manual
moovin RP 16 User manual

moovin

moovin RP 16 User manual

moovin BMU 62 User manual

moovin

moovin BMU 62 User manual

moovin BC 95 User manual

moovin

moovin BC 95 User manual

moovin BMU 61 User manual

moovin

moovin BMU 61 User manual

moovin BC 84 User manual

moovin

moovin BC 84 User manual

moovin BR 57 User manual

moovin

moovin BR 57 User manual

moovin BAM 05 User manual

moovin

moovin BAM 05 User manual

Popular Indoor Furnishing manuals by other brands

Steve Silver Hilton HI600CSN manual

Steve Silver

Steve Silver Hilton HI600CSN manual

Astonica 50104381 instruction manual

Astonica

Astonica 50104381 instruction manual

Crate&Barrel Sawyer manual

Crate&Barrel

Crate&Barrel Sawyer manual

Case Cross Care Instructions

Case

Case Cross Care Instructions

MARCKERIC 12492 Assembly instructions

MARCKERIC

MARCKERIC 12492 Assembly instructions

JWA WILSHERE 69732 Assembly instruction

JWA

JWA WILSHERE 69732 Assembly instruction

Panorama Moveis Rack Denver 0671 Assembly instructions

Panorama Moveis

Panorama Moveis Rack Denver 0671 Assembly instructions

gbo Jonas X2 manual

gbo

gbo Jonas X2 manual

Bouclair 9400953 Assembly instructions

Bouclair

Bouclair 9400953 Assembly instructions

UDIZINE Palo System IPSK002 installation instructions

UDIZINE

UDIZINE Palo System IPSK002 installation instructions

Costway HW67556 user manual

Costway

Costway HW67556 user manual

CASARIA Deuba 100591 instructions

CASARIA

CASARIA Deuba 100591 instructions

Mocka Nyla Bedside Table Assembly instructions

Mocka

Mocka Nyla Bedside Table Assembly instructions

Otto Flip Shelves Narrow 40923 Assembly instructions

Otto

Otto Flip Shelves Narrow 40923 Assembly instructions

American Standard WILLIAMSBURG 2808.222.099 Specification sheet

American Standard

American Standard WILLIAMSBURG 2808.222.099 Specification sheet

Home Decorators Collection SONOMA 48 installation manual

Home Decorators Collection

Home Decorators Collection SONOMA 48 installation manual

burgbad Pli M1004 FITTING INSTRUCTIONS AND OPERATING MANUAL

burgbad

burgbad Pli M1004 FITTING INSTRUCTIONS AND OPERATING MANUAL

aspenhome I215-360T Assembly instructions

aspenhome

aspenhome I215-360T Assembly instructions

manuals.online logo
manuals.online logoBrands
  • About & Mission
  • Contact us
  • Privacy Policy
  • Terms and Conditions

Copyright 2025 Manuals.Online. All Rights Reserved.