8TriStar MPPT Operator’s Manual
Getting Started2.0
2.1 Overview
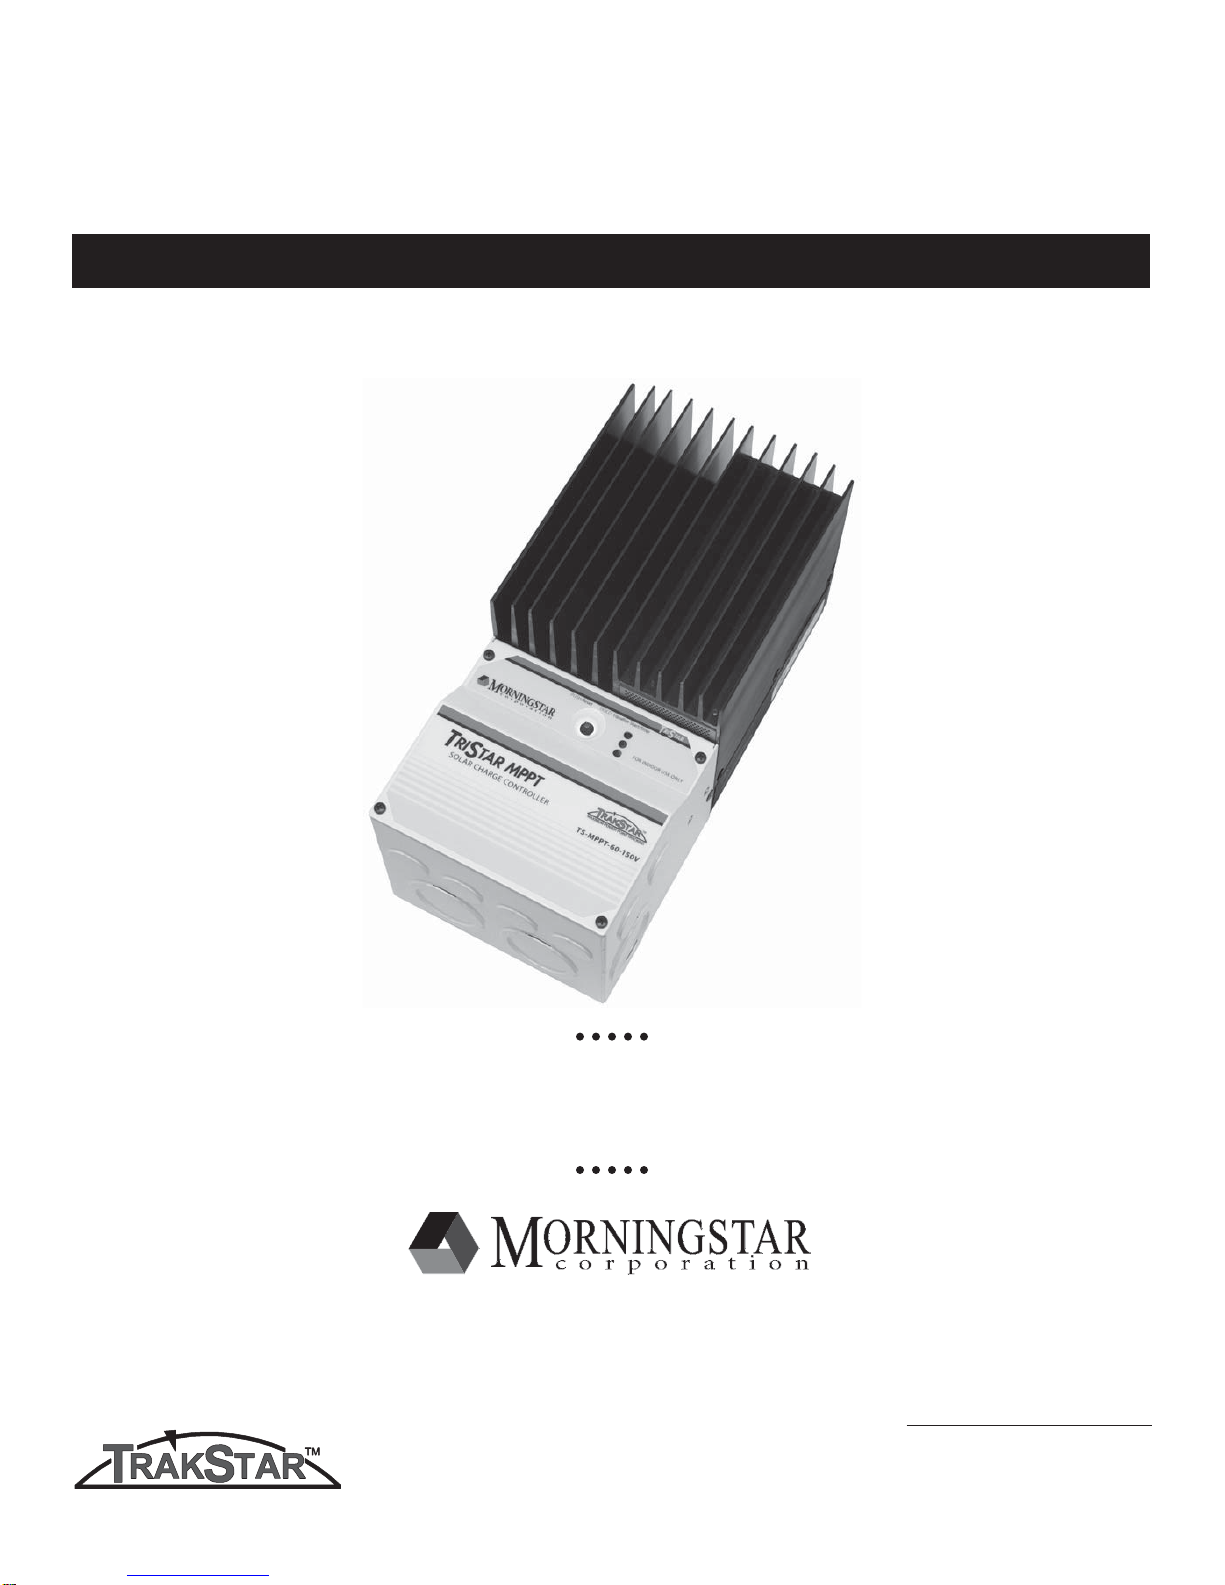
Thank you for selecting the TriStar MPPT solar charge controller with TrakStarTM MPPT Technol-
ogy. The TriStar MPPT (TS-MPPT) is an advanced maximum power point tracking solar battery
charger. The controller features a smart tracking algorithm that finds and maintains operation at
the solar array peak power point, maximizing energy harvest.
The TriStar MPPT battery charging process has been optimized for long battery life and im-
proved system performance. Self-diagnostics and electronic error protections prevent damage
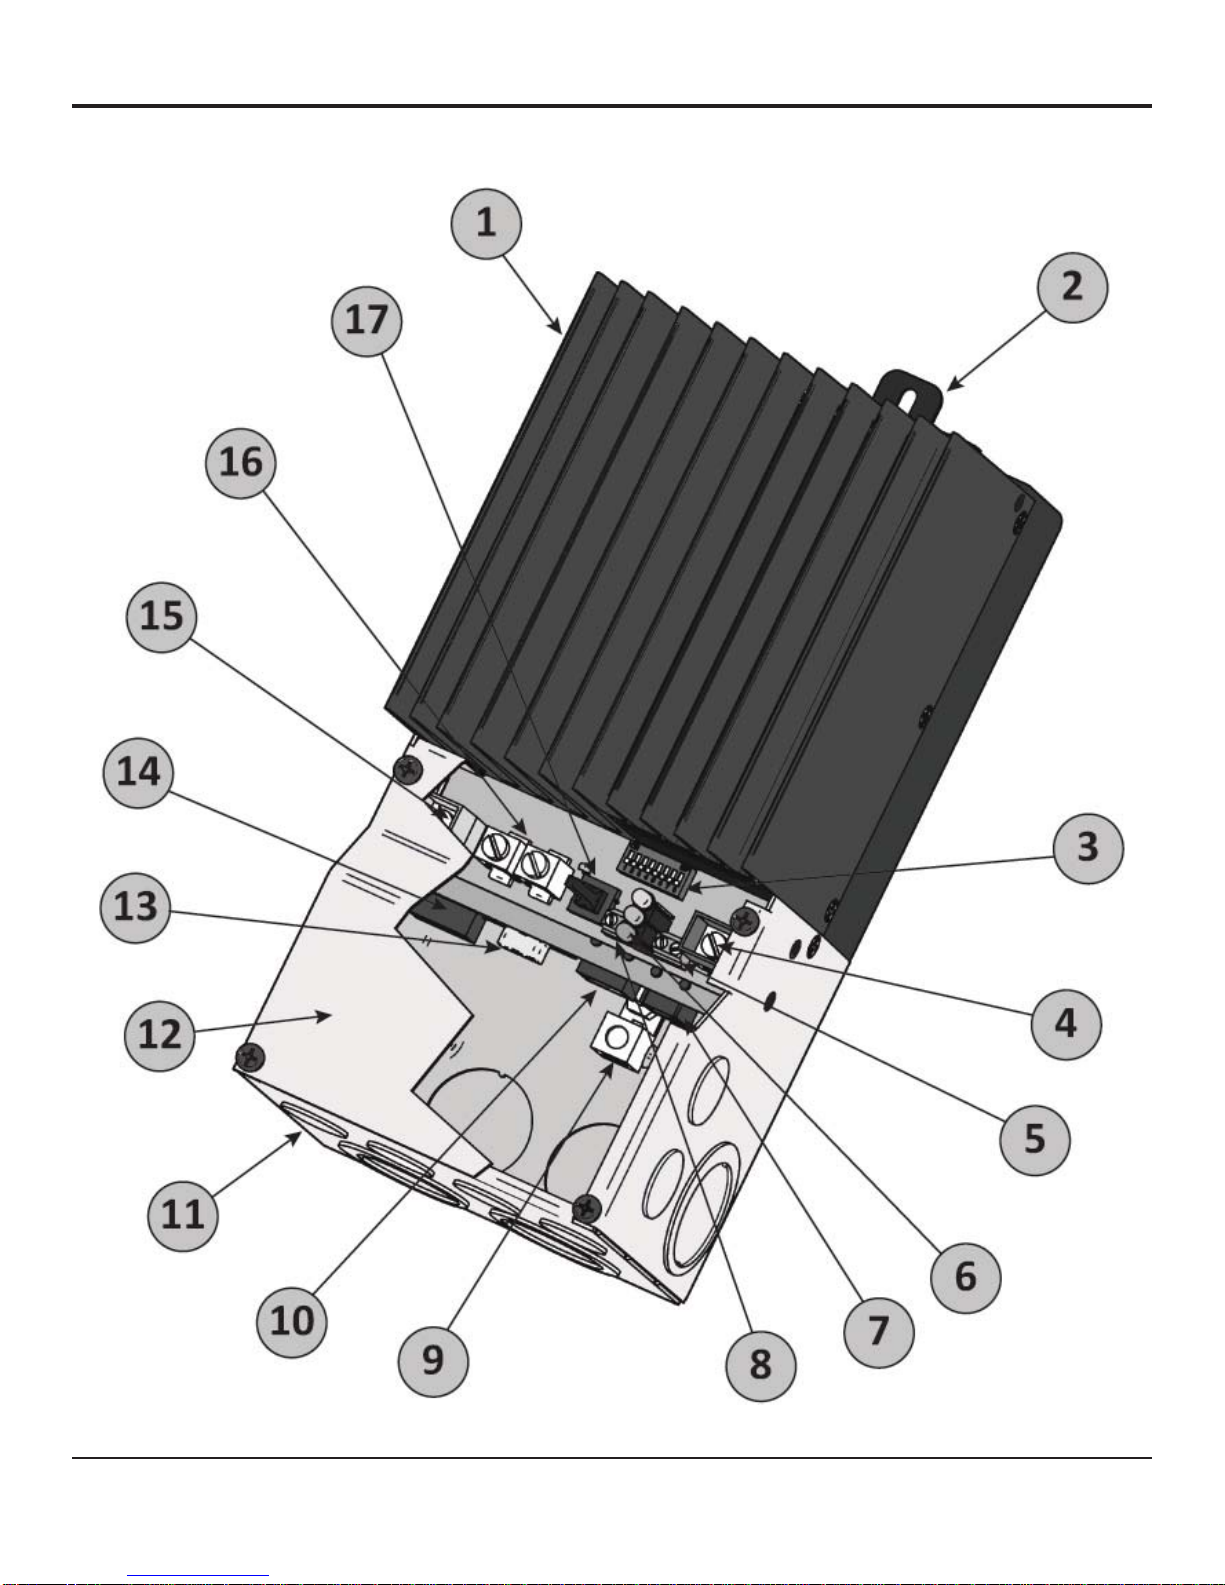
when installation mistakes or system faults occur. The controller also features eight (8) adjustable
settings switches, several communication ports, and terminals for remote battery temperature
and voltage measurement.
Please take the time to read this operator’s manual and become familiar with the controller. This
will help you make full use of the many advantages the TriStar MPPT can provide for your PV
system.
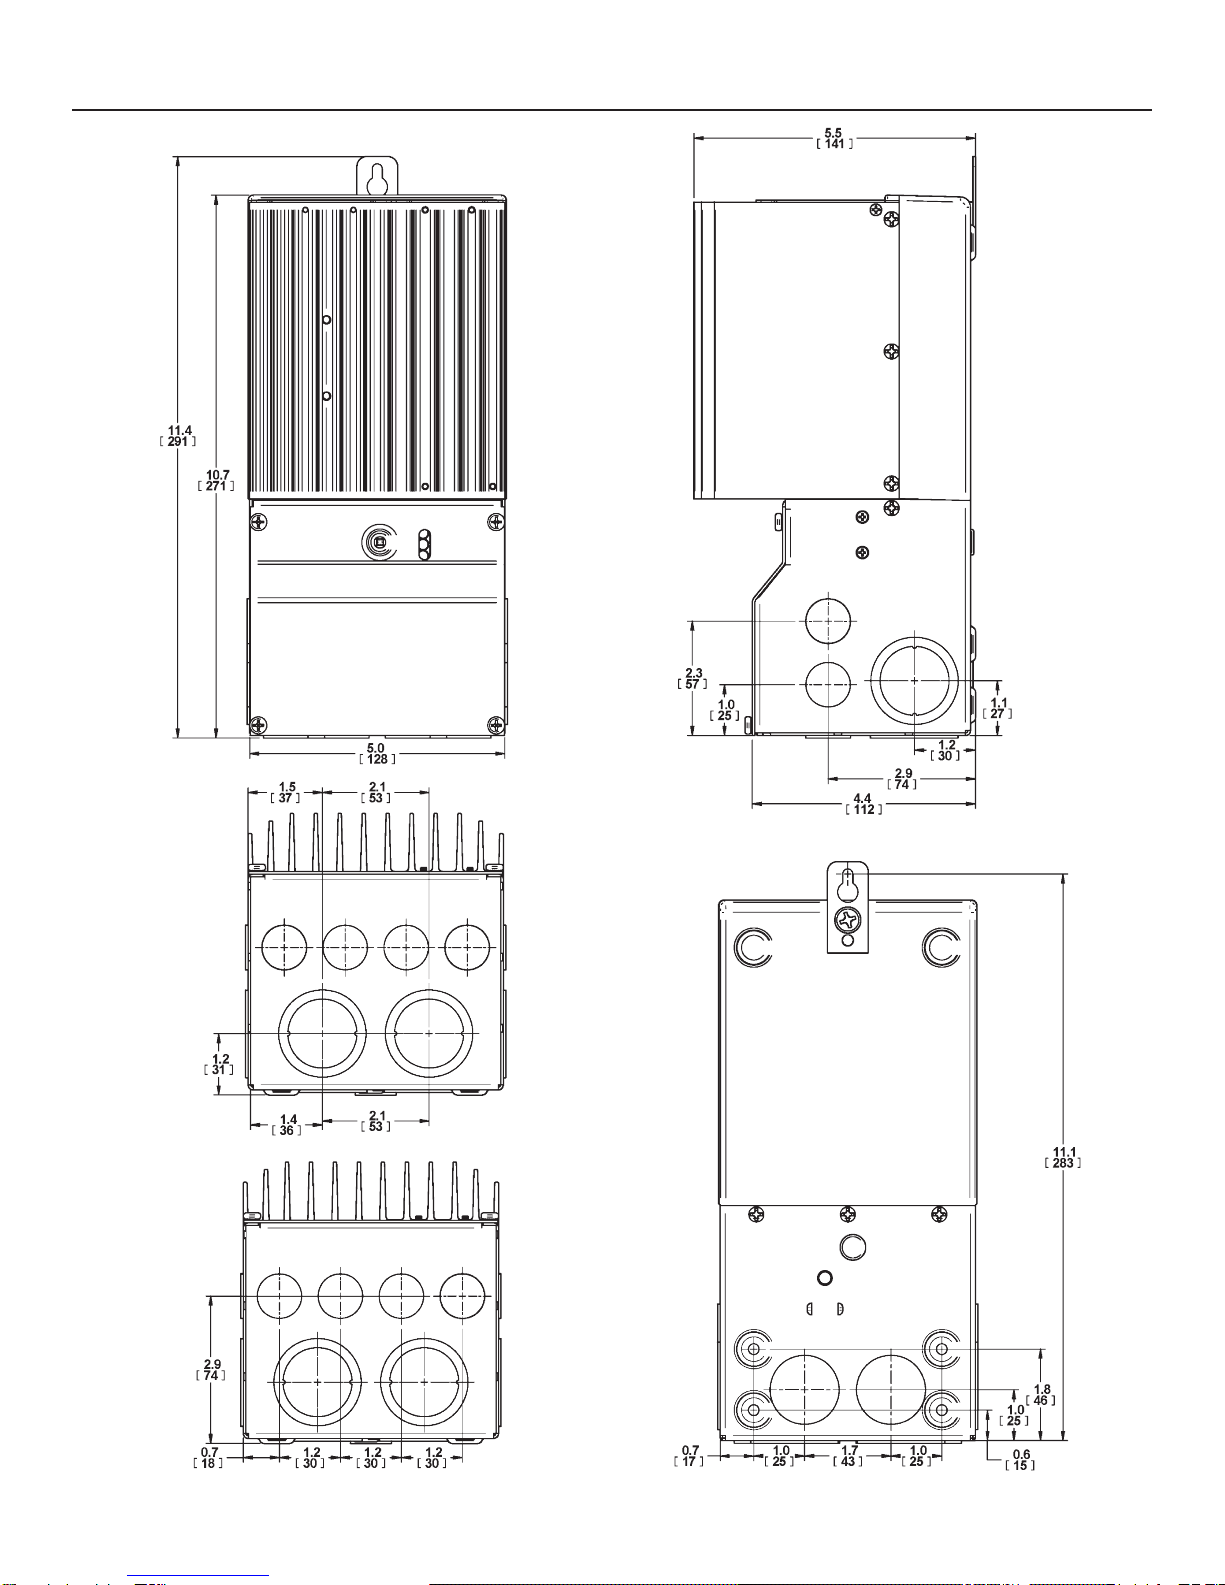
2.2 Versions and Ratings
There are two versions of TriStar MPPT controllers.
TriStar-MPPT-45
• maximum 45 amps continuous battery current
• 12, 24, 36, and 48 Volt dc systems
• maximum 150 Volt dc solar input voltage
• RS-232 and MeterBusTM communication ports
TriStar-MPPT-60
• maximum 60 amps continuous battery current
• 12, 24, 36, and 48 Volt dc systems
• maximum 150 Volt dc solar input voltage
• RS-232, EIA-485, MeterBusTM, and Ethernet communication ports
To comply with the National Electric Code (NEC), the current rating of the controller must be
equal to or greater than 125% of the solar array’s short circuit current output (Isc). Therefore, the
maximum allowable solar array input to the TriStar MPPT controller for compliance with the NEC
is:
TS-MPPT-45: 36 amps Isc*
TS-MPPT-60: 48 amps Isc*
*Solar array Isc @ STC