Notes:
1. Check the raised chair for stability before use.
2. In order to achieve the lowest possible raise, remove the screw-in-feet altogether. It is advisable in this
case to place castor cups (not supplied) under the raiser to protect the carpet from indentation.
3. Images of furniture in these instructions are figurative and simplified for clarity. The design of your chair
may differ from these images. If in any doubt over the fixing of this raiser to your recliner chair, please
contact Morris & Alexander Ltd. 01328 855699
Carefully place chair upright by reversing the procedure in '1'. The raiser is now fitted and ready for use.
RE-LOCATE SCREW AND
THUMBWHEEL TO ADJUST LEG HEIGHT
or or
2a 2b
Page 3 of 3
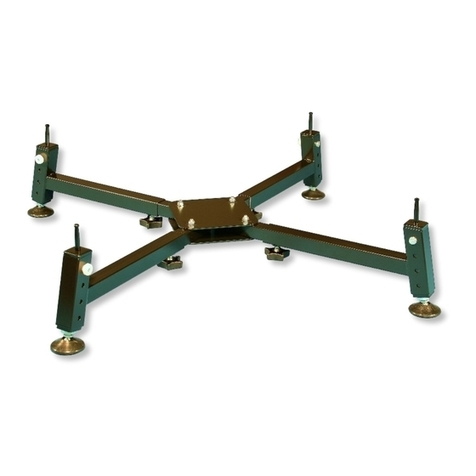
Riser Recliner Chairs - Single or dual motors.
1Position the chair upside down. This is easily achieved by slowly tipping the chair forward until it comes to rest with its
underside facing upwards.
Remove feet or levellers as shown below (fig 1a). If the levellers or feet are attached with nuts then retain these nuts for
use in stage 2. Offer up the raiser to the chair and align the fixing holes in the raiser with the fixing holes of the chair.
You will have to loosen the hand wheels of the raiser to achieve this (fig 1b).
If the raiser is too big for the chair then arrange the raiser legs as shown (fig 1c) to reduce the raiser's size.
1a 1b
1c
2For chairs with threaded fixing points, secure the raiser legs to the chair using the appropriate screws in all four
positions (fig 2a). For chairs with through-hole fixing points use the previously removed nuts to secure the screws.
Position the square plate centrally to the legs and then tighten all the hand wheels. Adjust leg to desired height and
secure using height adjustment screw and thumbwheel (fig 2b).


