1Position the chair upside down. This is best achieved by slowly tipping the chair forward until it comes to rest with its
underside facing upwards.
Remove castors using screwdriver or claw hammer and replace castor sockets with new ones if necessary (fig 1a). Offer
up the raiser to the chair and partially enter the locating pins into the castor sockets of the chair. You will have to loosen
the hand wheels of the raiser to achieve this. Do not fully push home the locating pins until all four pins have been
partially engaged into the sockets (fig 1b).
If the raiser is too big for the chair then arrange the raiser legs as shown (fig 1c) to reduce the raiser's size.
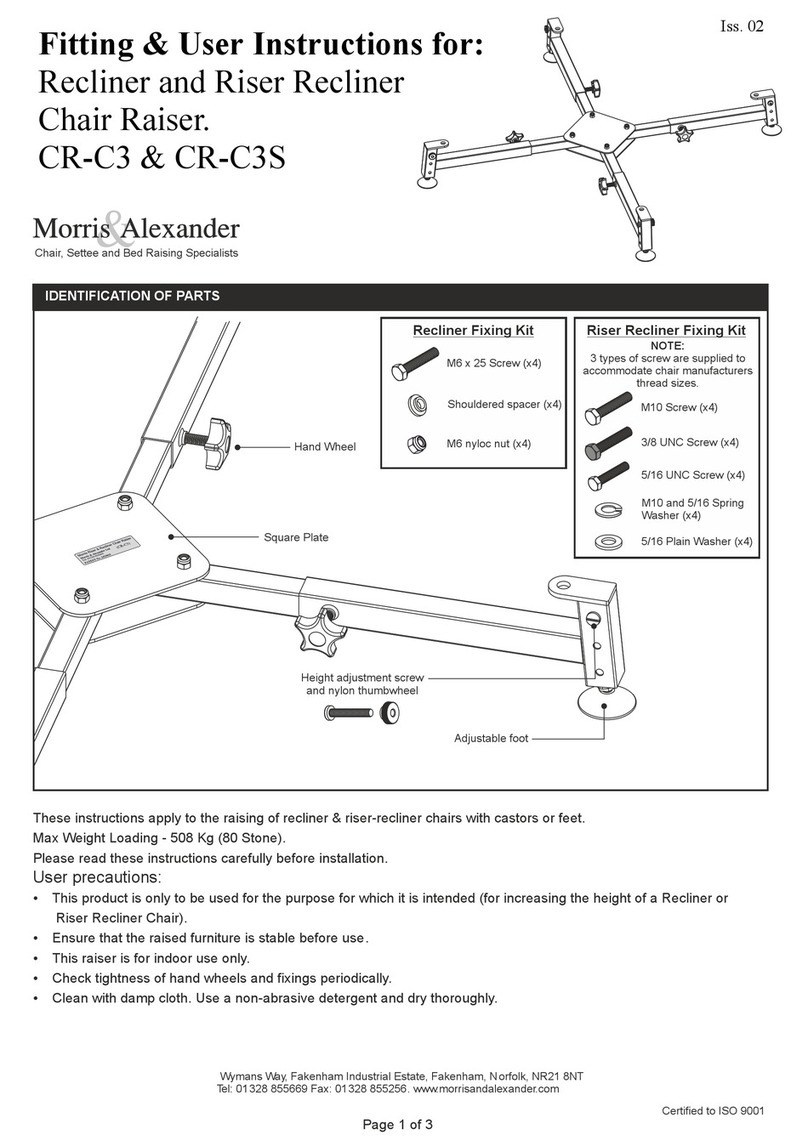
2Push all locating pins firmly home and centralise the square plate in relation to feet before tightening hand wheels (fig
2a). For CR-A position feet to required height by screwing the foot in or out. Tighten the locking nut on the foot before
finishing. For CR-C2 slide inner leg to desired height and locate height fixing bolt and thumbwheel. (fig 2b). Check that
adjustable legs are securely held by height fixing bolt and thumbwheel.
Notes:
1. Check the raised chair for stability before use.
2. Extra stability can be achieved by raising the rear of the chair more than the front. This is done on the CR-A
by unscrewing the feet on the rear legs and re-locking them using the locknuts. For CR-C2 repeat 2b above
for rear legs only.
3. When only a 5cm raise is required it is possible to remove the screw in feet altogether. It is advisable in this
case to place castor cups (not supplied) under the raisers to protect the carpet from indentation.
4. For CR-A only, Extender Bars (EXT-B2) can be used to raise settees.
Carefully place chair upright by reversing the procedure in '1'. The raiser is now fitted and ready for use.
a
a b
RE-LOCATE BOLT AND
THUMBWHEEL TO ALTER LEG HEIGHT
c
b


