manuals.online logo
Brands
  1. Home
  2. •
  3. Brands
  4. •
  5. moss DESIGN
  6. •
  7. Indoor Furnishing
  8. •
  9. moss DESIGN NORD User manual

moss DESIGN NORD User manual

Other moss DESIGN Indoor Furnishing manuals

moss DESIGN Caisson Credenza User manual

moss DESIGN

moss DESIGN Caisson Credenza User manual

moss DESIGN VAIL User manual

moss DESIGN

moss DESIGN VAIL User manual

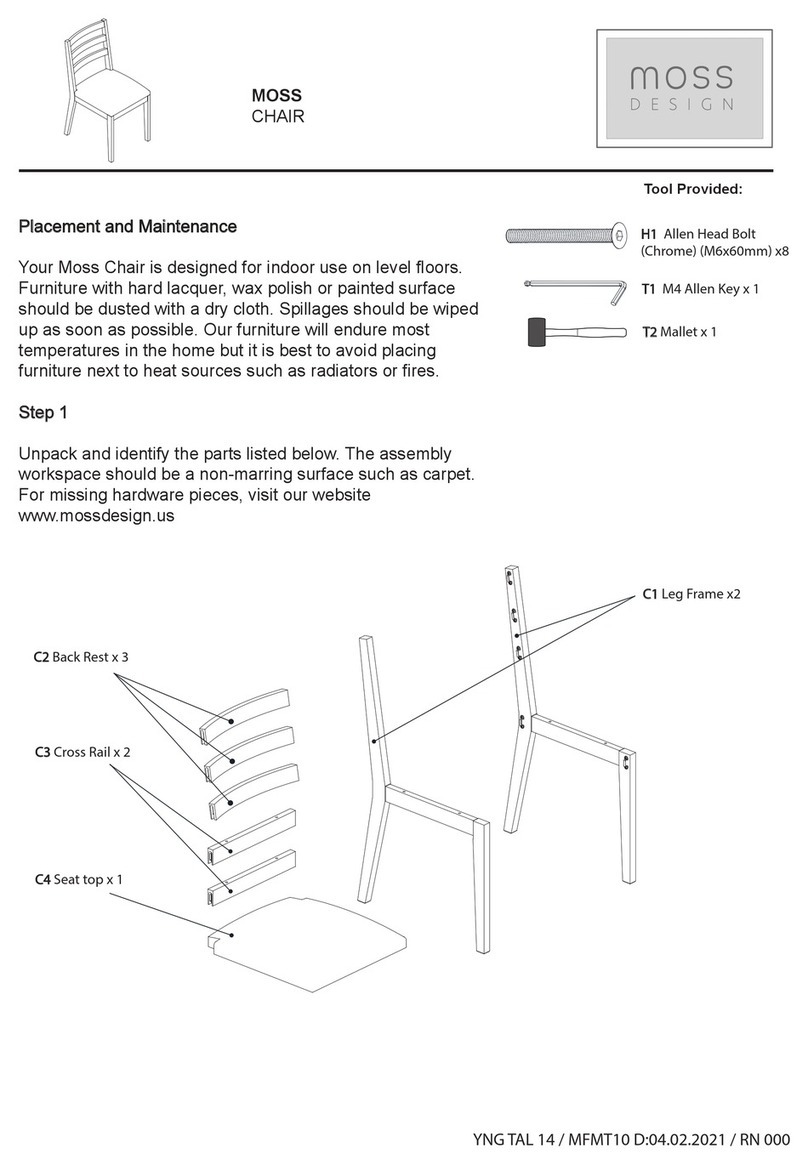
moss DESIGN MOSS User manual

moss DESIGN

moss DESIGN MOSS User manual

moss DESIGN MA User manual

moss DESIGN

moss DESIGN MA User manual

Popular Indoor Furnishing manuals by other brands

Regency LWMS3015 Assembly instructions

Regency

Regency LWMS3015 Assembly instructions

Furniture of America CM7751C Assembly instructions

Furniture of America

Furniture of America CM7751C Assembly instructions

Safavieh Furniture Estella CNS5731 manual

Safavieh Furniture

Safavieh Furniture Estella CNS5731 manual

PLACES OF STYLE Ovalfuss Assembly instruction

PLACES OF STYLE

PLACES OF STYLE Ovalfuss Assembly instruction

Trasman 1138 Bo1 Assembly manual

Trasman

Trasman 1138 Bo1 Assembly manual

Costway JV10856 manual

Costway

Costway JV10856 manual

Aquaglide FULL DECK 15.0 owner's manual

Aquaglide

Aquaglide FULL DECK 15.0 owner's manual

AREBOS AR-HE-SW30 user manual

AREBOS

AREBOS AR-HE-SW30 user manual

Till-Hilft Fulda 87005.330 Assembly instructions

Till-Hilft

Till-Hilft Fulda 87005.330 Assembly instructions

Twoey Outside 2010 quick start guide

Twoey Outside

Twoey Outside 2010 quick start guide

Hettich Easys 200 operating instructions

Hettich

Hettich Easys 200 operating instructions

The bedboss RELAX 404 Series owner's manual

The bedboss

The bedboss RELAX 404 Series owner's manual

Oeseder Möbelindustrie Bern 991 720 Assembly instructions

Oeseder Möbelindustrie

Oeseder Möbelindustrie Bern 991 720 Assembly instructions

Costway HW68469 user manual

Costway

Costway HW68469 user manual

Next ALIX A27743 Assembly instructions

Next

Next ALIX A27743 Assembly instructions

BROSA Hans Assembly guide

BROSA

BROSA Hans Assembly guide

Prodigg MINIKA PBA015T-FUR installation manual

Prodigg

Prodigg MINIKA PBA015T-FUR installation manual

Whittier Wood Furniture McKenzie 3504AFGACa quick start guide

Whittier Wood Furniture

Whittier Wood Furniture McKenzie 3504AFGACa quick start guide
manuals.online logo
manuals.online logoBrands
  • About & Mission
  • Contact us
  • Privacy Policy
  • Terms and Conditions

Copyright 2025 Manuals.Online. All Rights Reserved.

NORD
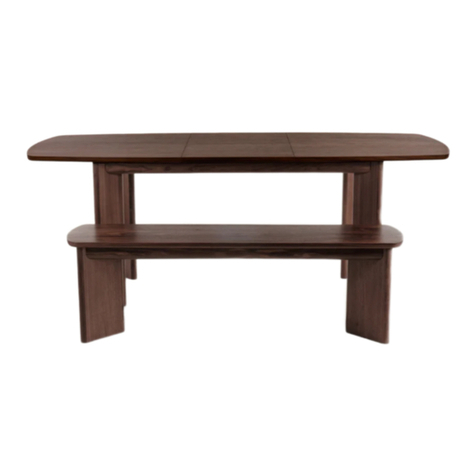
DINING TABLE
Tool Not Provided:
Tool Provided:
C1 Top Panel x 2
C4 Cross Rail x 2
C2 Leg Frame x 2
C3 Bottom Rail x 2
Placement and Maintenance
Your Nord Dining Table is designed for indoor use on
level floors. Furniture with hard lacquer, wax polish or
painted surface should be dusted with a dry cloth.
Spillages should be wiped up as soon as possible. Our
furniture will endure most temperatures in the home
but it is best to avoid placing furniture next to heat
sources such as radiators or fires.
Step 1
Unpack and identify the parts listed below. It is
required to have 2 people to carry and assemble the
units over 50Ibs. The assembly workspace should be
a non-marring surface such as carpet. For missing
hardware pieces, visit our website
www.mossdesign.us
YNG TAL 14 / MFMT41 D:28.03.2023 / RN 000
Screwdriver
T1
Wrench
(M13) x 1
T2
Allen Key
(M4) x 1
H1 Wooden Dowel
(8x35mm) x 12
H2
Barrel Housing x 4
H4
Steel Dowel
x 4
H5
Bolt (6x70 mm) x 26
H8 Hex Nut x 4
H6
Headless Bolt
(8x74mm) x 4
H7
Fixing Head x 4
H3
Set screw x 4
Mallet or Hammer
Step 3 - Attach steel dowels to bottom rails C3.
Fix 4x steel dowels H4 by using a screwdriver to bottom rails C3 as shown below.
Step 2 -Attach wooden dowels to cross rails.
Place 8x wooden dowels H1 to cross rails C4
by using a mallet as shown below.
H1
C4
C4
C3
C3
C3
C4
H1
H1
H1
H1
H1
H1
H1
H4
H4
H4
H4
H4
H1
H1
Step 4 - Attach barrel housings to bottom rails.
Place 4x barrel housings H2 and 4x set screws H3 to bottom rails C3 as shown below.
Step 5 - Attach wooden dowels to bottom frame.
Place 4x wooden dowels H1 to bottom frame by using a mallet as shown below.
C4
C4
C3
C3
H3
H3
H2
H1
H1
H1
H1
H1
T1
C2
C2
C2
H6
H6
H6
H6
H6
Step 6 - Attach headless bolts to leg frames.
Fix 4 headless bolts H6 to the leg frames C2 by hand.
Step 7 - Attach legs to the bottom frame
Place 4 fixing heads H7 into the slots on the bottom rails.
Attach the legs C2 to the bottom frame as shown below.
Then fix the 4 hex nuts H8 by using the wrench T1.
C2
C2
C2
H7
H7
H7
H7
H7
H8
H8
H8
H8
H8
Step 9 - End of the assembly.
Lift the unit to standing position carefully.
Step 8 - Fix the bottom frame and legs by using bolts.
Use 26 x bolts H5 to x the bottom frame under
the top panels C1 by using the allen key H10.
There has to be a small gap
between the two panels.
ATTENTION
C1
C2
C2
C1
H5
H5
T2