manuals.online logo
Brands
  1. Home
  2. •
  3. Brands
  4. •
  5. mothercare
  6. •
  7. Baby & Toddler Furniture
  8. •
  9. mothercare Pop Cabin Bed User manual

mothercare Pop Cabin Bed User manual

your child's safety is your responsibility
If you have a problem with this product or require replacement parts,
please contact your nearest Mothercare store or telephone the
Mothercare customer care line on 08453 30 40 30
Alternatively write to:
Customer Care
Mothercare
Cherry Tree Road
Watford
Herts. WD24 6SH
www.mothercare.com
All Assembly fittings should be tightened properly and regularly checked for security.
Be aware of the risk of open fire and other sources of strong heat, such as electric bar fires, gas
fires, etc. in the near vicinity of the wardrobe.
safety notes
Periodically check all fittings to ensure that none have come loose.
The bed can be cleaned by wiping with a damp cloth and drying with a soft dry cloth.
Never clean with abrasive, ammonia based, bleach based, or spirit type cleaners.
Take care when handling or moving the bed.
care of your product
Careless handling can damage wooden furniture. Pop
Cabin Bed
user guide
IMPORTANT - READ CAREFULLY AND KEEP FOR FUTURE REFERENCE
fig 12
fig 13
fig 1.1
Large End
fig 1.2
Small End
fig 1.3
Back Board
Shelf
fig 1.7
fig 1.4
Middle Panel
Base Panel
fig 1.6
Front Plinth
fig 1.13
fig 1.11
Upper & Lower Drawer Fronts
Foot
fig 1.9
fig 1.5
Plinth Block
Brace
fig 1.8
fig 1.10
Doors
fig 1.15
Drawer Backs
fig 1.16
Drawer Sides
fig 1.14
Mattress Base
fig 1.17
Sides
fig 1.19
25 Large Cams
You need
a cross-head
screwdriver.
25 Large Cam pins
fig
1.26
36 Large 16 Short
screws (10mm)
fig
1.28
8 Small
cam pins
8 Small
cams 4 Hinge sets
2 Screw
Bolts (50mm)
fig
1.23
fig
1.24
6 Bolts (35mm)
fig
1.25
8 Bolts (16mm)
fig
1.27
1 Allen Key
fig
1.32
34 Small
Mattress Base screws
Ensure ‘cut out’ of mounting plate is at the front
C
A
B
Door
Dor
o
Dor
o
12
fig
1.29
fig
1.20
fig
1.21 fig
1.22
fig
1.31
fig
1.30
6
important notes
1
parts check list
Please take a few minutes to read this user guide.
Lay the parts out on the floor and compare to the PARTS CHECK LIST (below). Do not discard any
packaging until you are sure that you have all the parts.
You will need the aid of a second person at certain stages of assembly.
assembly
fig 2
CR
Insert the 4 shelf studs into the holes on the inside faces of the carcass (see fig 12.1). Once the studs have
been inserted into the correct position, carefully place the shelf into the unit. The shelf may need to be
placed at an angle to ease insertion.
1. Insert the door hinges into the large holes in the door and secure each with the 2 pre-fitted hinge screws
(see fig 12.2).
2. To attach the door, fit hinge slot “A” under bolt “B” and tighten bolt “B”.
Door adjustment may be made by slackening bolt “B” slightly and either tightening or loosening screw “C”
as appropriate. Finally, re-tighten “B” and the screws holding the hinge mounts to the side panel.
Attach the 4 mounting plates to the inside faces of the Carcass sides in the pre drilled pilot holes (as shown
in fig 12.2).
Please note: The mounting plates should be orientated with the long edge or cut out section at the front.
Carefully lift the mattress base onto the bed, webbing faced down, pull the mattress base
up to one end, then spread that slats out evenly. Use the 34 small mattress base screws to
secure the base to the bed through the holes in all slats.
Attach the base panel to the front plinth by
inserting 7 large cam pins and 4 dowels into
the front plinth as shown.
Also insert 7 large cams into the corresponding
larger holes on the face of the base panel.
Fit the two parts together by inserting the
exposed ends of the large cam pins and
dowels into the corresponding holes on the
front edge of the base panel. Make sure that
the arrows on the cams are pointing towards
the heads of the cam pins. Once all cam pins
and dowels are correctly engaged, tighten the
cams clockwise to secure.
Drawer Runners
fig 12.2
Shelf
fig 12.1
4 Shelf studs
fig
1.33
fig 1.18
Drawer Bases
fig 1.12
4 Screw
Bolts (40mm) 4 Short
screws (15mm)
fig
1.34
Dowels
52
fig 3
fig 5
fig 4
1 2 3
Screw 3 small cam pins and four dowels into each drawer front and place two drawer
sides and one drawer brace onto each front ensuring that all cam pins are correctly
engaged into their corresponding holes on the edges of each part (shown below). Fit 1
small cam pin into the smaller holes in the middle of each drawer back and 4 dowels
into the holes in each end (shown below right). Also fit 1 dowel into each end of each
drawer brace. Note: One drawer front is assembled with the ‘cut out’ handle facing
upwards and the other facing downwards.
Once all is correctly
aligned, insert 2 small
cams into each drawer
side and in the drawer
brace then tighten the
cams clockwise to
secure the structure.
Note: do not fully tighten
the cams until the whole
drawer is assembled,
this will make it easier to
fit each drawer back
1. Insert the drawer base ensuring that it is correctly located into the grooves on the
drawer sides. Slide the base down so that it also engages into the grooves on the
drawer front.
2.Insert the drawer back by slightly leaning the drawer sides outwards. Ensure the
dowels in the end of each drawer back locate into the corresponding holes on the
inside face of each drawer side.
Note: The cams that attach the drawer fronts to the sides should be loosened to make
it easier to fit the backs.
3.Use 2 screw bolts (40mm) and 1 small cam to fully attach the back and secure the
construction of each drawer.
Make sure that all drawer cams are rotated clockwise and fully tightened.
Complete stages below 1 to 3 for both Drawers
Finally, place each drawer into the main assembly, ensuring that the pre-fitted drawer
runner mechanisms engage correctly (See fig 12).
Attach the middle panel to the
back board by inserting 3 large
cam pins into the three small
parallel holes on one side of the
middle panel as shown left. Insert
6 large cams into the large holes
on one face of the back board.
Attach the two components
together as shown and tighten
the three cams clockwise to
secure. Also insert 2 dowels into
holes in the underside edge of
the back board.
Fit 6 large cam pins and 2 dowels into the upper face of the base panel, also fit 3 large
cams into the large holes on the inside face of the middle panel. Carefully lower the
subassembly of the back board and middle panel onto the base panel, ensuring that
all corresponding cam pins and dowels engage correctly. Once in position, tighten all
cams clockwise to fix the two sub assemblies together.
Attach the 2 right hand
drawer runners to the left
side of the middle panel
using 8 short screws (10mm)
as shown right.
Tighten 3 cams
not shown
fig 11
Runner hole location
detail as above.
3 4
fig 6
fig 7
fig 9
fig 9.1
fig 10
fig 8
Attach the foot to the underside of the
base panel using 2 screw bolts (50mm)
as shown left.
Attach both the large and small end to the assembly using 6 large cam pins, 6 large
cams and 8 dowels as shown above.
Attach the 2 plinth
blocks to the inside
faces of both ends
using 6 (35mm) bolts
as shown left.
Insert 4 bolts (16mm) into each of
the pre-fitted metal inserts in each
end. Ensure the bolts are only
screwed in half way so that they
are easier to locate onto the
brackets.
Slide brackets downwards to
engage onto bolts. Tighten the
bolts to secure the product.
Attach the 2 remaining drawer runners to the inside face of the large end using
the 8 remaining short screws (10mm). Please refer to fig 5 for more detailed
information regarding the position of screws through the holes in the runner.
Finally, fit 1 short screw (15mm) into the upper smaller hole on each bracket as shown in
fig 9.2.
fig 9.2

Other mothercare Baby & Toddler Furniture manuals

mothercare winnie the pooh User manual

mothercare

mothercare winnie the pooh User manual

mothercare Jamestown bunk bed User manual

mothercare

mothercare Jamestown bunk bed User manual

mothercare bassinette User manual

mothercare

mothercare bassinette User manual

mothercare picnic highchair User manual

mothercare

mothercare picnic highchair User manual

mothercare Kyoto over-cot changer User manual

mothercare

mothercare Kyoto over-cot changer User manual

mothercare darlington cot top changer User manual

mothercare

mothercare darlington cot top changer User manual

mothercare padstow User manual

mothercare

mothercare padstow User manual

mothercare wall fix User manual

mothercare

mothercare wall fix User manual

mothercare stockholm dresser User manual

mothercare

mothercare stockholm dresser User manual

mothercare F8612 User manual

mothercare

mothercare F8612 User manual

mothercare luxury folding stand User manual

mothercare

mothercare luxury folding stand User manual

mothercare Ako User manual

mothercare

mothercare Ako User manual

mothercare open changing unit User manual

mothercare

mothercare open changing unit User manual

mothercare lulworth User manual

mothercare

mothercare lulworth User manual

mothercare oakhampton cotbed User manual

mothercare

mothercare oakhampton cotbed User manual

mothercare gliding crib User manual

mothercare

mothercare gliding crib User manual

mothercare Playbead Cot User manual

mothercare

mothercare Playbead Cot User manual

mothercare deluxe gliding stand User manual

mothercare

mothercare deluxe gliding stand User manual

mothercare provencal dresser User manual

mothercare

mothercare provencal dresser User manual

mothercare hereford dresser User manual

mothercare

mothercare hereford dresser User manual

mothercare hampstead cotbed top-changer User manual

mothercare

mothercare hampstead cotbed top-changer User manual

mothercare padstow changer User manual

mothercare

mothercare padstow changer User manual

mothercare little hampton changing unit User manual

mothercare

mothercare little hampton changing unit User manual

mothercare balham cot User manual

mothercare

mothercare balham cot User manual

Popular Baby & Toddler Furniture manuals by other brands

Fisher-Price FWK52 manual

Fisher-Price

Fisher-Price FWK52 manual

Joyello MAMMOLA JL-1047 user manual

Joyello

Joyello MAMMOLA JL-1047 user manual

dadada Austin Assembly instructions

dadada

dadada Austin Assembly instructions

Hauck Baby Park 4 in 1 Instructions for use

Hauck

Hauck Baby Park 4 in 1 Instructions for use

Dorel Asia baby ReLaX Lakeley Changer Topper DA7253-2E manual

Dorel Asia

Dorel Asia baby ReLaX Lakeley Changer Topper DA7253-2E manual

Anstel babyrest BAILEY COT Assembly instructions

Anstel

Anstel babyrest BAILEY COT Assembly instructions

The Land of Nod Larkin Toddler Rail Assembly instructions

The Land of Nod

The Land of Nod Larkin Toddler Rail Assembly instructions

Magrini MC75 Instructions for use

Magrini

Magrini MC75 Instructions for use

Geuther Maxi 4864 Assembly instructions

Geuther

Geuther Maxi 4864 Assembly instructions

pottery barn kids MADISON manual

pottery barn kids

pottery barn kids MADISON manual

Fisher-Price C2118 instructions

Fisher-Price

Fisher-Price C2118 instructions

Simmons Kids SlumberTime Crib 'N' More Assembly instructions

Simmons Kids

Simmons Kids SlumberTime Crib 'N' More Assembly instructions

SAUTHON easy CANNELLE IK951A Technical manual

SAUTHON easy

SAUTHON easy CANNELLE IK951A Technical manual

Babyletto Crayson Mini Crib Assebly and operation manual

Babyletto

Babyletto Crayson Mini Crib Assebly and operation manual

Jardine Cherry Windsor Lifetime DV623B4 quick start guide

Jardine

Jardine Cherry Windsor Lifetime DV623B4 quick start guide

EAST COAST Katie Assembly and care instructions

EAST COAST

EAST COAST Katie Assembly and care instructions

babymoov Balancelle 360 Motion Instructions for use
babymoov

babymoov Balancelle 360 Motion Instructions for use

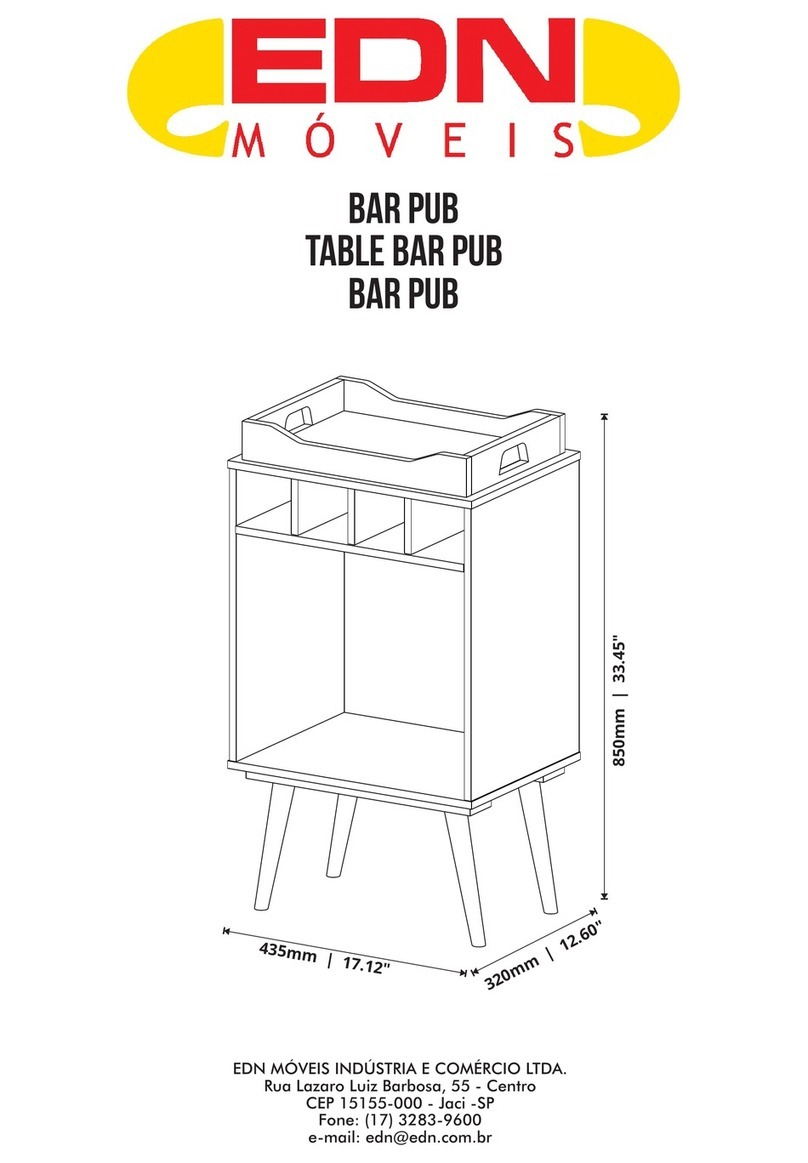
EDN MÓVEIS Bar Pub manual

EDN MÓVEIS

EDN MÓVEIS Bar Pub manual

manuals.online logo
manuals.online logoBrands
  • About & Mission
  • Contact us
  • Privacy Policy
  • Terms and Conditions

Copyright 2025 Manuals.Online. All Rights Reserved.