2
22000 Industrial Blvd
Suite 250
Rogers, MN 55374
866.527.7637
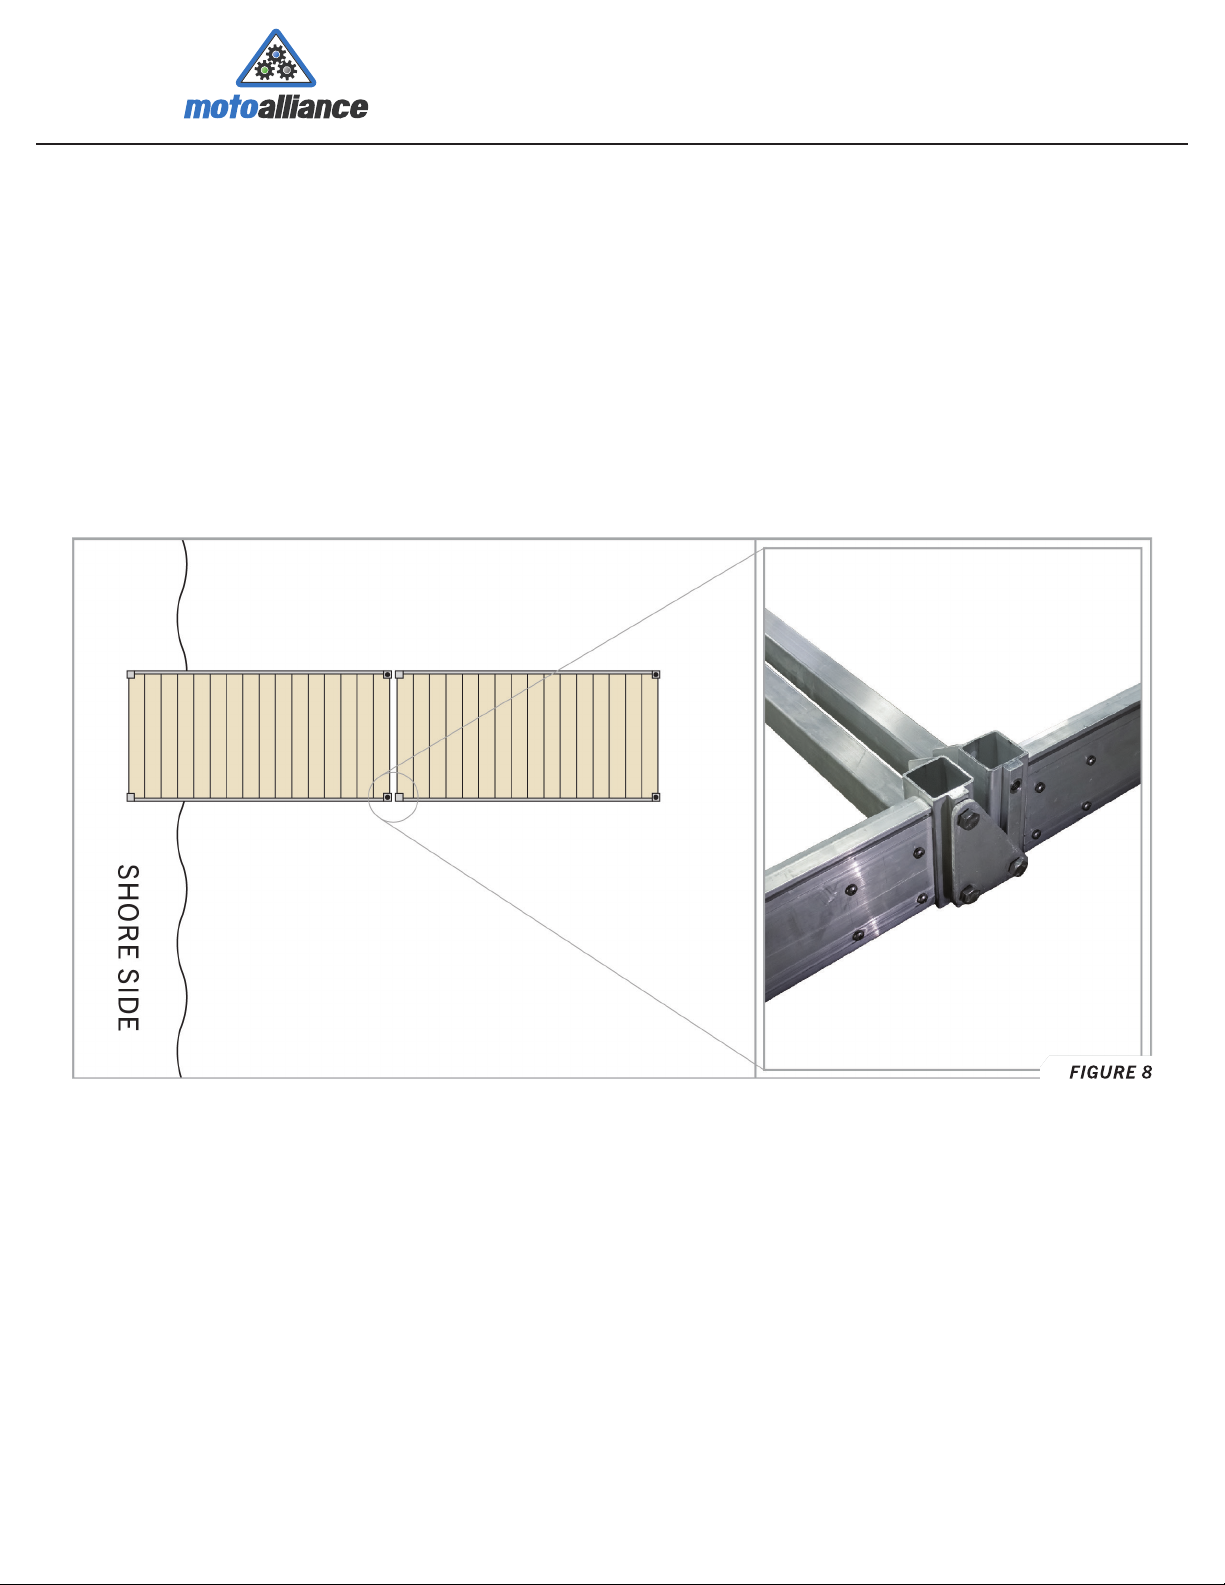
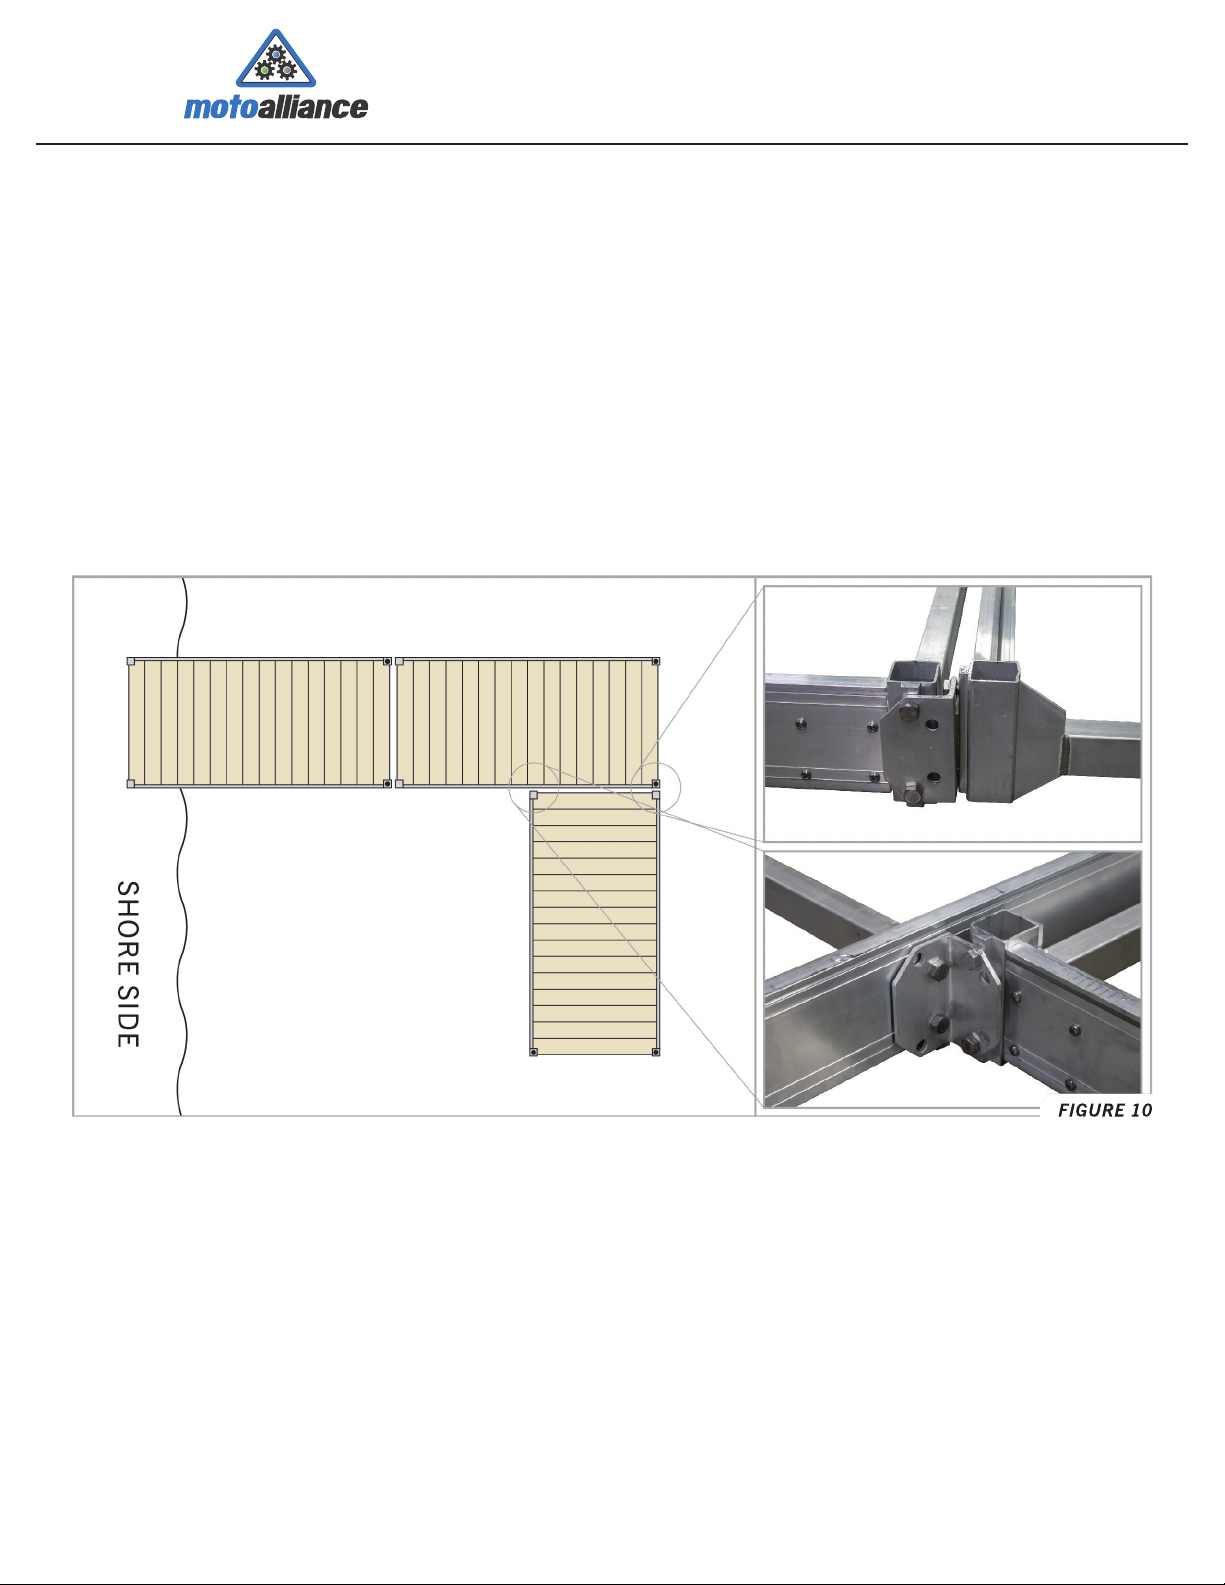
Aluminum Marine Dock Frame
Dock_8x4
Part# Qty Item Description
1 2Dock Sides
2 1Center Brace
3 2End Pieces
4 2Galvanized Posts
5 2Post Covers
6 2Base Plates
7 2Triangular Joining Plates
8 1L Bracket
9 1Right-angle Adapter
10 8⁄" x ⁄" Bolt Kits
11 16 ⁄" x 1⁄" Bolt Kits
12 8⁄" x 1" Bolts
INCLUDED IN THIS KIT
Please verify that all hardware and
parts are included in your package.
• Check and tighten all bolts before use.
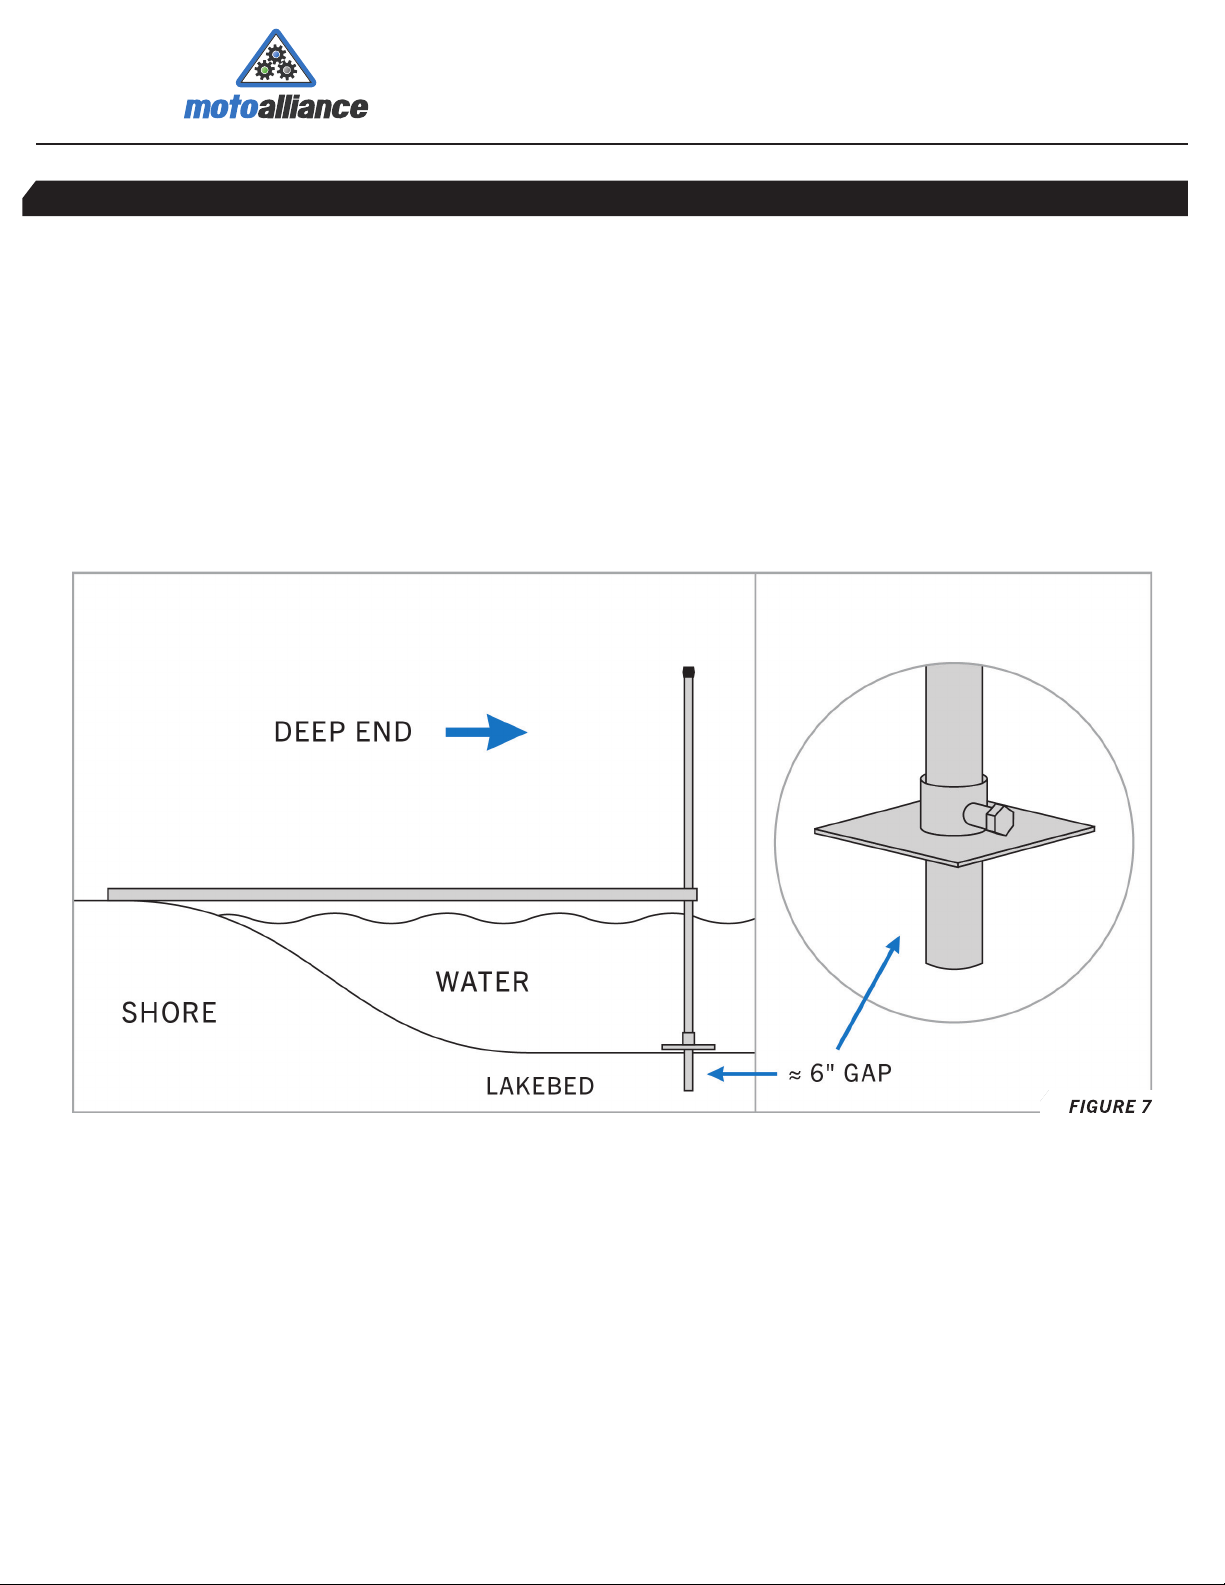
• Ensure the dock is well seated in the lakebed before use. Additional mooring may be required in high wind areas.
• Limit use to 4 people or 800 lbs.
• It is recommended to wear a personal flotation device while on the dock.
• Children should not be allowed to use the dock unsupervised.
REQUIRED MATERIALS
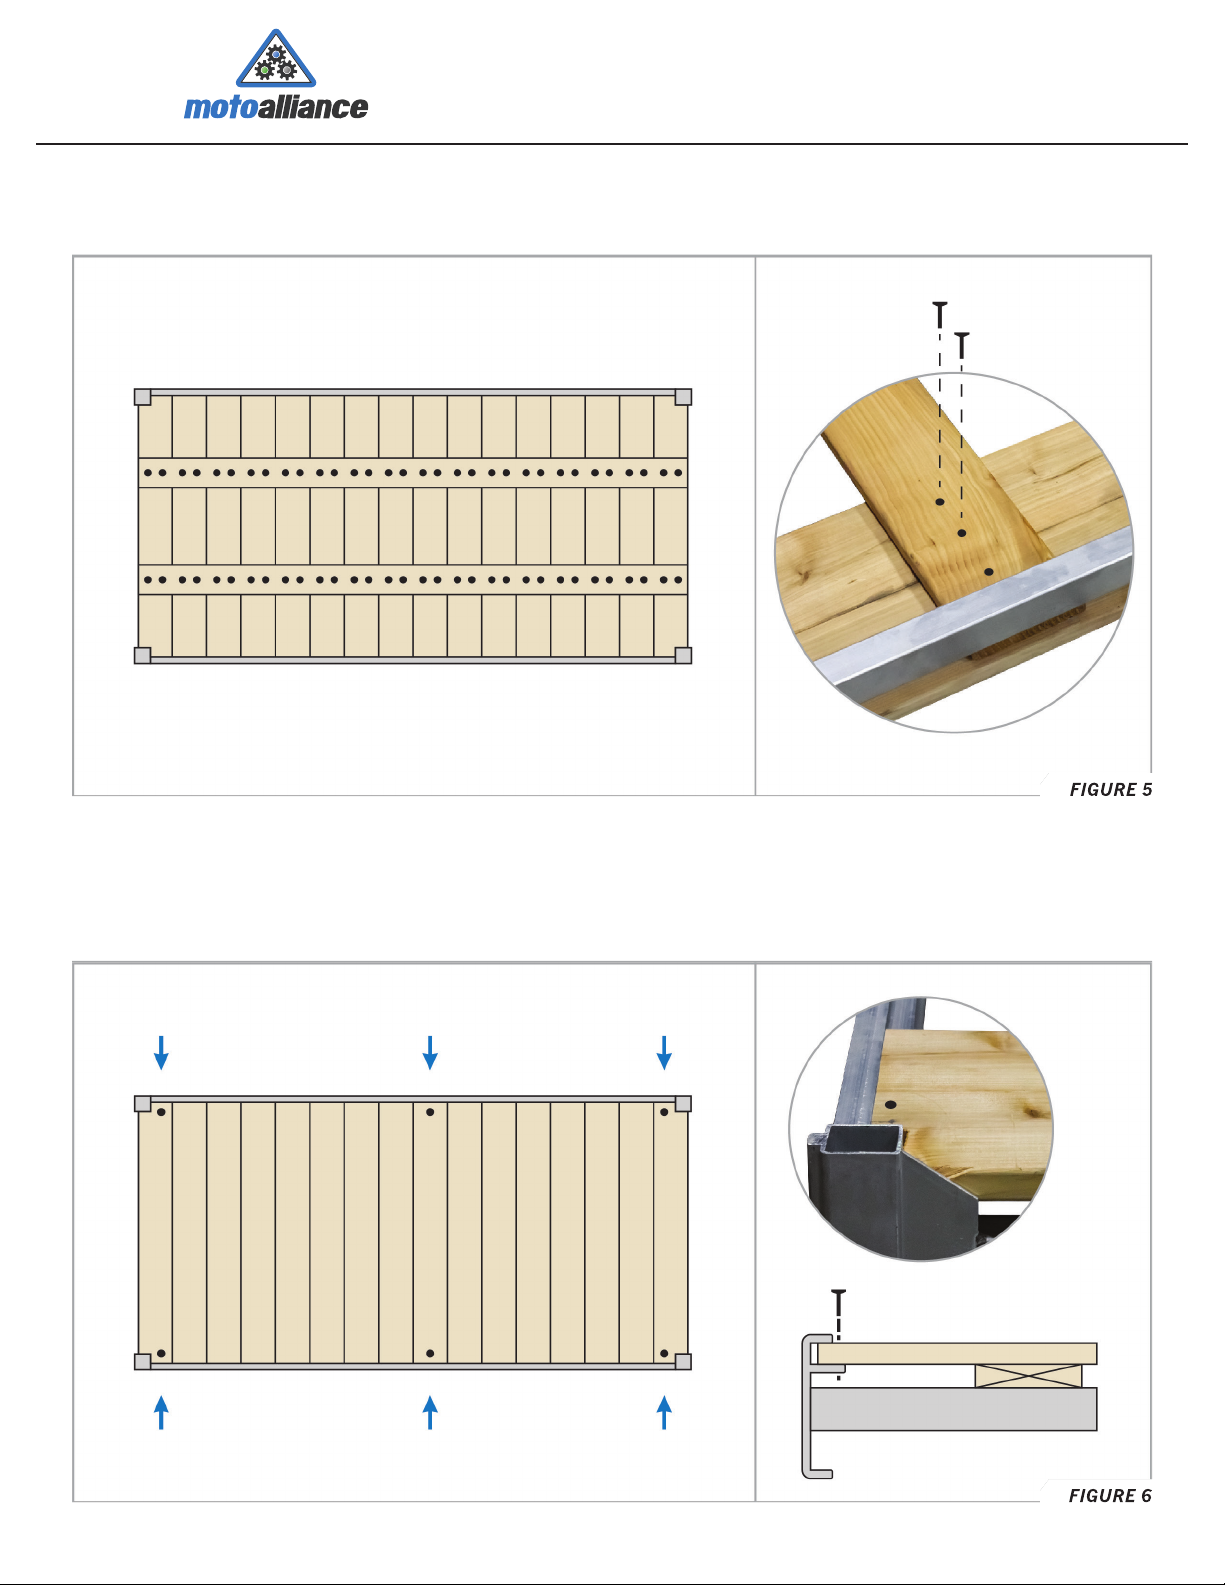
This dock can accommodate any wood, composite, or metal decking suitable for your requirements.
The decking thickness should be within 19mm and 25mm. We recommend ⁄" x 6" x 16' Cedar Planks
for their natural rot resistance. You will need ten 8' planks to fully cover the dock surface.
Fasteners should be used to secure the decking to the dock frame. These should be stainless steel or
coated fasteners to prevent corrosion. We recommend 1¾" wood screws. You will need 70 to complete
the recommended fastening.