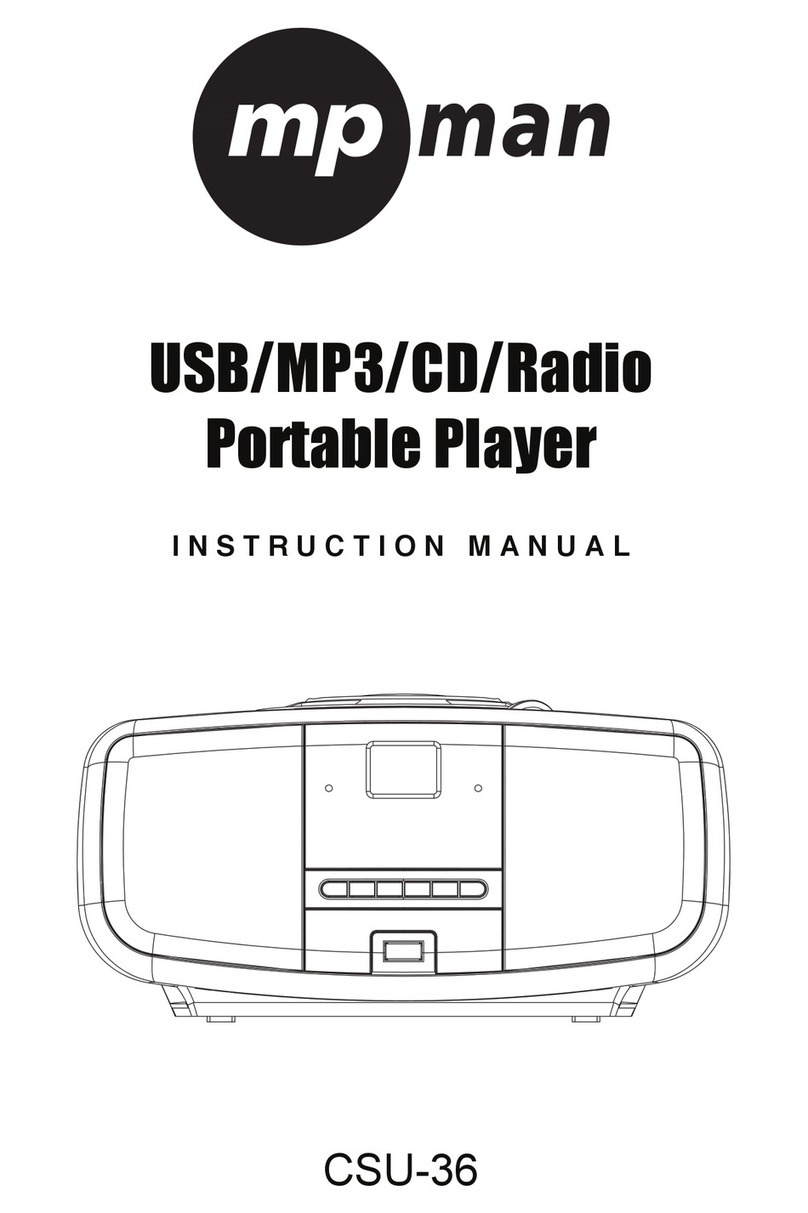
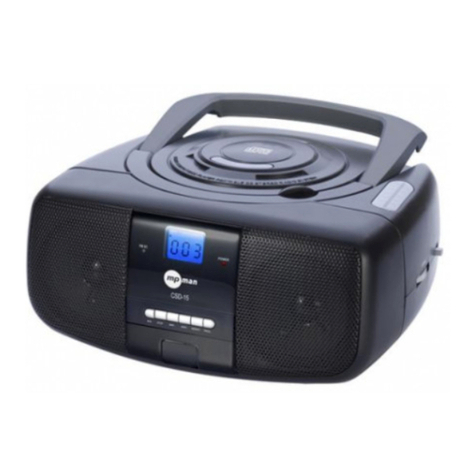
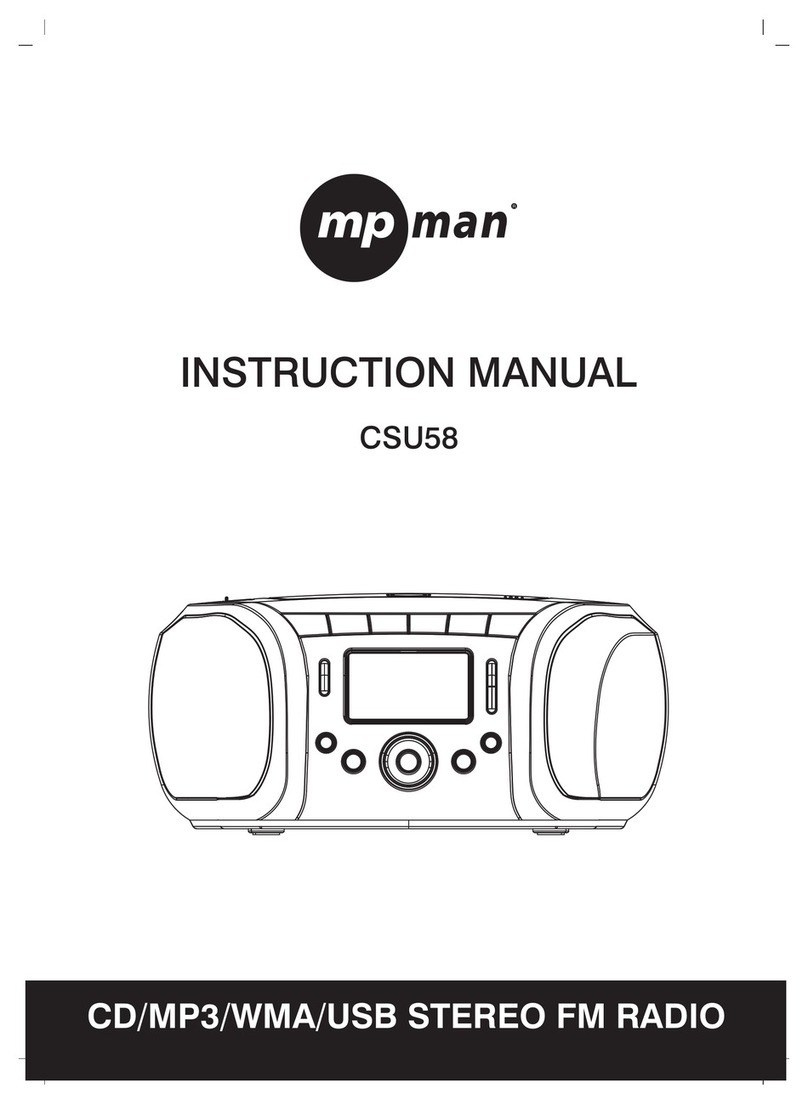
MP-Man Boom Box 60USB User manual

CD/MP3/USB/Radio
Portable Player
Boom Box 60USB
INSTRUCTION MANUAL
1English
1

2
PREPARATION FOR USE
Unpacking and Setup
* Carefully remove the unit from the display carton and remove all packing material from the unit itself.
* Remove any descriptive labels that may be found on either the front or top cabinet of the unit. Do not
remove any labels located on either the back or button cabinet of the unit.
* Press the CD door OPEN Button to open the CD compartment door. There is a white card in the CD
compartment which is intended to prevent the CD pickup from moving during shipment of the product,
Remove this card from the CD compartment before use.
POWER SURRLY
Using AC Power
1. Check if the power voltage, as shown on the type plate located on the bottom of
the set, corresponds to your local AC power supply. If it does not, consult your
dealer or service centre.
2. Connect the power cord to the AC socket inlet and the wall outlet, the power
supply is now connected and ready for use.
3. To switch off completely, unplug the power cord from the wall outlet.
4. Unplug the power cord from the wall outlet to protect your set during heavy
thunderstorms.
Batteries (not included)
Open the battery compartment and insert six batteries, type LR14, UM-2 or C-cells,
(Preferably Alkaline) with the correct polarity as indicated by the + and -
symbols inside the compartment
Batteries contain chemical substances, so they should be disposed of properly.
Incorrect use of batteries can cause electronic leakage and will corrode the
compartment or cause the batteries to burst. Therefore:
Do not mix battery types: e.g. alkaline with carbon Zinc. Only use batteries of
the same type for the set.
When inserting new batteries, do not try to mix old batteries with new ones.

3
1.LEFT&RIGHT SPEAKER
2.REPEAT BUTTON
3.USB JACK
4.Power BUTTON
5.FUNCTION SELECT
6.TIME/PROGRAM BUTTON
7.LCD DISPLAY
8.STANDBY
9.PLAY/PAUSE BUTTON
10.CD DOOR OPEN/CLOSE BUTTON
11.STOP BUTTON
12.NEXT BUTTON
13.BACK BUTTON
14.AC SOCKET
15.FM ANTENNA
16.AUX JACK
17.PHONES JACK
18.VOLUME+ BUTTON
19.VOLUME- BUTTON
20.PRE-DN BUTTON
21.PRE-UP BUTTON
22.BATTERY DOOR

4
CONTROLS POWER SUPPLY
1.LEFT&RIGHT SPEAKER
2.REPEAT BUTTON
- Repeat a track CD/MP3/USB program.
- Repeat mode : normal->repeat 1->repeat all-> repeat album ->normal
3.USB JACK
-To listen to your USB flash memory
stick with Mp3 music files.
4.POWER BUTTON
-Press power button on/off
5.FUNCTION SELECT
-Select source of sound CD/USB/ AUX/RADIO.
6.TIME/PROGRAM BUTTON
-In standby mode, to setup the time of the unit.
-Program and review programmed track numbers.
-In the working status, push down this button
can on CD/MP3/USB/RADIO for programming.
7.LCD DISPLAY
- Show the FM dial frequency.
- Show the number of tracks.
8.STANDY INDICATOR
9.PLAY/PAUSE BUTTON
- Start or pause MP3/CD/USB/BLUE play.
-In the radio mode, press the play/pause button
enter the automatic channel scan mode.
10.CD DOOR OPEN/CLOSE BUTTON
- Press here to open/close the CD door.
11.STOP BUTTON
- Stop CD/MP3/USB playback;
-Cancel preset program.
12.NEXT BUTTON
- To setup the time standby state
-Select NEXT track selection .
- Press and hold more than 1.5 sec
forward search inter track.
- In the radio mode, press NEXT button will tunning Frequency to high-end .
13.BACK BUTTON
- To setup the time standby state
- BACK track selection.
- Press and hold more than 1.5 sec BACK search inter track.
-In the radio mode, press BACK button will tuning Frequency to Low-end.
13.AC SOCKET
- Inlet for power cord.

5
14.AC SOCKET
- INLET for Power Card
15. FM ANTENNA
-TO improve FM reception
16.AUX JACK
-Press FUNCTION button , select AUX station.
play MP3、DISCMAN、WALKMAN AUX insert.
insert when no disc.
NOTE: Please take out the CD disc.
17.PHONES JACK
- 3.5 mm stereo headphone jack.
18.VOLUME+ BUTTON
19.VOLUME- BUTTON
20.PRE-DN BUTTON
-In the radio mode, press PRE-DN button to select backward. Primary pre-set
channel.
-In the mp3 mode, press PRE-DN button to enter the backward folder.
21.PRE-UP BUTTON
-In the radio mode, press PRE-UP button to select the next primary Pre-set channel.
-In the mp3 mode, press PRE-UP button to enter the forward folder.
enter into the next folder.
22.BATTERY DOOR
-To open battery compartment.

6
USE CLOCK
To setup the time of the unit
1.Connect the AC on(The following operation must be in standby mode).
2.Short according to the time button, the time will flashing on the LCD display.
3.Press BACK、NEXT to select the number of the time. you can setup the time format
by 12h or 24h.
4.Press time button to confirm.
5.Then you can set the hour and the minute with the same method of steps 3-4.
6.(setup the alarm time, long press the time button can setup the unit begin alarm time
mode. With the same method of setps 3-4)
Note: After setup the unit time, the LCD will display the Radio/CD/USB/AUX
mode,
Press the Back or Next to choose the mode, then it press time button to affirm,
otherwise it play USB or AUX mode first.
RADIO
Radio reception
1.Press FUNCTION button select RADIO mode.
2.Tune to required station by press BACK/PRE-DN or NEXT/PRE-UP.
Manual Tuning: Press BACK or NEXT and then release within 1 sec.
Auto Tuning: Press the play/pause button enters the automatic scan channel
and to be enter the station automatically .
Preset Channel:(FM 30 Preset memories)
(1) Press BACK/PRE-DN or NEXT/PRE-UP to tuning by manual ,select
desired station.
(2) Press PROGRAM button , the Pre-set program begins steady in the display.
(3) Push PRE- DN or PRE-UP buttons to select the primary pre-set station
number.
(4) Press PROGRAM button to save your selected station.
(5) Repeat steps (1) to (2) procedures for other stations.
3.After end of program. Push PRE-UP or PRE-DN to start play the frequency that you
selected .
4.Push [VOL-]or [VOL +] to adjust the volume.
5.Extend TELESCOPIC ANTENNA to its full length if you are listening to FM
broadcasting.
6.Turn off the radio by press FUNCTION button select other mode or press power
button to off the unit.
7.Switch on again after shut down, the memory frequency still exists.

7
PROGRAM METHOD
(1)Press the [PROGRAM] key at STOP mode, system will go to PROGRAM mode.
-The PRG icon and P01 will blink at 2Hz. This prompts the user to enter the first
songs in the
program PLAY list.
(2)The user can select the desire tracks by using [NEXT], [BACK] keys.
Once these keys are pressed, the Display will show the selected track.
(3)After select the desired track, press [PROGRAM] key again and it will be stored in
the memory.
Mp3 Maximum 99 and CD Maximum 20 tracks can be programmed when Repeat
steps (2) to (3) procedures.
(4)If press the [STOP] key during the program mode, then the selected TRACKs will
be stored
in the memory and return to STOP mode (Continuous Play mode)
(5)If press the [PLAY] key during the program mode, it will start the program PLAY
mode.
PLAY start from P01 Track
Erasing a program
You can erase the content of the memory by:
- While playing, press STOP button twice.
- Opening the CD door
- Select the other mode.
USE AUX
To listen music with a mp3、discman、walkman.
1. Connect to the AUX .
2. Press function selector to AUX, with connector cable Plug-in the Aux jack.
The sound source of the mp3 or discman or walkman will output from the unit.
-Press the volume control to adjust the volume.
-The unit can't control the player.

8
CD/MP3 PLAYER
Playing a CD/MP3
This CD-player can play Audio Discs,MP3 CD-R.
Do not try to play CD-ROM,CDi,VCD,DVD or computer CD.
1.Press function button to CD state.
2.To open the cd door, press cd open button.
3.Insert a mp3/cd or cd-r、with the printed side facing up and press CD door gently to
close.
4.Press play/pause on the set to start playback.
5.Press the pause button to pause play, press the play button back playing.
6.To stop cd playback , press stop.
Note: cd/mp3 play will also stop when:
-you open the cd compartment;
-you select radio sound source;
-the cd/mp3 has reached to the end.
Selecting a different track.
during playback you can use back or next to select a particular track.
-If you have selected a track number in the stop or pause position, press play to start
playback.
-Press next once briefly for the next track, or press repeatedly until the desired
track
number appears in the display.
-Press back once briefly to return to the beginning of a current track.
-Press back more than once briefly for a previous track.
Finding a passage within a track
1.Press and hold down back or next, the CD is played at high speed.
2.When you recognize the passage you want release back or next.
Different play modes: repeat
Repeat-play the current track continuously.
Repeat all-plays the entire CD continuously.
Playing tracks in random order after press the random button, the tracks will be
played in random order.
PLAYING the USB function
USB Audio functions
1)Press function button or stop USB button to choose the USB state.
2) PLAY/PAUSE
3) NEXT, BACK Skip search
4) Program Track(MP3 99 Track &CD 20 Track )
5) REPEAT MODE : normal->repeat 1->repeat all-> repeat album ->normal
6) Maximum Folder : 99 Folders
9
7) Maximum File: 999 Files
*Notice :
-When the unit has not the disc, inserting the USB card will automatically real USB
card,
it read the USB first while having the USB.
-The unit doesn't support the HDD all and the portion USB with mp3 player.
Note: at the mode of CD/MP3/USB , the LCD will display the number of song or the
song playing time.
If at the mode of Aux, the LCD will display the symbol of Aux or the unit time.
Power Off Erp2 function
When the unit idles on CD /AUX/ USB mode over 10 min, then the unit will switch
into standby mode automatically
This is to certify that BOOMBOX 60USB is in conformity with:
Council directive 89/336/EEC (EMC direction):
Applicable standards:
EN55013:2001+A1:2003+A2:2006
EN61000-3-2:2006+A1:2009+A2:2009
EN61000-3-3:2008
EN55020:2007
Made in PRC
For more information please visit our website
www.mpmaneurope.com

LECTEUR PORTABLE
CD/MP3/USB/RADIO
Boom Box 60USB
MANUEL D'UTILISATION
2French
10

11
PREPARATION POUR L'UTILISATION
Ouverture du paquet et réglages
* Retirez attentivement l'appareil du carton de présentation et retirez tous les éléments d'emballage sur l'unité
elle-même.
* Retirez toutes les étiquettes descriptives qui peuvent être trouvées soit sur l'avant ou le haut du boîtier de l'appareil.
Ne retirez pas les étiquettes situées à l'arrière ou sur le dessous du boîtier de l'appareil.
* Appuyez sur le bouton Open de la porte du CD pour ouvrir celle-ci. Il y a une carte blanche dans le compartiment
CD dont le but est de prévenir les mouvements du lecteur du CD pendant les déplacements du produit. Retirez cette
carte du compartiment CD avant utilisation.
ALIMENTATION ELECTRIQUE
Utilisation du secteur.
1. Vérifiez si le voltage, tel qu'indiqué sur le panneau arrière de l'appareil,
correspond bien à l'alimentation secteur locale. Si ce n'est pas le cas, consultez
votre revendeur ou le service de dépannage.
2. Connectez le cordon d'alimentation à la fiche d'alimentation et à la sortie murale,
l'alimentation électrique est maintenant connectée et prête à l'emploi.
3. Pour éteindre complètement, débranchez le cordon d'alimentation de la fiche
murale.
4. Débranchez le cordon d'alimentation de la fiche murale pour protéger votre
appareil lors des grands orages.
Piles (non incluses)
Ouvrez le compartiment piles et y introduire six piles, type LR14, UM-2 ou C-cells,
(si possible alcaline) avec des polarités correctes comme indiqués par les symboles +
et - à l'intérieur du compartiment.
Les piles contiennent des substances chimiques, elles devraient donc être mises
au rebut correctement.
Une mauvaise utilisation des piles peut provoquer des fuites électroniques et pourrait
corroder le compartiment ou entraîner la combustion des piles. Par conséquent :
Ne mélangez pas les types de piles: par exemple alcaline avec carbone-zinc.
Utilisez uniquement des piles d'un même type pour l'appareil.
Lors de l'introduction de nouvelles piles, n'essayez pas de mélanger des piles
anciennes avec des nouvelles.

12
1. HAUT-PARLEUR GAUCHE ET DROITE
2. BOUTON REPETITION
3. PRISE USB
4. BOUTON ALIMENTATION
5. SELECTION DES FONCTIONS
6. BOUTON HEURE/PROGRAMMES
7. ECRAN LCD
8. VEUILLE
9. BOUTON LECTURE/PAUSE
10. BOUTON OUVERTURE/FERMETURE PORTE CD
11. BOUTON ARRET
12. BOUTON PROCHAINE
13. BOUTON RETOUR
14. FICHE SECTEUR
15. ANTENNE FM
16. PRISE AUX
17. PRISE CASQUE
18. BOUTON VOLUME+
19. BOUTON VOLUME-
20. BOUTON PRE-BAS
21. BOUTON PRE-HAUT
22. PORTE PILES

13
COMMANDES ALIMENTATION ELECTRIQUE
1. HAUT-PARLEUR GAUCHE ET DROITE
2. BOUTON REPETITION
- Répéter une piste du programme CD/MP3/USB.
- Mode Répétition : normal →répéter 1 →répéter tout →répéter album →normal
3. PRISE USB
- Pour écouter les fichiers musicaux MP3 de votre carte mémoire USB.
4. BOUTON ALIMENTATION
- appuyez sur le bouton alimentation on/off
5. SELECTION DES FONCTIONS
- Sélectionner la source du son CD/USB/AUX/RADIO.
6. BOUTON HEURE/PROGRAMME
- En mode Veille, pour régler l'heure de l'appareil.
- Programmer et revoir les numéros de piste programmées.
- En état de marche, appuyez sur ce bouton pour programmer en mode
CD/MP3/USB/RADIO.
7. Écran LCD
- Affiche les fréquences FM.
- Affiche les numéros des pistes.
8. INDICATEUR DE VEILLE
9. BOUTON LECTURE/PAUSE
- Commence ou met en pause la lecture des MP3/CD/USB/BLUE.
- En mode radio, appuyez sur le bouton lecture/pause pour entrer dans le mode de
balayage automatique des chaînes.
10. BOUTON D'OUVERTURE/FERMETURE DE LA PORTE CD
- Appuyez ici pour ouvrir/fermer la porte du CD.
11. BOUTON ARRET
- Arrête la lecture CD/MP3/USB;
- Annule le programme présélectionné.
12. BOUTON SUIVANT
- Pour régler l'heure d'entrée en état de veille.
- Choisir la prochaine piste.
- Appuyez et maintenez enfoncé plus d'une seconde et demi pour une recherche en
avant entre les pistes.
- En mode radio, appuyez sur le bouton Suivant pour écouter les fréquences vers le
haut.
13. BOUTON RETOUR
- Pour régler l'heure d'entrée en état de veille
- Choisir la piste précédente.
- Appuyez et maintenez enfoncé plus d'une seconde et demi pour une recherche en
arrière entre les pistes.
- En mode radio, appuyez sur le bouton Suivant pour écouter les fréquences vers le
bas.

14
13. FICHE SECTEUR
- Entrée pour cordon d'alimentation.
14. PRISE SECTEUR
- Entrée pour carte d'alimentation.
15. Antenne FM
- Pour améliorer la réception FM
16. PRISE AUX
- Appuyez sur le bouton FONCTION, choisissez la position AUX.
Lisez les MP3, DISCMAN ou WALKMAN introduits en AUX.
Introduisez-les quand il n'y a pas de disque.
NOTE: Merci de retirer le disque du CD.
17. PRISE CASQUE
- Prise casque stéréo 3,5 mm.
18. BOUTON VOLUME +
19. BOUTON VOLUME -
20. BOUTON PRE-BAS
- En mode radio, appuyez sur le bouton PRE-BAS pour faire une sélection en arrière
parmi des chaînes préalablement sélectionnées.
-En mode mp3, appuyez sur le bouton PRE-BAS pour entrer dans le dossier
précédent.
21. BOUTON PRE-HAUT
-En mode radio, appuyez sur le bouton PRE-HAUT pour faire une sélection en avant
parmi des chaînes préalablement sélectionnées.
-En mode mp3, appuyez sur le bouton PRE-HAUT pour entrer dans le dossier
suivant.
22. PORTE DES PILES
- Pour ouvrir le compartiment des piles.

15
UTILISER L'HORLOGE
Pour régler l'heure de l'appareil
1. Connectez le secteur (l'opération suivante doit être effectuée en mode veille).
2. Appuyez brièvement sur le bouton Heure, l'heure clignotera sur l'écran LCD.
3. Appuyez sur les boutons PRECEDENT, SUIVANT pour choisir les chiffres de
l'heure. Vous pouvez régler l'heure selon les formats 12h ou 24h.
4. Appuyez sur le bouton Heure pour confirmer.
5. Vous pouvez ainsi régler l'heure et les minutes avec les étapes 3-4 de cette
méthode.
6. (Pour régler l'heure de l'alarme, appuyez longuement sur le bouton Heure permet de
régler l'heure de l'alarme de l'appareil. Avec les étapes 3-4 de cette méthode)
Note: Après réglage de l'heure de l'appareil, l'écran affichera le mode
Radio/CD/USB/AUX, appuyez sur les boutons Précédent ou Suivant pour
sélectionner le mode, puis appuyez sur le bouton Heure pour confirmer, sinon c'est la
lecture du mode USB ou AUX qui commencera en premier.
RADIO
Réception Radio
1.Appuyez sur le bouton FONCTION pour choisir le mode RADIO.
2. Écoutez jusqu'à la station souhaitée en appuyant sur les boutons
PRECEDENT/PRE-BAS ou SUIVANT/PRE-HAUT.
Recherche manuelle : Appuyez sur PRECEDENT ou SUIVANT et relâchez en
moins d'une seconde.
Recherche auto : Appuyez sur le bouton lecture/pause permet d'entrer dans le
balayage automatique des chaînes et entrez automatiquement dans la station.
Chaîne présélectionnée : (30 mémoires de présélection en FM)
(1) Appuyez sur le bouton PRECEDENT/PRE-BAS ou SUIVANT/PRE-HAUT
pour choisir la station souhaitée manuellement.
(2) Appuyez sur le bouton PROGRAMME, le programme de présélection
débute sur l'écran.
(3) Appuyez sur le bouton PRE- BAS ou PRE-HAUT pour choisir le numéro de
la présélection.
(4) Appuyez sur le bouton PROGRAMME pour enregistrer la station choisie.
(5) Répétez les étapes (1) à (2) pour les autres stations.
3. A la fin de la programmation, appuyez sur les boutons PRE-HAUT ou PRE-BAS
pour commencer la lecture des stations choisis.
4. Appuyez sur [VOL-] ou [VOL +] pour régler le volume.
5. Étendez l'Antenne télescopique sur toute sa longueur si vous écoutez les
programmes FM.
6. Éteignez la radio en appuyant sur le bouton FONCTION, choisissez d'autres modes
ou appuyez sur le bouton d'alimentation pour éteindre l'appareil.
7. Rallumez à nouveau l'appareil, les fréquences mémorisées sont toujours là.

16
METHODE DE PROGRAMMATION
(1) Appuyez sur le bouton [PROGRAM] en mode ARRET, le système passera en
mode PROGRAMMATION.
- L’icône PRG et P01 clignotera à une fréquence de 2Hz. Cela avertit l'utilisateur
qu'il peut entrer les premières chansons dans le programme de la liste de lecture.
(2) L'utilisateur peut sélectionner les pistes souhaitées en utilisant les touches
[SUIVANT] et [PRECEDENT].
Une fois ces touches pressées, l'écran affichera la piste choisie.
(3) Après sélection de la piste souhaitée, appuyez sur la touche [PROGRAM] et elle
sera enregistrée en mémoire.
En Mp3, un maximum de 99 pistes et en CD, un maximum 20 pistes peuvent être
programmées en répétant les étapes (2) à (3) de cette procédure.
(4) Si vous appuyez sur la touche [ARRET] durant le mode programmation, les pistes
sélectionnées seront stockées en mémoire et vous retournerez en mode ARRET (mode
lecture en continu)
(5) Si vous appuyez sur la touche [PLAY] durant le mode programmation, cela
démarrera le mode lecture de la programmation.
La LECTURE démarre à la piste P01
Effacement d'une programmation
Vous pouvez effacer le contenu de la mémoire en :
- en cours de lecture, appuyant deux fois sur ARRET.
- ouvrant la porte du CD
- choisissant un autre mode.
UTILISATION DE L'AUX
Pour écouter de la musique avec un mp3, discman ou walkman.
1. Connexion en AUX.
2. Mettre le sélecteur de fonction sur AUX, avec câble de connexion branché dans le
prise Aux.
La source audio du mp3, discman ou walkman sera émis depuis l'appareil.
- Appuyez sur la commande de volume pour régler celui-ci.
- L'appareil ne peut pas contrôler le lecteur.

17
LECTURE CD/MP3
Lecture d'un CD/MP3
Ce lecteur de CD peut lire les disque Audio MP3 CD-R.
N'essayez pas de lire les CD-ROM, Cdi, VCD, DVD ou CD d'ordinateur.
1. Appuyez sur le bouton Fonction pour passer en mode CD.
2. Pour ouvrir la porte du CD, appuyez sur le bouton Ouverture CD.
3. Introduisez un mp3/cd ou cd-r, face imprimée vers le haut et appuyez doucement
sur la porte du CD pour la fermer.
4. Appuyez sur Lecture/pause de l'appareil pour commencer la lecture.
5. Appuyez sur le bouton pause pour mettre la lecture en pause, appuyez sur le bouton
lecture pour reprendre celle-ci.
6. Pour arrêter la lecture du CD, appuyez sur ARRET.
Note: La lecture du cd/mp3 peut également s'arrêter quand :
- vous ouvrez le compartiment CD;
- vous choisissez une source radio;
- le cd/mp3 est allé jusqu'au bout.
Sélection d'une piste différente.
En cours de lecture, vous pouvez utiliser précédent ou suivant pour choisir une piste
particulière.
- Si vous avez choisi un numéro de piste en état d'arrêt ou de pause, appuyez sur
lecture pour commencer la lecture.
- Appuyez sur suivant une fois rapidement pour la piste suivante, ou de façon
répétitive jusque le numéro de la piste souhaitée apparaisse à l'écran.
- Appuyer sur précédent une fois rapidement pour retourner au début de la piste
actuelle.
- Appuyez plus d'une fois sur précédent rapidement pour retourner à une piste
précédente.
Recherche d'un passage dans une piste
1.Appuyez et maintenez enfoncé précédent ou suivant, le CD est lu à grande vitesse.
2.Lorsque vous reconnaissez le passage que vous souhaitez, relâchez précédent ou
suivant.
Modes de lecture différents : répétition
Répétition- lecture de façon continuelle de la piste en cours.
Répétition tout- Lit le CD entier de façon continue.
Lecture des pistes dans un ordre aléatoire après pression du bouton aléatoire, les pistes
seront lues dans un ordre aléatoire.

18
LECTURE en fonction USB
Fonctions audio USB
1) Appuyez sur le bouton Fonction ou arrêter le bouton USB pour choisir l'état
USB.
2) LECTURE/PAUSE
3) SUIVANT, PRECEDENT, passer, recherche
4) Pistes Programmées (MP3 99 pistes & CD 20 pistes)
5) Mode Répétition : normal →répétition 1 →répétition tout →répétition
album →normal
6) Dossiers Maximum : 99 Dossiers
7) Fichiers Maximum: 999 Fichiers
* Note :
- Lorsqu'il n'y a pas de disque dans l'appareil, l'introduction d'une clé USB
déclenchera automatiquement la reconnaissance de celle-ci et l'appareil lira en
premier l'USB quand celui-ci est présent.
- L'appareil ne prend pas en charge les disques durs, ni les clés USB avec lecteur
MP3.
Note: En mode CD/MP3/USB, l'écran LCD affichera le numéro de la chanson ou la
durée de lecture de celle-ci.
S'il est en mode Aux, l'écran de l'appareil affichera le symbole Aux ou l'heure.
Fonction extinction Erp2
Lorsque l'appareil reste en mode CD /AUX/ USB plus de 10 min, l'appareil passera en
mode veille automatiquement.

19
Nous certifions par la présente que le BOOMBOX 60USB est conforme à :
Directive du conseil 89/336/EEC (directive CEM):
Normes applicables :
EN55013:2001+A1:2003+A2:2006
EN61000-3-2:2006+A1:2009+A2:2009
EN61000-3-3:2008
EN55020:2007
Fabriqué en RPC
Pour de plus amples informations, veuillez consulter notre site Internet
www.mpmaneurope.com

20
La société MPMAN déclare que cet appareil est
conforme à la directive européenne 1999/5/CE
dite "R&TTE" (Radio And Terminal
Telecommunication Equipement)
Pour toute information, veuillez contacter :
JME SA
Service Technique
M. Michel
77 rue dodonée
1180 Bruxelles
Belgique
Pour toutes questions :
MPMAN / JME SAService consommateur
M. Cavell
77 rue dodonée
1180 Bruxelles
Belgique
12 décembre, 2014
Table of contents
Languages:
Other MP-Man CD Player manuals

MP-Man
MP-Man CSU 38 User manual

MP-Man
MP-Man BOOMBOX64USB User manual

MP-Man
MP-Man CSU 55 User manual

MP-Man
MP-Man CSU58 User manual

MP-Man
MP-Man CSD 15 User manual

MP-Man
MP-Man CSTU59 User manual

MP-Man
MP-Man CSD 17 User manual

MP-Man
MP-Man CSU 53 User manual

MP-Man
MP-Man XRM-15 User manual

MP-Man
MP-Man CS-U52 User manual