XL Turntable Quick Start Guide
iii
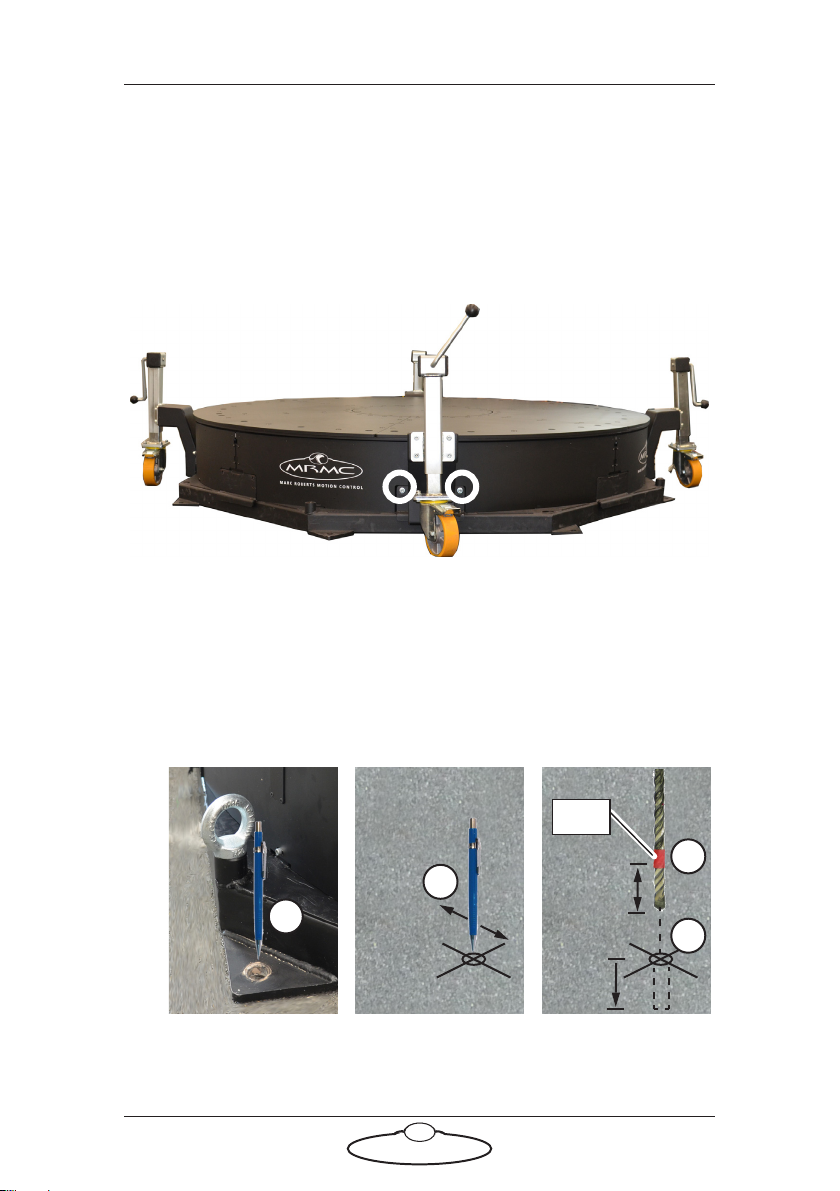
TurntableQuick Start GuideXL TurntableQuick Start Guide
Contents
Chapter 1 Quick Start..................................................................... 1
Important safety instructions ...............................................1
General care...................................................................1
Location .........................................................................1
Intellectual property .....................................................1
Overview ................................................................................. 2
Transporting the XL Turntable ............................................2
Lifting XL Turntable using a Gantry Hoist ...............2
Removing Castor Wheels......................................................3
Anchoring XL Turntable to the floor ..................................3
Fixing Equipment (Motion Base etc.) on XL
Turntable .................................................................................6
Connecting the Cables for XL Turntable as a
Stand-alone .............................................................................7
Using the XL Turntable as a Stand-alone............................7
Connecting the Cables for XL Turntable when used
with a Bolt on Track...............................................................9
Using the XL Turntable with Bolt on Track........................9
Brake Release ........................................................................10
Zero Position Marker ..........................................................11
Appendix 1 Specifications............................................................... 15
System Properties.................................................................15
Motion Performance............................................................16
Control/Drive Enclosure.....................................................16
Payload Mounting................................................................18
Physical Specification ..........................................................18