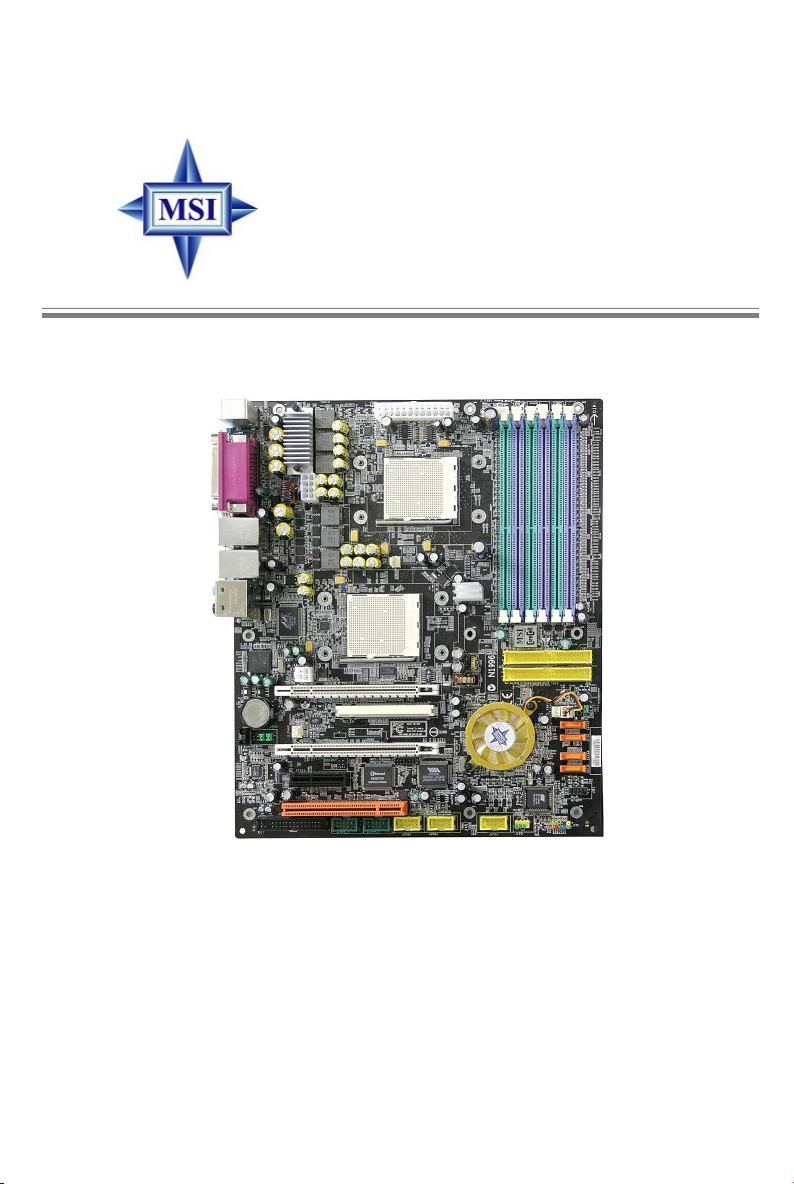
MSI K8N Master2-FAR User manual
Other MSI Motherboard manuals

MSI
MSI MAG B760M MORTAR MAX WIFI User manual

MSI
MSI Big Bang-Fuzion MS-7582 User manual

MSI
MSI K7T266 Pro2-A User manual

MSI
MSI Z87M-G43 Series User manual

MSI
MSI MS-6390 User manual

MSI
MSI NLX EX3 User manual

MSI
MSI Z270 GAMING M6 AC User manual

MSI
MSI PRO B760M-G DDR4 User manual

MSI
MSI 970A-G43 PLUS User manual

MSI
MSI H170M PRO-VD User manual

MSI
MSI Z170A SLI PLUS User manual

MSI
MSI Z87-G41 PC Mate User manual

MSI
MSI X299 PRO User manual

MSI
MSI K8NNeo4 Platinum Series User manual

MSI
MSI Z490 -S01 User manual

MSI
MSI PRO B550M-P GEN3 User manual

MSI
MSI H270I GAMING PRO AC User manual

MSI
MSI MS-6526 Manual

MSI
MSI Z270 XPOWER GAMING TITANIUM User manual

MSI
MSI PRO B650M-P User manual