ESPECIFICACIONES TÉCNICAS
Partes Incluso
Transmisor: 1
Receptor (Headphone): 1
Manual de Instrucciones: 1
Cabo de Audio: 1
Cabo “Y” Adaptador: 1
Adaptador de energía: 1
Installation
How to install the receptor:
Put two AAA batteries inside the batteries chamber according to positive and negative polarities.
How to install the transmitter:
Put two AAA batteries inside the batteries chamber according to positive and negative polarities
or put the power adapter (optional) in the transmitter power plug (4,5V DC).
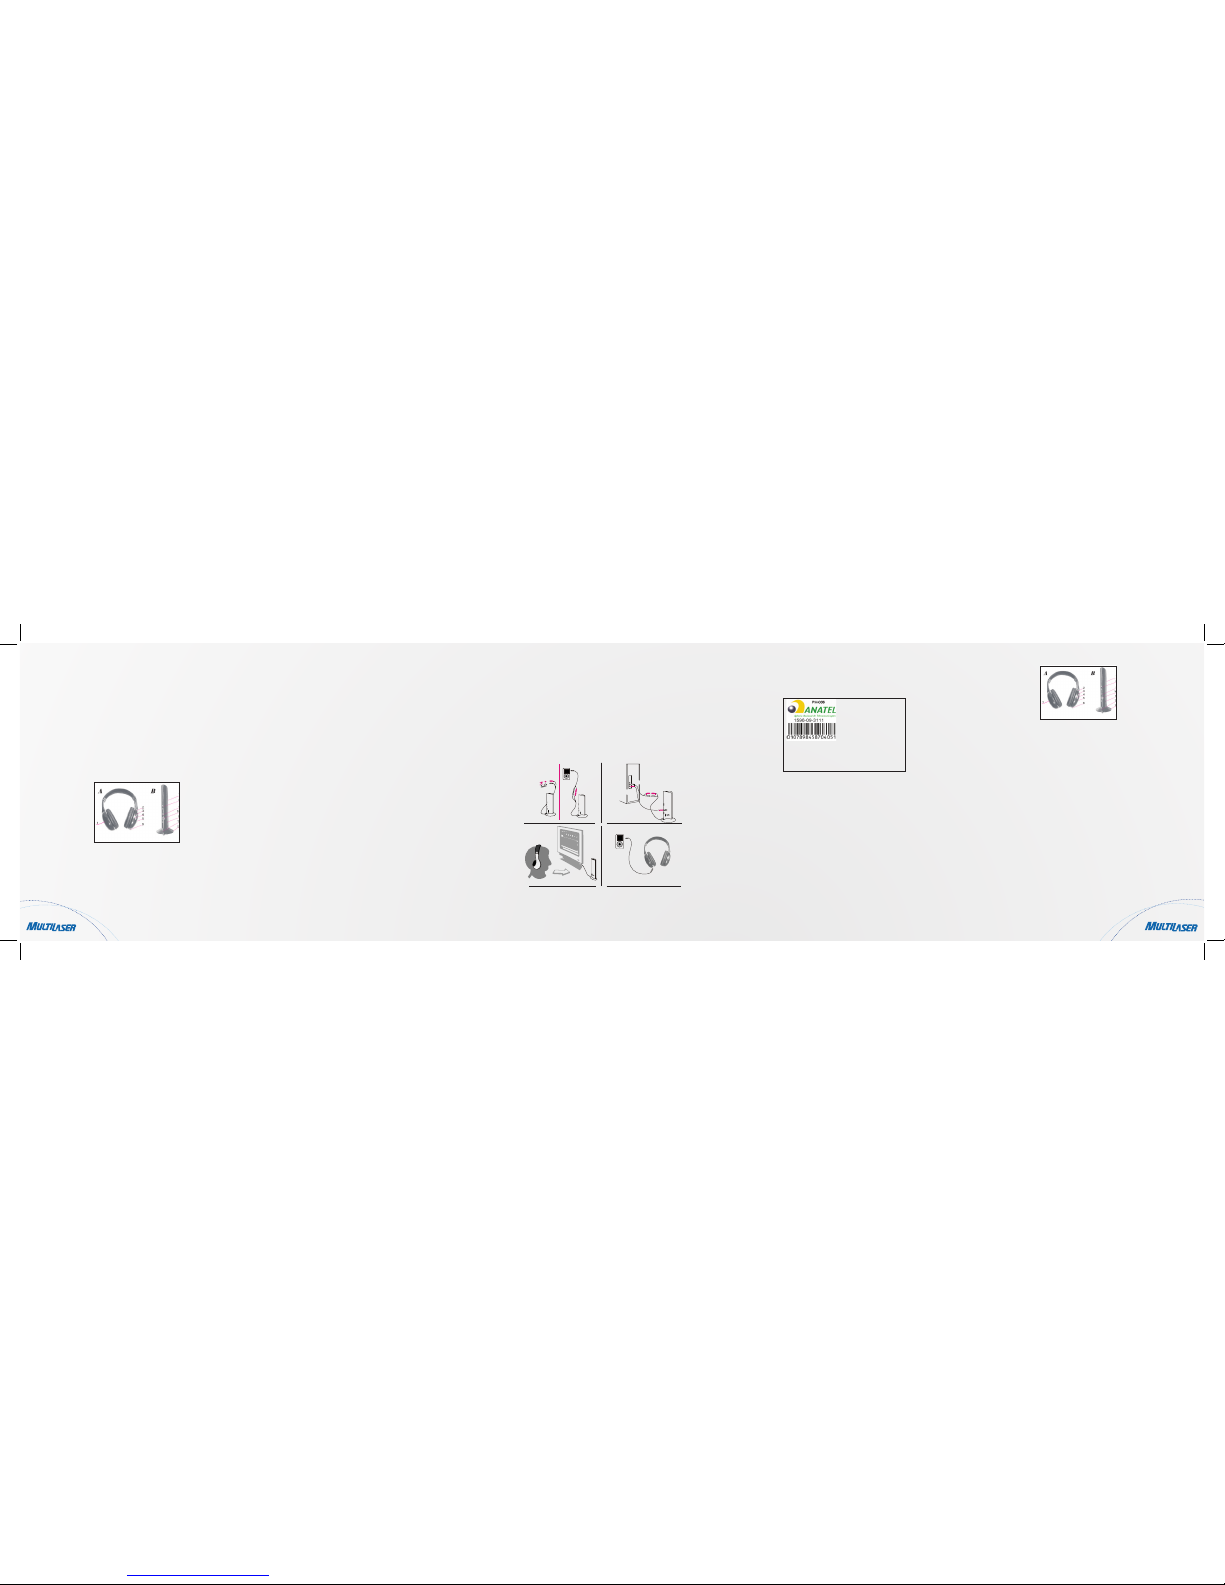
Put the transmitter audio plug in the audio output of any device (TV, PC, DVD player, VCD player,
CD player,MP3 player,etc.). If the audio output is the headphone itself, the“Y” adapter can be
used for the connection (see picture 1).
In order to get a better reception, extend the transmitter audio cable, which can also be used like
an antenna.
Operation
Wireless headphones
1- Put the transmitter audio cable in the AUDIO-OUT input/ output of the device or headphone
see picture 1), and change the switch function of transmitter for the “Earphone Wireless”
position. The power indicator will turn on.
2- Turn the volume control on and press button“on” in the receptor. The power indicator will
turn on. First of all, press the reset button, after the scan button. The transmitter sound will be
heard.
How to talk using a wireless net
1- Connect the transmitter audio cable in the adapter cable (optional, picture 2), and put
the other extremity of the adapter cable (optional, picture 2) and put the other adapter cable
extremity in the computer audio output. Put an audio cable extremity (optional) in the transmitter
microphone input (MIC) and put the other extremity in the computer microphone input.
2- Place the transmitter microphone input (MIC) in your direction (see picture 3), select the
“audio chat” option.
3- Let the volume higher and turn the receptor on. Press “reset”and “scan” buttons.You will
hear the sound leaving the transmitter.
Wireless monitoring
1- Put the transmitter next to the people that you intend to monitor (for example, children) and
place the microphone (MIC ) towards them. Change the transmitter function for MONITOR.
Let the volume higher and turn the receptor on. Press “reset”and “scan” buttons.The transmit-
ter sound will be heard through the phones.
2- To listen to the radio the receptor can be used separately as a FM radio.
.
TECHNICAL SPECIFICATION
Appearance and Illustration of Functions
A- Receptor
1- Batteries chamber.
2- Volume control and button
to turn on and turn off.
3- Search button (scan).
4- Reset button.
5- Power indicator.
6- Áudio input.
Notes
In order to get a better reception, extend the transmission cable (it can also be used as an
antenna). If the sound is very distorted or too high, adjust the volume for a lower level and the
reception will be better.Change the batteries if you experience the following situations:
1- Indicator of emission with low visibility.
2- Too low reception.
3- Too low distorted volume.
tPress one time the scan option. The receptor will automatically search through the higher
frequencies and it will find some station. When the highest frequency is reached, press reset
and the frequency will be the lower possible.Press “scan” again and the receptor will search for
lower frequency radio stations.
Wire headphones
Put the audio cable extremity (optional) in the receptor audio plug (see picture 4) and put the
other extremity in the phone plug of the electronic device (MP3 player,VCD player, DVD player,
etc.). Thus,it can also be used as a wire phone.
How to turn it off
To turn it off,change the function for the “off” position in the transmitter. Change also for“off” in
the receptor control.Remove the batteries if you intend to use it again just after a long period.
Fig.1
Headphone plug
Adapter
cable
Output
plug for audio
Back side of
computer
Output plug for audio
Adapter cable
Áudio cable
Input plug
for
microphone
Fig.2
Fig.3
Headphone plug
Fig.4
MP3
Legenda em Espanhol
Fig 1 - Enchufe de salida de Áudio/ Enchufe de auricular/Cable adaptador
Fig 2 - Lado detrás del PC/Enchufe de salida de audio/Cabo Adaptador/Cable adaptador/Enchufe de
entrada del micrófono
Apariencia e Ilustraciones de las Funciones:
A- Receptor
1- Compartimiento de pilas.
2- Control de volumen y botón
para conectar y desconectar.
3- Tecla de búsqueda (scan).
4- Tecla reset.
5- Indicador de energía.
6- Entrada de audio.
Notas
Para conseguir una mejor recepción, extienda el cable de transmisión (él también puede ser usado
como antena). Si el sonido es muy distorsionado o alto demás, ajuste el volumen para un nivel más
bajo y la recepción será mejor.Cambie las pilas si tiene los siguientes problemas:
1- Indicador de emisión poco visible.
2- Recepción muy débil.
3- Volumen bajo demás y distorsionado.
Instalación
Instalación del receptor:Coloque dos pilas AAA en el compartimiento de pilas de acuerdo con los polos
positivo y negativo.
Instalación del transmisor:
Ponga dos pilas AAA en el compartimiento de pilas de acuerdo con los polos positivo y negativo o
ponga el adaptador de energía (opcional) en el enchufe de energía del transmisor (4,5V DC).
Ponga el plug de audio del transmisor en la salida de audio de algún dispositivo (televisión, PC, DVD
player,VCD player, CD player, Mp3 player, etc.). Si la salida de audio es el propio headphone,el
adaptador “Y” puede ser usado para conexión (ver fig. 1). Para tener una mejor recepción, estire el
cabo de audio del transmisor que también puede ser usado como antena.
Operación
Headphones Wireless (Auriculares sin Hilo)
1- Ponga el cabo de audio del transmisor en la salida en la entrada AUDIO-OUT del dispositivo (ver
Fig. 1) o del fone, y cambie la función de cambio (switch) del transmisor para la posición “Wireless
Earphone”; el indicador de energía será conectado.
2- Conecte el control de volumen y apriete el botón “on” en el receptor; el indicador de energía
B- Transmissor
7- Indicador de energía.
8- Botón Conecta/ Desconecta.
9- Entrada para micrófono (MIC).
10- Entrada de energía.
11- Micrófono (MIC).
12- Cable de audio del transmisor.
13- Compartimiento de pilas.
2.Receptor
Frequency: 88-108MHz
Reception: FM
Distortion: ±2%
Feeding: 2 AAA batteries
1. Emitter
Frequency emission: 89 ± 0.5MHz
Frequency modulation: FM
Emission distance: 8m
Reception of any equipment with audio
output like TVs, audio devices, DVD/ VCD
players,computers, etc.
Feeding: 2 AAA batteries or a 4,5 V DC
battery
Parts Included
Transmitter: 1
Receptor (headphone): 1
Instruction Manual: 1
Audio cable: 1
Cable and adapter: 1
Power adapter: 1
B- Transmitter
7- Power indicator.
8- Button to turn on and to
turn off.
9- Microphone input (MIC).
10- Power input.
11- Microphone (MIC).
12- Transmitter audio cable.
13- Batteries chamber.
1. Emisor
Emisión de Frecuencia: 89 ± 0.5MHz
Modulación: FM
Distancia de emisión: 8m
Recepción de cualquier equipamiento con
salida de audio, como televisiones, disposi-
tivos de audio, DVD/ VCD players,
2. Receptor
Frecuencia: 88-108MHz
Recepción: FM
Distorción: ±2%
Alimentación: 2 pilas AAA
Fig 4 - Enchufe de auricular
Legenda em Português
Fig 1 - Soquete de Saída de Áudio/Soquete de Fone de Ouvido/Cabo Adpatador
Fig 2 - Lado Traseiro do PC/Soquete de Saída de Áudio/Soquete de entrada do microfone/ Cabo
Adaptador /Cabo de Áudio
Fig 4 - Soquete de Fone de Ouvido
“This equipment operates in secondary
situation, that means it has not right to
protection against harmful interference,
even of same time stations, and it can
not cause interference in systems that
operate in primary situation.”/ “Este
em caráter secundário, isto é, não tem
direito a proteção contra interferência
prejudicial, mesmo de estações do
mesmo tipo, e não pode causar
interferência a sistemas operando em
carácter primário”
equipamiento opera en carácter se-
cundario, es decir, no tiene derecho a la
protección contra interferencia prejudicial,
incluso de instalaciones de mismo
género, y no puede causar interferencia
a sistemas que operan en carácter
primario.”/ “Este equipamento opera