MyRepublic Wi-Fi Halo User manual

Manual
Wi-Fi Halo

Contents
Product Overview
Product contents 05
Technical specications 06
Hardware features 07
Setting Up: Basics
Your home network equipment setup 09
How to set up your Wi-Fi Halo 10
How to log into your Wi-Fi Halo Router Management Console 13
How to use the Quick Setup Wizard 14
Setting Up: Advanced
How to change the password of your Wi-Fi Halo Router
Management Console 19
How to change your Wi-Fi network name and password 21
How to change your Wi-Fi Halo’s Wi-Fi channels 23
How to enable a guest Wi-Fi network (2.4GHz/5GHz) 26
How to congure your router date and time 28
How to check and update your router rmware 30
How to connect via WPS 29
How to limit device access (parental controls) 33
How to set up port forwarding on your Wi-Fi Halo 35
How to set up your Wi-Fi Halo as an access point 38
Troubleshooting
Power cycling your Wi-Fi Halo 42
Factory resetting your Wi-Fi Halo 43
You have forgotten your Wi-Fi Halo’s Wi-Fi Password 44
Your Wi-Fi Halo cannot be detected by your devices over Wi-Fi 46
Your Wi-Fi Halo is not powering on 48
Warranty information for your Wi-Fi Halo 49
Wi-Fi intermittent disconnection/low Wi-Fi signal/slow speed
on Wi-Fi 51
How to set manual DNS e.g. to Google DNS 52

Product
Overview

Product Overview
4
MyRepublic Wi-Fi Halo
The MyRepublic Wi-Fi Halo is a AC2200 dual-band Wi-Fi Gigabit router. Using the
latest 802.11ac standard, MU-MIMO and powerful beamforming technology, the Wi-Fi
Halo is designed to support multiple devices and HD video streams simultaneously.

Product Overview
5
Product contents
Here are the items you should receive along with your MyRepublic Wi-Fi Halo.
Ethernet Cable
Power AdapterWi-Fi Security Card
Note:
• If you nd any of your product contents damaged or missing, please contact MyRepublic
customer support at myservice@myrepublic.com.sg or call 6717 1680 for further assistance.
MyRepublic Wi-Fi Halo

Product Overview
6
Technical specications
Main Processor
• Broadcom BCM63139
Memory
• 512 MB RAM (DDR3)
• 256 MB Flash
LED Indicators
• Status (Purple / Green / Blue)
• WPS (Red / Green)
Buttons
• Power Button
• WPS Button
• Wi-Fi on/o button
(acting with dual function as
LED on/o button )
Wireless capability
• Dual-band concurrent Wi-Fi interfaces:
»IEEE 802.11n 2.4GHz using 3x3
»IEEE 802.11ac 5GHz using 4x4
»WPS Wi-Fi Protected setup
USB Master Capability
• 1 USB 3.0 Interfaces
Voice
• 1 FXS port
Dimensions
• 265mm X 160mm X 60mm
Weight
• 720g
Temperature
• 0 – 40 °C (32 – 104 °F)
Humidity
• 20% to 80%
Features
MU-MIMO, Bandsteering,
Beamforming, Wi-Fi analyzer,
Parental Control, SPI Firewall,
WPA2 Encryption

Product Overview
7
Status Light
Green : Halo is starting up
Purple: Halo is working
Flashing Orange: Halo is
connecting to the internet
Flashing Blue: Halo working, no
LAN cable plugged in WAN port
Steady Orange: Halo working, no
internet detected
Red: Hardware/software failure
Hardware features
Status
Light
Telephone Port
USB Port
LAN Ports
WAN Port
Reset Button
Power Button
Power Supply
Wi-Fi / WPS Light
Green: Wi-Fi is on
Flashing Blue (slow): WPS mode
is in progress
Flashing Blue (fast): WPS error Wi-Fi Button
WPS
Light Indicator
Wi-Fi
Light

Product Overview
8
Setting Up:
Basics

Product Overview
9
Your home network equipment setup
Termination
Point (TP)
ONT (modem)
Wi-Fi Halo
Ethernet Cable
Power
Source
Power
Source
Ethernet Cable

10
How to set up your Wi-Fi Halo
1. Place your Wi-Fi Halo in a location that is away from direct sunlight, metal equipment
and other devices that may interfere or cause Wi-Fi signal loss (e.g. microwave ovens,
cordless phone). If you can, place your Wi-Fi Halo in an elevated position as Wi-Fi
signals spread out and towards the ground, not upwards.
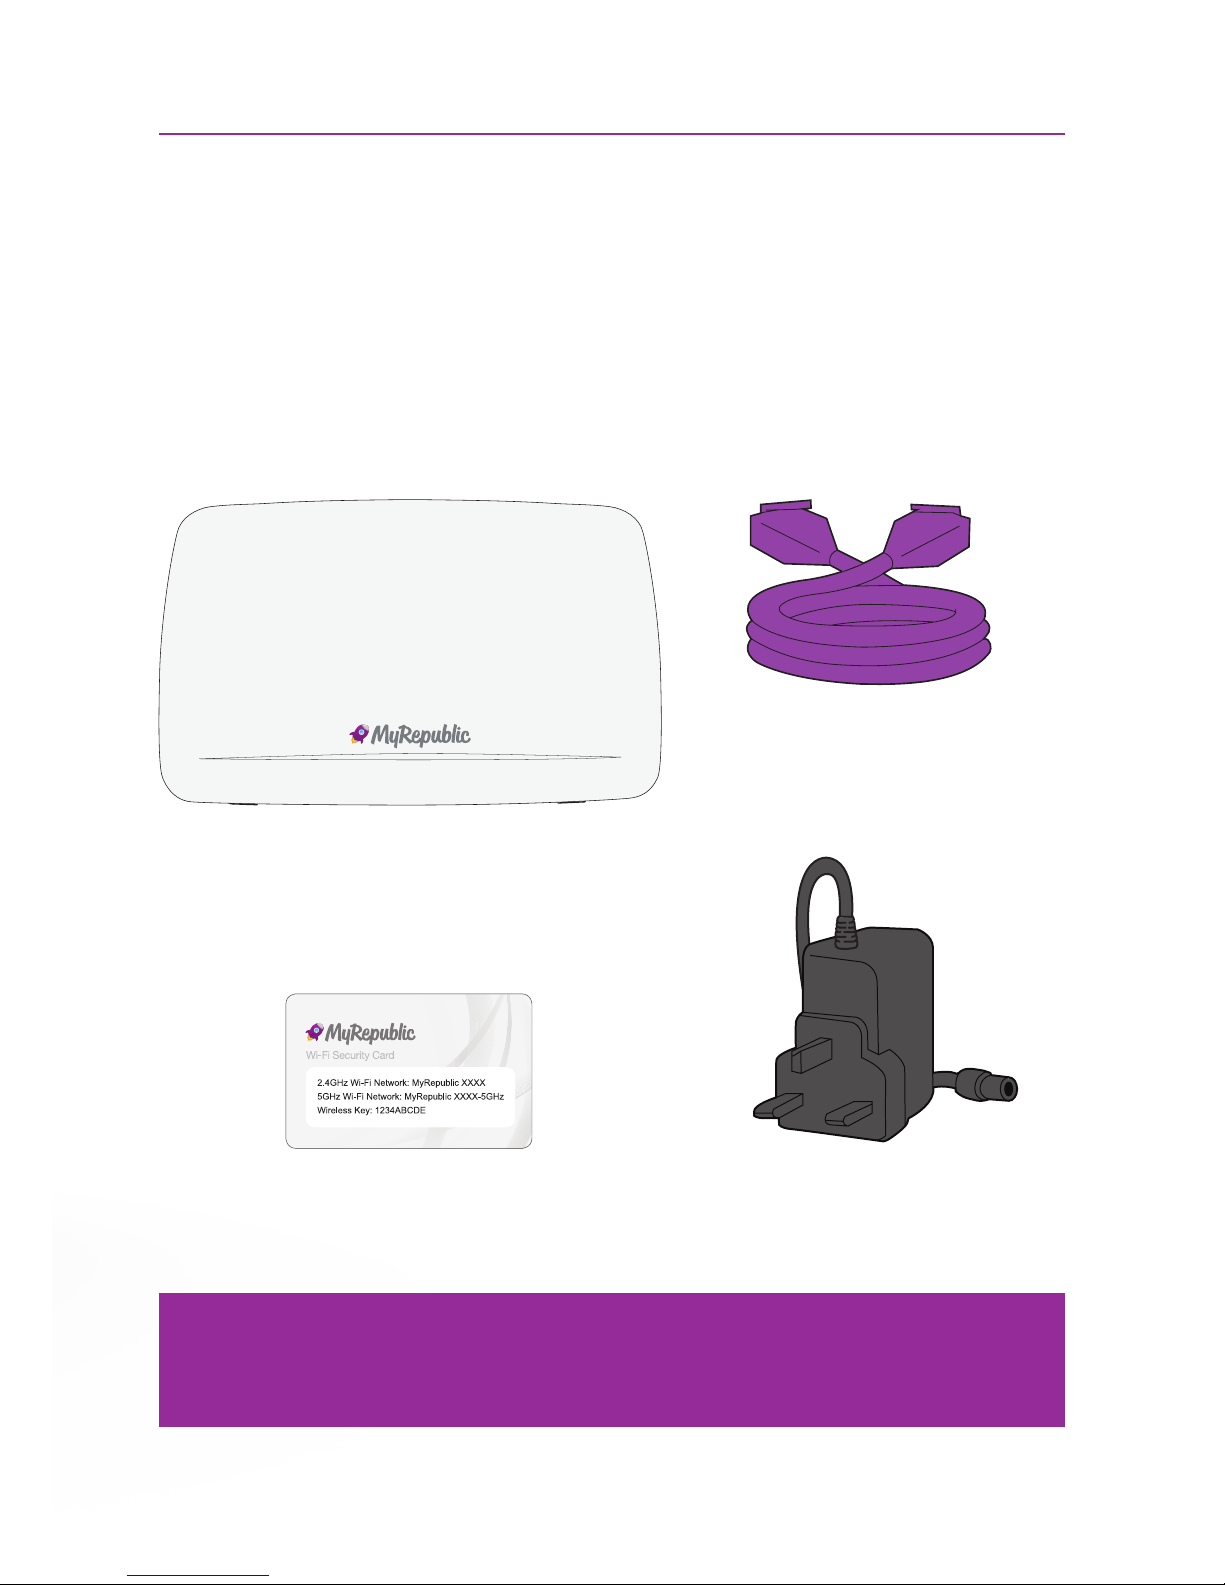
2. Connect the Wi-Fi Halo to the power adapter and plug it into a power supply.
3. Press the Power button to power on the Wi-Fi Halo. The bottom front LED – the Status
Light – should light up green rst, showing that the Wi-Fi Halo is powering on.
4. Plug one end of your Ethernet cable into the Wi-Fi Halo’s red WAN port and the other
end to the ONT’s active Internet port (this is usually your ONT’s Port 1, unless you
have more than 1 broadband subscription in your house, then it might be Port 2).
5. The light on the top right of the LAN port should light up green (the light can either be
blinking or steady) once there is a working Internet connection.
6. The Status Light on the front of the Wi-Fi Halo should turn a steady purple, indicating
that an Internet connection has been established.
7. The Wi-Fi Light on the side of the Wi-Fi Halo should also be a steady green, indicating
that the Wi-Fi is working.
Setting Up: Basics
Note:
• First make sure that your internet connection has been set up and is working properly. Your ONT
should be connected to your bre Termination Point (TP) and turned on for at least 2 minutes
before setting up your Wi-Fi Halo. There should also be no red or yellow lights on your ONT.

11Setting Up: Basics
8. Connect your device to Wi-Fi Halo.
• Using Wi-Fi
i. Locate your Wi-Fi network name and Wi-Fi password on your Wi-Fi Security
Card. You can also nd this information on the white sticker located on the
back of your Wi-Fi Halo.
ii. On your device, search for the Wi-Fi network and connect using the password
provided.
Note:
• When connecting to your Wi-Fi Halo wirelessly, ensure that your wireless device is congured to
obtain an IP address automatically. Most devices are usually congured this way.
• If you’re having diculties connecting wirelessly, your device may need to be congured in a
specic way. We suggest checking to your device’s manual for additional support.

12Setting Up: Basics
• Via Ethernet cable
i. Use an Ethernet cable and connect your computer to one of the 4 LAN ports
behind the Wi-Fi Halo (these LAN ports are coloured yellow).
Note:
• When connecting to your Wi-Fi Halo wirelessly, ensure that your wireless device is congured to
obtain an IP address automatically. Most devices are usually congured this way.
• If you’re having diculties connecting wirelessly, your device may need to be congured in a
specic way. We suggest checking to your device’s manual for additional support.

13
How to log into your Wi-Fi Halo
Router Management Console
1. Once connected to Wi-Fi Halo, open your web browser (it can be Chrome, Firefox or
Internet Explorer) and type “http://192.168.1.1” into your web browser’s address bar.
Press Enter to load the webpage.
2. A login window will appear. The default username and password to access the Wi-Fi
Halo’s Router Management Console is “admin” for both elds. Key in the information
and log in.
3. After logging in, you will see the main page of the Wi-Fi Halo’s Router Management
Console.
Setting Up: Basics
Note:
• The name and password to log
into the Wi-Fi Halo conguration
menu is not the same as
your Wi-Fi network name and
password. For your Wi-Fi access
information, check your Wi-Fi
Security card.

14Setting Up: Basics
How to use the Quick Setup Wizard
1. Log in to your Wi-Fi Halo’s Router Management Console (please refer to the previous
section if you need instructions on how to do so).
2. After successfully logging in, click on the “Quick Setup Wizard” button in the upper right
corner of the main page.
3. The rst page is a reminder of how your home network equipment should be set up. You
can press the “Next” button to proceed to the next step.
4. Router Security
At this rst step, you can change the password used to access the Router Management
Console. Remember that the default password for the Router Management Console is
“admin”. Once you are done, click the “Next” button to continue.

15Setting Up: Basics
5. Internet Setup
• You should not need to make any changes at this step unless you want to change
your preferred DNS settings.
• The Wi-Fi Halo is congured to work with a MyRepublic Internet connection by
default i.e. IP is set as the Connection Type and DHCP as Addressing Type – which
is basically a typical setup for a MyRepublic connection.
• Click the “Next Step” button to continue.
Note:
• To improve security, it is highly recommended that you change your Router Management
Console password to something other than the default “admin”.
• If you ever forget your Router Management Console password and need to access the
Console, you will need to perform a factory reset on your Wi-Fi Halo. You can nd the
instructions on how to perform a factory reset in the later pages of this manual.

16Setting Up: Basics
6. Wi-Fi Setup
• The Wi-Fi Halo already has 2.4GHz and 5GHz Wi-Fi networks set up by default.
You do not need to make any changes here unless you want to change your Wi-Fi
network name (SSID) or Wi-Fi network password.
• If you are customising your Wi-Fi network names and passwords, do make a note
of them as the default Wi-Fi network names and passwords printed on the Wi-Fi
Security Card will no longer work.
• Click the “Next Step” button once you have made any changes you wanted.
Note:
• Some wireless devices, especially older ones, will not be able to connect to a 5GHz Wi-Fi
network as they do not support the technology. If you have diculty connecting to the 5GHz
Wi-Fi network on a device but can detect and connect to the 2.4GHz network, please check
your device specications to see if 5GHz Wi-Fi is supported.

17Setting Up: Basics
7. Summary
The nal step of the Setup Wizard is a summary of the information taken from the
previous steps. Review your settings and click the “Finish” button to apply all the
changes.

18Setting Up: Advanced
Setting Up:
Advanced

19Setting Up: Advanced
How to change the password of your Wi-Fi Halo
Router Management Console
1. Log in to your Wi-Fi Halo’s Router Management Console (a previous section of this
manual has instructions on how to do so).
2. Once signed in, click on the “Access Control” section.
3. Click on “User” tab.

20
4. Here you can enter a new password. To apply the changes, click the “Apply” button.
5. Once successful, a message should appear saying “Data successfully saved”.
Note:
• The default Router Management Console username “admin” cannot be changed.
• If you ever forget your Router Management Console password and need to access the
Console, you will need to perform a factory reset on your Wi-Fi Halo. You can nd the
instructions on how to perform a factory reset in the later pages of this manual.
Setting Up: Advanced
Table of contents
Other MyRepublic Network Router manuals