NADAMOO Bur3074 User manual

1
Bur3074 NADAMOO 2.4G Wireless & USB wired Barcode Scanner
Quick Start Guide
In order to correctly use the bar code scanner, please read the instruction
carefully and do not arbitrarily scan the settings code, otherwise some
settings may not be available.
Please keep this instruction for reference in the future.
If you have any question or concern about the operation of the scanner,
please contact us at Email: [email protected] / [email protected].
Package Include:
1 x Bar code scanner
1 x USB cable
1 x USB Wireless receiver
1 x User manual
Charging
Please ensure that the scanner has enough power. If the scanner runs out of
power, the buzzer will ring for seconds, and the scanner will shut down
automatically. At this case, please stop scanning and recharge the scanner.
Please insert one end of USB cable into the scanner correctly, and insert
another end to computer USB interface or 5V DC USB interface power (NOTE:
please use computer USB interface or special 5V DC power supply to charge, the
abnormal power will cause permanent damage to scanning gun and battery).
Yellow LED light will light up when the scanner is at charge statue. It will take
about 4 hours to recharge the scanner. After full charged, the LED light will go
out automatically.
Connection Setting
This scanner has two connection mode:
Mode 1: Wired Mode.
Set by steps
:
1. Connect the scanner to your computer via USB cable;
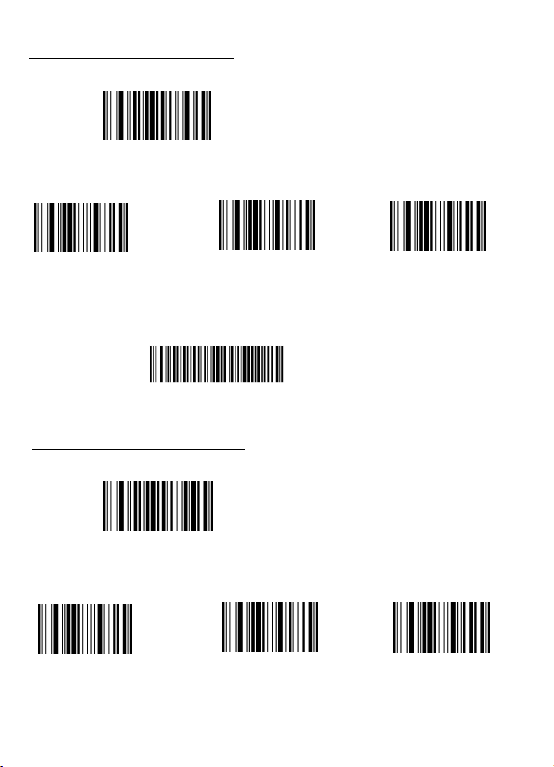
2. Scan the code " PS2 keyboard wired mode " to convert the scanner to wired mode.
PS2 keyboard wired mode

2
Upload speed-fast Upload speed-modest(default) Upload speed-slow
Mode 2: Wireless Mode
Set up steps:
1. Plug the USB wireless receiver into a PC’s USB port;
2. Scan the code "Match the receiver " to match the receiver with the scanner;
Match the receiver
3. Scan the code "Wireless mode" to convert the scanner to wireless mode;
Wireless mode
4. Scan the code "instant upload mode" to set the scanner to upload the barcode
instantly;
instant upload mode
5.Test the scanner using Microsoft EXCEL, click any cell and scan a product barcode,
the barcode will appear in the cell automatically.
Under wireless mode, except for instant upload mode, there is another
collection upload mode.
In collection upload mode, the scanner will automatically store the data in it’s own
memory. Internal storage supports up to 30,000 barcodes.You can upload the data to
computer when you need it.
3. Test the scanner using Microsoft EXCEL, click any cell and scan a product bar code,
the code will automatically appear in the cell.
In wired mode, user can set up the speed of uploading data.
** Scan one of the following bar code to select the speed mode for uploading.

3
**To convert from "instant upload mode" to "Collection upload mode", please scan
the following barcode.
Collection upload mode
** Scan the following barcode to upload the stored data.
Upload data
**Scan the following barcode to show total number of stored barcode
Show total storage
**Scan the following barcode to clear all the stored barcode.
Clear data
Customer FAQ
Q1. If I scan a product barcode, will it include the name of the product in the
file automatically?
The scanner works like a keyboard, it can't interpret what the barcode is, instead it just
"types" out a string of alphabet numeric characters that the barcode represents. It's up
to the database software you are using to interpret what the string of characters means.
Once you acquire the barcodes, you have to correlate them with something more
meaningful by either purchasing a software service that will interpret the barcode and
relate it to a product, or you can use your own internal inventory system to assign the
barcodes to specific products.
After creating the relationship between your barcode and the corresponded information,
scan the barcode into the software, your software will look up the barcode and then
output the related information of your product.

4
Q2. Why can’t the scanner read the bar codes?
There may be several reasons for this issue.
1) It may be due to setup errors.
If you want to use it in wired mode, please connect the scanner to your computer via usb
cable and scan the code " PS2 keyboard wired mode".
If you want to use it in wireless mode, please connect the scanner to you computer
via USB receiver, and then scan the following codes "Match the receiver" "Wireless
mode" "instant upload mode".
PS2 keyboard wired mode
NOTE: After reset the scanner into factory settings, you need to choose the
connection mode again.
2) The other possible reason is that the setting is off by default, for some barcode
types are not commonly used. You need to activate a specific barcode type to get it to
work .
You don't have any clue about how to set the scanner, please feel free to contact our
Customer Service Team (Email: [email protected]/ [email protected]) for
further assistance. Please include the model of the product and a clear picture of the
barcode, which will allow us to identify the issue and provide assistance as quick as
possible.
Q3. Why does scanner not read the barcode exactly. When using the scanner
to read a barcode of an item, I get a different result from the barcode itself.
For example, I use Code 39. it puts an * at the beginning and a * at the end.
How can I program the scanner to read whole barcode? The barcode that
computer received is 123456789. The barcode we need is *123456789*.
The scanner was set to not read the extra start and end characters of code39 by
default. Please scan the code "Code39 start/stop digit-On" (on page 13) to activate
the settings.
If that is not your case, please send us a clear picture of the barcode and the result
you get, our customer service will help you to solve the problem.
Match the receiver Wireless mode instant upload mode

5
Scanning Mode Setting
Key trigger mode: Red laser light only show up when you press the button.
Continuous scanning mode: Red laser light always on when the scanner is electrified.
The scanner reads barcode without pressing any buttons.
** Scan one of the following barcode to select scanning mode.
Keys Trigger mode (default) Continuous Mod
Buzzer settings
:
* * Scan one of the following barcode to ON / OFF the buzzer.
Close voice
Open voice
High volunm Low volunm
* * Scan one of the following barcode to change the voice volunm.
Case sensitivity settings
* * Scan one of the following bar code to choose letter size.
All in lower-case letters All in capital letters
Change lower-case to capital
Change capital to lower-case Turn off letter conversion
6
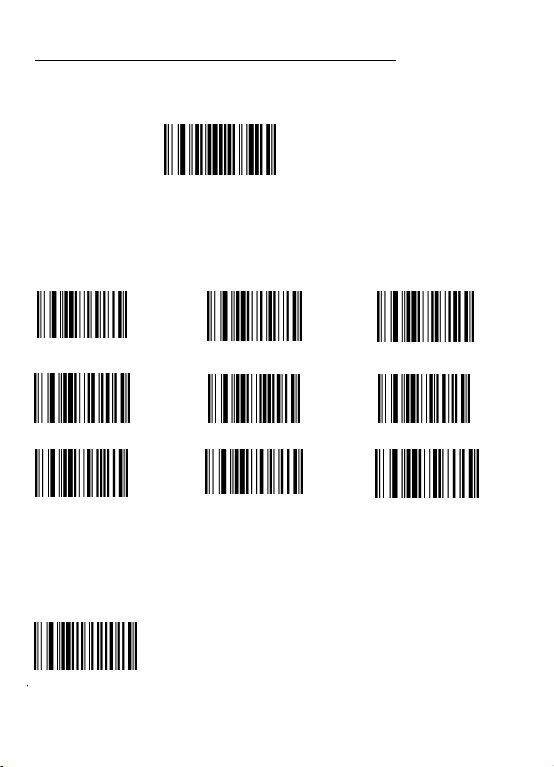
Insert charater as prefix
(1) Step 1: scan the set up code (Add prefix) below:
Add prefix
(2) Step 2: scan the needed character code (character-table is on page 15)
E.g. To add prefix " RST", scan the character R , S ,T one by one.
1084 T
1082 R 1083 S
Now the "RST" will be added, then scan the normal bar code.
(3) Step 3: Scan your goal barcode, e.g. scan the below code "X001E52257", the
bar code "RSTX001E52257" will be showed.
Insert character as suffix
(1) Step 1: scan the set up code below:
Add suffix
(2) Step 2: scan the needed character code (character-table is on page 15)
E.g. To add prefix " RST", scan the character R , S ,T in order.
1084 T
1082 R 1083 S
Now the "RST" will be added, then scan the normal bar code.
X001E52257

7
(3) Step 3: Scan your goal barcode, e.g. scan the below code "X001E52257",
the barcode "X001E52257RST" will appear.
Clear all character prefix
Clear all character suffix
Before add/ change any Terminator, scan the following code "Disable
Format character " at first, then to scan corresponded code.
Disable Format character
X001E52257
Example 1: To add TAB after barcode, scan above code "Disable Format character "
at first, then scan the code "Add suffix" & "TAB" in turn.
Example 2: To add CR/Enter after barcode, scan above code "Disable Format
character " at first, then scan the code "Add suffix" & "CR " one by one.
Example 3: To add CR&LF after barcode , scan above code "Disable Format
character " at first, then scan the code "Add suffix" & "CR" & "LF" one by one.
Add suffix 1009 TAB
Add suffix 1013 CR
Add suffix 1013 CR 1010 LF
Clear Prefix / suffix character
Terminator setting
:
8
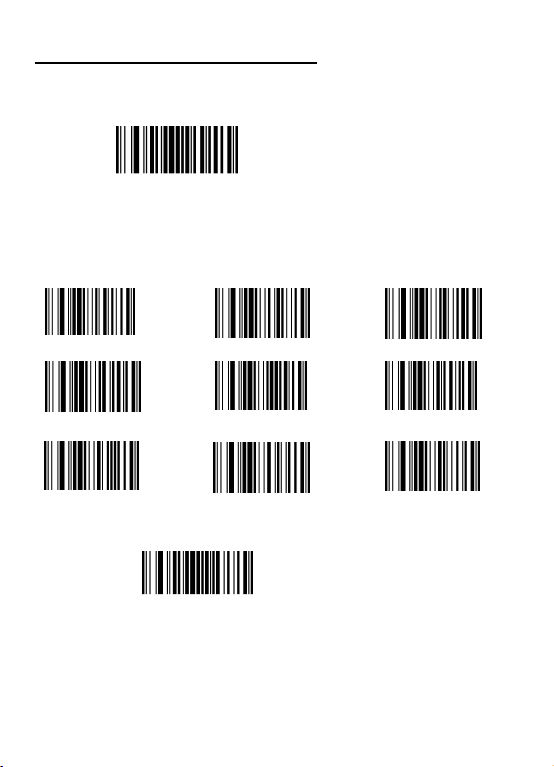
Hide characters from start position of Code
Shorten the barcode from start position as followed:
(1) Step 1: scan the set up code "Hide chacaters from start position" below:
1049 1 1050 2 1051 3
1052 4 1053 5 1054 6
1055 7 1056 8 1057 9
Example: For barcode 123456789, if you want to shorten the result characters to
456789, you can scan these codes one by one:
"Hide characters from start position" --- "1051 3".
Hide characters from start position
(2) Step 2: scan one of the following code to set how many characters you want
to hide, e.g. Code "1050 2" means the starting 2 characters in the barcode that
you scanned will be hidden.
* scan the code below to reinstate the hidden leading character
cancel shorten leading character

9
Hide characters from end part of Code
Shorten the bar code from end part as following steps showed:
(1) Step 1: scan the set up code "Hide characters from end position" below:
Hide characters from end position
(2) Step 2: scan one of the following code to set how many characters you want
to hide, e.g. Code "1050 2" means the ending 2 characters in the barcode that
you scanned will be hidden.
1049 1 1050 2 1051 3
1052 4 1053 5 1054 6
1055 7 1056 8 1057 9
Example: For barcode 123456789, if you want to limit the result characters
to 123456, you can scan these codes in turn:
"Hide characters from end position" --- "1051 3"
* scan the code below to reinstate the hidden ending character
cancel shorten ending character
10
Hide characters from specific part
Hide a partial of the barcode from specific place in the middle of the barcode.
Following the steps to set up:
(1) Step 1: scan the set up code "Hide characters from m" below:
Hide characters from m
(2) Step 2: scan one of the following code to decide from which character you
want to hide ("m" means the beginning place of the character) , e.g. Code "1050
5" means from 5th character in the barcode that you scanned will begin to be
hidden.
1049 1 1050 2 1051 3
1052 4 1053 5 1054 6
1055 7 1056 8 1057 9
(3) Step 3: scan the code "Hide middle n characters" below:
Hide middle n characters
(4) Step 4: scan one of the following code to set how many characters you want to
hide ("n" means how many characters that you want to hide), e.g. Code "1055 2"
means from the 5th character in the example in Step 2 the successive 2 characters
in the barcode that you scanned will be hidden.
Table of contents
Other NADAMOO Barcode Reader manuals


