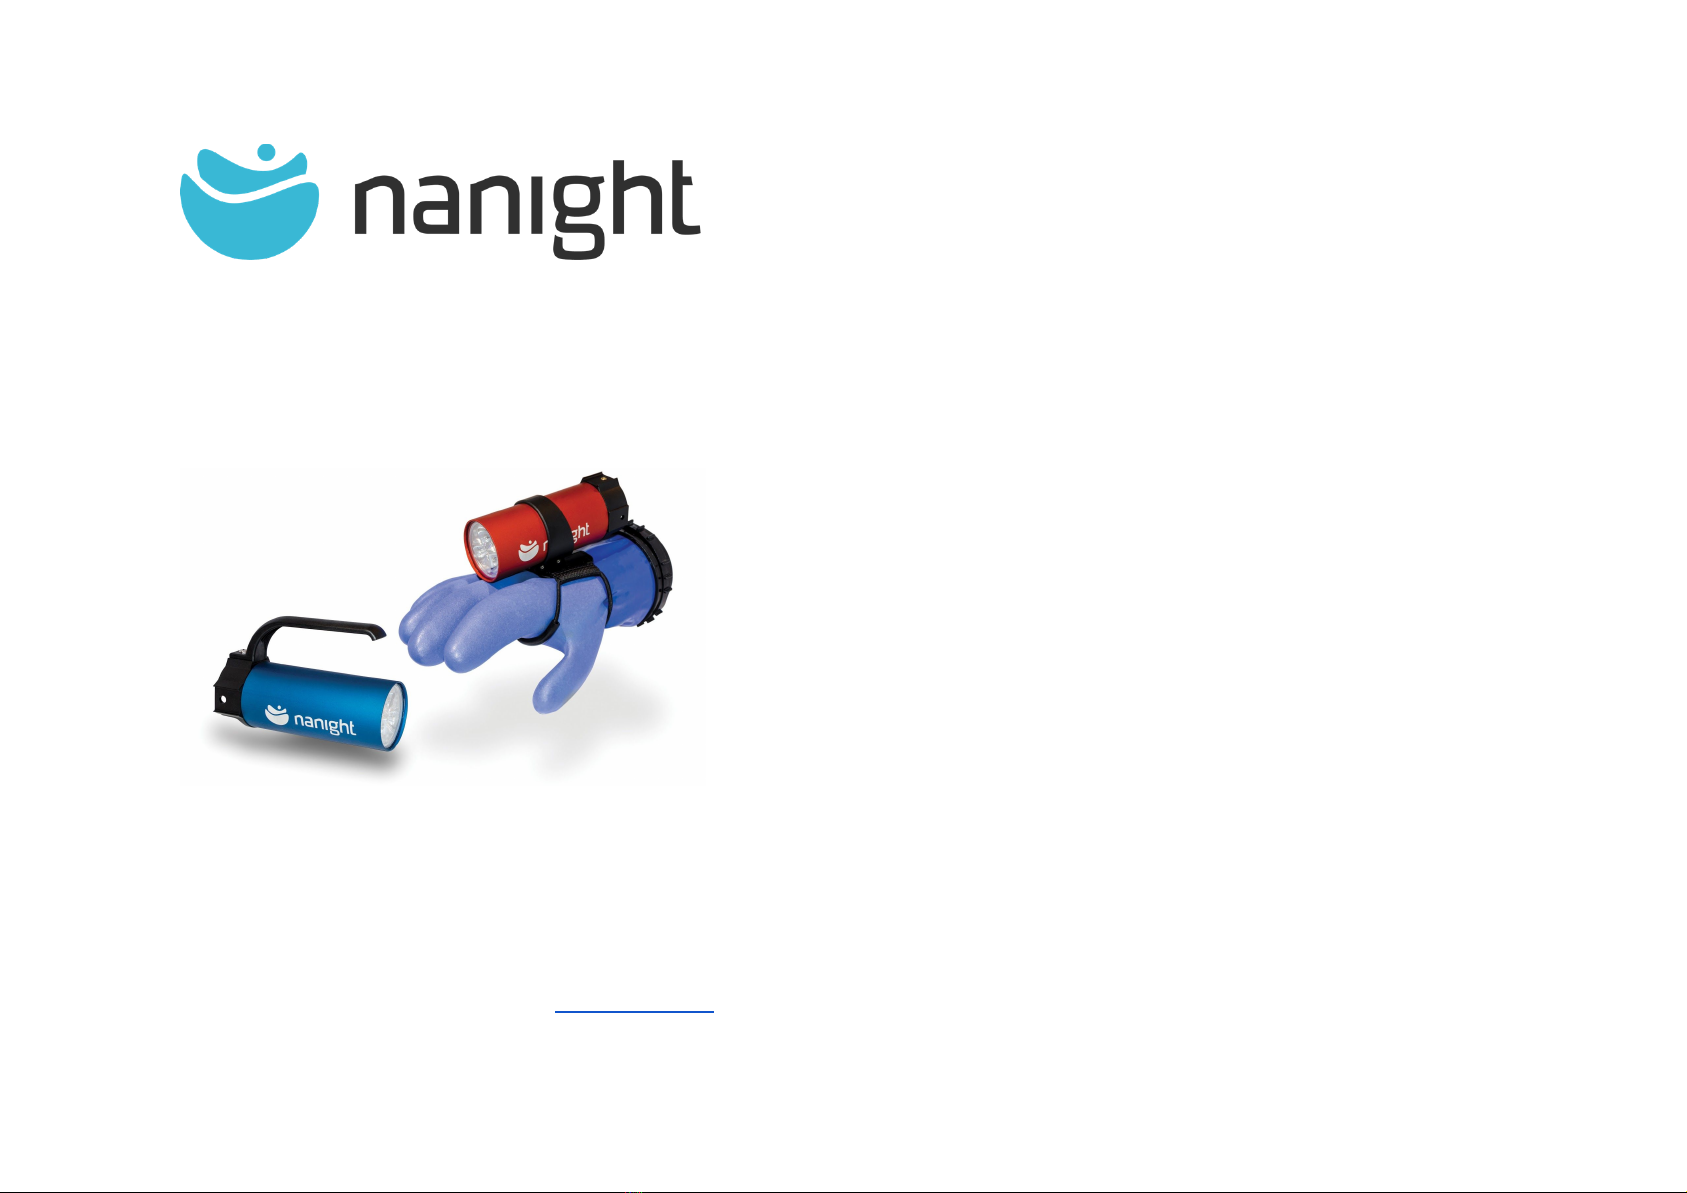
User Manual Nanight Sport 2 Dive light
Thank you for choosing a dive light from Nanight! The light is
designed for diving at depths of up to 200m. We at
Nanight hope your new light will give you many rewarding
days and nights of diving!
PRODUCT DESCRIPTION
●LED Type: Cree XHP35
●Battery: 14,4V Panasonic Li-Ion, 3350 mAh
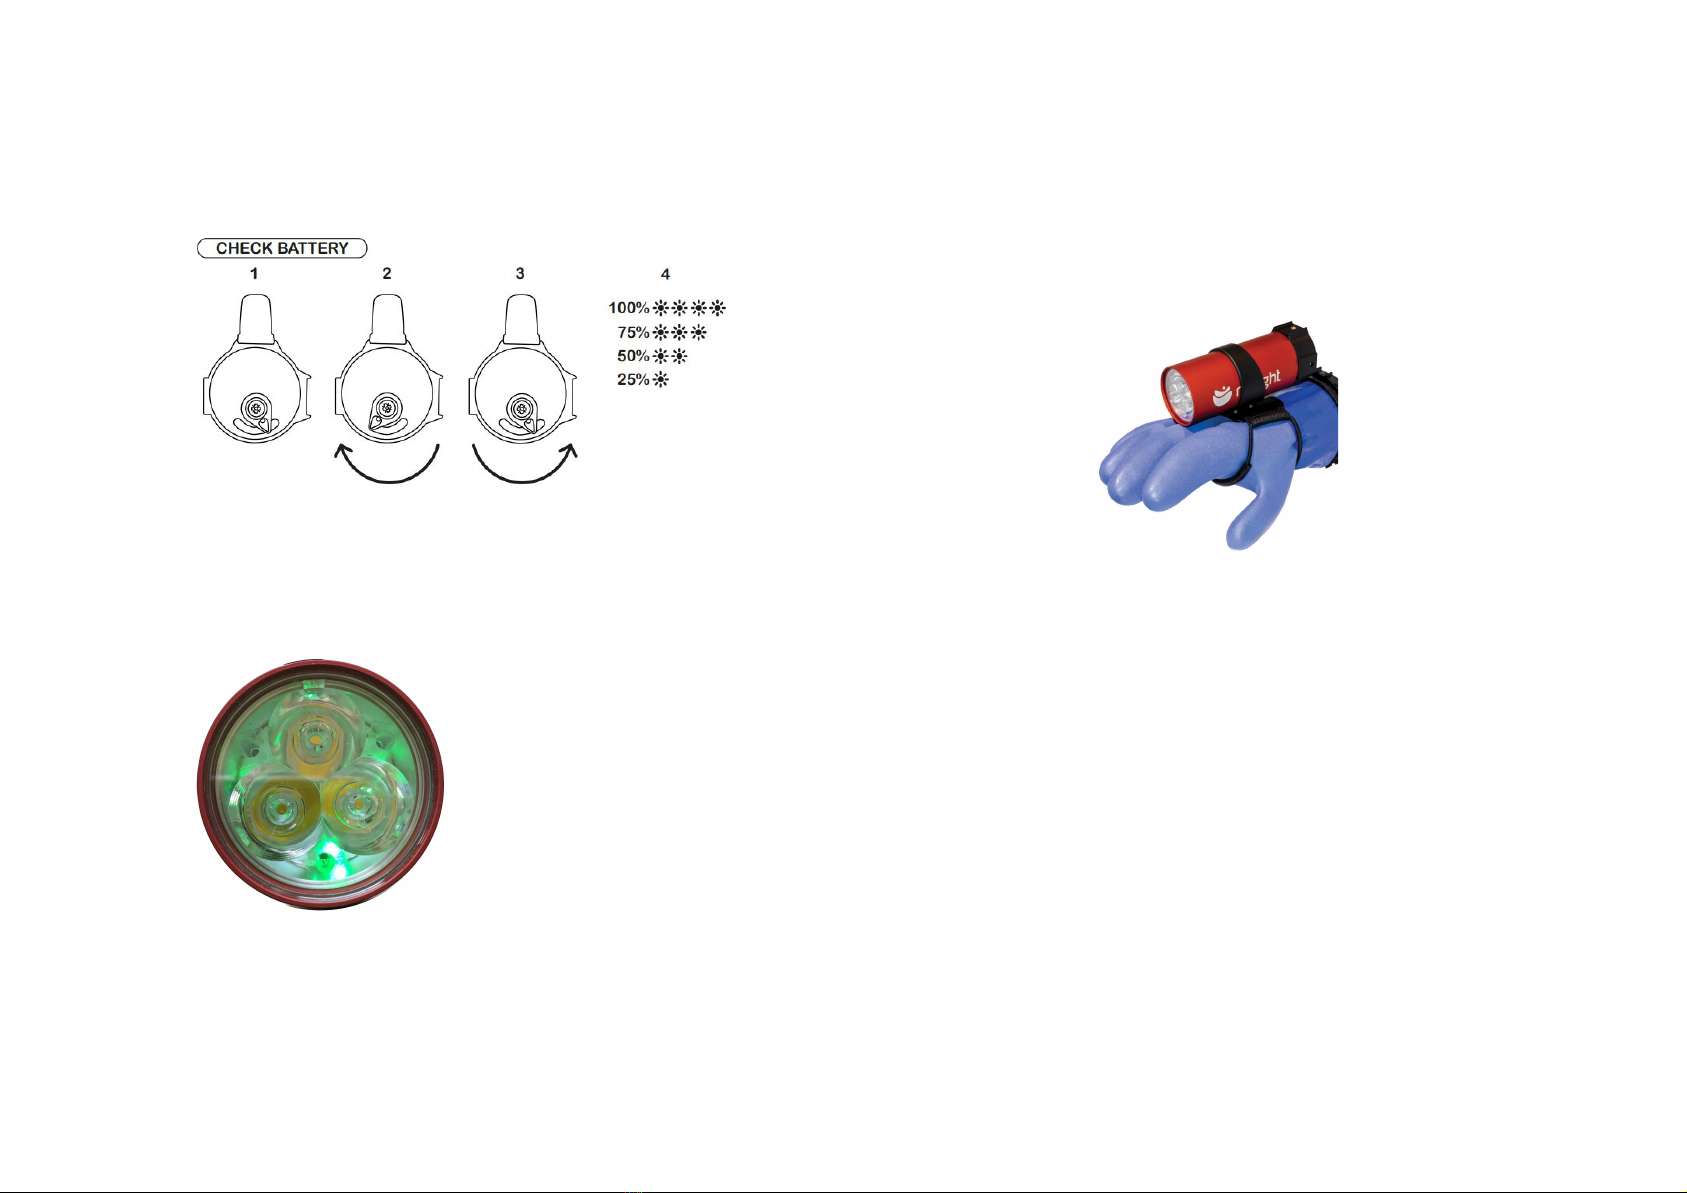
●4-step dimming
●Operating temperature: 0 – 35°C
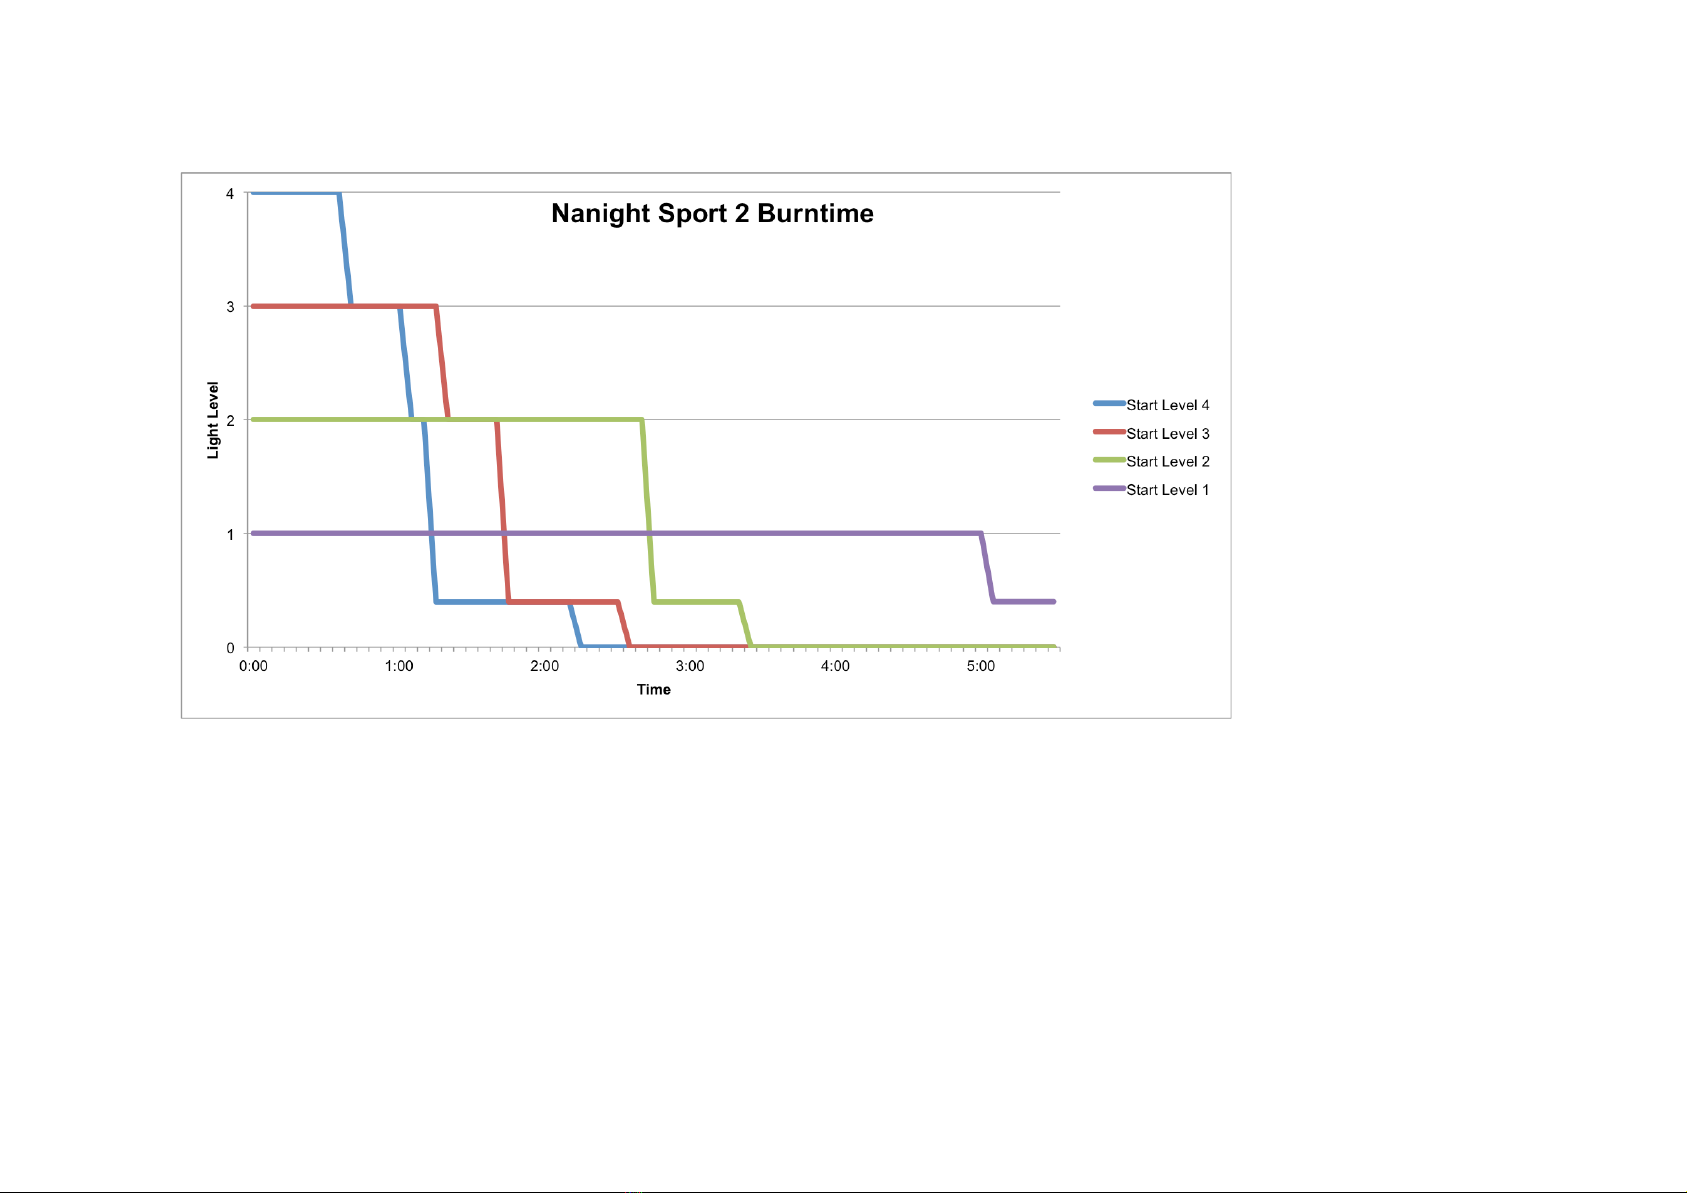
●Light output 4000lm
●Burn time at full power: 45min. See burn time graph at
end.
NANIGHT SPORT 2 INCLUDES
●Dive light
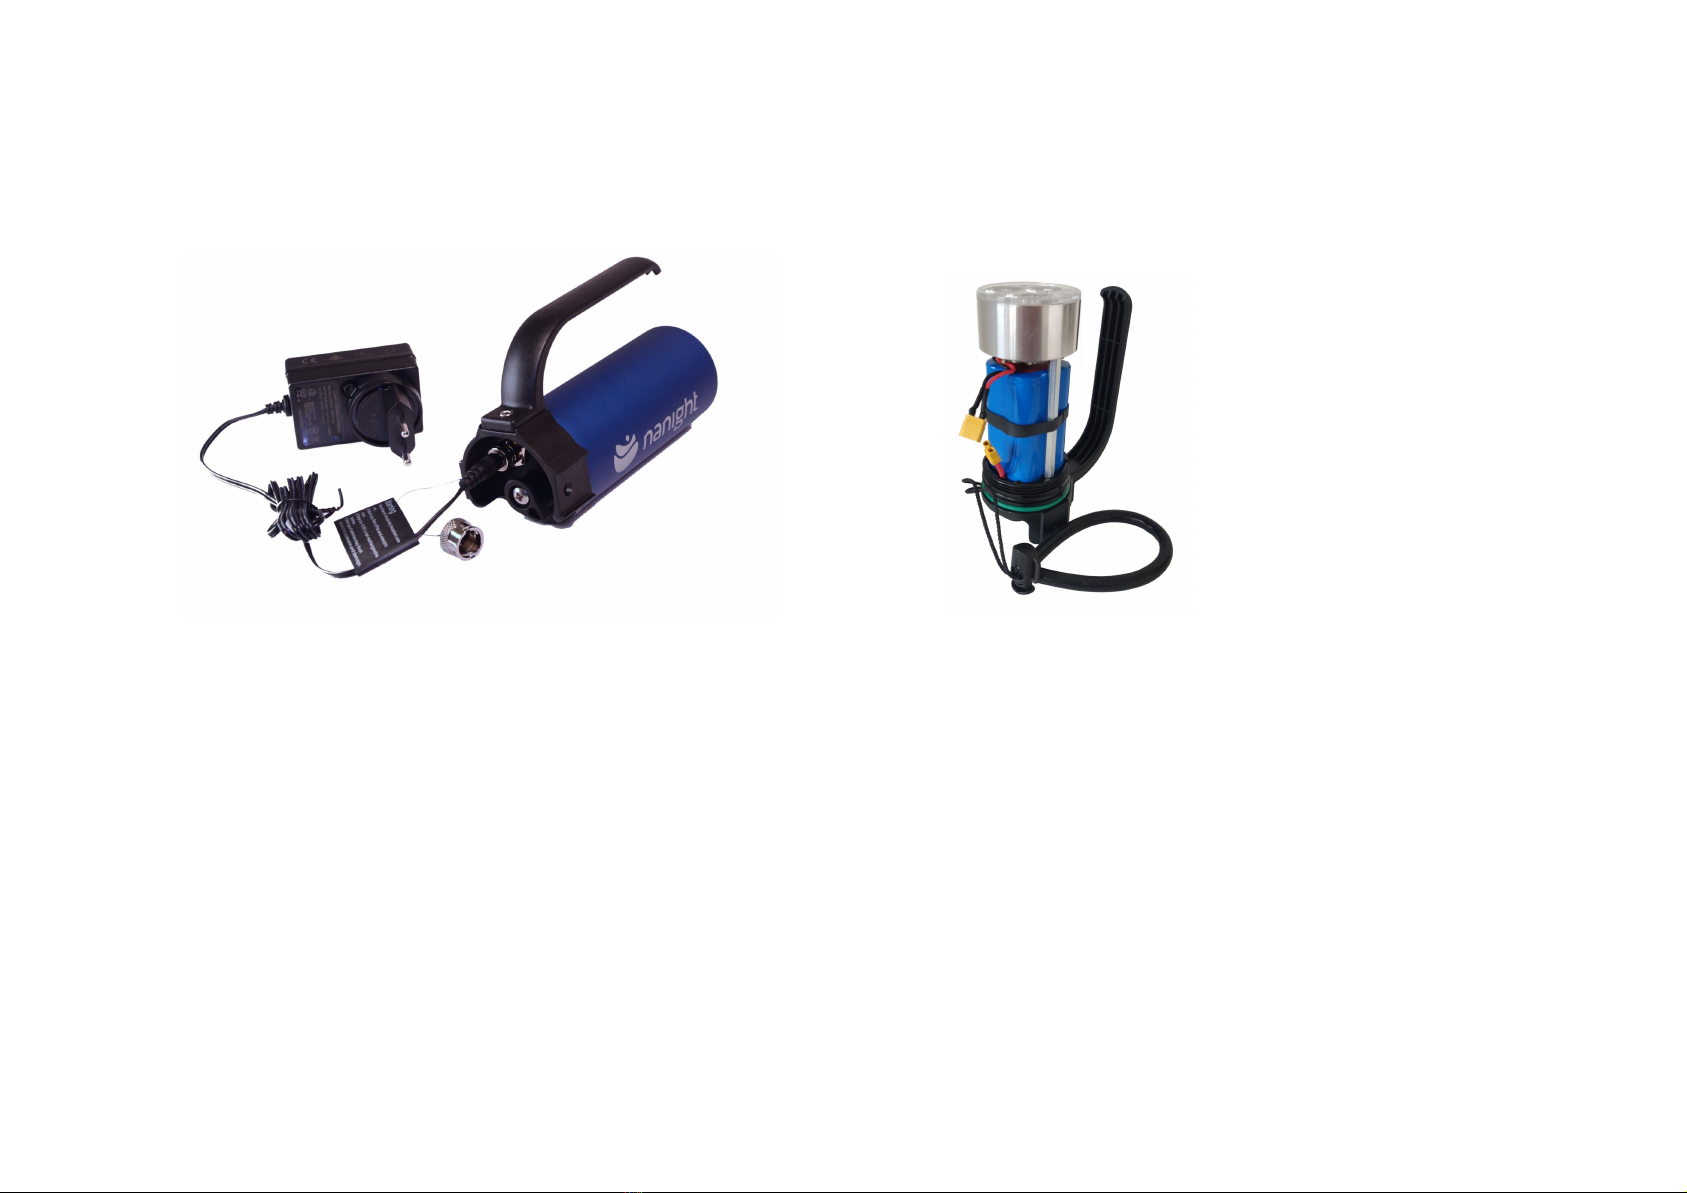
●Charger
●Lens 10 and 35°
●Soft goodman handle
●Case
WARNING:
The battery pack in this light is of Li-Ion type. This kind of
battery may explode if charged incorrectly, short circuited
or damaged in any way. Charge the light outside away
from flammable materials. Never charge the light in direct
sunlight or in temperatures above 35°C. If the light or
battery becomes hot, immediately disconnect the charger,
open the light and place the light in a fire proof area
outside and don’t use the light again until a Nanight
service center has checked the light. Never use a light that
has been flooded. Regularly open the light and check for
over pressure if the light is equipped with an external
charging port. Replace the battery if the battery is
damaged or have significantly lost capacity. Only use
original Nanight battery packs with this product.
When diving in dark water, a backup dive light should always
be brought.
Nanight Sport 2 is a bright light. Never direct the light directly
into the eyes of yourself or others.
When using the dive light above water, it may become hot.
Be careful not to burn yourself or others.
Do not disassemble the dive light while it’s still wet.