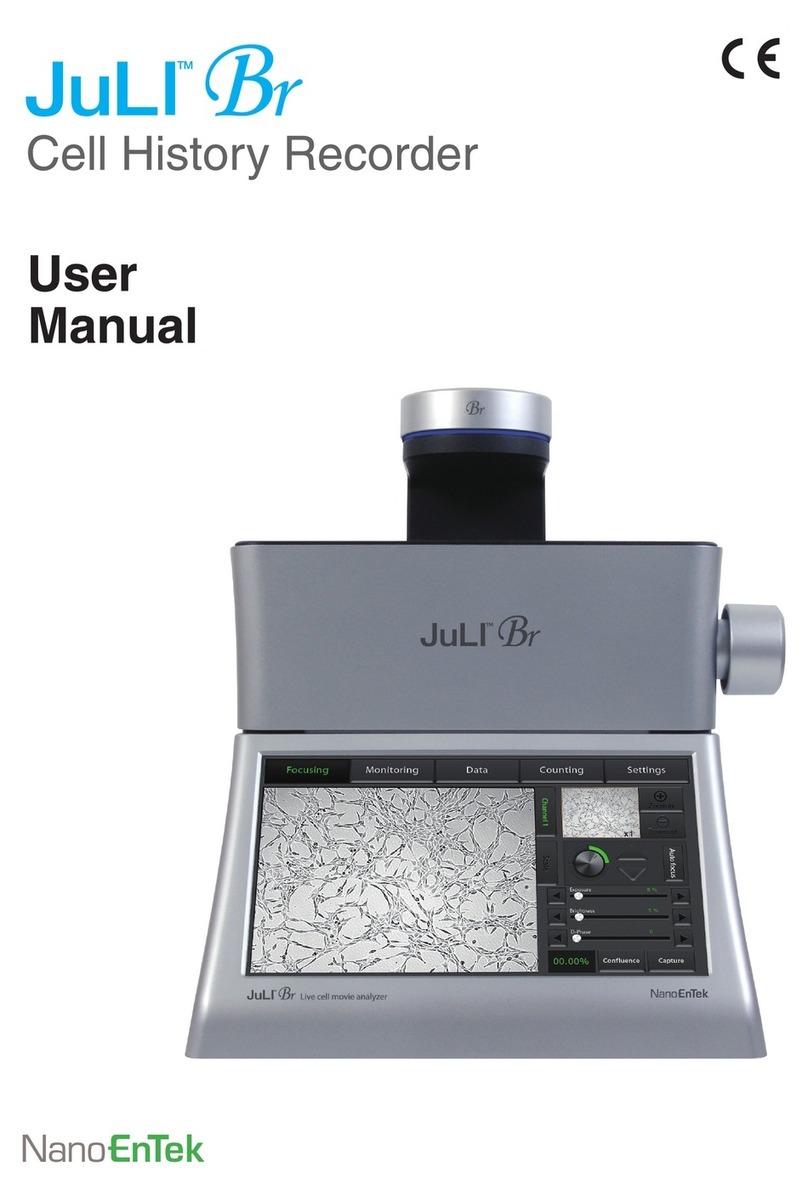
NanoEnTek JuLi Stage User manual

JuLITM Stage, Real-Time Cell History Recorder ©2017 NanoEnTek Inc. 1
User Manual
Copyright NanoEnTek Inc. All rights reserved.
Single-cell Observation System for C1 IFC Vessel

JuLITM Stage, Real-Time Cell History Recorder ©2017 NanoEnTek Inc. 3
All the materials in this user guide are protected by Korean and international copyright laws.
They cannot be reproduced, translated, published or distributed without the permission of
the copyright owner.
JuLI™ Stage
Single-cell Observation System User Manual
Website : www.julistage.com
Manufactured by :
NanoEnTek Inc.
851-14, Seohae-ro, Paltan-myeon, Hwaseong-si, Gyeonggi-do, 18531, Korea
Tel : +82-2-6220-7940
Fax : +82-2-6220-7999
The information in this manual is described as accurately as possible. The changes involved
in rmware and software may be applied without notication.
Copyright ©2017 by NanoEnTek Inc. All rights reserved. Published in Korea.
Documentation: NESMU-JSTSC-001E
Revision history:
V.0.0 Date: JAN 2017
V.0.1 Date: JUN 2017

4
Table of Contents
Product components
Product overview
Features
Description
-Front view
-Side view
-Rear view
-Control box
Installation
- Unpacking the instrument
- Remove the filter change lock module
- Install the instrument
- Place the instrument
- Operating environment
Basic operaion
- Start the Single-cell Operation Software
- Verify and Change the Objective Lens
- Insert the C1 IFC vessel into the holder
- Software Activation
- Windows update
Components of the software
Before start
- Selection of IFC type
- Navigation to capture site
- Adjustment Focus
- Adjustment Channel
- Drag Image
- Zoom-in & Zoom-out
- Capture and Overlay
- Time Stamp
Operation
- Auto Calibration
- Manual Calibration
- Scan IFC
Analysis
- How to analysis
Settings
- Map Calibration
Repackaging
Cleaning and Maintenance
Troubleshooting
Warranty
5
6
7
8-9
8
8
9
9
10-13
10
10
11
12
13
14-17
14
14
15
16
17
18
19-22
19
19
19
20
20
21
22
22
23-31
23
26
28
32-33
32
34-37
35
42-43
44
45-46
47
38
39
40
41
Safety Precautions
Product specifications
Ordering information
Technical support

JuLITM Stage, Real-Time Cell History Recorder ©2017 NanoEnTek Inc. 5
The JuLI™ Stage, Real-Time Cell History Recorder is shipped with the following components.
Please check all components listed below when the instrument is delivered.
PC will be shipped separately because it is optional.
Product components
JuLITM Stage main instrument
1 EA
1 SET
1 EA 2 EA 5M, 2EA
1 EA 3 EA
10x lens is factory-installed with the
JuLI™ Stage main instrument.
1 EA 2 EA
Control Box
User manual Ferrite core Repeater
Connection Cable Objective lens (4x, 10x, 20x)
Power cord with 4 adaptor cords
(4 pcs/set, for U.S./Canada/Taiwan/Japan,
Europe or UK)
USB Cables (20 ~ 43 cm)
User Manual
Copyright NanoEnTekInc.All rights reserved.
Single-cell Observation System for C1 IFC Vessel

6
Product overview
C1 IFC vessel imaging using JuLITM Stage
JuLITM Stage Single-cell Observation System (SOS) enable imaging and analysis of single
cells in C1 integrated uidic circuits (IFC) vessel. C1 IFC vessel allow capture and stain
single cells for further analysis i.e RNA, DNA extraction and gene sequencing like NGS. JuLITM
Stage Single-cell Observation System (SOS) is composed of software controls the automated
X-Y axis stage and features imaging and analysis tools and compact, compatible system,
JuLITM Stage.
Compact, compatible and Real-Time Cell History Recorder of live cell imaging from
inside your cell culture incubator!
Suitable for the following applications:
• Live cell imaging (time lapse) • Cell growth monitoring
• Cell culture quality control • Cell culture optimization
• HCS cell imaging analysis (6 to 384 well) • Stem cell development
• Cell-based assay optimization • Cell proliferation
• Image stitching • Cell cytotoxicity
• Angiogenesis • Cell migration study
• Scratch-wound assay • Cell di erentiation
• Neurite growth
• Angiogenesis
• Protein expression
• Kinetic imaging and cell di erentiation

JuLITM Stage, Real-Time Cell History Recorder ©2017 NanoEnTek Inc. 7
Features
The JuLITM Stage a Real-Time Cell History Recorder, offers you the following benefits,
Automated imaging system
The JuLI™ Stage provides a live cell imaging using automatic focus and precise one by one multi-well
control system.
- Fully automated and motorized X-Y scanning stage
- Auto focusing on every single position
- Image tiling with a stitching function
Sensitivity and expandability
The sensitive CCD camera, multi-channel uorescence and magnication (4, 10 & 20 X) provide the power-
ful detection capabilities required for various cell-based assays.
- High-sensitivity monochrome CCD
- Multi-channel fluorescence imaging (3 color fluorescence GFP, RFP and DAPI and bright channel)
- User-changeable objective lens (4, 10 & 20 X)
Versatile and Powerful S/W
The JuLI™ Stage software allows you to generate live cell imaging and analysis easily.
- Image capturing and time-lapse recording with multi-position scanning
- Navigation function to gure out the optimal position
- Image stitching function to scan the whole well at once
Compatibility and easy to use
The compact and ready to use system can be operated in an incubator and it can be controlled by the
JuLI™ Stage
software from outside.
- Compact and compatible to CO2incubator
- 23.8” full HD monitor
- Desktop computor
- Simple steps for the system setup and operations
- Compatibility with various brands of well plates by auto adjustment function

8
Description
[Front view]
[Side view]
LED (Bright mode)
Vessel holder
Automatic X-Y stage
Lens holder
Cover
Main body
Used to protect test samples from external light. When you use the
JuLl™ Stage in an incubator, the cover can block out light from the
Front view of the JuLl™Stage. The main body is composed of LED,
Filters (Fluorescence mode) and optic parts.
LED (Bright mode)
Vessel holder
Automatic X-Y
stage
Lens holder
LED is used for bright image viewer.
This is a holder for sampling plates. The capacity is 6 well to 384 well.
The automatic X-Y stage makes it possible for you to move to the
position you want.
This is a holder for changeable lens.
Main body
(LED, Fluorescence Filters & optic parts)
Cover
Front
View
Side
View

JuLITM Stage, Real-Time Cell History Recorder ©2017 NanoEnTek Inc. 9
LED (Bright mode)
Vessel holder
Automatic X-Y stage
Lens holder
Main body
(LED, Fluorescence Filters & optic parts)
Cover
Description
Fan
Connection port
Fan
Connection port
Power inlet
Power inlet
Machinery cooling system.
Connect the JuLI™ Stage main instrument with the control box.
Connect the instrument to an electrical outlet using the
supplied power cord and the appropriate plug, based on the
electrical outlet conguration in your country.
[Rear view]
When the PC and the control box are properly connected, the
red light is turns on.
Connect the JuLI™ Stage main instrument with the control box
Control the camera in the JuLI™ Stage main instrument.
Control the JuLI™ Stage main instrument operating.
Serial and camera
LED
Connection port
Serial port
Camera port
Connection port Camera portSerial port
Serial connection LED
Camera connection LED
Rear
View
Control
Box

10
1. Unscrew the filter change lock module screw until they spin freely.
2. Gently pull lter change lock module screw out, away from the
instrument.
3. Put the lter in the pouch to keep.
1. Open the box and remove the material foam in the box.
2. Carefully lift the instrument out of the box, holding it by handholds in
the bottom of the base.
3. Place the instrument on a at, level surface (table or incubator).
Installation
Unpacking
the instrument
Remove the
lter change
lock module
IMPORTANT!
Remove out the Filter change lock module by turning it counterclockwise to prevent the damage
of the instrument before plugging the power cord into power outlet and turning on the JuLI™ Stage.
IMPORTANT!
Filter change lock module
Do not lift the JuLI™ Stage by condense arm.

JuLITM Stage, Real-Time Cell History Recorder ©2017 NanoEnTek Inc. 11
Install
the instrument
Installation
1. Connect repeater to the PC and two USB cable, then connect to control box.
(PC Monitor Resolution: 1920 ×1080 pixels)
1-1. Plug the power cord into the rear side of the PC.
2. Connect the JuLI™Stage instrument and the Control box and using the connection cable.
Connect the connection cable and control box by matching the blue and red sticker.
3. Plug the power cord of PC and instrument into the electrical outlet.
2-1. Plug the power cord into the rear of instrument.
☞ Note: Check the connection on the rear side of the PC.
☞ Note: If you connect all the components, it will looks like below image.
☞ Note: Make sure for connection port direction of control box before connecting.
☞ Note: Be sure to use only the power cord supplied with your instrument.
Powering the instrument with an unapproved power cord may damage the instrument.
Power port USB port
☞ Note: Install ferrite core on each end of power cord and convection cable.

12
Installation
Live-cell images from various cell culture dishes are directly captured in
a cell culture incubator. This design allows an instrument to be installed
in an incubator, and prevents the contamination by maintaining a sterile
environment. The intuitive graphic user interface also provides quick and
convenient use in a cell culture incubator while capturing time-lapse
imaging.
The JuLI™ Stage operates in standard size of incubator. The JuLI™ Stage
can be used in both inside and outside incubator.
Lay a cover if the instrument is installed on the table to protect test
samples from external light.
JuLI™ Stage installed inside of the incubator
JuLI™ Stage installed on the table
Place the
instrument
into the
incubator
(or to the
table)
IMPORTANT!

JuLITM Stage, Real-Time Cell History Recorder ©2017 NanoEnTek Inc. 13
Installation
• Allow at least 10 cm (4 inches) free space at the back of the instrument to allow for
proper ventilation and prevent overheating of electronic components.
• Set up the JuLI™ Stage away from direct light sources, such as windows.
Ambient room lighting can enter the imaging path and affect the image quality.
• Place the JuLI™ Stage on a level surface away from vibrations from other
pieces of equipment.
• Operating temperature range: 5 - 40°C (41 - 104°F)
• Relative humidity range: 20 - 95 %.
Operating
environment

14
Basic Operation
Start the
Single Cell
Observation
Software
Verify and
Change the
Objective
Lens
Make sure the instrument, control box, and PC are plugged
in and connected.
If the system is not setup correctly, contact FAS. For contact information, see page
You must start the components of the Single-cell Operation System
(Instrument, PC and Software) in the following order so as the software
can connect to the instrument
1. Turn on the PC
2. Turn the power switch ON of the control box. The serial and camera
LEDs light up
3. Double-click the desktop icon to start the software. Wait while the
SOS initializes up to 5 min to complete.
☞ NOTE:To shut down the SOS, exit the software before turning the control box OFF
Before insert the C1 IFC vessel into the holder, verify that the objective lens installed in
the instrument matches the setting selected in the software.
☞
NOTE:The objective lens installed in the instrument should match the setting
selected in the software for imaging to function properly
IMPORTANT!

JuLITM Stage, Real-Time Cell History Recorder ©2017 NanoEnTek Inc. 15
Basic Operation
Verify and
Change the
Objective
Lens
Insert the
C1 IFC
vessel into
the holder
1. Click the Settings in the software, and select the desired Objective Lens setting
The software moves the objective lens holder automatically to the center of the
instrument
2. Loosen and rotate the current lens counterclockwise to remove it from the holder.
3. Place the new lens on the holder and rotate clockwise. Be sure to rotate the
objective until it is tight in the holder, however, do not over-tighten.
4. In the Settings tab in the software, click Set.
☞ NOTE: Do not forget click Set. Set allowed to match objective lens to lens setting of
software
5. Close the cover.
Be ensure that the notch (A1 position) is set to top-left corner of vessel and the
barcode faces to the left side.
Notch (A1 position of C1 IFC vessel)

16
Basic Operation
Software
Activation
Software should be licensed by activation key in setting menu
• Popup window inform how to receive license key
☞ NOTE: Preview and Option tab is deactivated until software activation
Click Activation and input
authorized 20 character
license key to activate
software
Single-cell Observation S
ystem is changed to Activated
Software activation is allowed through JuLITM Stage System Setup program in USB stick.

JuLITM Stage, Real-Time Cell History Recorder ©2017 NanoEnTek Inc. 17
Basic Operation
Software
Activation
Software activation is allowed through JuLITM Stage System Setup program in USB stick.
• Click JuLITM Stage System Setup allowed to open popup window to setup
• Install SOS
☞ NOTE: If you already have CHR and want to update SOS, you can use same procedure
Go to SOS
Installation pathway selection
Data pathway selection
Input authorized 20 character
license key to activate software
• Input authorized 20 character license key and click edit to Activation SOS
Windows
update
Please do not allow the windows update.
☞
NOTE: Do not connect the internet network. We recommend you to allowe
the network connection only for remote access and monitoring.

18
Components of the Software
1. Live image pane – Displays an image of the selected IFC location
2. IFC location – Displays the current IFC location as <Site> I <Column> x <Row>
3. IFC display – Displays the layout of capture site locations in the IFC
4. Image tab – Select channels and manually image specic capture sites and calibrate
5. Scan tab – Automatically scan and calibrate all capture site locations
6. Analysis tab – View saved images and adjust channel settings
7. Setting tab – Enables change of the objective lens and mouse control settings
Live image pane
Setting tab
Analysis tab
Scan tab
Image tab
IFC display
IFC location

JuLITM Stage, Real-Time Cell History Recorder ©2017 NanoEnTek Inc. 19
Before Start
Selection of
IFC type
Adjustment
Focus
Navigation to
capture site
• Check the PreScan tab and select the correct IFC type
• C1 IFC: 96-cell type
• C1 HT IFC: 800-cell type
• To go to the first capture site (P01), enter 1 in the Site field and click Go to site
• The software also provide navigate function using Column and Row (Column x Row)
• To regulate focus, drag focus slide or click the focus buttons (Coarse and Fine)
• Coarse focus interface – Larger step which moves up or down rapidly
• Fine focus interface – Smaller step which moves short distances minutely
Coarse focus interface
Fine focus interface

20
Before Start
Adjustment
Channel
Drag Image
• To optimize the contrast, drag to adjust the Exposure, Brightness, LED Power
and D-Phase in each channel
- Exposure range: 5 ms ~ 500 ms
- Brightness range: 0 ~ 40
- LED power range: 1 ~ 10
- D-Phase: 0 ~ 10
• Drag capture site over to the red-cross hair allowed ne movement

JuLITM Stage, Real-Time Cell History Recorder ©2017 NanoEnTek Inc. 21
Before Start
Zoom-in &
Zoom-out Mouse Scroll Up supports zoom-in
function in both real-view and captured
images that allows user to magnify
specic position
Magnied navigation
Magnied navigation
Magnied navigation
1st zoom in
2nd zoom in
3rd zoom in
• Scroll out to zoom out from the view field in both real view and captured imags
Other manuals for JuLi Stage
4
Table of contents
Other NanoEnTek Voice Recorder manuals