5
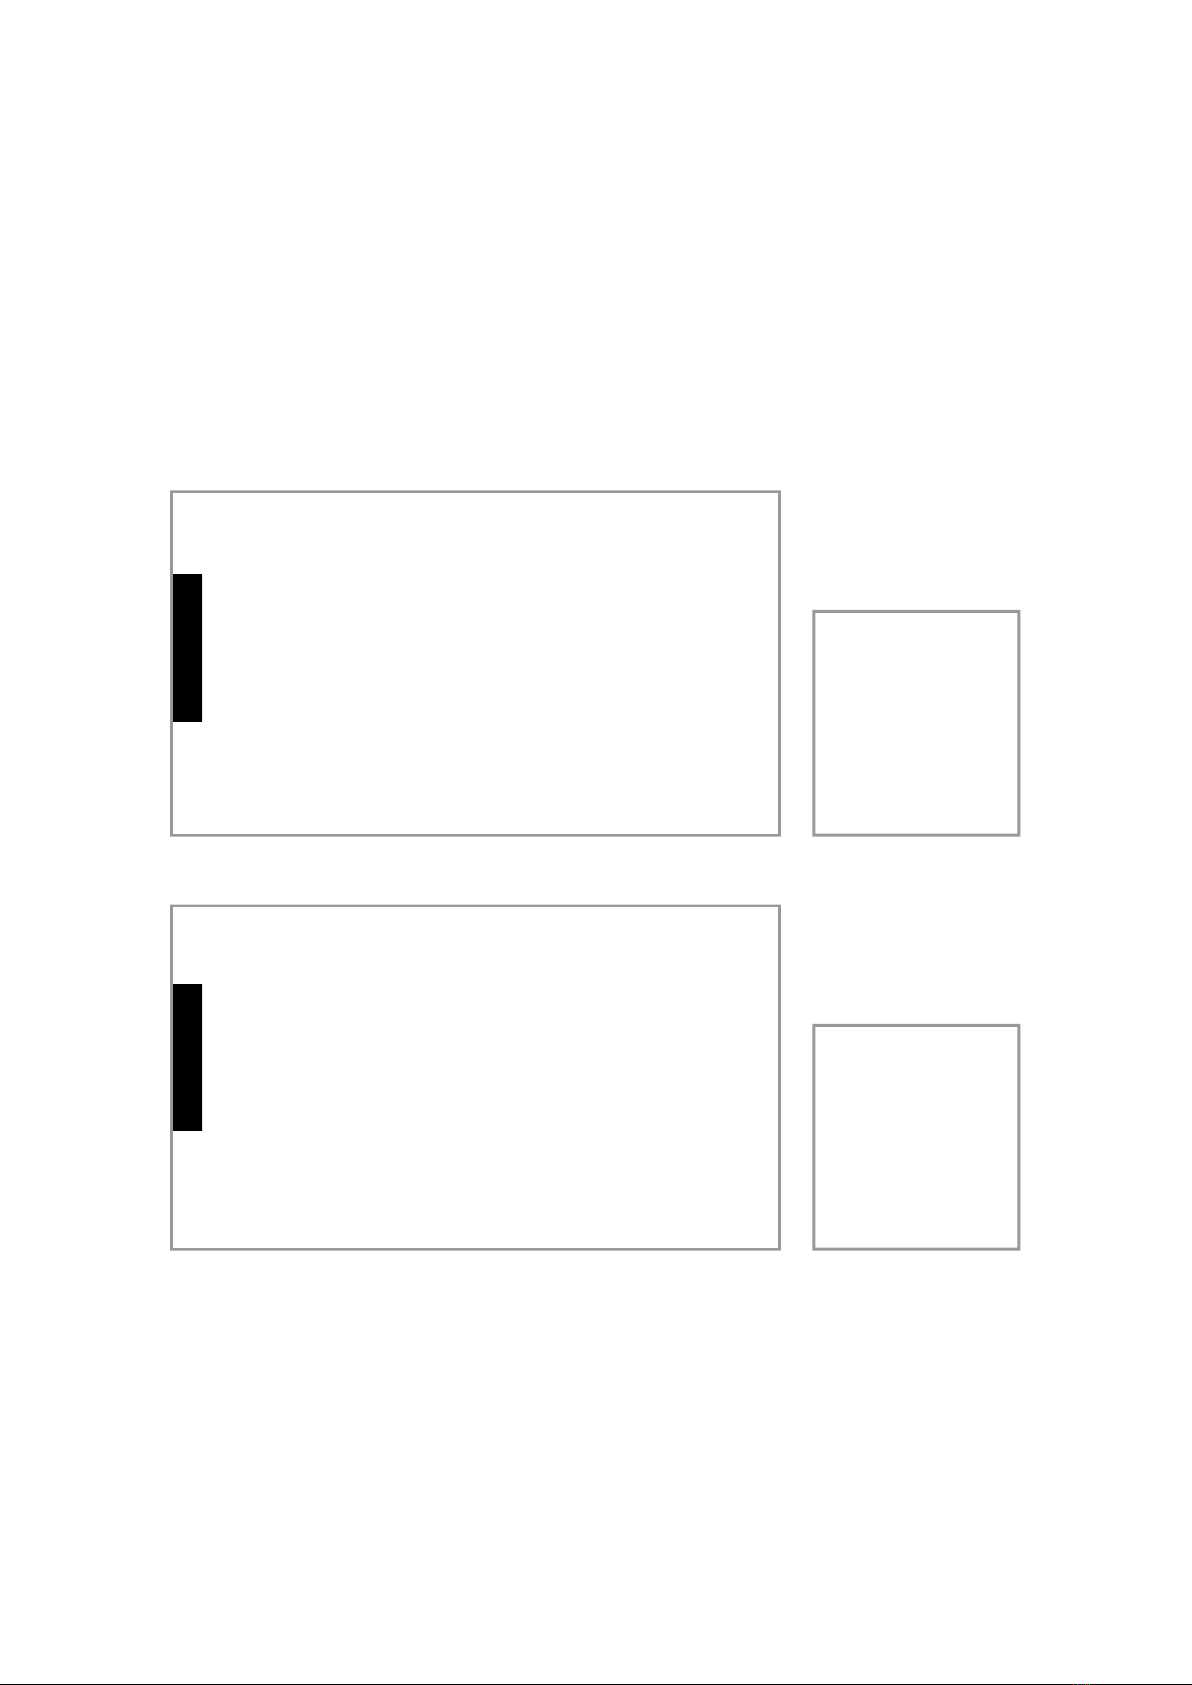
You can add a webcam to enrich your live
streaming content. Connect a webcam to the USB
3.0 port of NJ340, then click the in the user
interface of NJ340 to enable webcam source.
* NJ340 may not support some of the USB webcams.
When it is not supported, a prompt will appear or the
video source from the webcam will turn into black
screen.
* If the webcam cannot be turned on due to unknown
reasons, please try to reconnect or connect to a
dierent USB port.
If you want a clearer audio for you live stream
content, you might as well connect a USB
microphone to NJ340 via USB3.0 port. Then
clickthe on NJ340 user interface to enable
microphone.
* NJ340 may not support some of the USB microphones.
When it is not supported, a prompt will appear.
* If you connect both USB webcam and USB microphone
at the same time via USB Hub, turning on the button
will only receive one of the audio input.
Add your video source
After setup all the basic connection, you can start to connect the video/audio equipment
that is needed for live streaming.
Add Camera
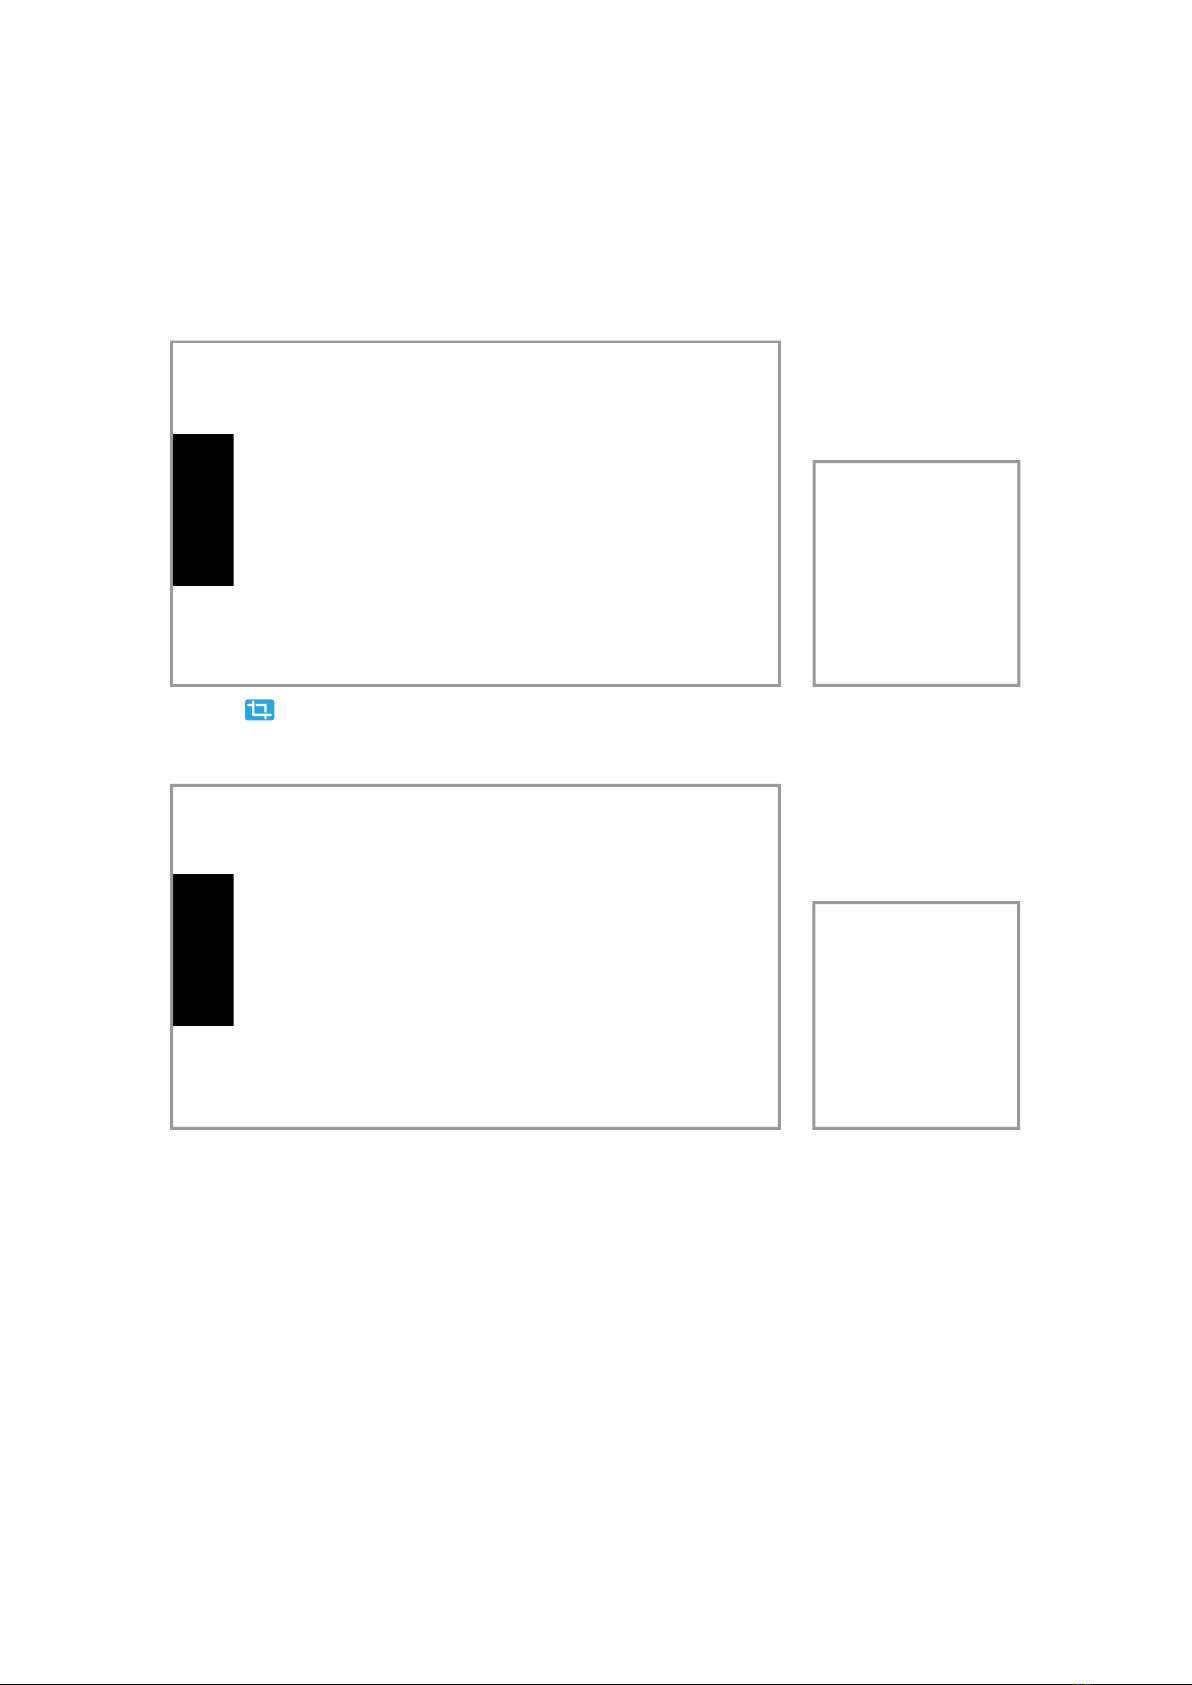
Add USB webcam (recommended)
Turn on a Camera and connect it to the HDMI IN
port of the NJ340 via a HDMI cable (convertor is
needed if the camera do not has a standard HDMI
port). The preview screen of NJ340 will show the
scene that is point at by the camera.
If you want to adjust the resolution of the live
streaming, you can go to Settings > Resolution.
The change you made will aect the resolution of
live stream session, the preview screen of NJ340
will not be changed.
* If NJ340 do not detect any HDMi source, the preview
screen will display ‘No signal’ and NJ340 cannot
perform live streaming or recording.
Add microphone (recommended)