manuals.online logo
Brands
  1. Home
  2. •
  3. Brands
  4. •
  5. Navitar
  6. •
  7. Projector
  8. •
  9. Navitar VideoMate 2250 User manual

Navitar VideoMate 2250 User manual

This manual suits for next models

1

Other Navitar Projector manuals

Navitar FX User manual

Navitar

Navitar FX User manual

Navitar VideoMate 5000 User manual

Navitar

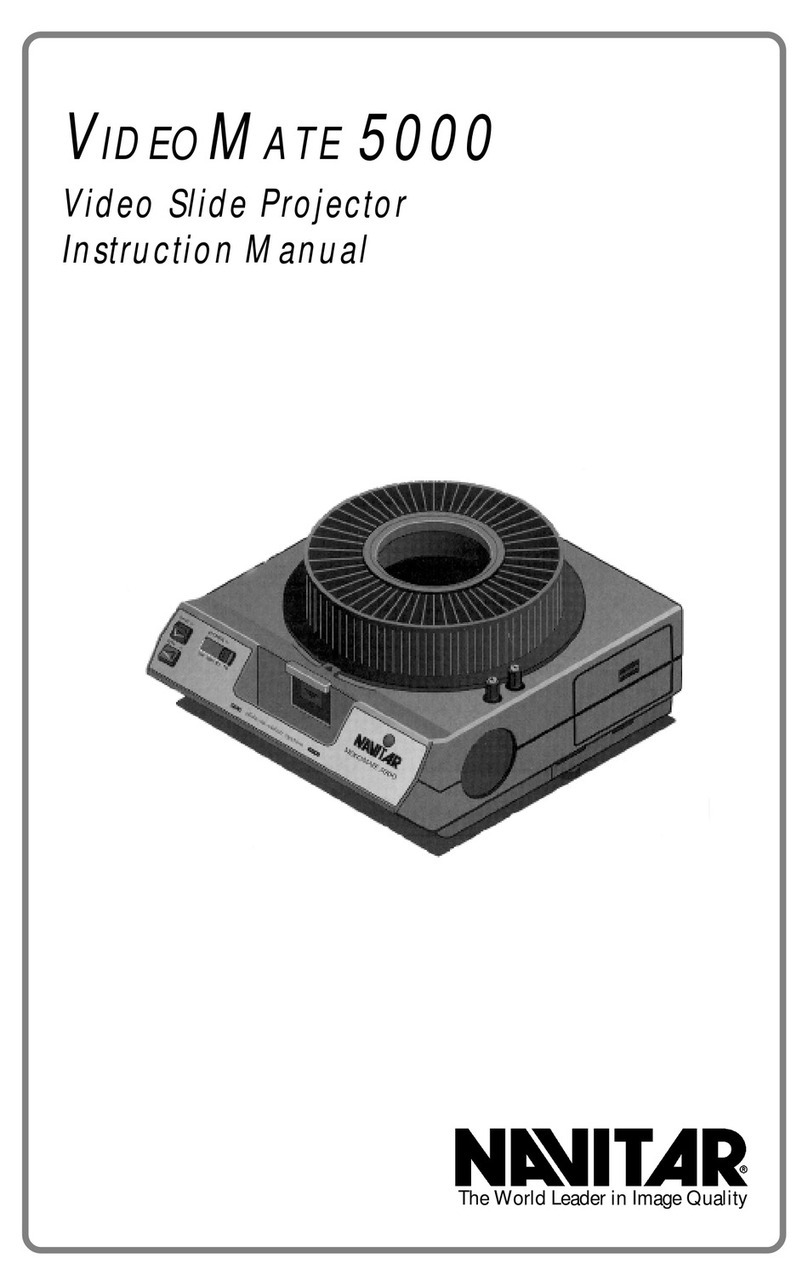
Navitar VideoMate 5000 User manual

Navitar FX User manual

Navitar

Navitar FX User manual

Navitar ColorPro User manual

Navitar

Navitar ColorPro User manual

Navitar VideoMate 2300 User manual

Navitar

Navitar VideoMate 2300 User manual

Navitar 10K User manual

Navitar

Navitar 10K User manual

Navitar VIDEOMATE 2030 User manual

Navitar

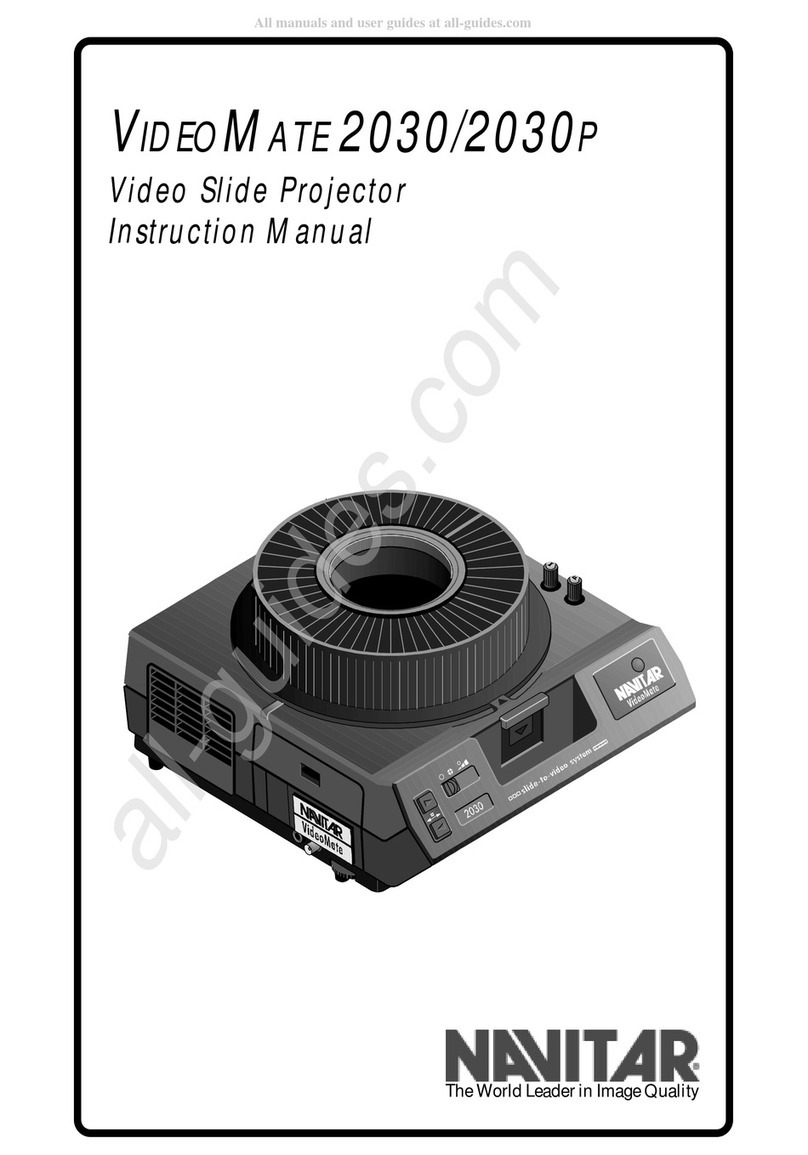
Navitar VIDEOMATE 2030 User manual

Navitar VIDEOMATE 2030P User manual

Navitar

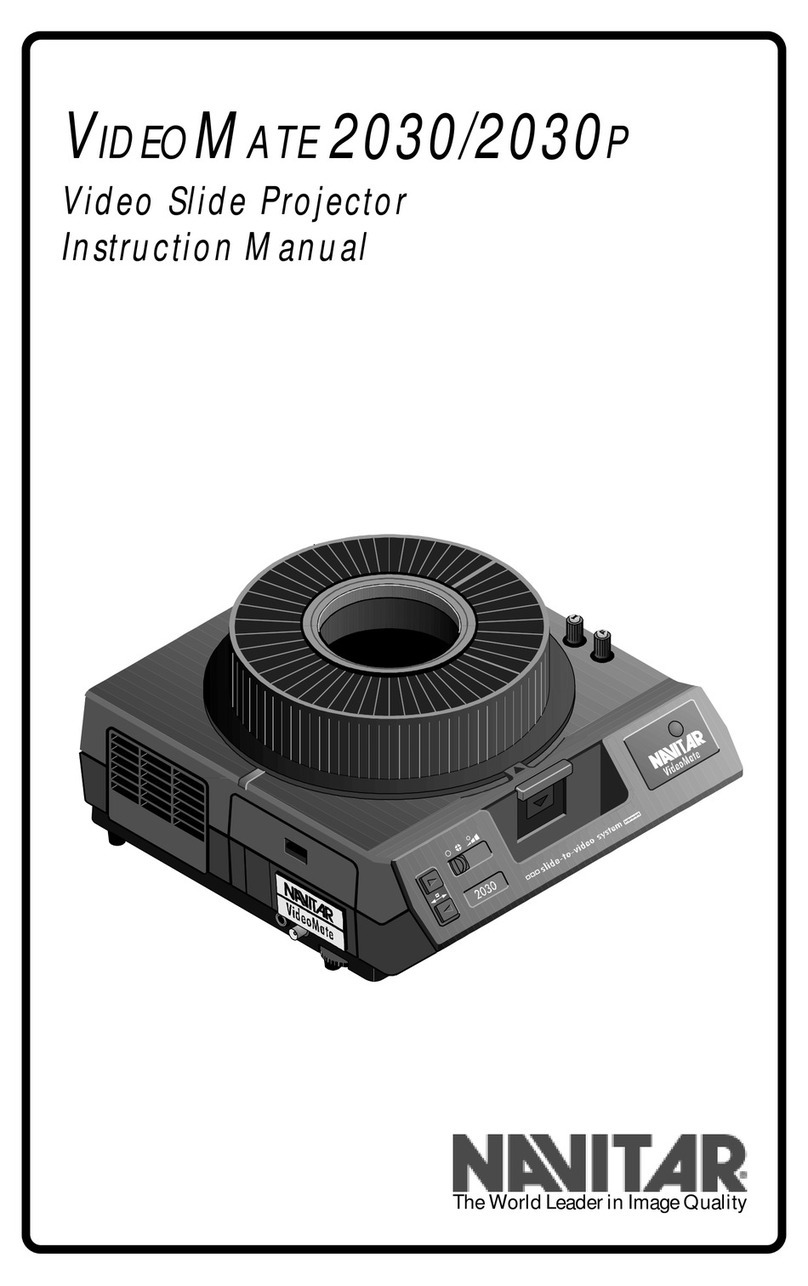
Navitar VIDEOMATE 2030P User manual

Navitar 560 User manual

Navitar

Navitar 560 User manual

Navitar VideoMate 6100 User manual

Navitar

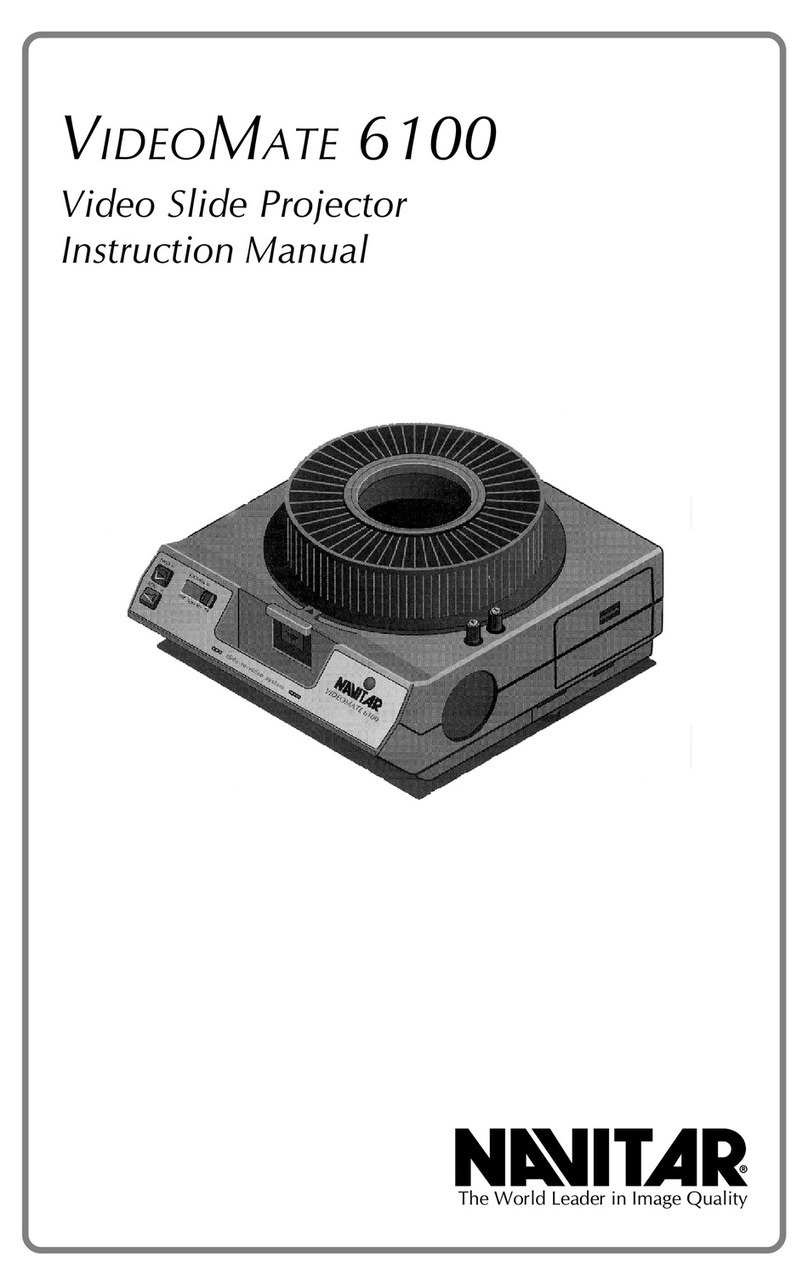
Navitar VideoMate 6100 User manual

Navitar VideoMate 5000 User manual

Navitar

Navitar VideoMate 5000 User manual

Navitar VideoMate 7500XY User manual

Navitar

Navitar VideoMate 7500XY User manual

Popular Projector manuals by other brands

Eiki LC-X985 Specification sheet

Eiki

Eiki LC-X985 Specification sheet

InFocus LitePro 610 quick start

InFocus

InFocus LitePro 610 quick start

Epson EH-TW5900 datasheet

Epson

Epson EH-TW5900 datasheet

FOREVER MLP-100 manual

FOREVER

FOREVER MLP-100 manual

Toshiba TDP-MT8U Specifications

Toshiba

Toshiba TDP-MT8U Specifications

Mitsubishi XD500U specification

Mitsubishi

Mitsubishi XD500U specification

Kodak Ektapro 3020 Illustrated parts list

Kodak

Kodak Ektapro 3020 Illustrated parts list

Toshiba TDP-EW25U Specifications

Toshiba

Toshiba TDP-EW25U Specifications

Barco iQ PRO G500 supplementary guide

Barco

Barco iQ PRO G500 supplementary guide

NEC Showcase Series HT1100 user manual

NEC

NEC Showcase Series HT1100 user manual

Philips LC1341 user guide

Philips

Philips LC1341 user guide

Epson PowerLite 1266 user guide

Epson

Epson PowerLite 1266 user guide

MAGINON DLP 1400S user manual

MAGINON

MAGINON DLP 1400S user manual

Toshiba TLP-380 owner's manual

Toshiba

Toshiba TLP-380 owner's manual

Philips PicoPix PPX2480/EU user manual

Philips

Philips PicoPix PPX2480/EU user manual

Hitachi CP-X605 Series Specifications

Hitachi

Hitachi CP-X605 Series Specifications

Optoma TW1692 user manual

Optoma

Optoma TW1692 user manual

Kodak EKTAPRO instruction manual

Kodak

Kodak EKTAPRO instruction manual

manuals.online logo
manuals.online logoBrands
  • About & Mission
  • Contact us
  • Privacy Policy
  • Terms and Conditions

Copyright 2025 Manuals.Online. All Rights Reserved.

VIDEOMATE 2250/2250P
Video Slide Projector
Instruction Manual
The World Leader in Image Quality
Ektapro and Kodak are both trademarks of the Eastman Kodak Company. Ektapro
manual drawings used with the permission of Eastman Kodak Company.
VideoMate and Navitar are both trademarks of Navitar, Inc.
3
Table of Contents
4Introduction to the VideoMate
6System Diagrams
7Safety Precautions
8Voltage Selection
9Quick Start
10 Installation
11 Slide Tray
14 Operation
16 Lamps and Fuses
18 Features & Functions
21 Troubleshooting
22 Specifications
23 Warranty
4
Introduction to the VideoMate
VideoMate Slide-to-Video Systems
Today’s sophisticated audiences expect high quality
visual aids in the presentations they attend. Since a
picture is “worth a thousand words,” as they say, there is
no better way to increase the effectiveness of a presen-
tation than to pack it full of interesting visual images.
A Navitar VideoMate is an ideal presentation tool. It
enables you to easily integrate 35mm slides into presen-
tations by converting them into video images which can
be projected through a video projector or viewed on a TV
monitor. VideoMates produce high-resolution images
with outstanding contrast and vivid color rendition, so
slides can be shown as large projected video images
without losing clarity or legibility. VideoMates are ideal
for use in boardrooms, auditoriums and training rooms,
or for AV rental and video production.
Description of the VideoMate 2250/2250P
TheVideoMate2250(NTSC)and2250P(PAL)aread-
vancedslide-to-videotransfer systems that makethe
digital connection with built-in microprocessor control.
Withthe VideoMate 2250,RS-232 control enablesthe
projector, lens and camera functions of the slide-to-video
transfer unit to be electronically controlled from a PC
computer or boardroom control system. A software
package for a PC computer is available from Navitar.
This model is equipped with genlock
The VideoMate 2250 is based on a state-of-the-art
Kodak Ektapro electronic slide projector. Integrated
inside is a high-resolution CCD camera featuring
Navitar’s acclaimed precision zoom optics. To increase
on-screen resolution even further, the VideoMate 2250
can be used with a scan doubler.
The “random access” feature of the 2250 allows the user
to choose between pre-programming the exact slide
sequence or randomly jumping to various slide tray
positions. Random access is controlled by simply
punching the slide numbers into the control system and
pressing enter.
5
Introduction to the VideoMate
The built-in motorized zoom lens allows the 2250 to
zoom in on slides for increased magnification or zoom
out to view entire vertical slides.
A unique “stand-by” mode, allows the projector to be
powered off and back on again without the normal return
of the slide tray to the first slide position.
VideoMate
Slide-to-Video
6
Systems Diagrams
Top View
Rear View
7
Safety Precautions
Safety Precautions
To prevent damage to the equipment and operating
personnel, please observe the following precautions:
Set the projector voltage switch to the proper wall outlet
voltage for your country (USA = 120v and UK = 240v).
Make sure that the voltage source contains a satisfactory
path to ground.
Do not operate the unit where fluids can come into
contact with the electrical components.
Maintain a six-inch air space around all sides of the
equipment to allow for proper ventilation.
When changing the bulb:
1. Disconnect the electrical supply.
2. Allow the unit to cool.
3. Use only a General Electric 787 (6 volt, 10 watt) lamp
ortheequivalent(Navitarpart#9-12126). Higher
wattagelampswill cause severe internalDamageto
thecamera and electronics.
There are no user serviceable components (other than
changing the lamp). Opening the unit will expose danger-
ous voltage levels and sensitive electronic components.
A qualified technician should perform all repairs.
To prevent the unit from damaging condensation and
thermal shock, certain procedures must be followed:
1. In cold weather, always put the unit in a moisture proof
containeror enclosure before transporting.
2. Either keep the unit warm during transportation, or
allow sufficient time for it to warm up at the destination.
Keepthe unit inthe original moistureproof package
while it warms up. (The goal is to prevent warm, moist
air from striking the cold electronic and optical compo-
nents,whichwill cause damagingcondensation).
Warning
Never operate a cold projector to warm it up.
8
Voltage Selection
Check Voltage Setting
The VideoMate 2250 is exported throughout the world to
countries with different mains voltages. The projectors
are set to a fixed mains voltage at the factory.
120v Mains
Shipments to countries with 120v mains will be equipped
with a 4A fuse.
220, 230 or 240 Mains
Shipments to countries with 220, 230 or 240v mains will
be equipped with a 2A fuse.
Before you switch on your projector, make sure that
the voltage is correctly adjusted!
An incorrectly adjusted mains voltage can damage the
projector. The voltage Indicator must show your
country’s actual mains voltage.
Setting a Different Operation Voltage
1. Pull out the fuse link compartment by gripping the
small catch.
2. Push the fuse link into the compartment so that the
appliedvoltagecan be seeninthe window ofthe
compartment.
3. Pushthe loaded compartment (withmounting under-
neath)firmlyintotheprojectoropeningprovided.
Warning
For safety, the mains lead must be unplugged.
Important
Make sure that the 120v setting uses a different fuse
than the 220/240v setting.
9
Quick Start
Quick Start If you are familiar with both the operation of a 35mm slide
projector and your video display, you may follow an
abbreviated start-up procedure.
Before starting, review the precautions on page 5.
To “Quick Start” the VideoMate 2250, proceed as
follows:
1. Check the voltage setting before powering on. Make
sure that the setting above the power cord is correct
for your voltage. In addition, the fuse behind the
voltage settings needs to be checked.
2. Plug the power cable into a suitable power supply.
3. Connect your TV monitor to the composite video and/
or Y/C (S-Video) output connector on the back panel
of the VideoMate.
4. Set the computer input On/Off switch to OFF. Set the
Auto Focus switch to OFF.
5. Load the slide tray onto the projector
6. Turn on the TV monitor and the VideoMate power
switch.
7. Advance to the first slide.
8. Adjust the iris and focus controls on the rear of the
projector and the TV monitor controls to produce a
suitable image.
Note: A very dark slide may require readjustment of the
iris, but a setting can usually be reached that produces
an acceptable display throughout a range of slides.
10
Installation
Installation
Before starting, review the precautions on page 5.
To install the VideoMate 2250, proceed as follows:
1. Check the voltage setting before powering on. Make
sure that the setting above the power cord is correct
for your voltage. Also, check the fuse behind the
voltage setting to make sure it is correct for your
country.
2. Plug in the power cable.
3. Connect the cable to your peripheral equipment (TV
monitor, videoprojector,etc.). Theconnection for
Composite Video and genlock is BNC and a 4-Pin
MiniDinforY/C S-Video.
4. Loadthe slide trayand “power-up” allequipment.
5. Press the forward button to advance to the first slide.
6. When the projector is powered-up focus and iris are in
automatic modes. For manual focus adjustment, set
the auto focus switch to OFF. For manual iris adjust-
ment, press either of the iris buttons.
7. Set the computer input switch to either:
ON: ForRS232 control of camerafunctions
ThroughtheP-Busin 9-pin connector.
OFF: Formanualoperationofcamerafunctions
(i.e. iris).
8. Press the zoom button to select the correct picture
size for your presentation.
9. Adjust the iris and focus to produce a satisfactory
image. These are push button controls that change
+/- with every push of the button. To return to auto iris
mode, press the + and – buttons simultaneously.
10. Press standby to stop your presentation and remain in
the current spot. Press standby again to regain power.