Naxa NPB-268 User manual

Portable CD/Cassette Boombox
NPB-268
Instruction Manual
Please read carefully before use and keep for future reference.

Page 2 Naxa Electronics
Table of Contents
Thank You ..................................................................... 3
In the Box ...................................................................... 3
Before You Start ........................................................... 4
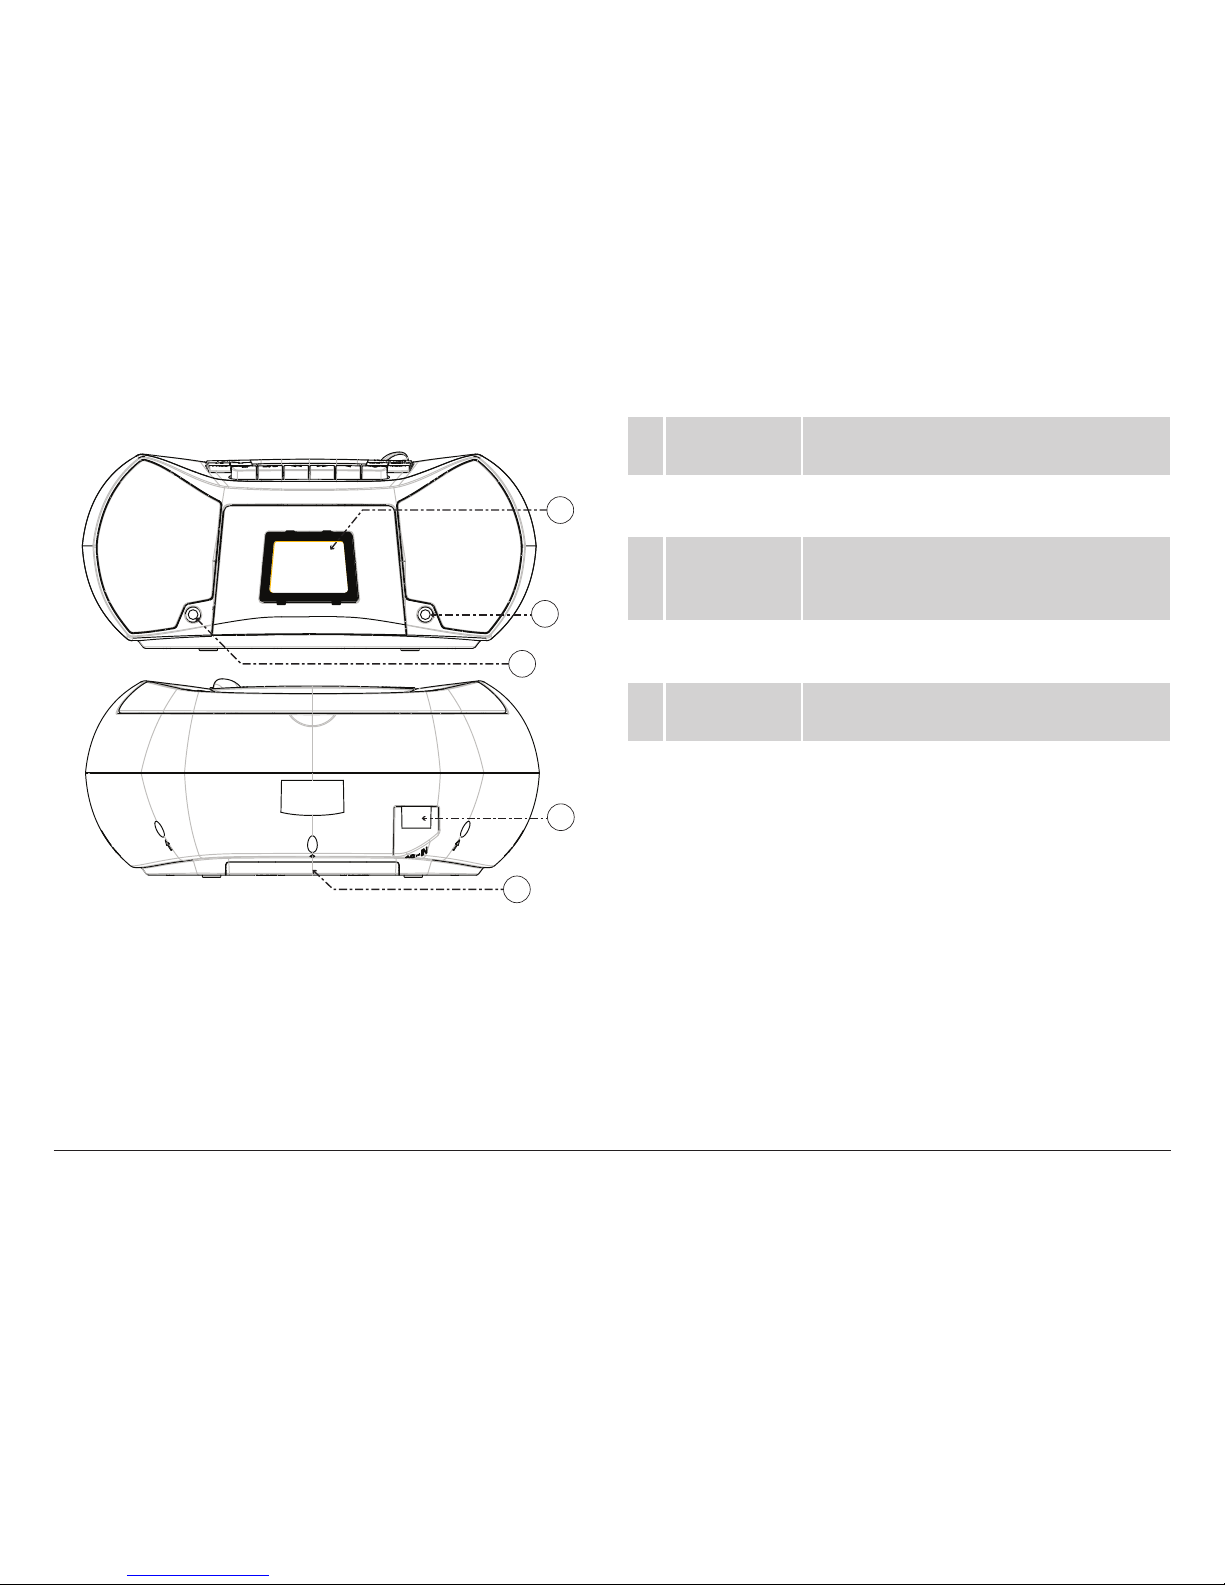
At a Glance .................................................................... 5
Connect Power.............................................................. 9
AC Power.......................................................................................... 9
Battery Power................................................................................. 9
Basic Functions............................................................10
Turning the Unit On and Off ...................................................... 10
Changing the Function Mode..................................................... 10
Headphone Jack ............................................................................ 11
Using the Radio............................................................ 11
Tuning to Radio Stations.............................................................. 11
Saving Stations to Preset Memory ............................................12
Using the CD Player .....................................................12
About Compact Discs...................................................................12
Loading a Disc................................................................................12
Playing a Disc.................................................................................13
Repeat Playback ...........................................................................13
Programming a Playlist .............................................................. 14
Using the Cassette Player...........................................14
About the Cassette Keys ............................................................ 14
Playing a Cassette Tape .............................................................. 14
Recording to Cassette Tapes.......................................................15
Record Protection.........................................................................16
Caring for the Cassette Mechanism...........................................17
Using the AUX Input ....................................................18
Warnings and Precautions..........................................19
Specications ............................................................. 23
Support ....................................................................... 23

www.naxa.com Page 3
Thank You
We know you have many choices when it comes to
technology; thank you for choosing us here at Naxa
Electronics. Established in 2001 in Los Angeles, Califor-
nia, we are dedicated to delivering products that en-
tertain and delight.
We trust that you will be happy with your purchase.
Please read this manual carefully and save it for refer-
ence. You may also nd the latest FAQ, documentation,
and other product material at our website. Come visit
us on the web at www.naxa.com and see all that we
have to offer!
In the Box
Please take a moment to make sure that you have ev-
erything in the list below. Although we make every ef-
fort to ensure that each Naxa device is securely packed
and sealed, we know a lot can happen in between us
and you. If anything is missing, check back with your
local retailer to get immediate assistance. If they can-
not help you, please contact our Naxa Support team at
www.naxa.com/naxa_support.
•NPB-268 Portable CD/Cassette Boombox
•AC power cable
•User manual

Page 4 Naxa Electronics
Before You Start
Please take note of the following before you start.
•Do not block the ventilation openings or holes.
•Avoid installing the unit in locations described be-
low:
•Places exposed to direct sunlight or close to
heat radiating appliances (such as electric
heaters, or on top of other stereo equipment
that radiate heat).
•Places lacking ventilation or dusty places.
•Places subject to constant vibration.
•Places that are humid or moist.
•Operate turning controls and switches as instruct-
ed in manual.
• Before turning on the power for the rst time, make
sure that the power cord is properly installed.
•Store your tapes or CD in a cool area to avoid dam-
age from heat.
CAUTION: TO REDUCE THE RISK OF ELECTRIC SHOCK,
DO DOT REMOVE COVER (OR BACK). NO USER SER-
VICEABLE PARTS INSIDE, REFER SERVICING TO QUALI-
FIED SERVICE PERSONNEL.
WARNING: Remove batteries if exhausted or if they will
not be used again for a long period. The incorrect use
of batteries can cause electrolyte leakage and will cor-
rode the compartment or cause the batteries to burst,
therefore:
•Do not mix battery types, e.g., alkaline with zinc
carbonate.
•When inserting new batteries, replace all batteries
at the same time.

www.naxa.com Page 5
At a Glance
POWER
BAND
1
2
3
4
1 Handle Raise the handle to transport the
unit safely and easily.
2 CD compartment Load compact discs here. The label
side should face up.
3 CD door latch Press here to open/close the door of
the CD compartment [2].
Never open the compartment while
a CD is playing or spinning!
4 Speakers Full-range drivers deliver powerful
stereo sound.

Page 6 Naxa Electronics
POWER
BAND
5
6
8
7
9
10
11
13
12
14
5 POWER key
(Standby)
Press to turn the unit on. Press and hold
to turn the unit off.
6CD: Press to start, pause, or resume CD
playback.
Radio: Press to automatically scan for
and save stations to preset memory.
7
BAND
CD: Stop CD playback.
Radio: Change the radio band (AM, FM).
8 PROG CD: Press to enter Program mode to cre-
ate a custom CD playlist.
Radio: Press to select a preset station.
Press and hold to save a preset station.
9 MODE Press to change the Play mode during CD
playback (repeat, repeat all, random).
10 FUNCTION Press to change the active source mode
(radio, CD, tape, AUX).
11 SKIP+ CD: Next/Forward key.
Radio: Tune/Scan Up key.
12 SKIP– CD: Previous/Reverse key.
Radio: Tune/Scan Down key.
13 VOL+ Press to increase the volume level.
14 VOL– Press to decrease the volume level.

www.naxa.com Page 7
15 Pause. Press to pause tape playback or
recording. Depress the key again to re-
sume playback or recording.
16 Stop/Eject. Press to stop tape playback.
When playback is stopped, press to open
the cassette compartment [23].
17 Fast-forward. Press to fast forward
through the tape when playback is
stopped.
18 Rewind. Press to rewind the tape when
playback is stopped.
19 Play. Press play to start tape playback.
20 Record. Press down together with the
cassette PLAY key [19] to start recording.
21 LCD screen Displays player status information (e.g.,
active source mode, track numbers, sta-
tion frequency, etc.)
22 Power
indicator
Lights up red when the unit is on.
POWER
BAND
15
16 18
17
20
21
22
19

Page 8 Naxa Electronics
AC~IN
PHONE AUX IN
25
24
26
27
23
23 Cassette
compartment
Load cassette tapes for playback or
recording.
24 AUX Input
jack
Play audio from a device that is connected
to this 3.5mm input jack.
25 Headphone
output jack
Connection for headphones with a 3.5 mm
plug. The speaker output is disabled when
headphones are in use.
26 AC power
socket
Connector for the included AC power
cable.
27 Battery
compartment
Load 8 UM-2“C” size batteries into the
compartment for portable power.

www.naxa.com Page 9
Connect Power
The unit can be powered by AC household power, or by
batteries.
AC Power
This unit runs on AC 120 V power. Use the included
power cord to connect the AC power socket [26] to a
household wall outlet that provides AC 120 V power.
ѥѥDo not connect this unit to a power source
other than that which is indicated here and
on the rating label of the unit.
Please be sure the power outlet you plug
this unit into is working and receives con-
stant (unswitched) power.
ѥL Battery operation will be automatically
disabled when AC power is used.
Battery Power
Install 8 UM-2 “C” size batteries to enjoy music wher-
ever you are.
1. Remove the lid from the battery compartment [27]
found on the bottom of the main unit.
2. Load eight “C” size batteries, taking care to match
the polarities marked on the inside of the com-
partment.
ѥL It is time to change the batteries when
the sound output of the unit becomes
distorted or CD player operation appears
unstable. Replace all of the exhausted bat-
teries at the same time as soon as possible
to avoid battery leakage.
ѥѥMake sure that the batteries are installed
with their poles in the proper orientation.
Improper installation may result in damage
to the unit and property and will void the
warranty.
Remove the batteries if they are exhausted
or will not be used for a long time.

Page 10 Naxa Electronics
ѥѥBatteries contain chemicals that may be
regulated by your local government. Dis-
pose of them properly according to regula-
tions.
Do not incinerate the batteries. The batter-
ies may explode or leak.
Do not mix old and new batteries.
Do not mix alkaline, standard (carbon-zinc)
or rechargeable (nickel-cadmium) batteries.
Basic Functions
Turning the Unit On and O
To turn the unit on, press the POWER (Standby) key [5].
The power indicator [22] will light up.
To turn the unit off, press the POWER key [5] again.
Changing the Function Mode
While the boombox is on, press FUNCTION [10] to change
the active source mode. The available modes are:
•RADIO: Listen to AM or FM radio broadcasts.
•CD: Play compact discs (CD-audio).
•TAPE: Play cassette tapes.
•AUX: Play audio from devices connected to the AUX
input jack.
Headphone Jack
Lower the volume on the boombox before connecting
headphones or earphones to the 3.5 mm headphone

www.naxa.com Page 11
output jack [25]. Once connected, pressVOL+ orVOL– [13,
14] to slowly adjust the volume to a comfortable level.
ѥL The speakers will be disabled when head-
phones are connected.
ѥѥUsing headphones for prolonged periods or
at a high volume can damage your hearing
permanently.
Using the Radio
Listen to FM or AM radio broadcasts.
Press FUNCTION [8] to change the active source mode
to Radio. The FM or AM indicator will light on the LCD
screen and the station frequency will be displayed.
Tuning to Radio Stations
•Press the /BAND button [7] to select the AM or FM
radio band.
•Tune to a station by pressing SKIP+ or SKIP– [11, 12].
The station frequency is shown on the LCD screen.
• Scan to the next station by briey holding SKIP+ or
SKIP– [11, 12].
•To tune to a preset station, press PROG [8]. While
the current preset station number is shown on the
LCD screen (e.g., P01), press SKIP+ or SKIP– [11, 12]
to change the preset station.
ѥL The ST indicator on the LCD screen will light
when the tuner is locked in on an FM stereo
signal.

Page 12 Naxa Electronics
Saving Stations to Preset Memory
Press [6] to automatically scan for stations and save
them to preset memory. This will overwrite any previ-
ously saved stations.
To manually save a station to preset memory:
1. Tune to the station you want to save.
2. Hold PROG [8] until the LCD screen shows the next
available preset station number (e.g., P06).
3. Press SKIP+ or SKIP– [11, 12] to select preset station
number.
4. Press PROG [8] to save the station to the selected
preset station number.
Using the CD Player
Listen to CD and CD-R/RW discs.
Press FUNCTION [10] to change the active source mode
to CD. The CD indicator will light on the LCD screen.
About Compact Discs
This player is compatible with all digital audio CDs,
digital audio CD-Recordable discs (CD-R) and CD-Re-
writable discs (CD-RW) that have been nalized, and
CD-DA format digital audio CDs.
ѥL Only handle a CD by its edge. Avoid touch-
ing the label or the playable side with your
hands or any other object.
Loading a Disc
1. Open the CD compartment [2]. Gently lift the CD
door latch [3] to open it.
2. Load a compatible disc. Place the CD into the com-
partment [2] with its label facing up.

www.naxa.com Page 13
3. Close the CD compartment [2]. Gently lower the door
to close it.
4. The player will attempt to read the disc once the
door is closed.
•The LCD screen [21] will show the number of
playable tracks on the disc.
•If the disc was loaded incorrectly, is incompat-
ible with the player, or is unreadable for some
other reason, the screen will read “NO.”
ѥL To ensure good system performance, wait
until the player recognizes and reads the
disc before proceeding.
Playing a Disc
With a compatible disc in the CD compartment [2]:
•Press [6] to start playback.
•To pause playback, press [6] while a disc is play-
ing. Press [6] again to resume playback.
•To stop playback, press [7].
•To select a track to play:
•Press SKIP+ [11] to skip to the next track.
•Press SKIP– [12] to skip back to the previous
track.
•To scan through a track at high speed:
•Press and hold SKIP+ or SKIP– during playback
[11, 12]. Play will advance or reverse quickly
through the current track; release the key to
resume playback at normal speed.
Repeat Playback
You can change the order in which the tracks of a CD are
played. Press MODE [9] to change the playback mode.
Indicator Mode Description
REP Repeat The current track will play repeat-
edly until play is stopped.
REP ALL Repeat all All tracks will play repeadtedly until
play is stopped.
RAND Random Tracks will play in random order
until play is stopped.

Page 14 Naxa Electronics
ѥL To return to normal playback, press MODE
[9] until none of the mode indicators ap-
pear on the LCD screen.
Programming a Playlist
When the CD is stopped, you can select up to 20 CD
tracks to play in any order that you choose.
1. Press [7] to make sure that playback has stopped.
2. Press PROG [8]. The LCD screen [21] will display “01”
and the PROG indicator will ash.
3. Use the SKIP+ or SKIP– keys [11, 12] to choose a
track to enter into the playlist.
4. Press PROG [8] to save the track into the playlist.
5. Repeat steps 3 and 4 until your playlist is complete.
Press [6] to start the playlist; play will start from
the rst track in the playlist.
6. Press [7] to stop the programmed playlist, then
press once more to delete the program and re-
turn to normal playback.
Using the Cassette
Player
Listen to cassette tapes.
Press FUNCTION [10] to change the active source mode
to TAPE. The LCD screen [21] will display TAP.
About the Cassette Keys
The cassette keys are located above the cassette com-
partment [23]. They are numbered [15] to [20] in the
section “At a Glance” and throughout this manual.
You can learn more about their functions in the section
“At a Glance.”
Playing a Cassette Tape
ѥѥDo not use C120 cassettes or other special-
ized cassettes with this player.
1. Open the Cassette compartment [23]. Press [16]
while playback is stopped.

www.naxa.com Page 15
2. Load the cassette into the compartment with its
exposed magnetic tape facing up.
ѥL The tape will spool from the right to
left reel. If the cassette you are loading
is wound to the beginning, the full reel
should be on the right.
ѥѥTake up any slack in the tape before load-
ing the cassette into the compartment.
Turn the cassette reel with your nger or a
pencil until the tape is taut.
3. Close the cassette compartment [23]. Push the
door of the compartment into the body of the
player until it is securely closed.
4. Cue the tape (optional). Press [17] or [18] to go
to the part of the tape that you want to play.
5. Start playback. Press [19].
6. To stop playback, press [16].
ѥL Your player is equipped with Auto Stop.
When the end of the tape is reached, the
player will automatically stop the tape and
all keys will disengage.
Recording to Cassette Tapes
You can record from different sources to cassette tape.
Record with quality cassettes only (e.g., IEC type 1).
ѥѥDo not use C120 cassettes or other special-
ized cassettes with this player.
1. Choose the source of the recording you want to
make. Press FUNCTION [10] to change the active
source mode:
•CD to record from the CD player.
•RADIO to record from the radio.
•AUX to record from an audio source connected
to the AUX input jack [24].
2. Get the source ready. For CD and AUX, cue playback
to the point that you want to record. For the radio,
tune to the station that you want to record.
3. Get the target ready. Load a blank cassette tape into
the cassette compartment [23]. Optionally, cue the
tape to the point that you want to record to with the
or keys [17, 18].

Page 16 Naxa Electronics
ѥL The exposed magnetic tape of the cassette
should face up.
ѥѥTake up any slack in the tape before load-
ing the cassette into the compartment.
Turn the cassette reel with your nger or a
pencil until the tape is taut.
4. Start recording. When you are ready to record, press
[20] together with [19].
ѥѥDo not force the key down if you feel
resistance! If you cannot press the key
down, the cassette tape may be write-
protected. Refer to the section “Record
Protection” to learn more.
5. Stop recording. Press [16] to stop recording.
ѥL You may also pause recording by pressing
[15]. Depress the key again to resume
recording.
Record Protection
Protect your cassette tape from accidental erasure
with the Record Protection tab.
1. Locate the tab on your cassette tape. It can be found
on the long side of the cassette, opposite the side
with the exposed tape (see the illustration below).
Record Protect Tab for Side “A”
2. Use a sturdy, at object such as a small screwdriver
or le to break off the tab.
ѥL The tab may have been removed already if
the cassette tape is not a new, blank tape
designed for recording. Commercial re-
cordings and other pre-recorded tapes are
usually record protected.
When the record protection tab is missing, you will not
be able to press [20].

www.naxa.com Page 17
ѥL If you would like to record with a cassette
tape that is missing its record protection
tab, use a small piece of adhesive tape to
cover tab opening.
Caring for the Cassette Mechanism
Cassette care and cleaning products are available for
purchase from local and on-line retailers. The tape
head and pinch wheel/capstan assemblies need to be
cleaned after every 10 hours of use.
1 Erase head
2 Record/Play head
3 Capstan
4 Pinch roller
ѥL Press [19] to get better access to the heads
and roller in order to clean them.
ѥѥThe erase head, record/play head and the
surface of the pinch roller are delicate
parts. Never touch these parts with hard
objects (e.g., screwdrivers, metal).
ѥѥNever lubricate any part of the player un-
der any circumstance.
Never turn off the player during playback,
or leave the player in PLAY mode while
the power is off. Doing so can damage the
pinch wheel.

Page 18 Naxa Electronics
Using the AUX Input
Listen to devices connected to the AUX input jack [24].
Press FUNCTION [10] to change the active source mode
to AUX. The LCD screen [21] will display AUX.
1. Connect the audio source to the player. Use an
optional audio patch cable to connect the 3.5mm
headphone or line-out jack of the audio source to
the 3.5mm AUX Input jack [24] found on the front
of the player.
2. Lower the volume on the player. Press VOL– [14] to
lower the volume level.
3. Prepare the audio source. Start playback on the
device. Set the volume level of the device to ap-
proximately 80% of its maximum.
4. Adjust the nal volume. Press VOL+ or VOL– on the
player to set the volume to a comfortable level [13,
14].
ѥL Use the audio source to control playback
(e.g., stop, play, next). Use the player to
control the volume.

www.naxa.com Page 19
Warnings and Precautions
The lightning ash with arrowhead symbol within an equilateral
triangle is intended to alerthe user to the presence of uninsulat-
ed “dangerous voltage” within the product’s enclosure that may
be of signicant magnitude to constitute risk of electric shock
The exclamation point within an equilateral triangle is intended
to alert the userto the presence of important operation and ser-
vicing instructions in the literature accompanying the appliance.
On Protection Against Laser Energy Exposure
• As the laser beam used in this product is harmful to the eyes, do not
attempt to disassemble the casing.
• Stop operation immediately if any liquid or solid object should fall
into the cabinet.
• Do not put anything in the safety slot. If you do, the laser diode will
be ON when the disc compartment door is still open.
• If the unit is not to be used for a long period of time, make sure that
all power sources are disconnected from the unit. Remove all batter-
ies from the battery compartment, and unplug the AC-DC adapter
from the wall outlet. Make it a practice to remove the AC-DC adapter
by grasping the main body and not by pulling the cord.
• This unit employs a laser. The use of controls or adjustment or per-
formance of procedures other than those specied here may result in
exposure to hazardous radiation.
CAUTION
• Do not block the ventilation openings or holes.
• Do not place any naked ames (such as lighted candles) on the ap-
paratus.
• When discarding batteries, follow all local rules and laws governing the
disposal of batteries. Consider the environmental impact of your actions!
• Invisible laser radiation when open and interlock has failed or been
defeated. Avoid direct exposure to beam.
• To prevent re or shock hazard, do not expose this appliance to rain
or moisture.

Page 20 Naxa Electronics
Important Safety Information
1. Read Instructions: All the safety and operating instructions should be
read before the product is operated.
2. Retain Instructions: The safety and operating instructionshould be
retained for future reference.
3. Heed Warnings: All warnings on the product and in the operating in-
structions should be adhered to.
4. Follow Instructions: All operating and usage instructions should be
followed.
5. Cleaning: Unplug this product from the wall outlet before cleaning.
Do not use liquid cleaners or aerosol cleaners. Use a damp cloth for
cleaning.
6. Attachments: Use only attachments recommended by the manufac-
turer. Use of other attachments may be hazardous.
7. Water and Moisture: Do not use this product near water (e.g., near a
bathtub, washbowl, kitchen sink, laundry tub, in wet basements, or
near a swimming pool and the like).
8. Accessories: Do not place this product on an unstable cart, stand,
tripod, bracket, or table. Use only with carts, stands, tripods, brack-
ets, or tables recommended by the manufacturer or
sold with the product. Any mounting of the product
should follow the manufacturer’s instructions and
should use a mounting accessory recommended
by the manufacturer. A product and cart com-
bination should be moved with care. Quick stops,
excessive force, and uneven surfaces may cause the
product and cart combination to overturn.
9. Ventilation: Slots and openings in the cabinet are provided for ven-
tilation to ensure reliable operation of the product and to protect it
from overheating. These openings should never be blocked by placing
the product on a bed, sofa, rug, or other similar surface. This product
should not be placed in a built-in installation such as a bookcase or
rack unless proper ventilation is provided or the manufacturer in-
structions have been adhered to.
10. Power Sources: This product should be operated only from the type of
power source indicated on the rating label. If you are not sure of the
type of power supply to your home, consult your product dealer or
local power company. For products intended to operate from battery
power or other sources, refer to the operating instructions.
11. Grounding or Polarization: This product may be equipped with a po-
larized alternating-current line plug that has one blade wider than
the other. This plug will only t into the power outlet in one direction.
This is a safety feature. If you are unable to insert the plug fully into
the outlet, try reversing the direction of the plug. If the plug should
still fail to t, contact an electrician to replace the obsolete outlet. Do
not defeat the safety purpose of the polarized plug.
12. Power-Cord Protection: Power supply cords should be routed so that
they are not likely to be walked on or pinched by items placed upon
or against them, paying particular attention to cords at plugs, conve-
nience receptacles, and at the point which they exit from the product.
13. Protective Attachment Plug: The product may be equipped with an at-
tachment plug with overload protection. This is a safety feature. See
the operating instructions for replacement or directions to reset the
protective device. If replacement of the plug is required, be sure the
service technician has used a replacement plug that has the same over-
load protection as the original plug as specied by the manufacturer.
14. Lightning: For added protection for this product, unplug it from the
wall outlet during a lightning storm or when it is left unattended and
unused for long periods of time. This willprevent damage to the prod-
uct due to lightning or power-line surges.
Table of contents
Other Naxa CD Player manuals