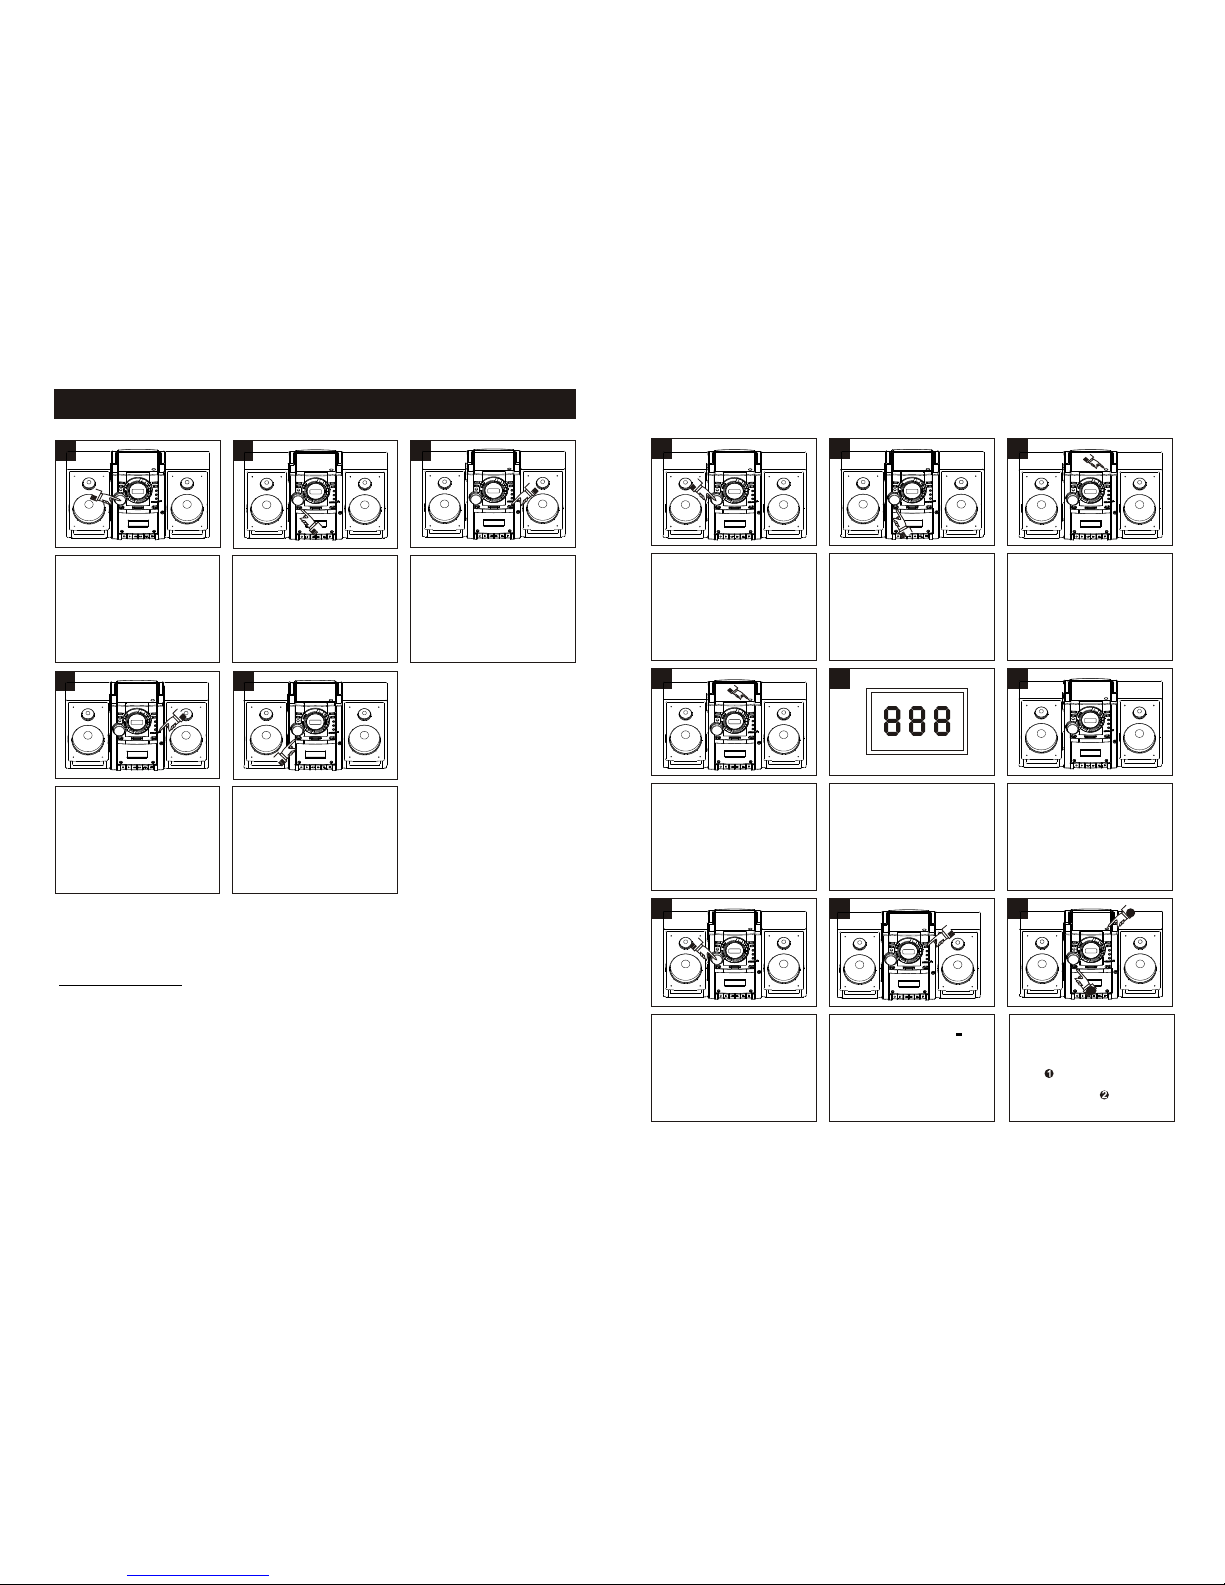
Naxa NPB-425 User manual

Thank you
For purchasing this Portable CD MP3 audio system. This uniquely designed product has a built-in
CD Mp3 player with programmable memory and repeat playback. It also features a great sounding
AM/FM stereo radio and a stereo cassette player/recorder that will allow you to make direct recordings
from either the radio or the CD player. It has two full-range dynamic speakers.
We are sure that this portable CD/MP3 audio system will provide you with many years of exceptional
performance with a minimum of care and maintenance. Please review the contents of this instruction
manual completely and carefully before operating your unit, to make sure that you understand all
functions and operations and get the maximum benefit out of all the great features included in this
product.
The serial number of your unit can be found on a label on the bottom of the cabinet. We suggest that
you record the serial number in the provided below in case this information is ever needed at a future
date.
Serial Number
ATTENTION
The exclamation point within an equilateral Triangle is intended to alert the used to the Presence of
important operating and maintenance (servicing) instructions in the literature accompanying the
appliance.
Danger:
Invisible and hazardous laser radiation when Open and interlock failed or defeated. Avoid direct
exposure to beam.
Dripping warning:
Ventilation warning
DANGEROUS VOLTAGE
The lightning flash with arro whead symbol, within an equilateral triangle is intended to alert the user
to the presence of uninsulated dangerous voltage within the product s enclosure that may be of
sufficie nt magnitude to constitute a risk of electri c shock to persons.
,
The product shall not be exposed to dripping or splashing and that no
objects filled with liquids, such as vases, shall be placed on the product.
The normal ventilation of the product shall not be impeded for intended
use.
CAUTION
RISK OF ELECTRIC SHOCK
DO NOT OPEN
CAUTION : TO REDUCE THE RISK OF ELECTRIC
SHOCK, DO NOT REMOVE COVER (OR BACK). NO
USER - SERVICEABLE PARTS INSIDE. REFER
SERVICING TO QUALIFIED SERVICE PERSONNEL.
-1-
LASER SAFETY: This unit employs a laser. Only
qualified service personnel should attempt to
service this device due to possible eye injury.
C A U T I O N : U S E O F C O N T R O L S ,
ADJUSTMENTS OR PERFORMANCE,
PROCEDURE HEREIN MAY RESULT IN
HAZARDOUS RADIATION EXPOSURE.
1~11
NPB-425
Portable MP3/CD Player With AM/FM Stereo Radio
Cassette Player /Recorder,Twin Detachable Speakers
& Remote Control.
Instruction Manual
Instruction Manual

,
,
-2- -3-
LOCATION OF CONTROLS AND INDICATORS
Unpacking and Setup
* Carefully remove the unit from the display carton and remove all packing material from the unit itself.
* Remove any descriptive labels that may be found on either the front or top cabinet of the unit. Do not
remove any labels located on either the back or bottom cabinet of the unit.
* The detachable AC power cord is packed in the carton separately from the unit. Make sure that the
AC power cord is not accidentally discarded with the carton or packing material.
* Press the CD door OPEN Button to open the CD compartment door. There is a white card in the CD
compartment which is intended to prevent the CD pickup from moving during shipment of the product,
Remove this card from the CD compartment before use.
PREPARATION FOR USE
Power Sources
This portable audio system is designed to operate in 127/220V AC 50/60Hz house current. Attempting to
operate this unit from any other power source may cause damage to unit, which is not covered by your
warranty.
AC Operation
Unwind the AC cord and extend it to its full length, insert the small end of the AC cord into the AC socket
on the back cabinet of the unit. Insert the other end of the AC cord into any convenient 127/220V AC
50/60 Hz household outlet.
AC Plug
AC Outlet
1.CD Open Button
2.FUCTION Switch (MP3/CD/TAPE/OFF/RADIO)
3.VOLUME Control
4.REMOTE SENSOR window
5.PROGRAM Button
6.REPEAT/RANDOM Button
7.LCD Display
8.FM STEREO LED Indicator
9.PLAY/PAUSE Button
10.STOP Button
11.CD Skip/Forward ( ) Button
12.CD Skip/Reverse ( ) Button
13.Carrying Handle
14.TUNING Button
15.BAND Switch (AM/FM/FM STEREO)
16.DBBS Button
17.Cassette Door
18.RECORD Button ( )
19.PLAY Button ( )
20.REWIND Button ( )
21.FAST FORWARD Button ( )
22.STOP/EJECT Button ( )
23.PAUSE Button ( )
24.PHONES JACK
25.SPEAKER BOX LEFT
26.SPEAKER BOX RIGHT
27.CD Door
16
55
2
5
3467
8910 11
19 14
18 15
121
17 20 212223 24
25
27
26
13
REMOTE CONTROL HANDSET
1
3
2
PROGRA M
REPEA T/RAND OM
-10/FOL-
STOP
4
6
5
7
8
/
/
10
9VOL-VOL +
+10/FOL+
1.Program button
2.-10/FOL-button
3.+10/FOL+button
4.Play/pause( )
5.Back( )/search( )
6.Next( )/search( )
7.Stop button
8.Repeat/Random button
9.Volume -button
10.Volume +button

LISTENING TO THE RADIO
OPERATING INSTRUCTIONS
1
NORMAL PLAYBACK
PLAYING MP3/CD DISCS
1
7
5
After the last track has been played,
the disc stops automatically and the
display shows the total number of
tracks on the disc. If you are finished
listening, press the CD Door Open
Button to open the CD Door.
Remove you disc and slide the
FUNCTION Switch to the
TAPE(OFF) position.
Set the VOLUME Control to a low
setting. Slide the FUNCTION Switch to
the RADIO position. Slide the BAND Switch to a
desired setting - AM, FM, or FM
STEREO
NOTE: If you select either the
FM or FM Stereo bands, be sure
to raise the FM rod antenna and
extend it to its full length.
When you have finished listening,
slide the FUNCTION switch to
the TAPE (off) position to shut
the power off.
Rotate the TUNING Control to
find the desired station.
NOTE: if the BAND Switch is set
to the FM STEREO position and
you have tuned to an FM stereo
station, the FM STEREO Led
Indicator will light.
Hints for Better reception
FM/FM Stereo - Make sure that the telescopic FM Rod Antenna is raised and extended to its full length. You may
have to vary the direction of the antenna to find the strongest signal for each FM station. If you are listening
to weak or distant FM Stereo station, the reception is unsatisfactory.
AM - The AM ferrite bar antenna is located inside the cabinet. It may be necessary to turn the unit slightly
so that the internal antenna is point in the direction of the AM transmitter. You may have to experiment
to find the position that provides the strongest reception for each of your favorite AM stations.
Set the VOLUME Control to a low
setting. Slide the FUNCTION Switch to
the MP3/CD position. Press the CD Door OPEN Button
to open the CD compartment door.
NOTE: If you have not already
done so, remove the CD transit
lock card from the CD compartment
now and discard it.
Begin automatically playback on
track 01. The desired track
can be played by remote control.
The MP3/CD player will read
the table of contents on the disc
and the total number of tracks
on the disc will appear on the
MP3/CD Track Display.
Place a MP3/CD on the center
spindle, with the printed label side
facing up. Close the CD
compartment door.
Adjust the VOLUME Playback
will continue until all the tracks
on the disc have been played.
To stop playback before the disc
ends, press the CD STOP ( )
Button. The disc will stop and
the display will show the total
number of tracks on the disc.
2323
64
5
4
89
1
2
-5--4-

1( / )
1 2
2
3
Press CD PLAY/PAUSE
button again ,CD/CD-R
resume normal playback.
During MP 3/CD playback, if
you wish to Pause the disc
momentarily, press the Mp3/
CD PLAY/PAUSE Button again.
Playback stops but the disc
continues to spin and the track
number flashes in the MP 3/
CD Display.
TO BEGIN PLAYBACK FROM A SPECIFIC TRACK
MP3/CD PAUSE CONTROL
FOR WARD/REVERSE SKIP TRACK
When your desired track number
appears in the display, press the
CD PLAY/PAUSE Button.
Playback will begin from the track
you selected.
After you insert the disc into the
MP 3/CD player and the total
number of tracks appear on the
display, you may press either
the Skip/Forward ( ) or
Skip/Reverse ( ) Button to
select a specific track for playback.
During playback, press the
Skip/Forward ( ) Button
once to advance the player to the
beginning of the next track, press
the Skip/Forward ( ) Button
repeatedly to advance the player
to higher number tracks .
During playback, press the
Skip/Reverse ( ) Button
once to move the player to the
beginning of the previous track,
press the Skip/Reverse ( )
Button repeatedly to move the
player back to lower - number
tracks .
2
1
-6- -7-
1
4
2
5
8
3
6
9
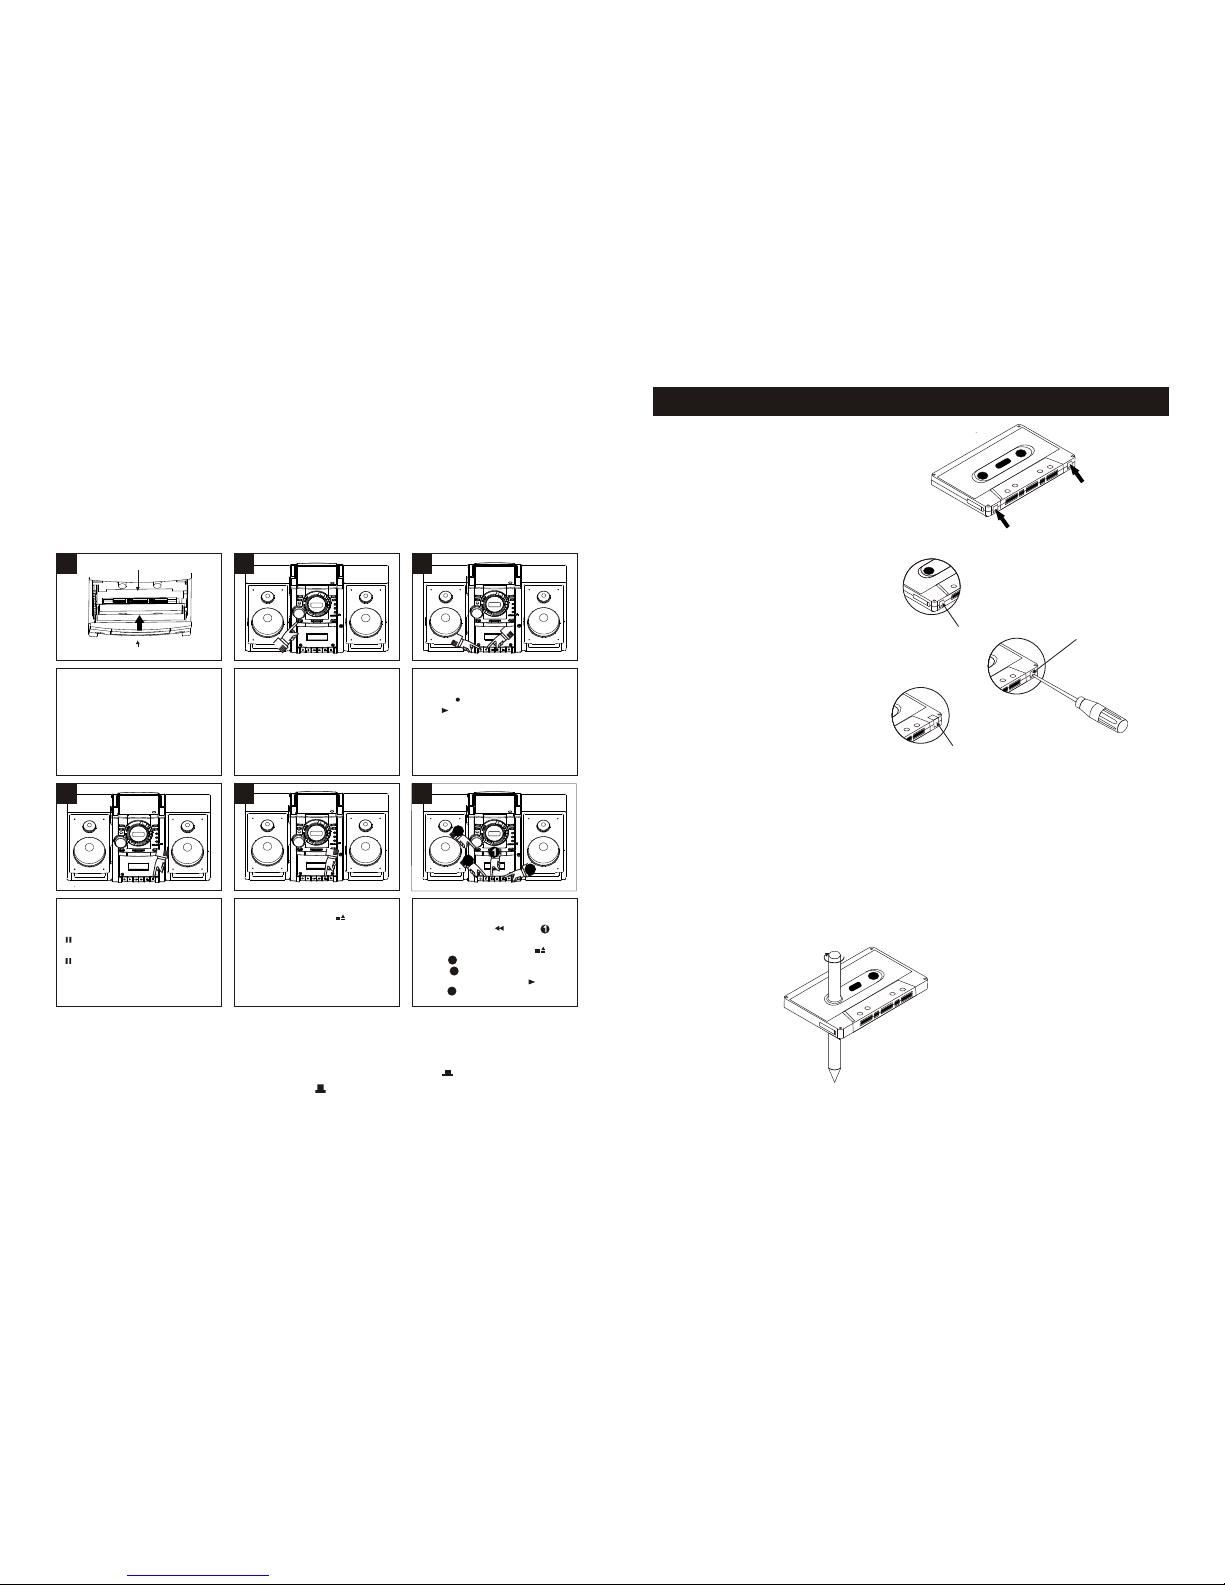
PLAYING CASSETTE TAPES
Set the VOLUME Control to a low
setting. Slide the FUNCTION Switch to
the TAPE position. Open the Cassette Control Cover
to expose the cassette controls
and press the STOP/EJECT
( ) Button to open the
Cassette Door.
Insert a pre-recorded cassette
into the slots in the Cassette Door
with the open end facing up and
the full reel in the right side.
Close the cassette door.
To advance or rewind the tape
rapidly, press either the cassette
Fast Forward ( ) or
Rewind ( ) button. When
you reach the desired point, press
the cassette play ( ) Button
to resume normal playback.
To pause playback momentarily,
press the cassette Pause ( )
Button. The tape movement
stops but the tape motor is sitll
running. Press the cassette Pause
( )Button again to release
Pause and resume normal
playback.
To stop playback before the tape
ends, press the Stop/Eject
( ) Button. The Play Button is
release and the tape motor
shuts off.
When the tape reaches the end,
the auto-stop mechanism
activates, the tape PLAY Button
is release and the tape motor
shuts off. Press the Stop/Eject
( ) Button to open the
Cassette Door and remove the
tape.
Press the cassette Play ( )
Button to begin playback.
Adjust the VOLUME .
Open surface side
Emptiest reel.
7
Playing tracks in REPEAT or RANDOM,
select this function by pressing
REPEAT/RANDOM button.
-
-
You can press REPEAT/RANDOM
button once/twice/three time/to play
the CD in repeat 1/repeat all/random.
You can press REPEAT/RANDOM
button once/twice/three time/four time
to play the Mp3 in repeat 1/repeat all/
repeat album/random.
4
Playing tracks in PROGRAM mode,
select this function by pressing PROGRAM
on unit.
-P
-
-
-
ress PROGRAM button to enter into
program operation when the unit at
stop position.
Press BACK or NEXT on the unit or
press the number key on the remote
control to select the tracks.
Press PROGRAM button again to confirm.
Repeat above steps to program leavings
tracks.You can program 99 tracks total.
When program full,it can'tcontinue.

1
4
2
5
3
6
1
2
3
4
,
,
,
,
,
,
CARE AND MAINTENANCE
To record on a tape in which the tab has been
broken, place a piece of adhesive tape over that
area.
On the back of the cassette, there is an erase
prevention tab on each side. To prevent
accidental erasing, break our these tabs with
a screwdriver. If only one side of the tape is to
be protected, break out the tab on the left side
with the side desired facing you.
NOTE: When a tab is broken out, the record
button cannot be depressed.
SAFEGUARD AGAINST ACCIDENTAL ERASURE
When a new recording is made, any problem
material previously recorded is automatically
erased and only the new recording remains. To
safeguard valuable recordings from being erased
accidentally, the cassette and the deck are
equipped with a special device,
Tab for side 1
Tab for side 2
Tab Break out the tab
Cover with tape
CASSETTE TAPE RECOMMENDATIONS
Standard tape lengths have 15 (C-30), 30 (C-60) and 45 (C-90) minutes of recording time on each side.
Longer length tapes of 60 (C-120) minutes of recording time in each side are not recommended. Use
only high quality tapes. If a problem develops, check the unit first with another cassette to determine if
the problem is with the cassette, and not with the unit.
If there is any stack in the tape in the cassette, it should be removed before inserting the cassette. Place
a pencil in one of the hubs and rotate toward the outside of the cassette until all stack is taken up.
MAKING A TAPE RECORDING
The tape recorder in this system allows you to make direct recordings from the radio or CD player to a
blank cassette in the tape compartment. An automatic recording volume level control (ALC) circuit will
automatically control the volume level of your recordings to prevent distortion. You may change the settings
of the volume during a tape recording, as these controls have no effect on the material being recorded onto
the tape.
To make a tape recording, proceed as follows:
Select the function you wish to
record, either radio or CD, and
operate that function according
to its own instructions.
Emptiest reel
Open the cassette Door and
insert a good quality blank
cassette tape into the slots on
the door, with the open end facing
up and the full reel on the right-
hand side. Close the Cassette
Door.
When you are ready to begin
recording, press the cassette
Record ( )Button. The cassette
Play ( ) Button will also engage.
The tapes will begin moving and
all of the material from your
selected source will be recorded
on the tape.
Open surface side
Dynamic Bass Boost System (DBBS)
This special circuit provides bass response, especially at lower volume levels
where the bass has a tendency to disappear. Set the DBBS button to On
to increase the bass. Set the DBBS button to Off for normal bass response.
Note: If you have the DBBS circuit On at high volume and you are listening to
music that contains very strong bass, you may experience some distortion. If
this occurs, reduce the volume or switch the DBBS button Off.
If you wish to listen to your
recording immediately, press the
cassette Rewind ( )Button until
the tape rewinds to the beginning,
then press the Stop/Eject ( )
Button . Set the Function
Switch to the TAPE position and
press the cassette Play ( )
Button to begin playback.
When you are finished recording
press the Stop/Eject ( )
Button to stop the tapes.
To avoid recording unwanted
material, such as radio
commercials, use the Pause
( ) Button to stop the recording
temporarily. Release the Pause
( ) Button to begin recording
again.
2
2
3
4
-8- -9-

CARE AND MAINTENANCE
Should this unit exhibit a problem, check the following before seeking service.
TROUBLESHOOTING GUIDE
Symptom
Possible Cause
Retune station, try another station or set
BAND switch to FM STEREO.
Radio
Noise or sound
distorted on radio
broadcasts.
Station not tuned properly for AM or FM.
FM: Telescopic antenna is not properly
adjusted.
AM: Unit is not positioned correctly.
Retune the AM or FM broadcast station.
Reorient FM telescopic antenna.
Rotate unit until best reception is
obtained.
FM STEREO Indicator
dose not light
Poor FM signal being received or BAND
switch is not set to FM STEREO
Station is not broadcasting in the stereo. Change stations.
FUNCTION switch is not set to the
RADIO position.
AM or FM, no sound. Slide the FUNCTION switch to the RADIO
position.
Volume at minimum. Increase Volume.
Cassette player
No sound.
FUNCTION switch is not set to the TAPE
position. Slide the FUNCTION switch to the TAPE
position.
Increase Volume.
Volume at minimum.
Sound distorted.
Speed varied. Tape old or worn.
Batteries are low.
Dirty head. Clean the head.
Replace the Tape.
Replace the batteries.
Cassette Recorder
Will not record. Erase prevention tab removed. Cover hole with adhesive tape.
Distorted sound on
playback.
Defective tape or dirty tape head.
Compact Disc Player
MP3/CD Player
will not play.
FUNCTION switch is not set to the CD
position.
Replace tape or clean tape head.
Slide the FUNCTION switch to the CD
position.
Disc is dirty or scratched.
No sound. Headphones connected into the
Headphones jack.
Insert CD with label side up.
General
MP3/CD skip
while playing. Wipe disc with cloth or use another disc.
Remove the Headphones from the
Headphones jack.
CD is not installed or installed upside-
down.
NOTE: Never use metal objects on or near the tape heads. Do not allow any cleaning material to fall into
the tape assembly.
Cotton Swab
Capstan
Erase
Head
R/P
Head
Pinch Roller
Caring for Compact Discs
* Treat the disc carefully. Handle the disc only by its edges.
Never allow your fingers to come in contact with the shiny,
unprinted side of the disc.
* Do not attach adhensive tape, stickers, etc. To the disc label.
* Clean the disc periodically with a soft, lint-free, dry cloth.
Never use detergents or abrasive cleaners to clean the disc.
If necessary, use a CD cleaning kit.
* If a disc skips or gets stuck on a section of the disc, it is probably dirty or damaged(scratched).
When cleaning the disc, wipe in straight lines from the center of the disc to the outer edge of the disc.
Never wipe in circular motions.
* This unit is designed to play only compact discs bearing the identification logo as showed here.
Other discs may not conform to the CD standard and may not paly properly.
* Compact Disc should be stored in their cases after use to avoid damage.
* Do not expose compact disc to direct sunlight, high humidity, high temperatures, or dust, etc. Prolonged
exposure or extreme temperatures can warp the disc.
* Do not stick or write anything on either side of the disc. Sharp writing instruments, or the ink may
damage the surface,
Cleaning the unit
* To prevent fire or shock hazard, disconnect your unit from the AC power source when cleaning.
* The finish on your unit may be cleaned with a dust cloth and cared for as other furniture. Use cotton cloth
when cleaning and wipe the plastic parts.
* Mild soap and a damp cloth may be used on the front panel.
* Periodic cleaning of the tape heads, capstan and pinch roller is necessary to maintain good sound reproduction.
Clean them after every 100 hours of use or less if playback has deteriorated. Use a cotton
swab moistened with head cleaning solution or isopropyl alcohol, then wipe dry with another swab.
Solution
-10-
Table of contents
Other Naxa Portable Stereo System manuals