Safety Precautions
Operating Instructions
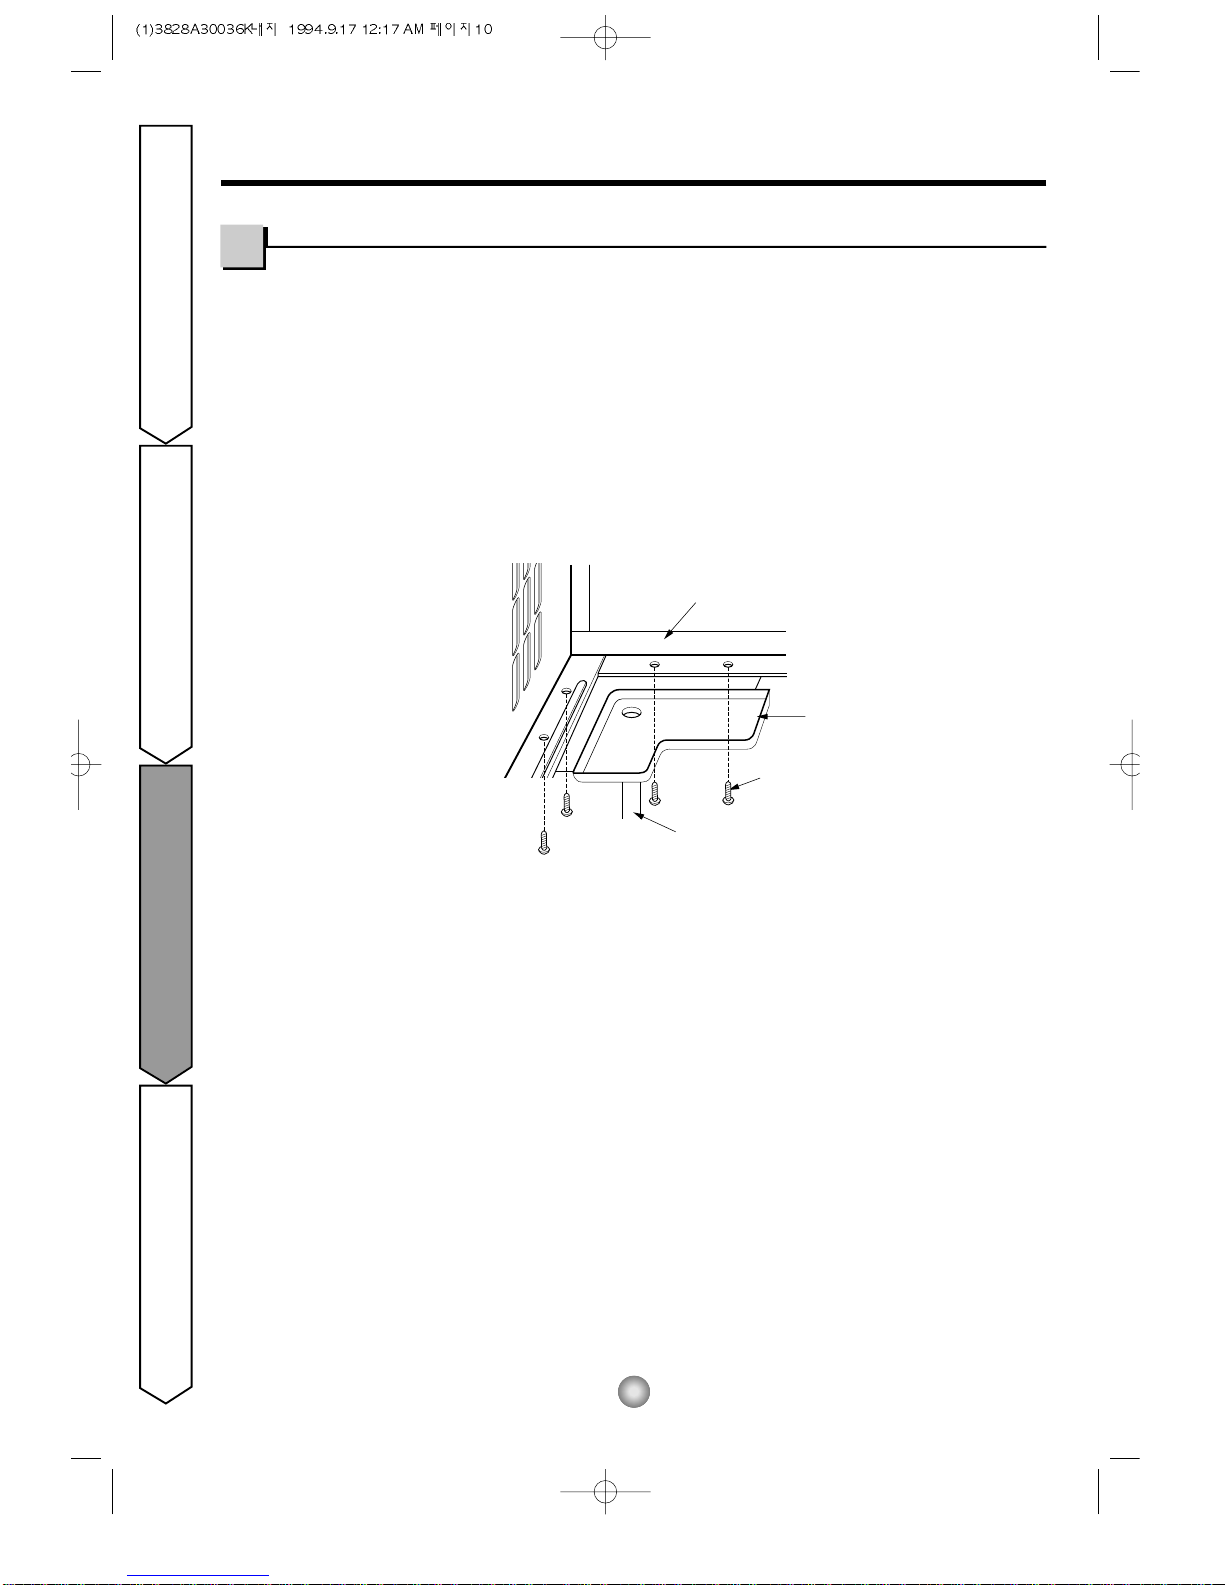
Installation Instructions
Troubleshooting Tips
5
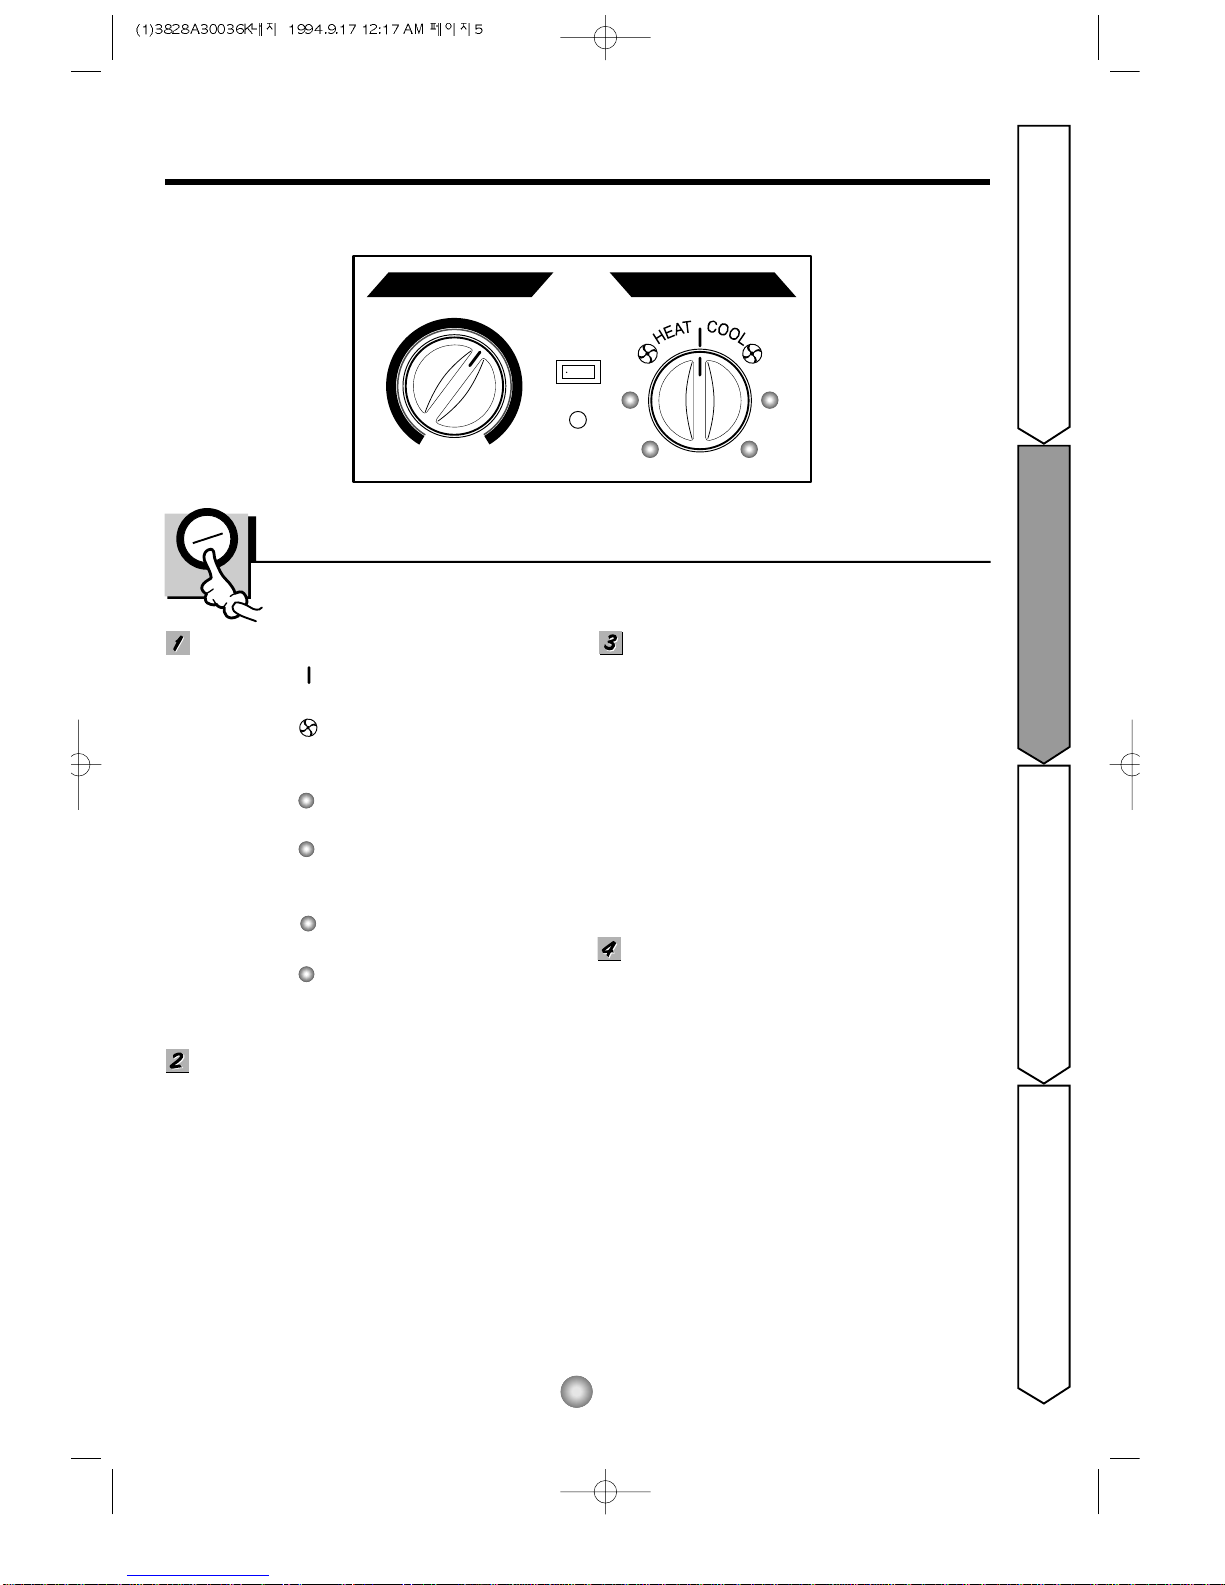
About the Controls on the air conditioner
Controls
OPERATION
OFF ( ): Turns the air conditioner
off.
LOW FAN ( ) : Permits the low fan
speed operation without
cooling(heating).
LOW COOL ( ) : Permits cooling with the
low fan speed operation.
HIGH COOL ( ) : Permits cooling with the
high fan speed
operation.
LOW HEAT ( ) : Permits heating with the
low fan speed operation.
HIGH HEAT ( ): Permits heating with the
high fan speed
operation.
THERMOSTAT
Turn the thermostat control to the desired
setting. The control position is a normal
setting for average conditions. You can
change this setting, if necessary, in
accordance with your temperature
preference.
The thermostat automatically controls cooling
or heating, but the fan runs continuously
whenever the air conditioner is in operation.
If the room is too warm, turn the thermostat
control clockwise. If the room is too cool, turn
the themostat control counterclockwise.
HEATER LAMP
When the unit sets heating operation
condition, the green lamp is lighted.
When the frost settles on the heat exchanger
of the outside, defrosting is made
automatically and the green lamp is
unlighted.
The unit may give a "hiss" and the fan motor
stopes for 1 to 10 minutes.
This should not be regarded as the trouble.
After defrosting, the heating operation begins
again.
AUTO SWING
ON : Air swing is operated while
OPERATION knob is set to the
COOL or HEAT position.
OFF : Stops the operation of air swing.
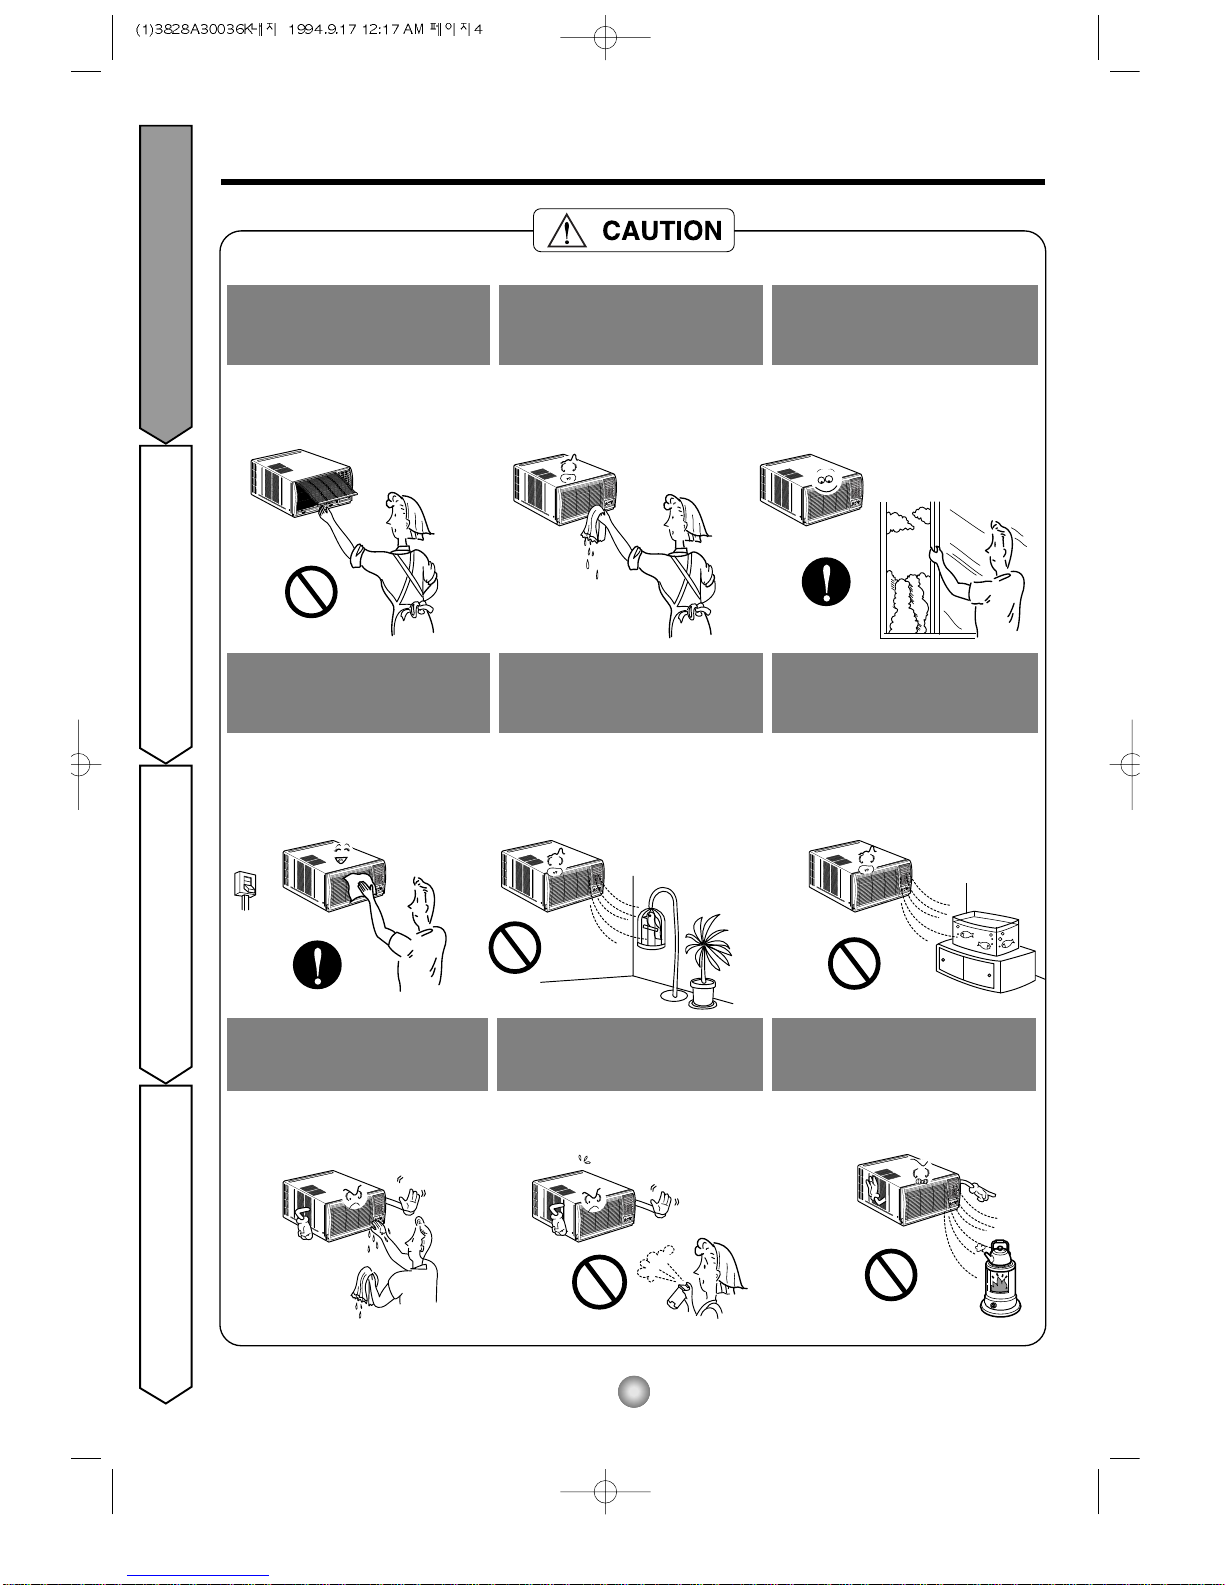
• CAUTION
When the air conditioner has been
performing its cooling operation and is
turned off or set to the fan position, wait at
least 3 minutes before resetting to the
cooling operation again.
The controls will look like one of the following.