INSTALLATION INSTRUCTIONS
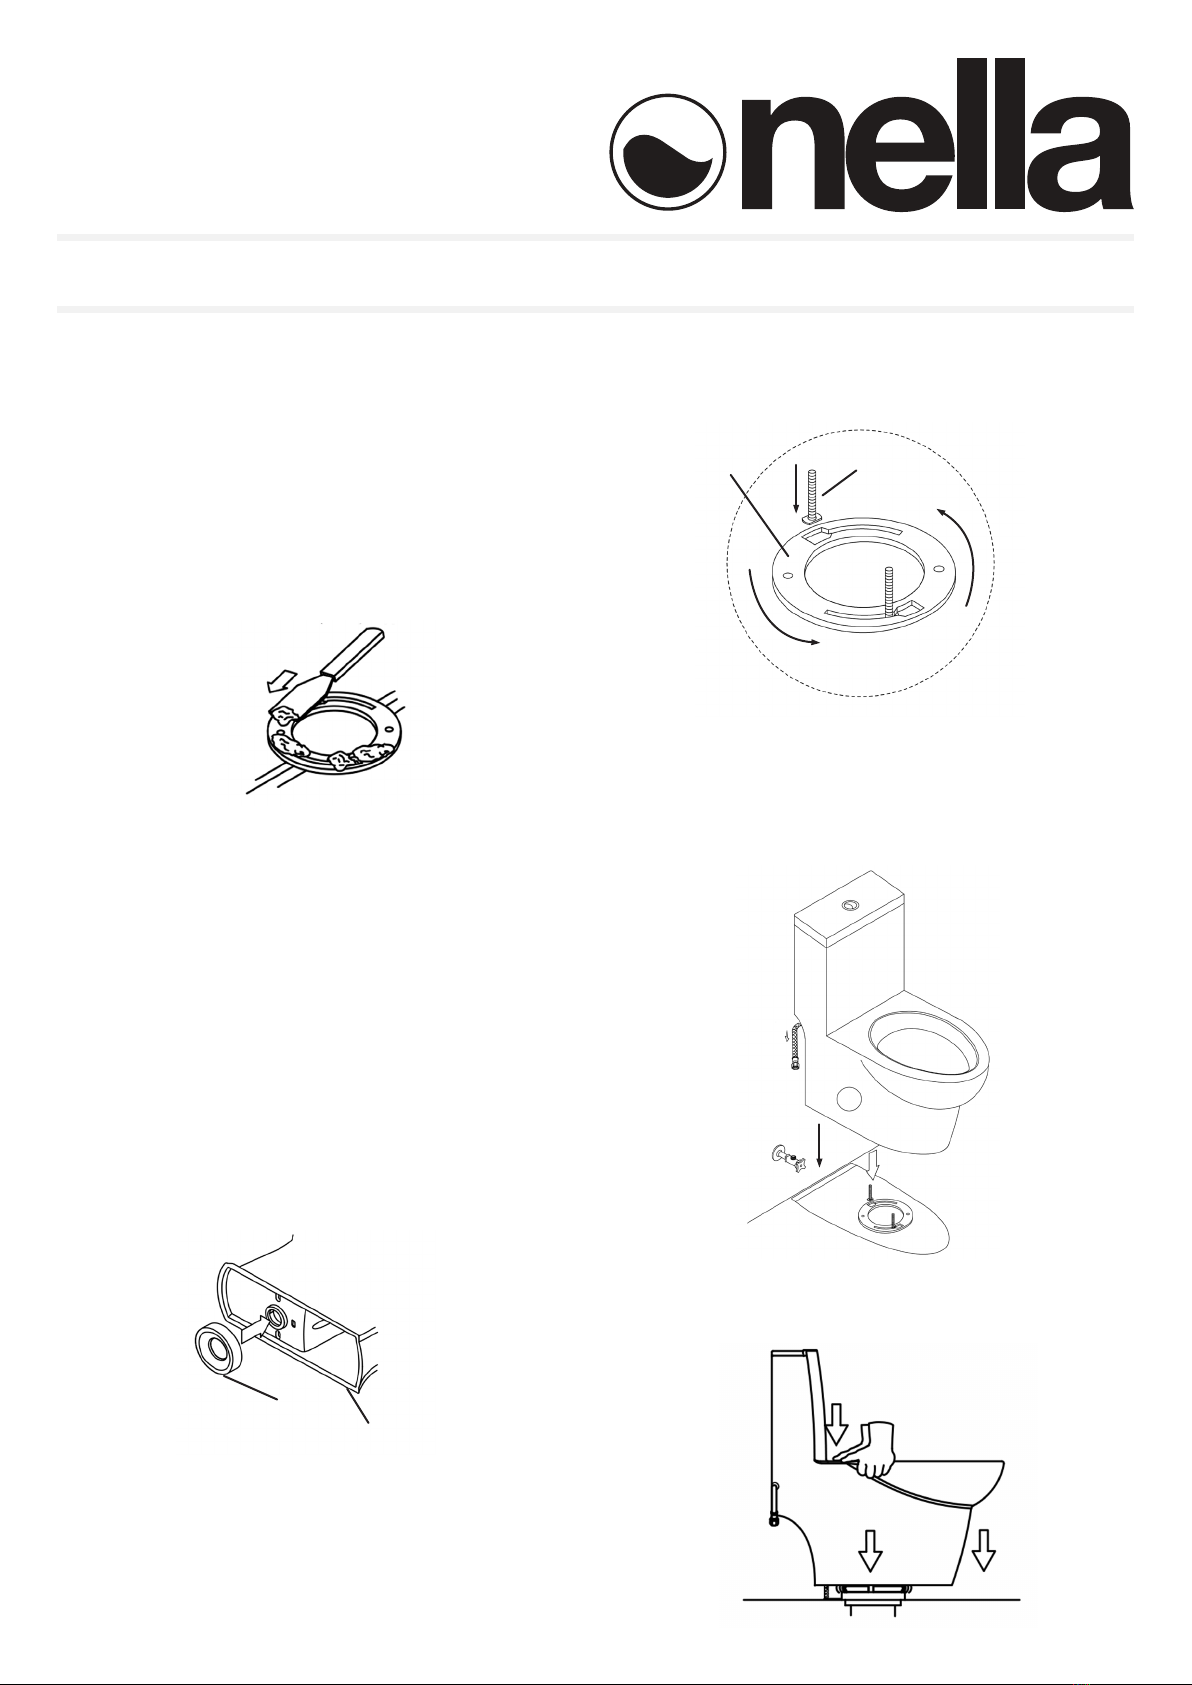
1. Remove existing toilet and prepare installa-
tion surface.
• Shutofftoiletsupplyandushtankcompletely.
• Disconnectandremovesupplyline.
• Ifreplacingatoiletremoveoldtoiletandexistingwax
ring.Cover/plugoorwasteopening.
• Cleananyoldwaxordebrisfromfrominstallationarea.
• Conrmthatcurrentsupplylocationcoincideswith
desiredtoiletlocationandrough-indimensions.
Supplyrelocationmaybenecessaryforpropertoilet
installation.
• Positiontoilettemplateonnishoormakingsureit
alignswithcurrentwastelocation;tapetemplatese-
curelytooor.
2. Using toilet installation template mark floor
screw/anchor location and drill pilot holes in
floor.
3. Insert screw through the plastic mounting
brackets and install securely to floor in proper
location.
4. Turn toilet on its side (please protect the
ground surface with soft material to prevent
damage to toilet), and press new wax seal
firmly around waste flange. apply a small bead
of silicone sealant around toilet base.
5. Position toilet squarely with wall and align
toilet with closet flange.
Slowly lower toilet down onto closet flange
making sure base mounting holes are aligned
with munting anchors on finished floor.
™
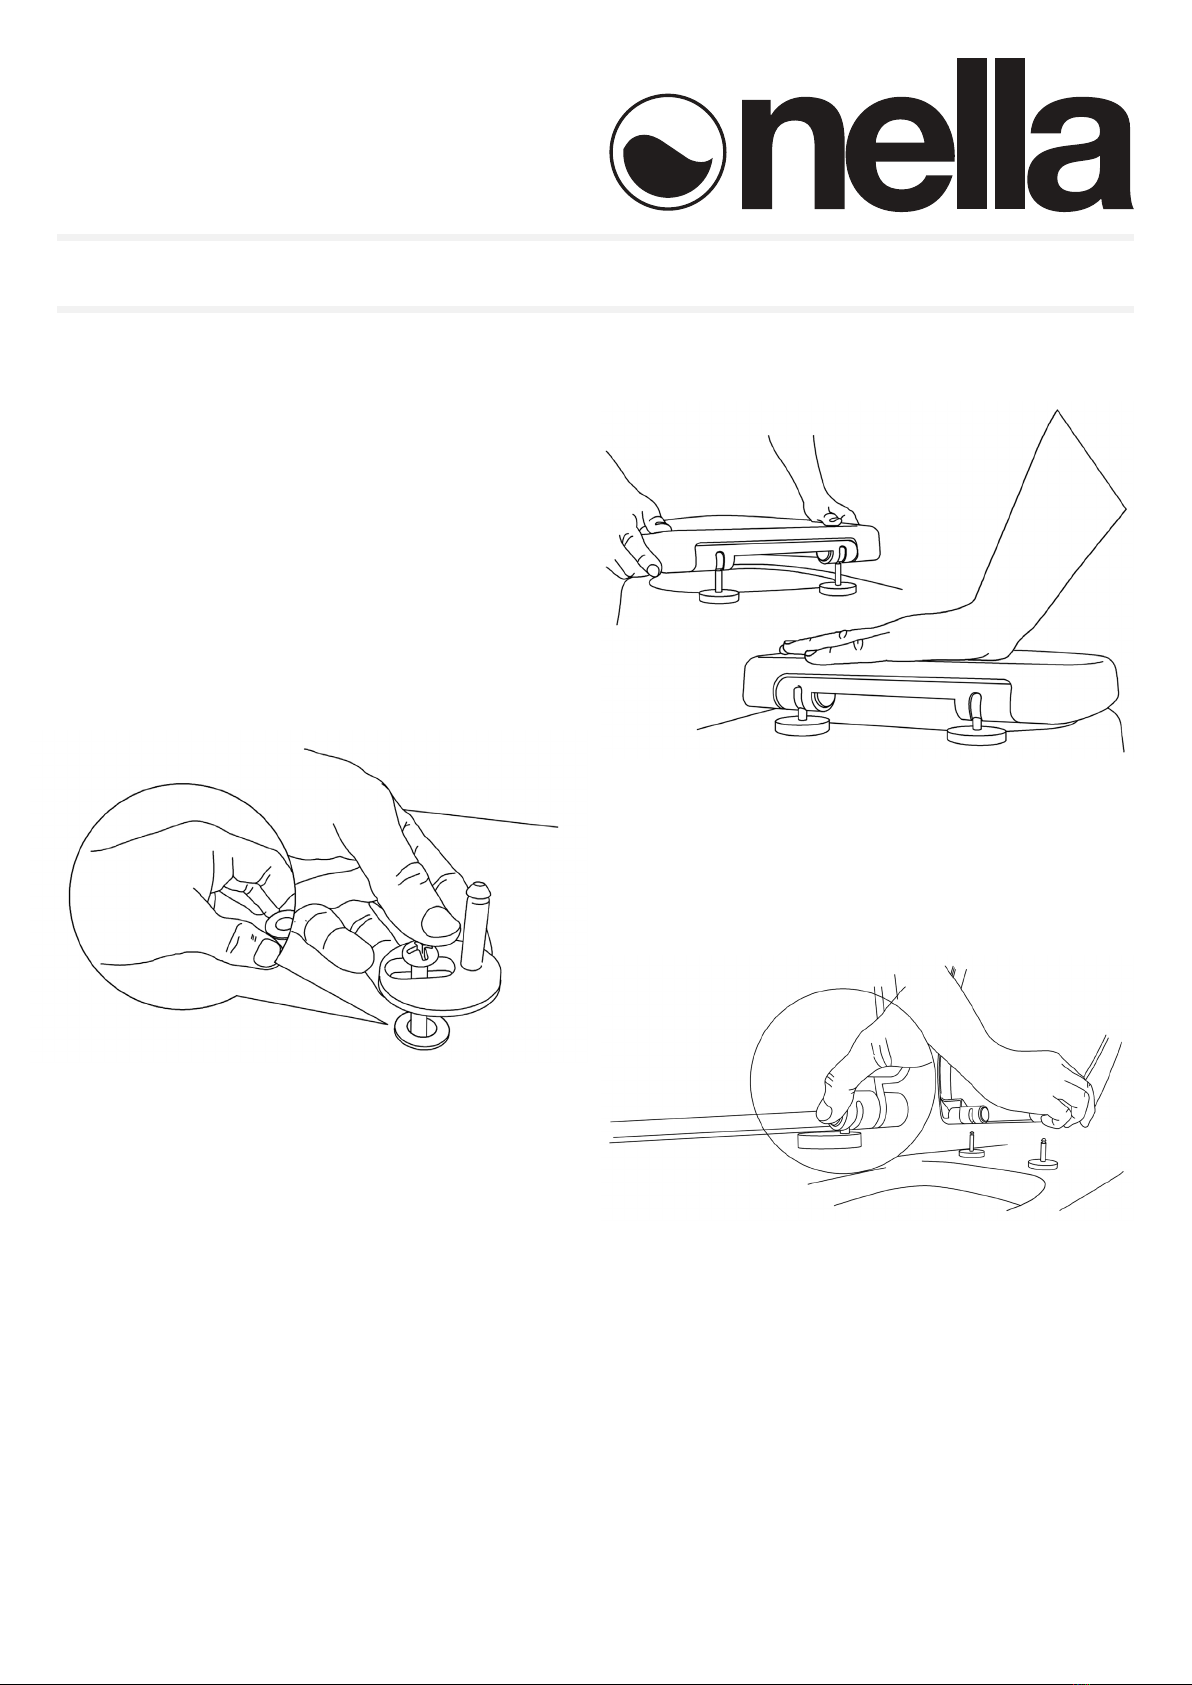
CONCEALED MOUNT INSTALLATION INSTRUCTIONS
Finished Wall
Wax Seal
Sealant
Mounting Holes
Note: Please refer
to template for
mounting hole
locations.
**NOTE:Installationsurfacemustbeclean
andlevelbeforenewtoiletisinstalled.**
**NOTE:Foroorslessthan1-1/2”(38mm)thick
usea5/32”bit.Foroorthickerthan1-1/2”(38mm)
usea3/8”bitforanchor(required)installation.**
VASA
NBKD-10A