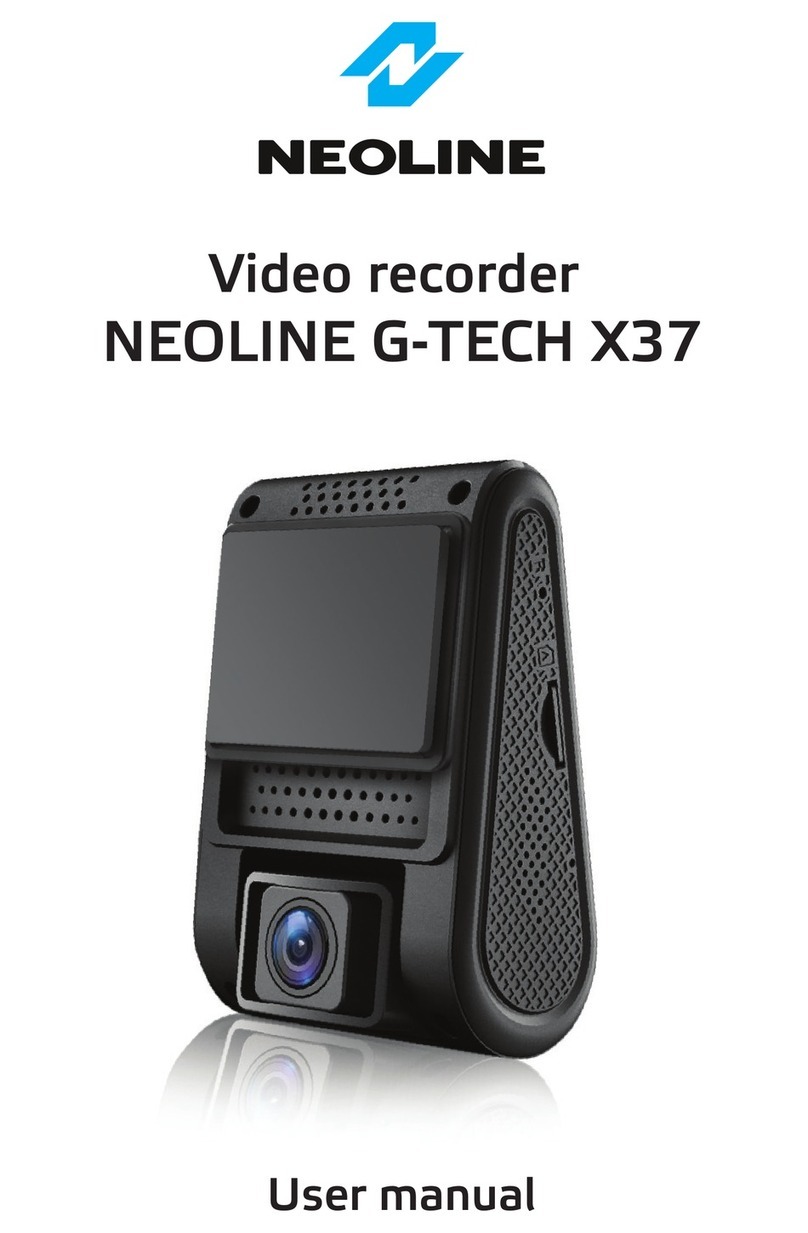
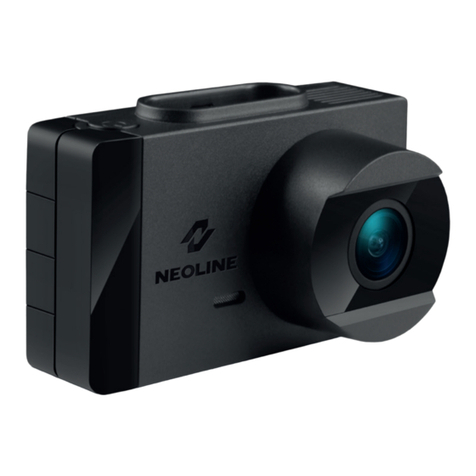
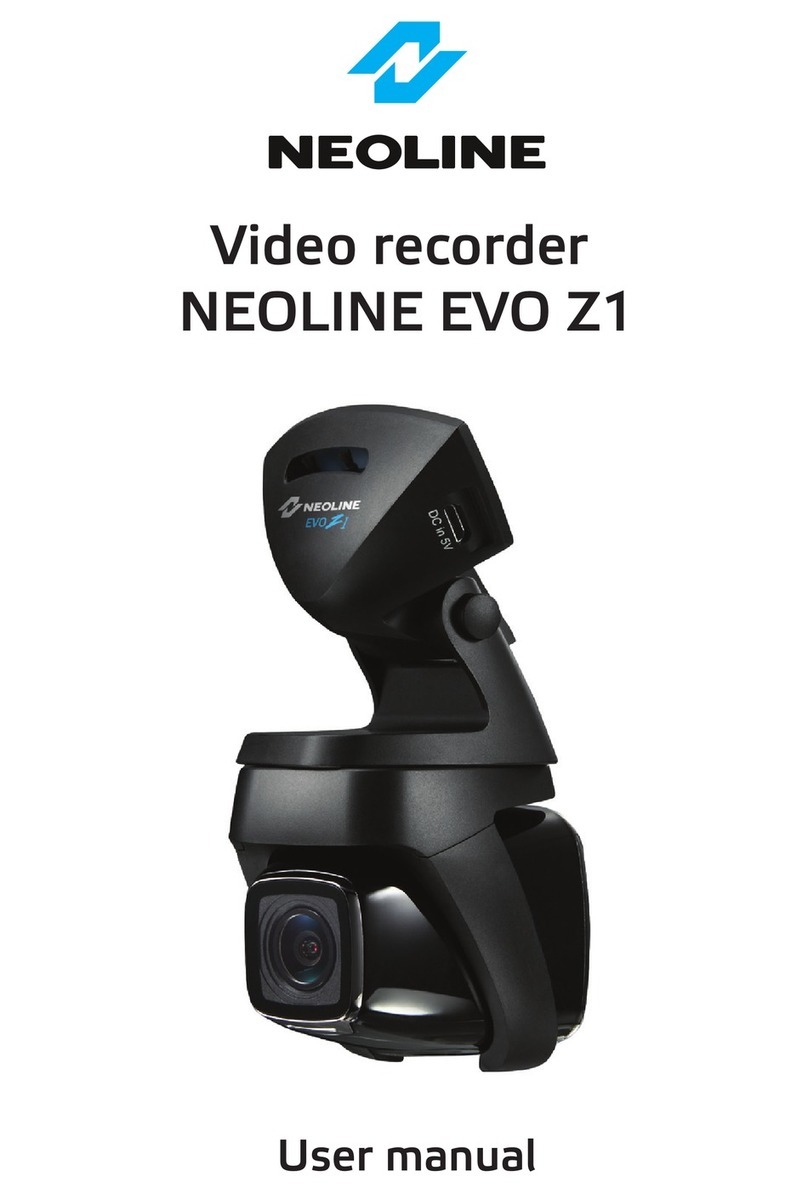
Neoline G-TECH X36 User manual

Car digital video recorder
NEOLINE G-TECH X36
User Manual

Dear customer!
Contents
Thank you for purchasing the Neoline G-Tech X36 car digital video recorder! Please
read this manual carefully and all through to ensure proper use and longer service life
of the device. Keep the user manual to consult it when necessary.
1. Operating Conditions.....................................................................................................3
2. Specifications..................................................................................................................5
3. Equipment.......................................................................................................................6
4. Description of DVR/Buttons..........................................................................................7
5. Mounting the DVR.........................................................................................................9
6. DVR Operation.............................................................................................................11
7. Troubleshooting...........................................................................................................19
2

EN
1. Operating Conditions
• Please read the warranty terms carefully.
In case of incorrect operation of the device, please try to update the software (firmware)
of the device before contacting the service centre/seller or any other authorized
organization.
You can download the latest version of the software at http://neoline.com/update/
Instructions on how to update are available at the above address. If you have any
difficulties with the software update process, please contact the Customer Support
Service by phone numbers listed on the company's website.
Customer Support Service: http://neoline.com/update/
• Never insert or remove a memory card while the DVR is on. It may cause damage to
the device and recorded video files.
• Use only high-quality microSD cards of at least Class 10 providing for the
UHS-I…UHS-III communication to avoid recording failures and playback delays.
• This device shall only be used with the accessories supplied. Where third-party
accessories are used, Neoline takes no responsibility for any damage to the product.
• Do not expose the product to fire, moisture or chemicals (gasoline, solvent, reagents,
etc.).
• Do not disassemble or modify the product.
• Neoline is not responsible for any data loss and/or direct or indirect damage caused to
the user or a third party by incorrect use of the device or software, their incorrect
installation, or the use of accessories not included into the package.
• Format the microSD card at least once every two months to avoid damage to its file
system.
• Observe the storage and operation temperature conditions (see specifications). Do not
CAUTION! ! In some cars, the power is supplied to the 12/24V socket even when
the ignition is off. It is recommended to disconnect the device from the vehicle
network to avoid the battery discharging.
3

EN
expose the unit to sunlight for too long.
• The device is designed to be used in cars with a transparent windshield or light-tone
heat shield for glass. Where the windshield is tinted or covered with dark heat shield film,
the video quality decreases.
• Install the DVR in such a way as to get the maximum field of view. DO NOT place the
DVR in a place where it can block the view and compromise your safe driving. Neoline
and its authorized partners ARE NOT responsible for any damage or data loss due to
improper installation of the holder.
• In accordance with local law, do not manipulate the device while driving to be sure you
are driving safe.
• Before using the device, set the correct date and time.
• Heating of the case during operation is normal.
• Please handle the device with due care and avoid dropping/crushing the device.
It is assumed that you agree with the provisions above before you start using the system.
The manufacturer reserves the right to change the equipment list, hardware and software
of the device without prior notice.
This user manual is valid at the time of printing. You can find the current version of the
manual at www.neoline.com
Please see the page of a specific product and press Download.
4

EN
2. Specifications
• Video resolution: Full HD 1920 * 1080p 30 fps, max.
• Viewing angle: 150°
• Screen size: 2"
• Video recording format: MOV (H.264)
• Built-in GPS (in mount)
• Built-in supercapacitor*
• Built-in microphone/speaker
• Motion sensor
• G-sensor
• Loop recording: 1/3/5 min
• Continuous recording
• Auto Power On
• Date/time stamp
• State number stamp
• Micro SD 8GB - 128GB (Class 10)
• Storage temperature: -20° to +70°
• Operating temperature: -10° to +50°
• Input voltage: 5V DC, 3A (Type-C connector)
• Charging input voltage: 12–24V DC
• Dimensions: 71*46*40 mm
• Weight: 65 g
*The DVR is designed to operate under a wide range of temperatures. Unlike a battery, a
supercapacitor is more durable and can work more efficiently both at low and high
ambient temperatures.
This user manual is valid at the time of printing. The current version of the
instructions can be found at www.neoline.com in the Download section.
5

EN
3. Equipment
• Neoline G-Tech X36 car digital video recorder (DVR)
• Magnetic Mount
• Car Charger
• User Manual
• Warranty Card
6

8
12
16 15
7
6
5
4
1
2
3
8
10
11
13
EN
4. Description of DVR/Buttons
1. Operation indicator
2. Display
3. ON/OFF
4. Menu
5. Up/Lock
6. Confirm (OK)
7. Down/Start sound recording
8. Magnet
9. Contact area
10. Lens
11. Speaker
12. USB Type-C
13. Memory Card Slot
14. Microphone
15. Reset
7

EN
Description of the Buttons
Operation description
Button Description
ON/OFF
(The button is active only
when external power is
connected)
Status Description
Red
Flashing blue
Power on, no recording
Recording
Press and hold to turn the device on/off. When the device is on, press
once to turn the display off.
Меnu Press to go to the device Settings menu when in Standby mode. In
Playback mode, press to go to the submenu for file management.
This button is also used to change the mode of the device. You need
to stop recording, then press the button for more than 2 seconds and
select Photo/View Photo/Video Recording mode.
Press to lock the current file from being overwritten in Playback
mode.
Press to go to the device Settings menu when in standby mode.
When navigating the menu and changing settings or viewing
available settings, press to go to the Main Menu or to exit the
Settings.
Up Press to navigate up through menus or files in
Playback mode. Press to lock the current file from being overwritten in
Video Recording mode.
Down Press to navigate down through menus or files in Playback mode.
Press to enable or disable audio recording when in Video Recording
mode.
OK Press to start/stop recording in Video Recording/Standby mode.
Press to confirm the setting in the Menu. Press to start playback of the
file in Playback mode.
Reset Press this button if no other button responds.
8

EN
Please determine the location of the video recorder in advance.
- Install the holder into the device.
- After deciding on the best location for the DVR, please glue the mount to the windshield.
5. Mounting the DVR
Installation on the windshield
- Loosen the handle to rotate the DVR vertically.
- Adjust the viewing angle by turning the lens in the desired direction (right-left, up-down).
Ensure that the camera captures the image in proportion of 40% sky / 60% road to get
the best record.
Adjusting the Viewing Angle
9

EN
Then tighten the knob to lock the DVR securely.
Use only the power adapter included to power the device and to charge the battery.
Connect the charger to the DVR, and then plug the charger plug into the car outlet/power
socket.
When the car engine starts, the device turns on automatically.
Power connection
Note:
For best view, the device should be installed near the rear-view mirror in the centre
top of the windshield. To get the best record, ensure that the camera captures the
image in proportion of 40% sky / 60% road+hood.
10

EN
A. Insert the micro SD card into the memory card slot.
Turn off the device before installing a memory card; insert the memory card until it is
locked.
Installing the card:
Turn the micro SD card to the slot as
shown in the picture and insert it until
it clicks.
Removing a card:
Press the card slightly and then
remove it from the slot.
CAUTION! Attempting to insert a memory card wrong may damage the device and/or the
memory card itself. Make sure the memory card is in the correct position. Do not apply
excessive force when inserting a memory card.
Warning:
Do not apply excessive force when inserting a memory card to avoid damage to the
device. To insert a memory card, please insert the micro SD card into the slot until it locks
(clicks); if necessary, use a needle to push the card further. To remove the memory card,
please push the card until it clicks and remove the card from the slot, if necessary, use a
needle to push the card.
After turning on the car ignition, the device automatically turns on and video recording is
activated.
Turning the Device ON/OFF
To turn the device on manually, press the power button.
To turn off the device, press and hold the power button for ~3 seconds.
Turning ON/OFF and Resetting Manually
6. DVR Operation
11

EN
1) Insert the micro SD card into the memory card slot; the Loop Recording mode turns on
automatically.
2) The length of the video recordings can be 1/3/5 minutes. It is recommended to set a
3-minute cycle (see Settings).
3) When there is no more space left on the memory card, the device will automatically
replace the oldest video file with the newest one; an exception is the files protected from
deletion.
4) The video recordings taken in Loop Recording mode are titled V_*****.MOV and
stored in the NORM folder.
Loop recording
The Emergency recording is designed to protect the current video file from being
overwritten and deleted. Please press the UP button to protect the current video file.
Now this video file is marked to prevent it from being deleted/overwritten. An icon
appears on the screen.
The Emergency recording is activated automatically when the G-sensor triggers (sudden
acceleration/deceleration), or at a collision/car accident. Emergency recording is locked
automatically to avoid erasing during loop recording. The files protected from overwriting
are titled V_*****.MOV and stored on the memory card in the EMR folder.
Emergency recording
12

EN
When this function is activated, the DVR starts recording when it detects motion in the
view area of the lens.
CAUTION! In this mode the device is on and consumes the energy of the car battery as
usually.
1) Please download the firmware file at the official website and extract the file.
2) Format the memory card and move the extracted file to the micro SD memory card.
3) Insert the memory card with the file into the DVR memory card slot.
4) Connect a power source and turn the device on. While the firmware file is
downloading, the indicator flashes. The update process will be displayed on the screen.
5) Once the update is complete, the device restarts automatically. When you turn the
device on, it will prompt you to format the memory card to delete the firmware files from
the memory card.
6) Please enter the Settings menu and check whether the correct firmware version is
displayed.
7) Please format the memory card (use the DVR menu) if you cancelled formatting after
the upgrading and rebooting the device.
CAUTION! Do not turn off the DVR power during the firmware update.
Updating the firmware
Motion sensor
13

EN
Playback/Deletion
Playback
- Press and hold Menu button for ~ 2 when in Standby mode.
- Select the file to view using Up/Down and Confirm keys.
- Using Up/Down keys, select the file you need to view and click Confirm button to start
playback.
- Press Menu button to enter the submenu.
- Use UP/DOWN to select Delete, then press OK button to confirm.
- Press the OK button to confirm the delete operation.
Deletion
- Resolution: 1080FHD / 720P / VGA
- Loop recording: OFF/1 min/3 min/5 min
- Exposure: -2 to +2 (stop = 0.3)
Menu Items
Video Settings
Note:
Deleted files cannot be restored. Please backup necessary files before proceed
with deletion. Use the Protection submenu functions to unlock files when in
Playback mode. Another way to delete the locked files is to format the memory
card.
Item Description
Deletion Delete this file
Protection Unlock a file to delete it
Slide show Alternately view files with the
2sec/5sec/8sec intervals
14

EN
- Motion sensor: OFF/ON
- Sound recording: OFF/ON
- Date Stamp: OFF/ON
- G-sensor sensitivity: OFF/Low/Medium/High
- State number: OFF/ON (enter the vehicle's license plate number stamp using numbers
and letters of the Latin alphabet)
- Auto display off: OFF/7sec/30 sec/1 min/2 min
- Auto power off: OFF/1 min/3 min/5 min (Standby time)
- Light flicker: 50Hz/60Hz
- Button sound effects: OFF/ON
- Language: English/Russian
- Date/Time (please enter the current date and time using the Up/Down and OK buttons)
- Format: Please follow the instructions on the display to format the memory card.
CAUTION! Before formatting, save the necessary files to your computer using the USB
connector. After formatting a memory card, files cannot be recovered.
- Reset Settings: Please follow the instructions on the display to apply factory settings.
- Firmware version: Check the firmware version of the device.
Settings in PHOTO mode: Please stop recording and press M (Menu) for 2 sec to switch
the DVR to PHOTO mode.
- Photo mode: Single shot/2 sec delay/5 sec delay/10 sec delay
- Resolution: VGA/1.3M/2M/3M/5M/8M/10M/12М
- Continuous Recording: ON/OFF
- Quality: Excellent/Normal/Economic
- Sharpness: Strong/Normal/Mild
- White balance: Auto/Daylight/Cloud/Sunshine/Lamp/Fluorescent
- Colour: Normal/Black and White/Sepia
- ISO: Auto/100/200/400
Main Settings
15

EN
The device is equipped with a notification function about speed cameras and other traffic
rules. Depending on individual user settings the following information is displayed on the
screen:
- type of radar or camera,
- distance to radar,
- allowed speed on the site,
- the average speed of the car and the distance to the exit from the site when detecting
the average speed cameras.
When approaching a camera or radar, the device will notify you about the type
and allowed speed. For example, “Average speed control fifty”, which means approach-
ing the camera, which captures the travel time for further calculation of the average
speed at the speed limit in a section equal to 50 km / h.
Notification about traffic control cameras
- Exposure: -3 to +3 (stop = 1)
- Stabilization: ON/OFF
- Date Stamp: ON/OFF
16
ATTENTION! NEOLINE is not responsible for administrative penalties related to
traffic violations by the owner of the device. The function of alerting about speed
cameras and other traffic rules is for informational purposes only to provide
additional safety on the road.
Allowed speed
Type radar or camera
Current speed
Distance to police
radar point

EN
Average speed control
Types of police radars and traffic control cameras
17
Average speed cameras are located on road sections with a length of ~500m-10km.
When passing the camera, the travel time is fixed, when passing the second camera, the
departure time is recorded, this is how the average speed is calculated.
ATTENTION! Speed control systems are often upgraded. When approaching an
average speed camera, do not exceed the permitted speed, as some of the
cameras also record the instantaneous speed.
Allowed speed
Average speed
camera
Average vehicle speed
Current speed
Distance to the
exit point
TextNo
1
2
3
Sound
Crossroad control Crossroad control (for example, control of
the stop line or driving on the “red”)
Average speed control Average speed
Traffic control Traffic control
4
5
In the back In the back (camera that captures the
violation in the passing direction)
Fake Fake
6
7
Possible police post
Police post (e.g. portable tripod)
(camera that captures the violation in the
passing direction)
Control roadsides Roadside
8Bus Line Bus Line

EN
18
Traffic control camera alert settings
• Radar Alert: Off/On
• Volume: Loud/Medium/Quiet/Very quiet
• Alert Type: Voice+Display / Voice Only / Display Only
• Alert Range: Auto/200m/300m/400m/500m/600m/700m/800m/900m
• Permissible excess (km/h): Off/-10/-5/-3-/0/+2/+5/+10/+15/+20
• Permissible excess - exceeding the speed limit in the area below which the device does
not notify about speeding).
Example A:
- section limit: 60 km/h
- additional overshoot: Off
In this case, the device will start a speeding alert when the speed reaches 61 km/h.
Example B:
- section limit: 60 km/h
- additional excess: 10 km/h
In this case, the device will start the overspeed alert when the speed reaches 71 km/h.)
• Speed limit (km/h): Off / 10 to 130 in 10 increments.
(if the set value is exceeded, the device will start notifying about speeding)
• Limitation: Off/10km/h up to 130 km/h in steps of 10
• Police posts: On/Off
• Fake: On/Off
• Database: indicates the date of the last update.
• Demo mode: demonstrates an example of the device's operation with the selected
settings of the traffic control camera notification function. Be sure to disable this feature
after checking the device.

EN
7. Troubleshooting
This section helps you to eliminate problems the device may have under normal
operation.
- Cannot take pictures/record video
Check if there is enough free space on the micro SD card and if it is not blocked.
- Spontaneous stop at recording
Too many video files are stored. Only use at least class 10 high-speed micro SD cards by
proven manufacturers.
- "Wrong file" message appears when trying to view a photo/play a video file
File writing failure due to microSD card file system error. Try to restore the file with the
programs.
Format the microSD card.
- Blurred image
Check the lens for dirt and greasy fingerprints. If there is any, wipe the lens with a soft
cloth before use (it is recommended to use special care products for the optics in order
not to damage the surface of the lens).
- Darkened image when taking pictures of the sky or water
Too much contrast in the scene may affect the exposure. Change the exposure in the
settings menu.
- Deadlock (no image/no key response)
Press the RESET button to reboot the device.
19

EN
Table of contents
Languages:
Other Neoline DVR manuals
Popular DVR manuals by other brands

EzwatchPro
EzwatchPro M4229RGDDT user manual
Johnson Controls
Johnson Controls exacqVision LC Series quick start guide
Avermedia
Avermedia AVerDiGi EB1504 MPEG4/MPEG4 user manual
dallmeier
dallmeier DMS 180 III Enterprise operating instructions
NetVu
NetVu Uniplex Installation and operation manual
UNIMO Technology
UNIMO Technology UDR-4004 Quick manual
