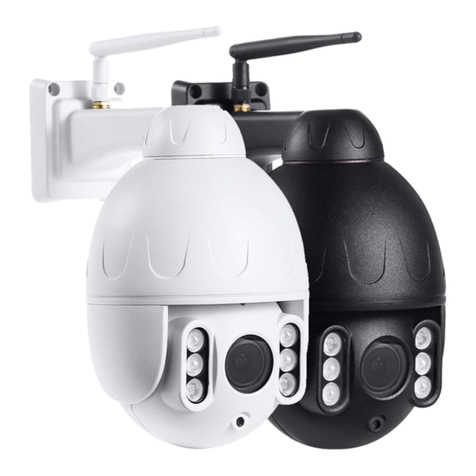
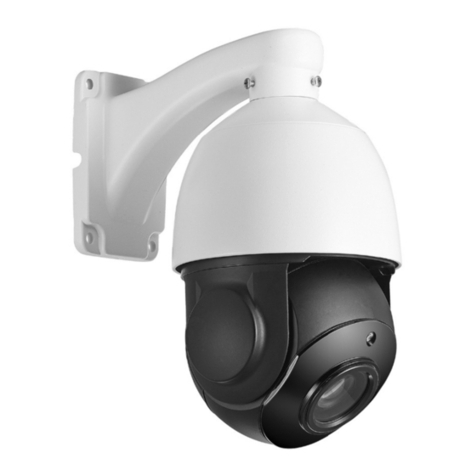
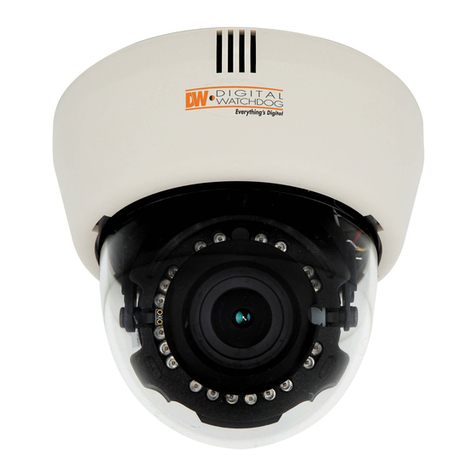
Nesuniq IPC-P405A User manual

1 / 3
Mini POE PTZ Camera
Quick Start Guide
V1.1.0
Model: IPC-P405A
Issue: 01
Part Number: 20190415V1
Copyright © Nesuniq. 2019
Default Login IP address User Name Password
DHCP(your router will automatically assign IP address to this
camera after you follow the below connection & installation step) admin 123456
www.nesuniq.com

2 / 3
Content
Packing List and Qualification Card--------------------------------------------------------------------3
Interface Description---------------------------------------------------------------------------------------3
Prepare for Installation Tools-----------------------------------------------------------------------------4
Connection & Installation----------------------------------------------------------------------------------5
Step 1: Make The Connection----------------------------------------------------------------------5
Via Normal Power Supply----------------------------------------------------------------------5
Via POE Adapter----------------------------------------------------------------------------------6
Via POE Switch-----------------------------------------------------------------------------------6
Step 2: Check Your Camera’s IP Address, Modify If Needed------------------------------7
Install the “Device Tool” from the U-disk, then run it-------------------------------------7
Find the camera's IP address------------------------------------------------------------------8
Modify IP Address---------------------------------------------------------------------------------9
Step 3: Test POE PTZ Camera--------------------------------------------------------------------10
Via PC-----------------------------------------------------------------------------------------------11
Via Free APP “Danale”-------------------------------------------------------------------------12
Via Client Management Software “LMS”---------------------------------------------------14
Installation Verification-------------------------------------------------------------------------------------16
Web Operations---------------------------------------------------------------------------------------------16
Troubleshooting---------------------------------------------------------------------------------------------17
Presets & Tours----------------------------------------------------------------------------------------------17
Get More Support-------------------------------------------------------------------------------------------18
www.nesuniq.com

3 / 4
Packing List and Qualification Card
Component PCS Component PCS
5MP Mini POE Camera 1 Drilling Sticker 1
Power Supply 1 Expansion Tube 1
Ethernet Cable 1 Tapping Screw 1
Quick Star Guide 1 U-disk with Product Instruction 1
Interface Description
www.nesuniq.com

4 / 5
Prepare for Installation Tools
#2 Phillips screwdriver Measuring tape Marker
10 mm hammer drill for ceiling-or wall-mounted installation Wire stripper
RJ-45 connector crimping tool Diagonal cutting pliers
www.nesuniq.com

5 / 6
Connection & Installation
Step 1: Make The Connection
We have 3-way to make the connection:
① Via Normal DC12V 2A Power Supply;
② Via POE Adapter(support IEEE 802af/at 10/100/1000M bps, I/P: AC 100-240V 50-60Hz 0.6A; O/P: DC 48V,
0.5A);
③ Via POE Switch(IEEE: IEEE802.3af/at 1/2+3/6-; PSE Output: +52V-2.3A 120W, Power in: AC110-240V);
Note:
PoE+ injector/switch required (802.3at) 24W;
Conventional PoE (802.3af) only delivers 15.4W and will cause underpower!
① Connect the AC Adaptor
INPUT: 100-240V-50-60Hz 0.65A
OUTPUT: 12V 4A
www.nesuniq.com

6 / 7
② Connect the POE Adapter
a) The camera’s LAN port must connect to the adapter’s “POE” port, the adapter’s LAN port muct connect
to your router; b) The POE adapter output power at least should be 24W (48V 0.5A or 48V 1A)
③ Connect the POE Switch
a) The camera’s LAN port much connect to the “POE Link” port and the POE switch’s “Up Link”
Port must connect to your router; b) Each output power of POE switch port must at least 15.4w
www.nesuniq.com

7 / 8
Connection & Installation
Step 2: Check Your Camera’s IP Address, Modify If Needed
① Install the “Device Tool” from the U-disk, then run it
② Click 【Start Search】to find the IP address
The default IP address of this camera is DHCP. but we are not sure what is your router’s IP address, some are
192.168.1.1, some are 192.168.0.1, so we can use this tool to find out what exactly the camera’s IP address is.
③ Right click on the camera’s IP address and select "Modify IP Address" to modify the IP address of
this camera.
Check the IP camera’s IP address is very important, The camera must be configured with the correct IP address
to connect to the Internet. if you don't understand. recommended to select the "DHCP" option and make sure
your router has DHCP enabled.
www.nesuniq.com

8 / 9
www.nesuniq.com

9 / 10
Note: This is for advanced user
If you want to modify the IP address, then first you should make sure the after-modify IP address will not cause
IP conflict with your other IP devices. Second, you should make sure they are in the same IP segment.
What is DHCP?
→For example, you have 5 IP cameras, and all have connect to your router, and your router will assign 5 different
IP address to these 5 camera, but when you connect one more, like this ptz camera, your modified IP address
can not be the same as other 5.
What is same IP segment?
→A IP address, the first three strings are the same.
For example:
192.168.1.22 and 192.168.1.33 are in the same IP segment.
But 192.168.1.22 and 192.168.0.22 are not in the same IP segment.
www.nesuniq.com

10 / 11
Connection & Installation
Step 3: Test POE PTZ Camera
We have 3-way to test this camera. Via Web Broswer, Via Free APP Danale and Via CMS Software
① Via PC
In step 2, we have got the POE PTZ camera’s final IP address.
1) Right click on the camera information and select 【Goto Web】
2) (Recommend) OR open your Internet Explorer, input the IP address to the link visit bar.
3) Input default user name 【admin】 and password 【123456】to login.
See the pictures below:
4) Access to the camera through IE browser on windows PC, In IE browser you can view image and configure
all parameters of camera.
② Via Free APP “Danale”
Very important: when you first use the APP to test the camera, you must make sure that your smartphone
or your tablet PC must have connected to your home router’s WIFI, do not use 4G or 5G signal. After you
add this camera to the APP, then you can both use your home wifi and 4G/5G singnal.
Below are the steps
www.nesuniq.com

11 / 12
1) Download “Danale” from Google Play Store / Apple App Store or scan the QR code below to get APP
information. (we recommend to download and install in the google play or apple store to get the latest version)
2) Run “Danale” APP and Add Camera.
Note: If you can not find the QR code on the box or the camera, then you can follow these two way below to find
the QR code.
www.nesuniq.com

12 / 13
a) Go to the search tool, click start search, and then click this camera’s IP address(back to the step 2→② to
check)
b) or login the web, follow the steps: Click “configuration” → Click “Network” → Click “P2P” → Make P2P
“Enable” → QR Code
www.nesuniq.com

13 / 14
3) After adding the camera, click online camera to view real-time image
www.nesuniq.com

14 / 15
③Via Central Management Software “LMS” (see the software interface below)
1) Install the “LMS_install” from the CD to your PC
2) Add this camera to the software by clicking the 【Devices】
See all the steps below
3) Choose 【Auto Search】to find the camera’s ip address that you want to add to this software.
www.nesuniq.com

15 / 16
4) Give a name to the device or Modify the camera’s name
5) Go back to the software interface, click 【LiveView】
6) Double click the camera to view
www.nesuniq.com

16 / 17
Installation Verification
After the device installation, check the following items to ensure that the device is properly installed.
All screws are fully tightened Yes No
The camera is securely installed on the bracket or wall Yes No
Ensure that necessary protection measures have been taken for the camera to
prevent device damage Yes No
The ambient temperature meets the device specifications Yes No
Insulation and waterproofing measures have been taken to protect cables installed
in humid environments, and the drip loops are in correct position. Yes No
The camera is grounded, and if it is powered by PoE, the PoE connection is
grounded too. Yes No
The protective film and fixing rubber strip have been removed from the lens and
camera body respectively. Yes No
The camera can power on normally. Yes No
You can access the camera eb portal using the IP address you configured Yes No
On the camera web portal, you can view live video from they camera. Yes No
You can view the surveillance scene on camera web pages and the image is clear. Yes No
In night vision mode, the surveillance area can be viewed clearly. Yes No
Web Operations
Open Internet Explorer, enter an IPC IP address,IP address can be set automatically via DHCP, or a static IP
address can be set manually (for example you can make 192.168.0.120 by default) and press Enter.
Enter the user name and password. The default user name and password are admin and 123456 respectively.
Click Login.
Note:
1) If a Dynamic Host Configuration Protocol (DHCP) server is configured for the current network and the IPC
automatically obtains its IP address from the DHCP server, the system will automatically set the IP address.
2) Supported browsers (on a 32-bit operating system): At preset, only support Internet Explorer 8~11
3) To avoid security risks, change the password when logging in to the system as the admin user for the first
time.
www.nesuniq.com

17 / 18
Troubleshooting
Q : After you enter the IPC IP address in the address box and press Enter, the Internet Explorer displays "There
is a problem with this website's security certificate."
A : Click Continue to this web (not recommended) to continue browsing this website. Then, install the root
certificate or upload your own certificate.
Q : When you first visit the camera, it will show you “Please click here to download the plugin and then install it
as administrator.”
A : Please follow the note and download the plugin, install it, and refresh the web again.
What can I do if I forgot the password of the admin user?
A : Use an account with the administrator rights to log in to the web page, choose Setting > System
Configuration > Device Maintenance to restore the camera to factory defaults.
Presets & Tours
What is preset?
When the user monitors the target through the monitoring pan/tilt of the control device operation terminal, the
operator can set the current monitoring target to a preset position. When the user needs to quickly monitor a
certain monitoring target; the location of the monitoring needs can be called up by controlling the calling
command of the device.
What is tour?
Some presets move in a certain order called a group of cruises or tour.
Some default presets about this camera, and its quick operations
Call 76 Open cruise
Call 78 to force infrared open
Call 80 to turn off infrared
Call 90 to force white light open
Call 82 to enter automatic light detection mode
Call 86 to restart the pan/tilt
Call 245 to control the direction of rotation
Call 246 to control the direction of rotation
Call 247 to slow down the speed of the pan/tilt
Call 248 to adjust the speed of the pan/tilt to medium speed
Call 249 to adjust the speed of the pan/tilt
Call 199 to restore all functions to factory setting
Call 88 to clear all presets
www.nesuniq.com
Other manuals for IPC-P405A
1
Table of contents
Other Nesuniq Security Camera manuals
Popular Security Camera manuals by other brands

Surveon
Surveon CAM6160 user manual

Hunt Electronic
Hunt Electronic HD-SDI OUTDOOR DOME CAMERA user manual
SC2000
SC2000 PTA1326X Installation and user manual
Allied Vision Technologies
Allied Vision Technologies GX1910C Technical manual
Samsung
Samsung SNB-6010A quick guide
Sanyo
Sanyo VCC-9250P instruction manual

