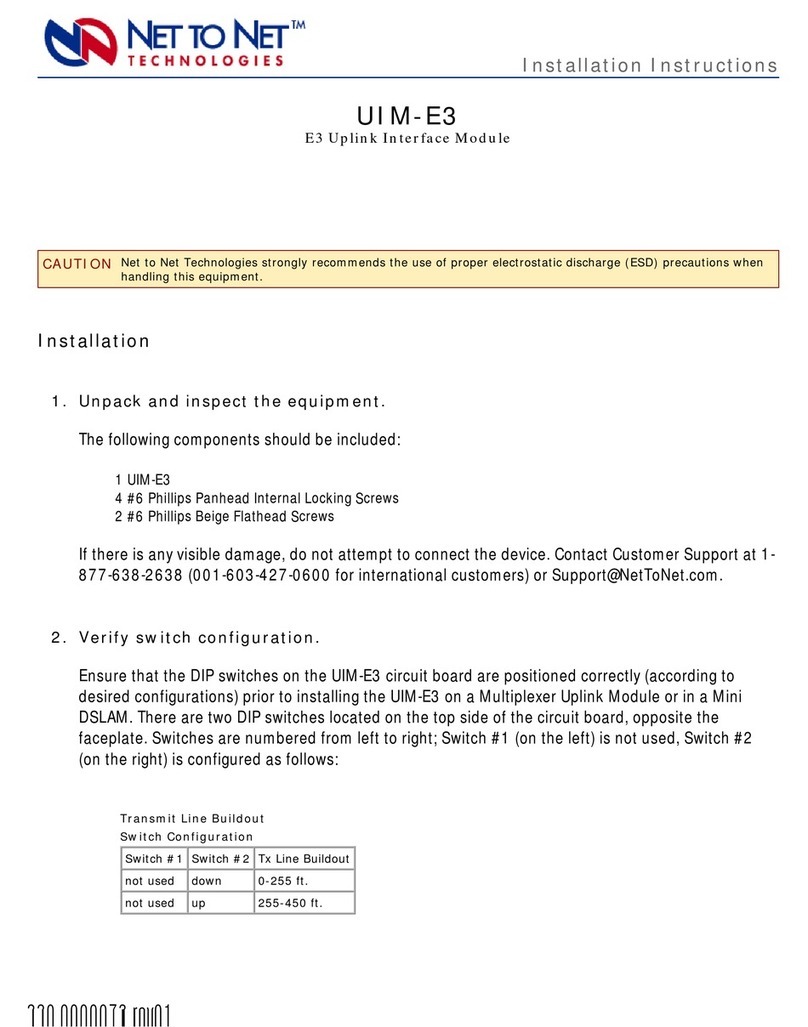
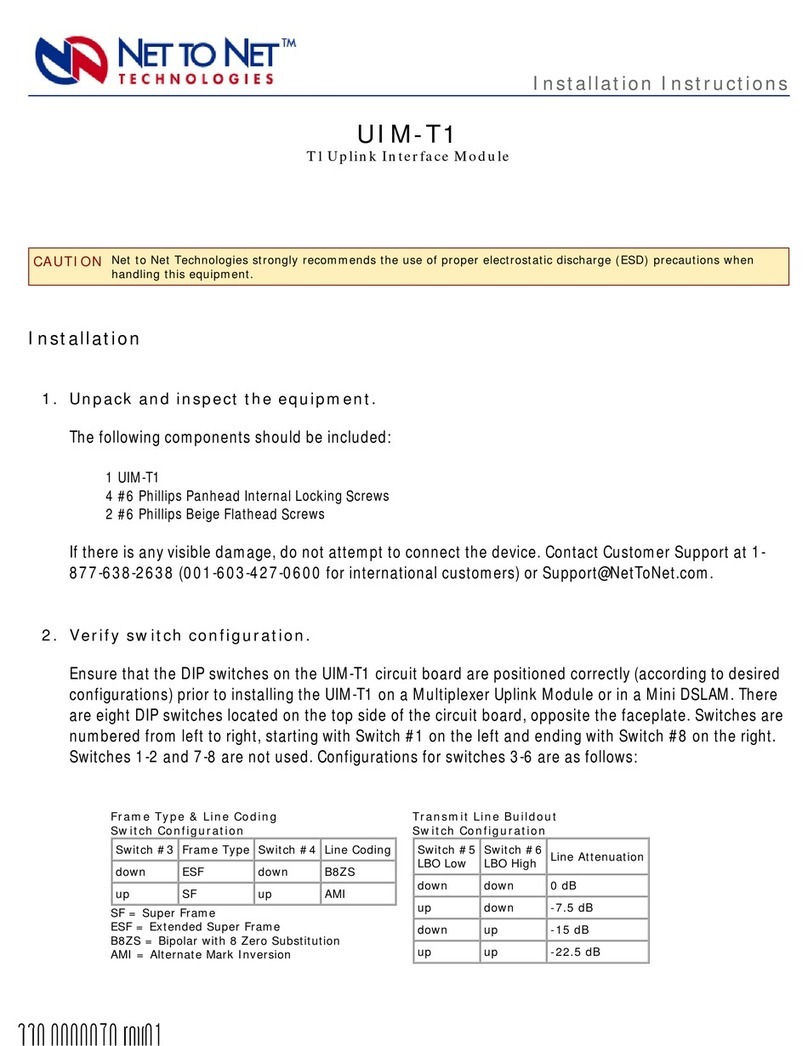
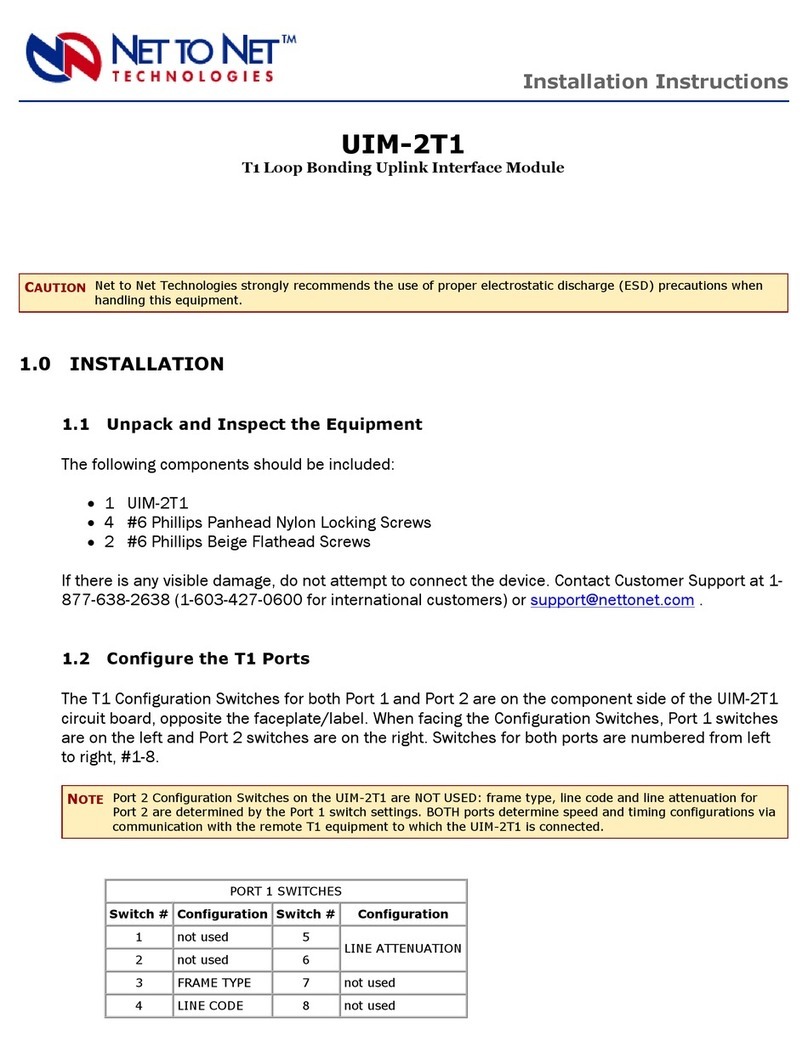
Net to Net Technologies UIM-E1 User manual

220-0000071 rev01
UIM-E1
E1 Uplink Interface Module
INSTALLATION
1. Unpack and inspect the equipment.
The following components should be included:
1 UIM-E1
4 #6 Phillips Panhead Internal Locking Screws
2 #6 Phillips Beige Flathead Screws
If there is any visible damage, do not attempt to connect the device. Contact Customer Support at 1-
2. Verify switch configuration.
Ensure that the DIP switches on the UIM-E1 circuit board are positioned correctly (according to
desired configurations) prior to installing the UIM-E1 on a Multiplexer Uplink Module or in a Mini
DSLAM. There are eight DIP switches located on the top side of the circuit board, opposite the
faceplate. Switches are numbered from left to right, starting with Switch #1 on the left and ending
with Switch #8 on the right. Switches 1-2 and 5-8 are not used. Configuration for switches #3 and
#4 are as follows:
Frame Type & Line Coding
Switch Configuration
Installation Instructions
CAUTION Net to Net Technologies strongly recommends the use of proper electrostatic discharge (ESD) precautions when
handling this equipment.
Switch #3 Frame Type Switch #4 Line Coding
down CRC down HDB3
up no CRC up AMI
CRC = Cyclic Redundancy Check
HDB3 = High Density Bipolar 3
AMI = Alternate Mark Inversion

220-0000071 rev01
3. Install the UIM-E1.
Required tool for installation: Phillips screwdriver.
UIM-E1 Installation in an IP DSLAM
Affix the UIM-E1 to a Multiplexer Uplink Module (MUM).
a. Place the MUM on a flat surface with the circuit board facing up.
b. Select a port on the MUM for UIM-E1 installation; either port (1 or 2) may be used.
Although not required for operational purposes, if redundancy is desired, two UIMs
may be installed on the MUM, one in each port.
c. Remove the blanking plate* from the selected port.
d. Carefully slide the faceplate of the UIM-E1 under the lip of the MUM faceplate at
the selected port opening such that the UIM-E1 circuit board is facedown and the
UIM-E1 label shows through the port opening with the model name along the right-
hand edge.
e. Ensure the mounting holes on the UIM-E1 are lined up with the corresponding
pems on the MUM and the board-to-board connector key pins are properly aligned.
f. Gently press down with even pressure on all four corners of the UIM-E1 until the
board-to-board connector is fully seated.
g. Secure the boards together at the pems with the (4) provided panhead screws.
h. Secure the UIM-E1 faceplate to the MUM faceplate using the (2) provided beige
flathead screws.
Install the MUM in an IP DSLAM chassis.
The IPD12000 is a fourteen slot chassis; slots 1-12 are reserved for Access Modules
and slots 13-14 are reserved for Multiplexer Uplink Modules (MUMs). The IPD4000 is a
five slot chassis; slots 1-4 are reserved for Access Modules and slot 5 is reserved for a
MUM.
NOTE The UIM-E1 may be attached to a MUM that has already been in service, although you must
remove the MUM from the IP DSLAM in order to do so.
Removal of a MUM from an IP DSLAM chassis that is powered up will not
affect the operational status of other modules within the chassis;
it will, however, disengage the IP DSLAM's upstream network connection.
CAUTION *Blanking plates should be stored for possible future use. If a UIM-E1 is removed from a
MUM, it must be replaced with either another UIM or a blanking plate. DO NOT INSTALL A
MUM WITH AN EMPTY UIM PORT INTO AN IP DSLAM.
220-0000071 rev01
a. Align the MUM with the slot module guides of the chosen slot for installation
(either slot 13 or 14 on the IPD12000 or slot 5 on the IPD4000).
b. Slide the MUM firmly into the chassis. DO NOT USE EXCESS FORCE.
c. Tighten the fastening screws on the MUM faceplate.
d. Verify that the PWR (Power) LED on the MUM faceplate is illuminated.
UIM-E1 Installation in a Mini DSLAM
a. Remove the (8) screws securing the Mini DSLAM chassis and carefully lift off the chassis
cover. Set the screws aside.
b. Select a port on the Mini DSLAM for UIM-E1 installation; either port (1 or 2) may be used.
Although not required for operational purposes, if redundancy is desired, two UIMs may
be installed in the Mini DSLAM, one in each port.
c. Remove the blanking plate* from the selected port.
d. Carefully slide the faceplate of the UIM-E1 under the inside lip of the Mini DSLAM at the
selected port opening such that the UIM-E1 circuit board is facedown and the UIM-E1
label shows through the port opening with the model name along the right-hand edge.
e. Ensure the mounting holes on the UIM-E1 are lined up with the corresponding pems on
the Mini DSLAM board and the board-to-board connector key pins are properly aligned.
f. Gently press down with even pressure on all four corners of the UIM-E1 until the board-
to-board connector is fully seated.
g. Secure the boards together at the pems with the (4) provided panhead screws.
h. Secure the UIM-E1 faceplate to the front of the Mini DSLAM chassis using the (2)
provided beige flathead screws.
i. Replace the Mini DSLAM chassis cover and secure with the original (8) screws.
CAUTION Disconnect all power sources from the Mini DSLAM before installing the UIM-E1.
CAUTION *Blanking plates should be stored for possible future use. If a UIM-E1 is removed from a Mini
DSLAM, it must be replaced with either another UIM or a blanking plate. DO NOT OPERATE A MINI
DSLAM WITH AN EMPTY UIM PORT.

220-0000071 rev01
4. Connect the E1 Line.
Plug the E1 cable into the E1 RJ45 port on the UIM-E1 faceplate. Verify the connection; the E1 Lnk
LED will pulse (once per second) to indicate the E1 connection is established and operational.
Additional Information
LED Indicators
(A pulsing LED blinks steadily at a rate of once per second. A flashing LED blinks at a more rapid,
less constant rate.)
Regulatory Compliance
The following regulatory compliance information applies to the UIM-E1 as installed in a Mini DSLAM
chassis or as affixed to a MUM installed in an IP DSLAM chassis.
NOTE An E1 Uplink Interface Module (UIM-E1) must be connected via E1 line to an E1 network extender
provider unit (ENE2000-P or ENE2000-P-12-AC/DC). A UIM-E1 connected to an E1 network extender
subscriber unit (ENE2000-S) will not function.
E1 RJ45 Port Pinout
Pin 1 Rx Ring Pin 5 Tx Tip
Pin 2 Rx Tip Pin 6 not used
Pin 3 not used Pin 7 not used
Pin 4 Tx Ring Pin 8 not used
If you are using a shielded E1 cable
for your Network connection, it must
be grounded through Pins 3, 6, 7 & 8.
LED State Indication Additional Information
Lnk flashing
green E1 is operational The E1 connection has been established and traffic is flowing.
solid green E1 is operational A connection exists but there is indication of a problem with the E1
line.
no
illumination Loss of Synchronization
(LOS) The incoming connection to the UIM-E1 has been lost; no data is
being received.
Alm no
illumination E1 is operational Note: If the E1 Lnk LED also remains unlit then the UIM-E1 has
LOS.
solid amber Remote Alarm Indication
(RAI) The outgoing connection from the UIM-E1 has been lost; no data
is being transmitted.
pulsing
amber Alarm Indication Signal
(AIS) An indirect connection has been lost; the UIM-E1 may no longer
be receiving data.

220-0000071 rev01
European Regulatory Compliance Information for Class A Equipment
This Class A product complies with European Norm EN55022.
Warning: In a domestic environment this product may cause radio interference in which case
the user may be required to take adequate measures to correct the situation.
220-0000071 rev01
© Copyright 2001 Net to Net Technologies, Inc.
™ The Net to Net Logo is a trademark of Net to Net Technologies, Inc.
Worldwide Headquarters
Net to Net Technologies
112 Corporate Drive, Suite 1
Portsmouth, NH 03801
USA
+1 877-638-2638
http://www.NetToNet.com/
Net to Net Technologies
Victoria House 19 Park Way
Newbury Berkshire RG14 1EE
UK
+44 (0) 1635 570950
Table of contents
Other Net to Net Technologies Network Card manuals

Net to Net Technologies
Net to Net Technologies UIM-2T1 User manual

Net to Net Technologies
Net to Net Technologies UIM-2E1 User manual

Net to Net Technologies
Net to Net Technologies UIM-T1 User manual

Net to Net Technologies
Net to Net Technologies UIM-DS3 User manual

Net to Net Technologies
Net to Net Technologies UIM-E3 User manual
Popular Network Card manuals by other brands

Paradyne
Paradyne HOTWIRE 8310 MVL user guide

Nvidia
Nvidia BlueField BF1500 Hardware installation

Asus
Asus PCE-N53 quick start guide

Acces I/O products
Acces I/O products MPCIE-LAN-GBE Hardware manual

Cabletron Systems
Cabletron Systems EFDMIM/LM user guide

Telit Wireless Solutions
Telit Wireless Solutions GE864-QUAD/PY user guide