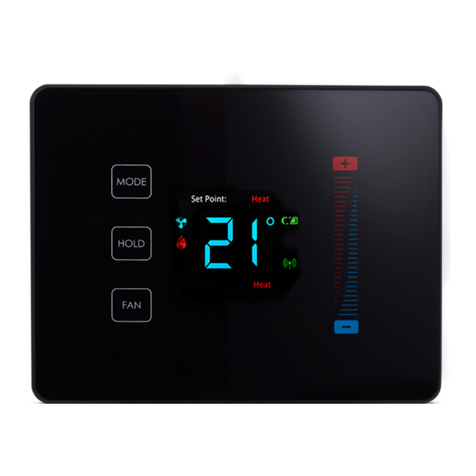
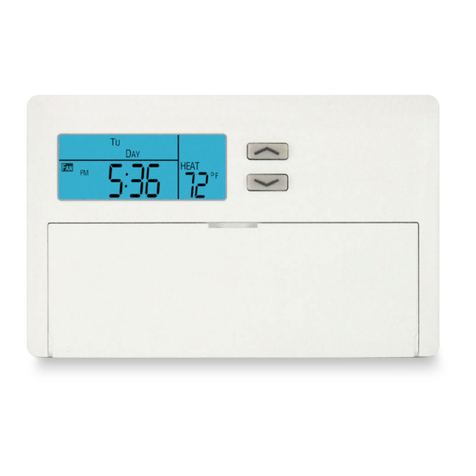
Netatmo OTH-PRO User manual

– Product Installation | Smart Modulating Thermostat
– Installation du produit | Thermostat Modulant Intelligent
– Produktinstallation | Modulierendes Smartes Thermostat
– Product installatie | Slimme Modulerende Thermostaat
– Installazione del prodotto | Termostato Modulante Inteligente
– Instalación del producto | Termostato Modulante Intelligente
EN
FR
DE
NL
IT
ES
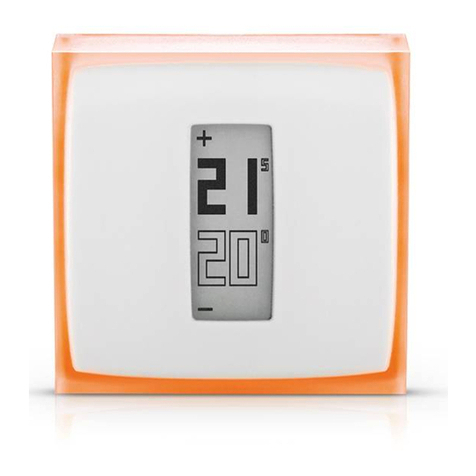
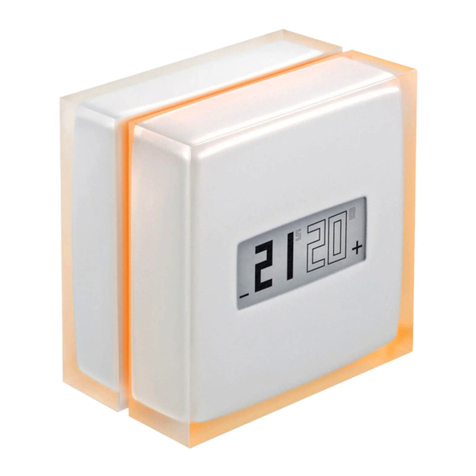
Smart Modulating
Thermostat

2
Read these instructions carefully before starting the installation.
The Netatmo Thermostat must be installed according to applicable standards.
Before any intervention, make sure power is turned o.
The Netatmo Thermostat cannot control electric converters.
EN
Lire attentivement cette notice avant installation.
Le Thermostat Netatmo doit être installé selon les normes en vigueur.
Avant toute intervention, assurez-vous d’avoir coupé le courant.
Le Thermostat Netatmo n’est pas compatible pour le pilotage de convecteurs électriques.
FR
Lesen Sie diese Anweisungen sorgfältig durch, bevor Sie mit der Installation beginnen.
Der Netatmo Thermostat muss gemäß den geltenden Normen installiert werden.
Vor der Durchführung aller Arbeiten muss die Stromversorgung ausgeschaltet werden.
Das Netatmo Thermostat kann keine elektrischen Konverter steuern.
DE

3
Lea estas instrucciones detenidamente antes de comenzar la instalación.
El Termostato Netatmo se debe instalar en conformidad con la normativa vigente.
Antes de realizar cualquier intervención, compruebe que la alimentación está desconectada.
El Termostato Netatmo no puede controlar transformadores eléctricos.
ES
IT Leggere attentamente queste istruzioni prima di iniziare l’installazione.
Il Termostato Netatmo deve essere installato in base agli standard applicabili.
Prima di eettuare qualsiasi intervento, assicurarsi che la corrente elettrica sia assente.
Il Termostato Netatmo non può controllare convertitori elettrici.
NL Lees deze instructies zorgvuldig door alvorens te installeren.
De Netatmo-Thermostaat moet worden geïnstalleerd volgens de geldende normen.
Zorg vóór elke ingreep dat de stroomtoevoer wordt uitgeschakeld.
De Thermostaat van Netatmo kan geen elektrische converters controleren.

4
You can watch an installation video tutorial online at the following address:
EN
Une vidéo d’aide à l’installation est disponible à l’adresse ci-dessous :
FR
DE Unter der folgenden Adresse können Sie ein Tutorial-Video zur Installation
online anschauen:
netatmo.com/video4

5
ES Puedes ver un tutorial de instalación en línea en la siguiente dirección:
NL U kunt een online installatievideo bekijken op de volgende website:
IT Guarda online il video tutorial sull’installazione del prodotto al seguente
indirizzo:
netatmo.com/video4

6
Pack contents
7. Color Adhesives
1. Thermostat 3. Relay 4. Boiler adaptor2. Mobile stand
*Optional
5. Wall-bracket* 8. Tape6. Wall mounting
plate*
9. 3 AAA
batteries
10. 4 screws
4 screw anchors*

7
In de doos
1. Thermostaat
2. Mobiele stand
3. Relais
4. Adapter voor de boiler
5. Draadloze houder*
6. Montageplaat*
7. Gekleurde plakranden
8. Tape
9. 3 AAA batterijen
10. 4 schroeven en 4 pluggen*
NL
*Optioneel
Packungsinhalt
1. Thermostat
2. Mobile Halterung
3. Verbindungsmodul
4. Adapter für den Heizkessel
5. Wandhalterung*
6. Montageplatte*
7. Farbige Auleber
8. Klebeband
9. 3 AAA-Batterien
10. 4 Schrauben und 4 Dübel*
DE
*Optional
Contenido de la caja
1. Termostato
2. Soporte móvil
3. Relé
4. Adaptador de caldera
5. Soporte mural*
6. Placa de montaje*
7. Adhesivos de colore
8. Cinta
9. 3 baterías AAA
10. 4 tornillos y 4 tacos
de plástico*
ES
*Opcional
Contenuto della confezione
1. Termostato
2. Supporto mobile
3. Relè
4. Adattatore per caldaia
5. Supporto a muro*
6. Piastra di montaggio*
7. Adesivi colorati
8. Nastro
9. 3 pile AAA
10. 4 viti e 4 tasselli*
IT
*Opzionale
Contenu du pack
1. Thermostat
2. Support mobile
3. Relais
4. Adaptateur chaudière
5. Support mural*
6. Plaque murale*
7. Adhésifs couleur
8. Adhésif double face
9. 3 piles AAA
10. 4 vis & 4 chevilles*
FR
*Optionnel

8
1/3 Identify the wires
See the Installation Troubleshooting p. 30 for more help.
Switch o the power supply.
Open the boiler door. If necessary,
remove the plastic cover to access the
wiring terminals.
Identify the OpenTherm room thermostat
terminals in the boiler, often labelled -/+,
T1/T2 or OT.
T1/T2
-/+
OT
or
or

9
1/3 Identifier les fils
Coupez le courant. Ouvrez la porte de votre chaudière. Si nécessaire, retirez le capot de
protection en plastique pour accéder à la borne de raccordement. Identifiez les deux connecteurs
de l’entrée Thermostat OpenTherm de votre chaudière, souvent labellisés -/+, T1/T2 ou OT.
Voir les conseils de résolution de problème p. 31 pour plus d’aide.
FR
1/3 Individuare i cavi
Disattivare la corrente elettrica. Aprire il portellino della caldaia. Se necessario, rimuovere il
coperchio in plastica per accedere ai connettori di collegamento. Individuare i connettori del
termostato OpenTherm, spesso contraddistinti dale etichette -/+, T1/T2 o OT. Si veda il capitolo
Risoluzione di problemi di installazione a p. 34 per maggiori informazioni.
IT
DE 1/3 Drähte identifizieren
Schalten Sie die Stromversorgung ab. Önen Sie die Heizkesseltür. Entfernen Sie gegebenenfalls
die Kunststoabdeckung, um zu den Anschlussklemmen zu gelangen. Identifizieren Sie die
OpenTherm Raumthermostatanschlüisse im Kessel, häufig mit den Bezeichnungen -/+, T1/T2 oder
OT. Weitere Installation Fehlersuche finden Sie auf S. 32.
NL 1/3 De kabels identificeren
Schakel de stroomtoevoer uit. Open de klep van de ketel. Verwijder, indien nodig, de plastic
afdekking om toegang te krijgen tot de bedradingaansluitingen. Identificeer de OpenTherm
kamerthermostataataansluitingen in de ketel, meestal aangeduid met -/+, T1/T2 of OT.
Zie Installatieproblemen oplossen op blz. 33 voor meer hulp.
ES 1/3 Identificar los cables
Apague la alimentación. Abrir la puerta de la caldera. Si fuera necesario, quitar la tapa de plástico
para acceder a los terminales. Identificar los terminales del termostato OpenTherm de la habitacion
en la caldera, frecuentemente etiquados como -/+, T1/T2 o OT. Si necesitas más ayuda, ve el
apartado Solución de problemas durante la instalación en la pág. 35.

10
2/3 Identify the wires
OpenTherm
Thermostat terminals
black and grey wires
No polarity
If you are replacing a wireless thermostat,
remove your former thermostat’s relay.
If you are installing your first thermostat,
you may have to remove the shunt
between the two room thermostat
terminals.
Connect the black and grey wires of the
boiler adaptor cable to the OpenTherm
room thermostat terminals (no polarity).
T1/T2
-/+
OT
or
or

11
2/3 Identifier les fils
Si vous remplacez un thermostat sans-fil, retirez votre ancien relais de thermostat.
Si vous installez votre premier thermostat, vous devez peut-être retirer
le pont entre les deux connecteurs thermostat.
Branchez les fils noir et gris de l’adaptateur chaudière sur l’entrée thermostat OpenTherm
que vous avez identifiée (pas de polarité).
FR
2/3 Individuare i cavi
Se si sta sostituendo un termostato wireless, rimuovere il relè del termostato precedente.
Se si sta installando il primo termostato, è necessario forse togliere prima il ponte tra i due
connettori termostato.
Collegare i cavi nero e grigio del cavo adattatore per caldaia ai connettori del termostato
OpenTherm (asseza di polarità).
IT
DE 2/3 Drähte identifizieren
Wenn Sie einen drahtlosen Thermostat austauschen, entfernen Sie das alte Thermostatrelais.
Wenn Sie Ihren ersten Thermostat installieren, müssen Sie eventuell die Brücke zwischen
den beiden Thermostatanschlüssen entfernen.
Schließen Sie den schwarzen und den grauen Draht des Adapter für den Heizkessel kabels
an die OpenTherm Raumthermostatklemmen an (keine Polarität).
NL 2/3 De kabels identificeren
Als u een draadloze thermostaat vervangt, verwijdert u het relais van uw vorige
thermostaat.
Als u uw eerste thermostaat installeert, moet u misschien de shunt verwijderen tussen de
twee kamerthermostaataansluitingen.
Sluit de zwart en grijze kabels van de adapter voor de boiler kabel aan op de OpenTherm
kamerThermostaataansluitingen (geen polariteit).
ES 2/3 Identificar los cables
Si está sustituyendo un termostato inalámbrico, extraiga el relé de su termostato antiguo.
Si estás instalando tu primer termostato, debes retirar la derivación entre los dos terminales
de habitación del termostato.
Conectar los cables negro y gris del cable adaptador de caldera a los terminales de
habitacion del termostato OpenTherm (sin polaridad).

12
3/3 Identify the wires
Identify the power supply terminals with
220/230V, usually labelled P/N or L/N.
Connect the boiler adaptor’s blue wire to
the N terminal of the boiler. Connect the
brown wire to the P or L terminal.
If some wires are already connected to
those terminal, leave them in place.
See the Installation Troubleshooting p. 30 for more help.
220V/230V Power
supply terminals
Blue and brown wires
P / N
L / N
or

13
3/3 Identifier les fils
Identifiez les connecteurs d’alimentation 220/230V ; ils portent généralement les indications
P/N ou L/N. Connectez le fil bleu de l’adaptateur chaudière au terminal N de votre chaudière,
puis connectez le fil marron au terminal P ou L. Si des fils sont déjà connectés à ces terminaux,
laissez-les en place.
Voir les conseils de résolution de problème p. 31 pour plus d’aide.
FR
3/3 Individuare i cavi
Individuare i connettori dell’alimentatore a 220/230V, generalmente
contraddistinti dalle etichette P/N o L/N. Collegare il cavo blu dell’adattatore
per caldaia al connettore N della caldaia. Collegare il cavo marrone dell’adattatore per caldaia
al connettore P o L della caldaia. Se alcuni cavi sono già collegati
a quei connettori, lasciarli nella posizione in cui si trovano.
Si veda il capitolo Risoluzione di problemi di installazione a p. 34 per maggiori informazioni.
IT
DE 3/3 Drähte identifizieren
Identifizieren Sie die Spannungsversorgungsklemmen mit 220/230V, üblicherweise mit der
Bezeichnung P/N oder L/N. Schließen Sie den blauen Draht des Adapter für den Heizkessel
an die N-Klemme des Heizkessels an. Schließen Sie den braunen Draht des Adapter für den
Heizkessel an die P- oder L-Klemme des Kessels an. Wenn einige Drähte bereits an diese
Klemme angeschlossen sind, lassen Sie sie unverändert.
Weitere Installation Fehlersuche finden Sie auf S. 32.
NL 3/3 De kabels identificeren
Identificeer de stroomaansluitingen met 220/230V, meestal aangeduid met P/N of L/N. Sluit de
blauwe kabel van adapter voor de boileraan op de N-aansluiting van de ketel. Sluit de bruine
kabel van de adapter voor de boileraan op de P- of L-aansluiting van de ketel.
Als sommige kabels al zijn aangesloten op deze aansluitingen, laat u deze zitten.
Zie Installatieproblemen oplossen op blz. 33 voor meer hulp.
ES 3/3 Identificar los cables
Identificar los terminales de alimentación con 220/230V, normalmente etiquetados como P/N
o L/N. Conectar el cable azul del adaptador de caldera al terminal N de la caldera. Conectar
el cable marrón del adaptador de caldera al terminal P o L de la caldera. Si ya hay cables
conectados a ese terminal, déjalos como están.
Si necesitas más ayuda, ve el apartado Solución de problemas durante la instalación en la pág. 35.

14
The boiler adaptor should be placed as
far as possible from metallic items
(wiring, pipes, electrical grid…)
The boiler adaptor can be fixed to the wall
with double-sided tape or the screws provided.
Set the Relay
or
30 cm

15
Fixez le Relais
L’adaptateur chaudière doit être éloigné autant que possible d’éléments métalliques (tableau
électrique, tuyaux, câblages…). Vous pouvez fixer l’adaptateur chaudière à l’aide de l’adhésif
double face ou le visser.
FR
Fissare il Relè
L’adattatore della caldaia deve essere posizionato il più lontano possibile da oggetti metallici
(cablaggio, tubi, rete elettrica…). L’adattatore può essere fissato alla parete con un nastro
biadesivo o con le viti fornite.
IT
DE Verbindungsmodul befestigen
Der Adapter für den Heizkessel sollte so weit wie möglich entfernt von Metallgegenständen
aufgestellt werden (Verkabelung, Rohre, elektrische Leitungen…). Der Adapter für den
Heizkessel kann mit dem doppelseitigen Klebeband an der Wand festgeklebt oder mit den
mitgelieferten Schrauben festgeschraubt werden.
NL De Relais instellen
De adapter voor de boiler moet zo ver mogelijk van metalen voorwerpen (bedrading,
leidingen, elektriciteitsnet,...) geplaatst worden. De adapter voor de boiler kan worden
aangebracht op de wand met de dubbelzijdige tape of de bijgeleverde schroeven.
ES Instalar el Relé
El adaptador de caldera debe colocarse lo más alejado posible de elementos metálicos
(cableado, tuberías, redes eléctricas...). El adaptador de caldera se puede fijar a la pared con la
cinta de doble cara o los tornillos suministrados.

16
Connect the Relay into the boiler adaptor.
Switch the power supply back on.
The LED of the Relay will blink.
See the Installation Troubleshooting p. 30 for more help.
Test the Relay
1
2
3

17
Testez le Relais
1. Connectez le Relais sur l’adaptateur chaudière.
2. Rétablissez le courant.
3. La LED du Relais clignote.
Voir les conseils de résolution de problème p. 31 pour plus d’aide.
FR
Testare il Termostato
1. Collegare il Relè all’adattatore della caldaia.
2. Riattivare la corrente elettrica.
3. Il LED del Relè lampeggia.
Si veda il capitolo Risoluzione di problemi di installazione a p. 34
per maggiori informazioni.
IT
DE Thermostat testen
1. Stecken Sie das Verbindungsmodul in den Adapter für den Heizkessel.
2. Schalten Sie die Stromversorgung wieder ein.
3. Die Verbindungsmodul-LED blinkt.
Weitere Installation Fehlersuche finden Sie auf S. 32.
NL Teste do Relé
1. Ligue o Relé ao adaptador da caldeira.
2. Ligue novamente a corrente elétrica.
3. O Relé pisca com uma luz branca
Consulte a Solução de problemas de instalação, p. 33 para mais ajuda.
ES Probar el Termostato
1. Conecte el Relé al adaptador de caldera.
2. Vuelva a conectar la alimentación.
3. El LED del Relé parpadeará.
Si necesitas más ayuda, ve el apartado Solución de problemas durante
la instalación en la pág. 35.

18
Push the relay button. The LED of the Relay will light up and
the boiler is switched on.
Push the relay button again. The LED of the Relay will turn o
to indicate the boiler is o.
See the Installation Troubleshooting p. 30 for more help.
Test the Relay
7
45
6

19
Testez le Relais
4. Appuyez brièvement sur le bouton du Relais.
5. La LED du Relais émet une lumière et la chaudière s’allume.
6. Appuyez de nouveau sur le bouton du Relais.
7. La LED du Relais s’éteint et la chaudière s’arrête.
Voir les conseils de résolution de problème p. 31 pour plus d’aide.
FR
Testare il Termostato
4. Premere il pulsante del Relè.
5. Il LED del Relè si illumina, e la caldaia si accende.
6. Premere di nuovo il pulsante del Relè.
7. Il LED del Relè si spegne per indicare che la caldaia è spenta.
Si veda il capitolo Risoluzione di problemi di installazione a p. 34 per maggiori
informazioni.
IT
DE Thermostat testen
4. Drücken Sie die Verbindungsmodul-Taste.
5. Die Verbindungsmodul-LED leuchtet auf und das Verbindungsmodul es schaltet
den Heizkessel ein.
6. Drücken Sie erneut die Verbindungsmodul-Taste.
7. Die Verbindungsmodul-LED erlischt um anzuzeigen, dass der Heizkessel
ausgeschaltet ist.
Weitere Installation Fehlersuche finden Sie auf S. 32.
NL De Thermostaat testen
4. Druk op de relaisknop.
5. De LED van het Relais zal oplichten en de ketel inschakelen.
6. Druk weer op de relaisknop.
7. De LED van het zal ultgaan om aan te geven dat de ketel ult staat.
Zie Installatieproblemen oplossen op blz. 33 voor meer hulp.
ES Probar el Termostato
4. Pulse el botón del Relé.
5. La LED del Relé se iluminará, el Relé encenderá la caldera.
6. Pulse el botón del relé de nuevo.
7. La LED se apagará para indicar que la caldera está apagada.
Si necesitas más ayuda, ve el apartado Solución de problemas durante la instalación
en la pág. 35.

20
Prepare the Thermostat
See the Installation Troubleshooting p. 30 for more help.
When the Thermostat has found the Relay, it displays
the setpoint temperature and the room temperature.
3
Measured temperature
Setpoint temperature
Insert the batteries in the Thermostat
ensuring the positive and negative ends
correspond.
1
The Thermostat will display the start screen
and search for the Relay.
2
Table of contents
Other Netatmo Thermostat manuals
Popular Thermostat manuals by other brands
Honeywell
Honeywell INNCOM e7w troubleshooting guide
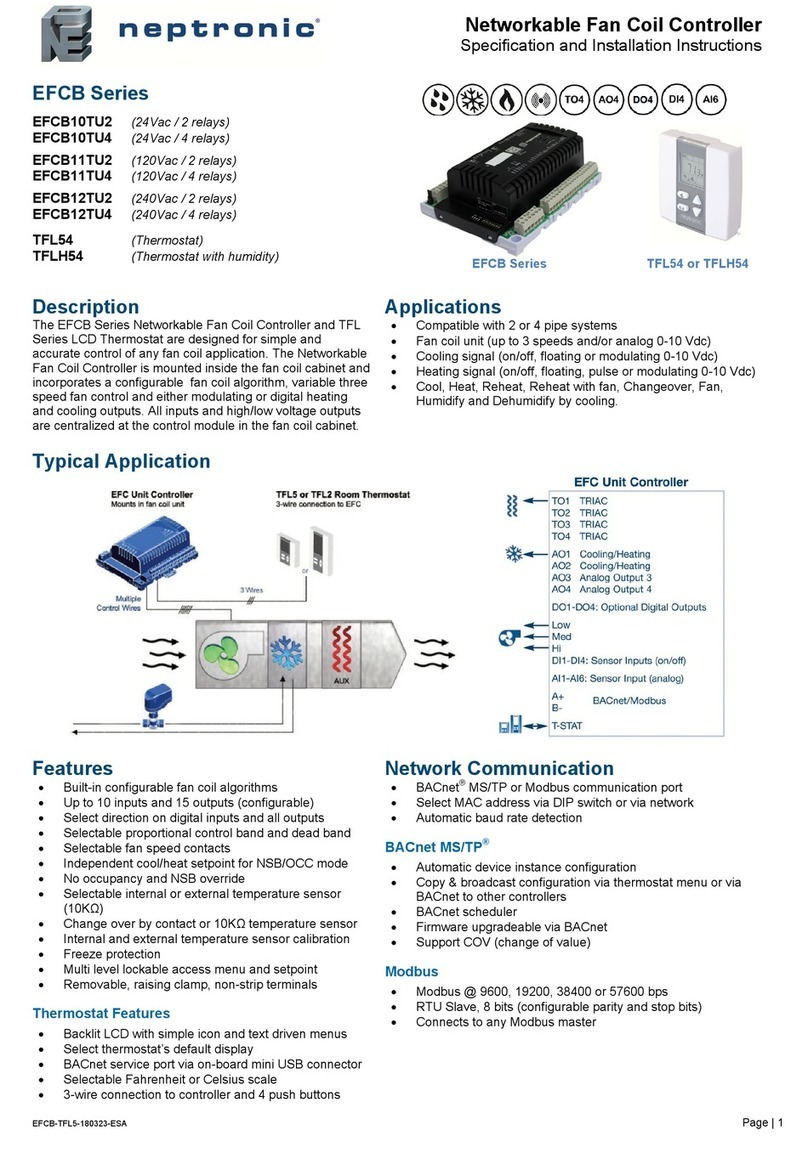
Neptronic
Neptronic EFCB10TU2 Specification and installation instructions
Siemens
Siemens RDH10 manual
FRENGER systems
FRENGER systems T60-EH Installation instruction

Salus
Salus OPTIMA user manual
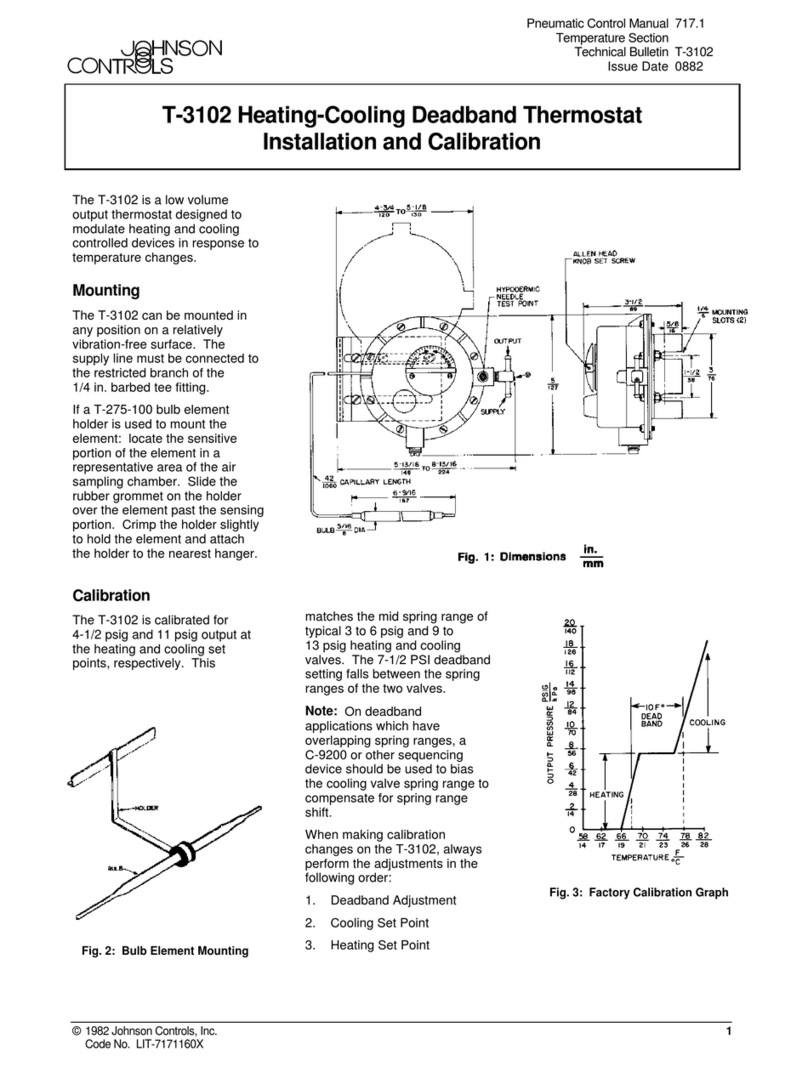
Johnson Controls
Johnson Controls T-3102 Installation and Calibration Manual
