manuals.online logo
Brands
  1. Home
  2. •
  3. Brands
  4. •
  5. NetComm
  6. •
  7. Network Router
  8. •
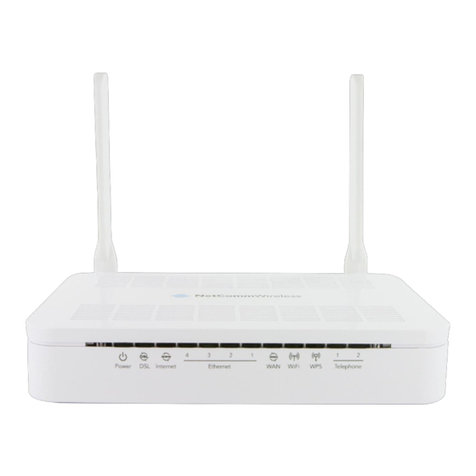
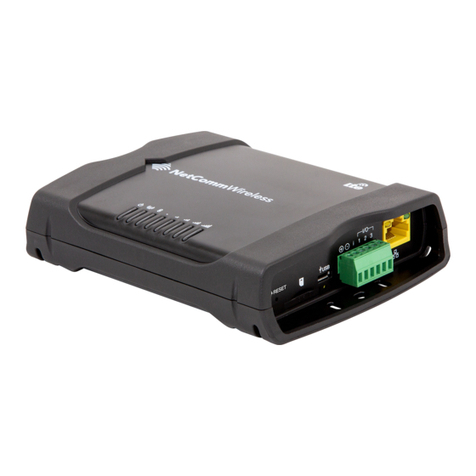
  9. NetComm NF18ACV Instruction Manual

NetComm NF18ACV Instruction Manual

31Page
www.barefoottelecom.com.au 1300 017 622 support@barefoottelecom.com.au
FW guide
nbn™ Connection Guide - Fixed Wireless (FW)
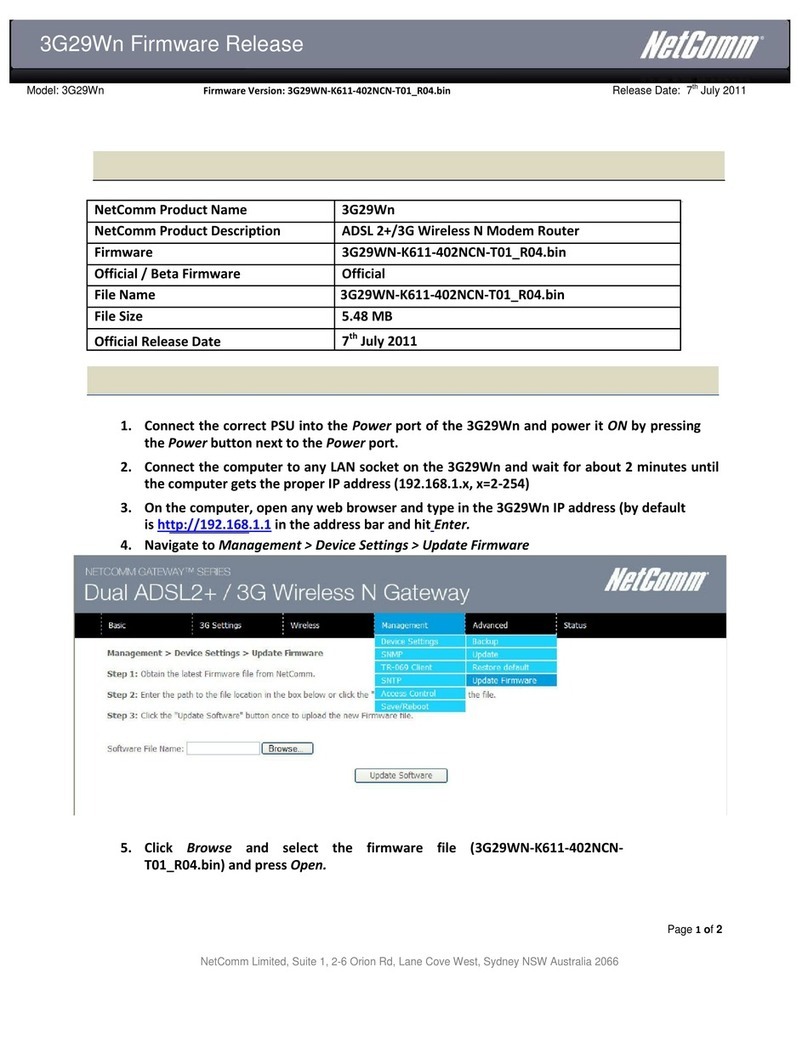
STEP 1 - Locate the nbn™ Fixed Wireless Network
Termination Device (WNTD)
Find the indoor nbn™ Fixed Wireless Network
Termination Device (WNTD) in your home. This will
usually be installed in a garage or main living area, but
may be located in an odd location such as a wardrobe,
cupboard or underneath a staircase. Ensure you check
your entire home for the WNTD including any unusual
places that you may not expect.
STEP 2 - Connect your modem/router
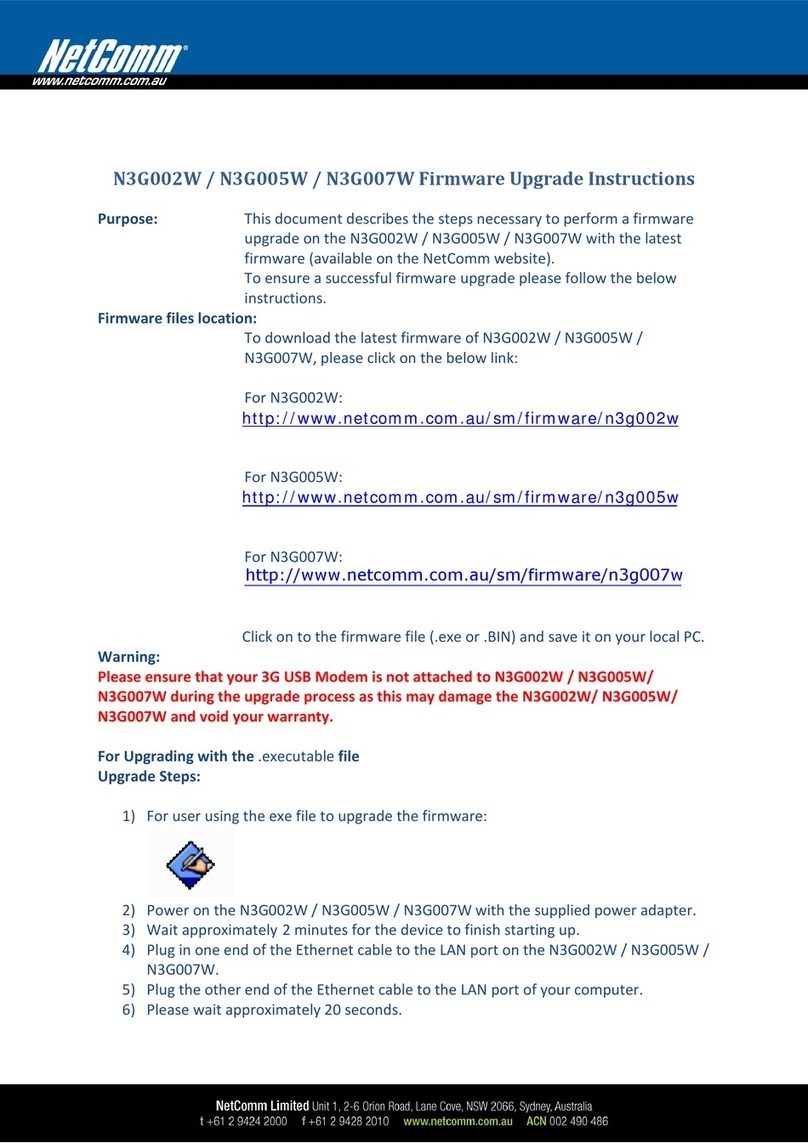
You will need to plug your modem/router into your
nbn™ Fixed Wireless Network Termination Device
(WNTD) to connect your Internet service.
First, ensure that the included power cable from the
power port on the back of the Fixed Wireless Network
Termination Device (WNTD) is plugged in and secure.
Plug the other end of the power cable into a power
wall outlet in your home and switch the power point
on.
After a few minutes, you should notice the POWER,
STATUS and ODU lights on the front of the WNTD
turn solid green. You should also then have at least
one SIGNAL STRENGTH light on (this will usually be
flashing). If the STATUS or ODU lights on your nbn™
Fixed Wireless WNTD remain red or are o, please
contact our support team for further troubleshooting.
Now, take your modem/router’s power supply cable
and use it to connect your modem/router’s power port
to an electrical outlet. Switch the power point on.
Take your Ethernet cable (this is typically blue, yellow,
grey or white) and plug one end into the required
yellow port marked UNI-D on the back of the nbn™
Fixed Wireless Network Termination Device (WNTD).
The active UNI-D port would have been sent to you via
email and SMS - in many cases this is usually UNI-D1
but may be another number.
Plug the other end of this Ethernet cable into the
WAN port on your modem/router. This may also be
labelled as INTERNET or WAN/LAN. The Ethernet
cable is larger than a telephone cable. DO NOT use
the telephone cable to plug in your modem/router to
the nbn™ Fixed Wireless Network Termination Device
(WNTD).
32Page
FW guide
www.barefoottelecom.com.au 1300 017 622 support@barefoottelecom.com.au
Connecting your modem/router -
nbn™ Fixed Wireless
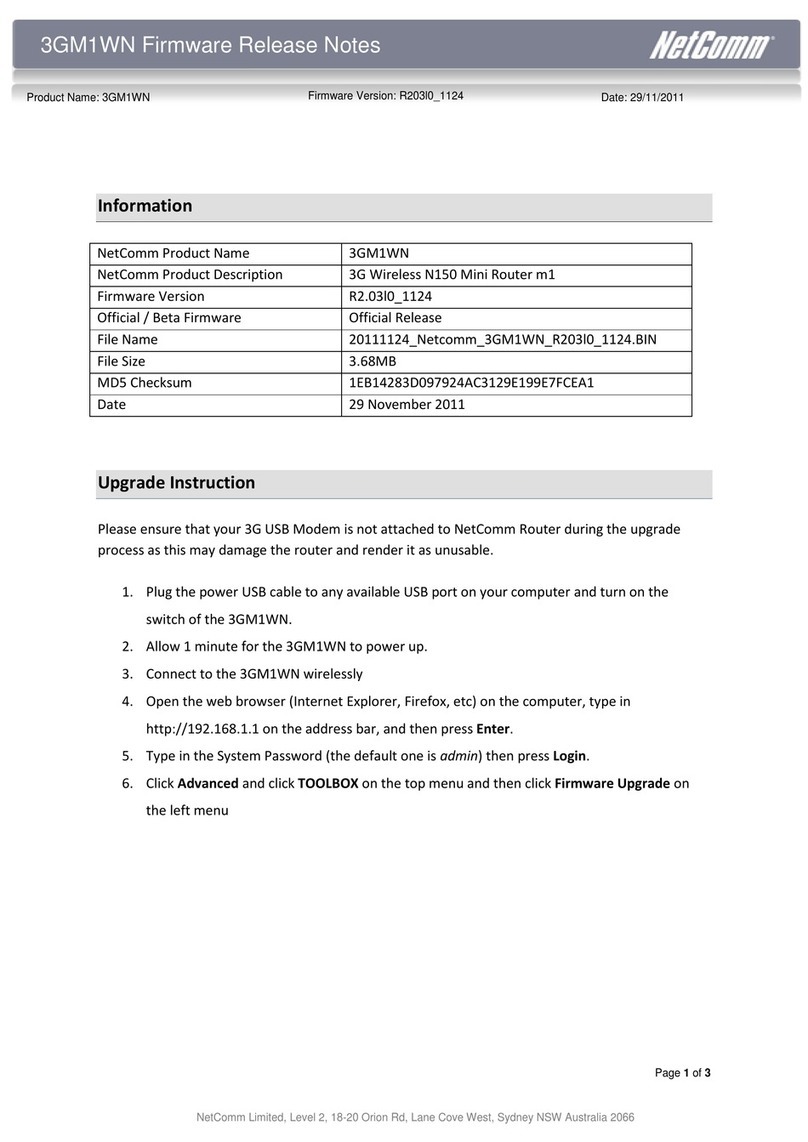
OPTION 1: I chose the Barefoot supplied modem/
router
Your Barefoot Communicate modem comes pre-
configured and does not require any setup. Simply
ensure the supplied yellow Ethernet cable is plugged
from the required yellow UNI-D port on your nbn™
Fixed Wireless Network Termination Device (WNTD),
into the blue WAN port on the back of your modem.
Ensure the power cable is plugged into a power outlet
and switched on.
Your Barefoot modem/router will begin broadcasting
Wi-Fi as soon as it is plugged into power, turned on
and has finished booting up. You can then connect
your devices such as computers, phones and tablets
via Wi-Fi.
The modem’s Wi-Fi name and password is printed on
a separate card included with the modem. The Wi-
Fi name and password is also shown on the bottom
of the modem as “WiFi Network Name” and “WiFi
Password” for both the 2.4GHz and 5GHz networks.
If you have a computer nearby that you would like
to connect via Ethernet, take another Ethernet cable
and plug one end into any one of the modem’s yellow
Ethernet ports (labelled LAN).
If you have issues connecting your Barefoot supplied
modem/router, please contact our support team at
support@barefoottelecom.com.au or 1300 017 622 for
further troubleshooting.
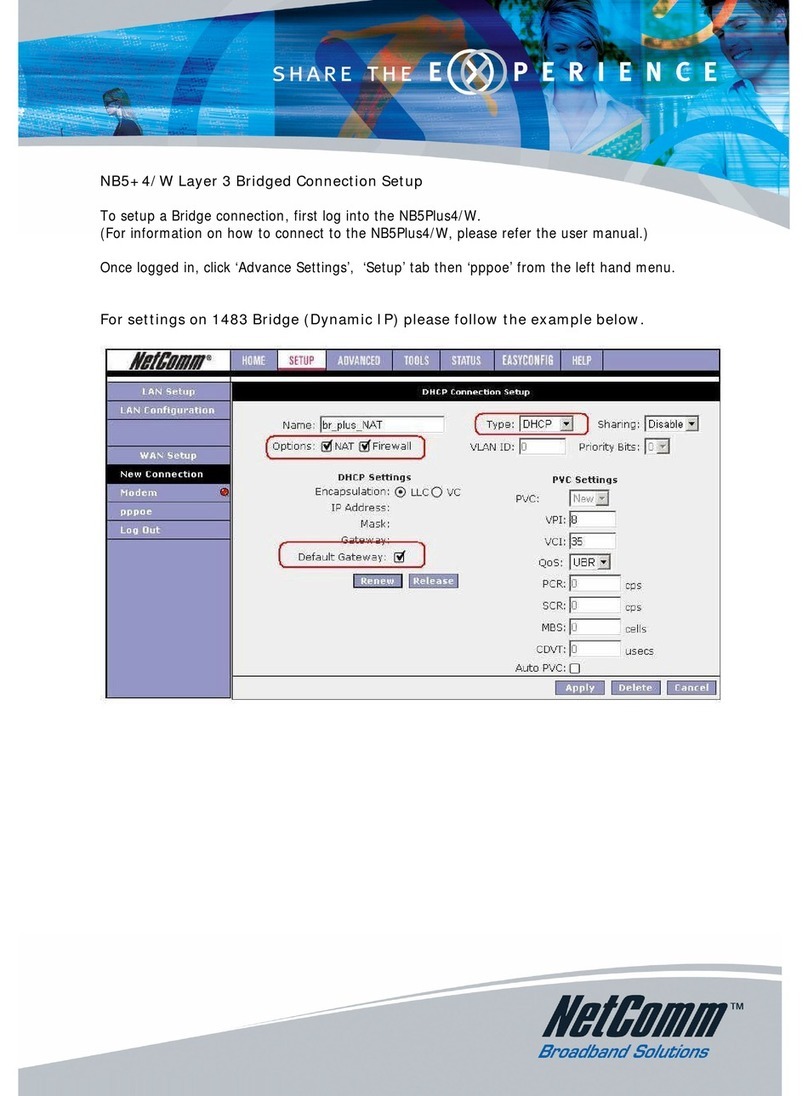
OPTION 2: I chose BYO modem/router
Your BYO modem/router will need to be configured
with your new Barefoot Communicate nbn™ details to
work.
1. First, ensure the supplied yellow Ethernet cable
with your modem/router (this is usually yellow, blue,
grey or white) is plugged from the required yellow
UNI-D port on your nbn™ Fixed Wireless Network
Termination Device (WNTD), into the WAN port
on the back of your modem/router. This WAN port
may also be labelled as INTERNET or LAN/WAN
depending on the make and model of your modem.
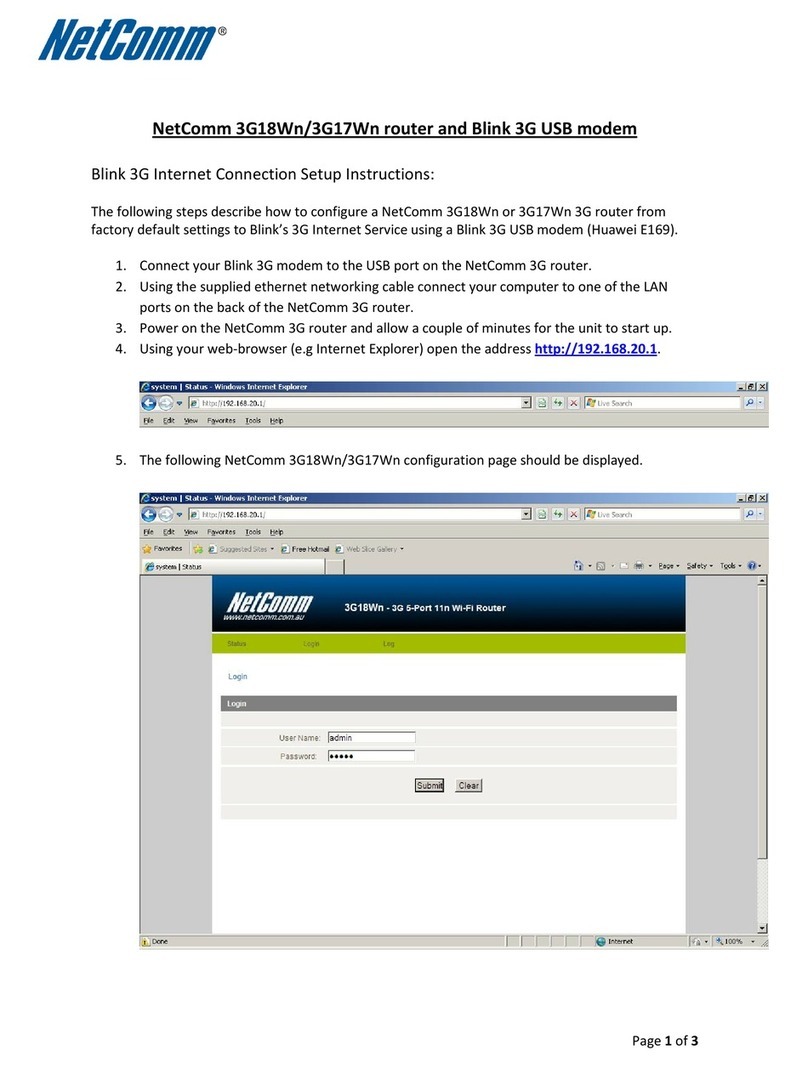
2. You will now need to connect your BYO modem/
router to your device. You’ll need a computer,
laptop, tablet or smartphone that is connected to
your BYO modem/router via Ethernet or Wi-Fi.
3. Once you have connected your device to your
BYO modem/router, open the web browser on your
connected device and type in your modem/router’s
default gateway/admin IP address in the address
bar. This will be printed on the bottom or back of
your modem depending on the make and model.
Some of the most common addresses are 192.168.1.1,
192.168.20.1, 10.1.1.1 and 10.0.0.138.
4. Once you have accessed the gateway of your
modem/router, you may see a login page. If there’s
a username field, the default username will almost
always be admin (it may even already be filled
in). The default password is typically admin or
password. If you can’t log in with these settings,
please check the manufacturer’s website for your
BYO modem/router’s default login settings. If your
BYO modem router is secondhand or you have used
it previously, it may have custom login details set.
If you need to, you can factory reset the modem
router to return it to the default settings.
5. From here, it gets a little tricky to oer general
advice for all BYO modem/routers. The layout of
modem/router settings pages can vary greatly
33Page
FW guide
www.barefoottelecom.com.au 1300 017 622 support@barefoottelecom.com.au
for each dierent modem. If you get stuck or it is
not clear where you should change your Internet
settings, you need to check the manufacturer’s
website for support information. Ideally, your
modem will have a Setup Wizard or Quick Setup
that will run automatically the first time you log in to
the settings, or there’ll be a fairly obvious button to
launch it.
6. The Setup Wizard should run you through
entering the required broadband settings, step by
step. The most important settings are the following:
• Encapsulation or Connection Type
• Must be set to PPPoE
• Connection Mode/Access Type/Service Type
• Must be set to ETHERNET WAN/RESIDENTIAL
GATEWAY/WIRELESS ROUTER MODE
This will then allow you to enter your username
(sometimes called Login) and password which are
supplied in your Barefoot Welcome Letter email.
7. After completing the Setup Wizard and saving
your settings, give the modem some time. Some
modem routers reboot automatically after every
new configuration, while others simply need a
few minutes to apply the settings. Take a look
at the lights on your modem router. Most should
now be green, blue, purple or another “positive”
colour. Many modem routers have lights that flash
to indicate connection activity, so you shouldn’t
be concerned if any lights are flashing unless the
manufacturer’s support information specifically
advises that flashing lights indicate a problem.
8. Hop on one of your computers or Wi-Fi devices
and try to visit a website. If it works, your nbn™
Internet is up and running! If you have issues
connecting, please contact our support team at
support@barefoottelecom.com.au or 1300 017 622
for further troubleshooting.

Other manuals for NF18ACV

6

Other NetComm Network Router manuals

NetComm NB1 User manual

NetComm

NetComm NB1 User manual

NetComm NF12 User manual

NetComm

NetComm NF12 User manual

NetComm Freshtel NB9 User manual

NetComm

NetComm Freshtel NB9 User manual

NetComm NTC-140W Series User manual

NetComm

NetComm NTC-140W Series User manual

NetComm NCT-1000 User manual

NetComm

NetComm NCT-1000 User manual

NetComm NWL-11 User manual

NetComm

NetComm NWL-11 User manual

NetComm NB1 User manual

NetComm

NetComm NB1 User manual

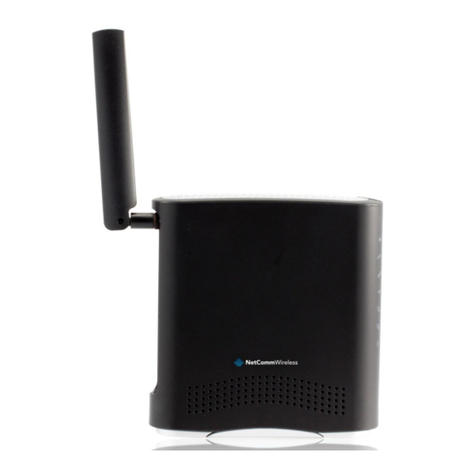
NetComm Liberty 3GM2WN Operational manual

NetComm

NetComm Liberty 3GM2WN Operational manual

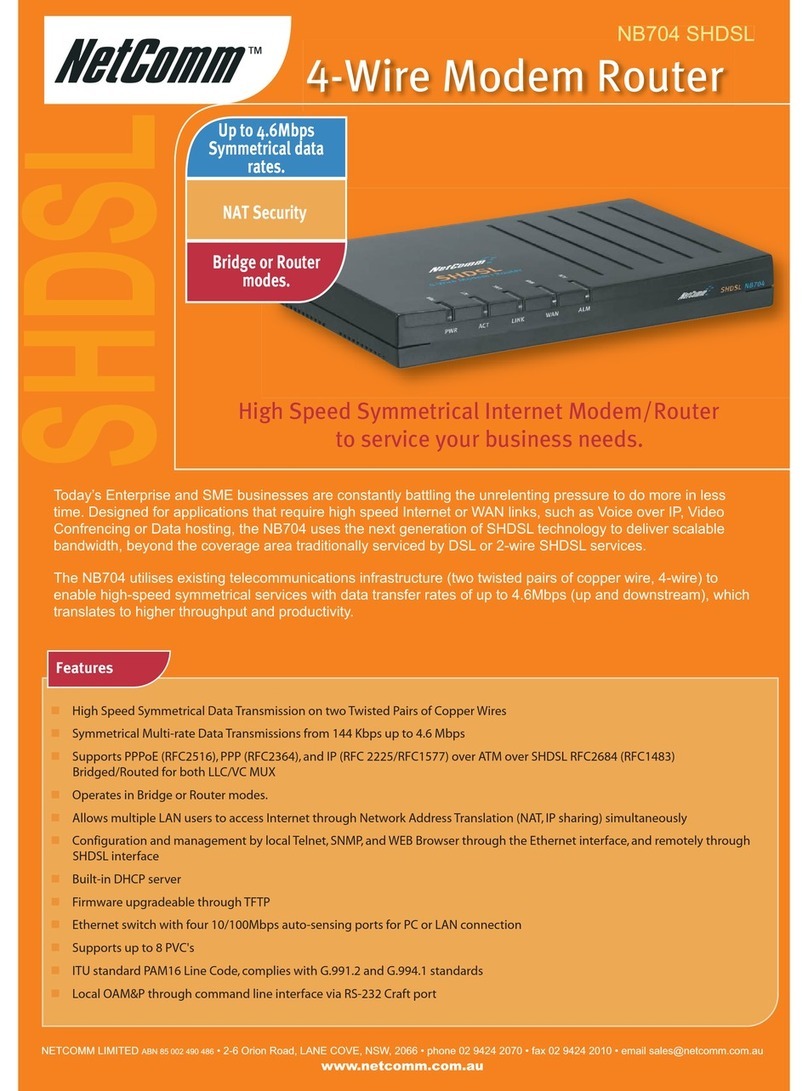
NetComm G.SHDSL 4-port Security Modem Routers NB712 User manual

NetComm

NetComm G.SHDSL 4-port Security Modem Routers NB712 User manual

NetComm AV SERIES User manual

NetComm

NetComm AV SERIES User manual

NetComm LIBERTY SERIES User manual

NetComm

NetComm LIBERTY SERIES User manual

NetComm NB604N User manual

NetComm

NetComm NB604N User manual

NetComm Poe01 User manual

NetComm

NetComm Poe01 User manual

NetComm NF13ACV User manual

NetComm

NetComm NF13ACV User manual

NetComm NB3300 User manual

NetComm

NetComm NB3300 User manual

NetComm 3G27WV-R User manual

NetComm

NetComm 3G27WV-R User manual

NetComm NP740n User manual

NetComm

NetComm NP740n User manual

NetComm V100 User manual

NetComm

NetComm V100 User manual

NetComm NB7 User manual

NetComm

NetComm NB7 User manual

NetComm NTC-4000 series User manual

NetComm

NetComm NTC-4000 series User manual

NetComm V200 User manual

NetComm

NetComm V200 User manual

NetComm NB6Plus4 User manual

NetComm

NetComm NB6Plus4 User manual

NetComm N3G005W User manual

NetComm

NetComm N3G005W User manual

NetComm NP5410 User manual

NetComm

NetComm NP5410 User manual

Popular Network Router manuals by other brands

Netis 3G-C101 user manual

Netis

Netis 3G-C101 user manual

Alcatel-Lucent 7450 ESS OS Configuration guide

Alcatel-Lucent

Alcatel-Lucent 7450 ESS OS Configuration guide

Westermo MDI-118 Series user manual

Westermo

Westermo MDI-118 Series user manual

ZyXEL Communications VMG1312 quick start guide

ZyXEL Communications

ZyXEL Communications VMG1312 quick start guide

D-Link DIR-120 Quick installation guide

D-Link

D-Link DIR-120 Quick installation guide

Atel AXIS V810A user guide

Atel

Atel AXIS V810A user guide

Huawei 3 Prime quick start

Huawei

Huawei 3 Prime quick start

Teldat H1 HSDPA manual

Teldat

Teldat H1 HSDPA manual

NETGEAR RP114 reference guide

NETGEAR

NETGEAR RP114 reference guide

Hawking PN9249 Specifications

Hawking

Hawking PN9249 Specifications

D-Link N300 Quick installation guide

D-Link

D-Link N300 Quick installation guide

Cisco CCNA 2 Instructor guide

Cisco

Cisco CCNA 2 Instructor guide

Catalyst 1900 Series quick start guide

Catalyst

Catalyst 1900 Series quick start guide

D-Link DES-3010F manual

D-Link

D-Link DES-3010F manual

TP-Link TL-PA8030P Quick installation guide

TP-Link

TP-Link TL-PA8030P Quick installation guide

TRENDnet TWG-BRF114 Quick installation guide

TRENDnet

TRENDnet TWG-BRF114 Quick installation guide

ZyXEL Communications GS1100-16 - EDITION 1 user manual

ZyXEL Communications

ZyXEL Communications GS1100-16 - EDITION 1 user manual

Hirschmann OWL3G user manual

Hirschmann

Hirschmann OWL3G user manual

manuals.online logo
manuals.online logoBrands
  • About & Mission
  • Contact us
  • Privacy Policy
  • Terms and Conditions

Copyright 2025 Manuals.Online. All Rights Reserved.