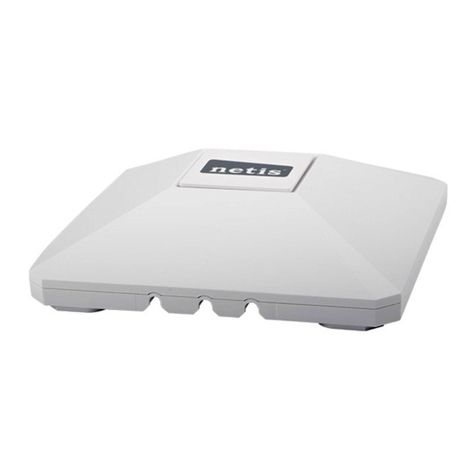
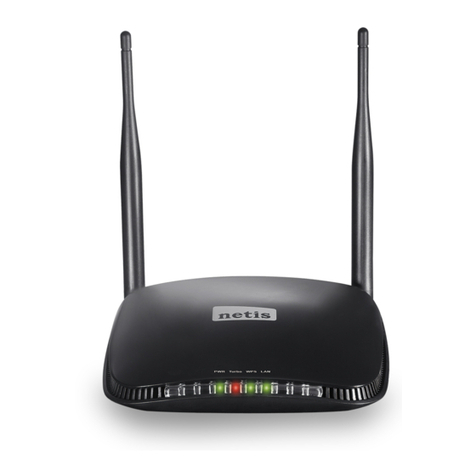
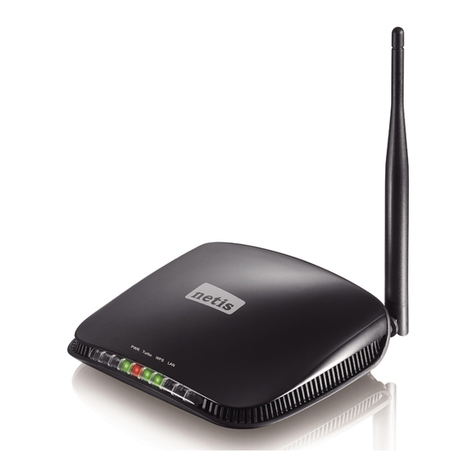
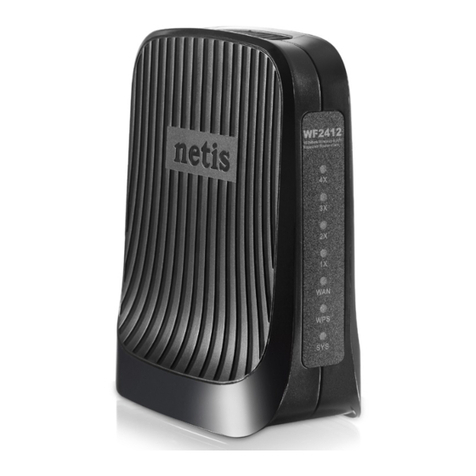
Netis 520G2006M1 User manual

Wireless Access Point User manual
Page 1 of 1
Wireless Access Point
User’s Manual

Federal Communications Commission (FCC) Requirements, Part 15
This equipment has been tested and found to comply with the limits for a class B digital device,
pursuant to part 15 of the FCC Rules. These limits are designed to provide reasonable
protection against harmful interference in a residential installation.
This equipment generates, uses and can radiate radio frequency energy and, if not installed
and used in accordance with the instructions, may cause harmful interference to radio
communications. However, there is no guarantee that interference will not occur in a particular
installation. If this equipment does cause harmful interference to radio or television reception,
which can be determined by turning the equipment off and on, the user is encouraged to try to
correct the interference by one or more of the following measures:
---Reorient or relocate the receiving antenna.
---Increase the separation between the equipment and receiver.
---Connect the equipment into an outlet on a circuit different from that to which the receiver is
connected.
---Consult the dealer or an experienced radio/TV technician for help.
Regulatory information / Disclaimers
Changes or modifications not expressly approved by the party responsible for compliance
could void the user's authority to operate the equipment.
This device complies with Part 15 of the FCC Rules. Operation is
subject to the following two conditions:
(1) This device may not cause harmful interference.
(2) This device must accept any interference received, including
interference that may cause undesired operation.
IMPORTANT NOTE (CO-LOCATION)
FCC RF Radiation Exposure Statement: This equipment complies with FCC RF radiation
exposure limits set forth for an uncontrolled environment. This device and its antenna must not
be co-located or operating in conjunction with any other antenna or transmitter.The antenna(s)
used for this transmitter must be installed to provide a separation distance of at least 20 cm
from all persons.

Wireless Access Point User manual
Page 2 of 2
Table of Contents
Chapter 1 Introduction...................................................................... 2
1.1 Welcome ..............................................................................................................................2
1.2 About This Guide..............................................................................................................2
1.3 Copyright statement........................................................................................................3
Chapter 2 System Requirements ....................................................... 3
Chapter 3 Getting to Know the Wireless Access Point ....................... 3
3.1 Back Panel...........................................................................................................................3
3.2 LED Description...............................................................................................................13
Chapter 4 hardware connection....................................................... 25
Chapter 5 Configuring Local PC to Access the Wireless AP .............. 54
5.1 Setting up TCP/IP...........................................................................................................56
5.1.1 Windows 2000 .....................................................................................................57
5.1.2 Windows XP/2003 ..............................................................................................84
5.2 Additional Settings for Wireless Client.................................................................121
5.3 Checking PC’s IP and Connection with the AP...................................................134
Chapter 6 Web Configuration ........................................................ 171
6.1 Logging In.......................................................................................................................172
6.2 Status................................................................................................................................194
6.3 LAN Setup........................................................................................................................218
6.4 Wireless Settings..........................................................................................................229
6.4.1 Basic Wireless Settings ..................................................................................231
6.4.2 Wireless Security..............................................................................................245
6.4.3 Wireless MAC Filter.......................................................................................... 311
6.4.4 WDS Set...............................................................................................................327
6.4.5 Advanced Wireless Settings.........................................................................334
6.4.6 Client Info............................................................................................................346
6.4.7 DHCP Server.......................................................................................................354
6.4.8 Site Survey .........................................................................................................369
6.5 MISC..................................................................................................................................377
6.5.1 Login ID & Password Setup..........................................................................378
6.5.2 Restore Default / Restart System..............................................................389
6.5.3 Firmware Upgrade............................................................................................405
Appendix Ⅰ: Troubleshooting ....................................................... 411
1. I cannot access the Web-based Configuration Utility from the Ethernet
computer used to configure the AP.......................................................................412
2. I forget Password (Reset the AP without Login).........................................419
3. My wireless client cannot communicate with another Ethernet computer.
.............................................................................................................................................423
Appendix Ⅱ: Features ................................................ 错误!未定义书签。

Wireless Access Point User manual
Page 3 of 3
Chapter 1 Introduction
1.1 Welcome
Congratulations on purchasing this Wireless Access Point. This Wireless Access
Point is a cost-effective IP Sharing AP that enables multiple users to share a
wireless Internet or Intranet. Simply configure your Internet connection
settings in the Wireless Access Point and plug your PC to the LAN port and
you're ready to share files and access the Internet. As your network grows, you
can connect another hub or switch using the wireless, allowing you to easily
expand your network. The Wireless Access Point is embedded with an IEEE
802.11g/b access point that allows you to build up a wireless LAN. With the
support of new emerged 802.11g standard, the access point provides data
transfer of up to 54Mbps, up to 5 times faster than 802.11b, it is backwards
compatible with existing 802.11b infrastructure while migrating to the new
screaming fast 802.11g.The Wireless Access Point provides a total solution for
the Small and Medium-sized Business (SMB) and the Small Office/Home Office
(SOHO) markets, giving you an instant network today, and the flexibility to
handle tomorrow's expansion and speed.
1.2 About This Guide
This User Manual contains information on how to install and configure your
Wireless Access Point to get your network started accessing the Internet. It will
guide you through the correct configuration steps to get your device up and
running.
Note and Caution in this manual are highlighted with graphics as below to
indicate important information.
Contains related information corresponds to a topic.
Necessary steps, actions or messages should not be ignored.
1.3 Copyright statement
No part of this publication may be reproduced, stored in a retrieval system, or
transmitted in any form or by any means, whether electronic, mechanical,
photocopying, recording, or otherwise without the prior writing of the
publisher.

Wireless Access Point User manual
Page 4 of 4
Chapter 2 System Requirements
Computer with 10/100Base-T Ethernet card and TCP/IP protocol installed
for initial setup
Internet Explorer 5.0 or higher for Web configuration
802.11g or 802.11b compliant wireless adapters (for wireless connection)
Chapter 3 Getting to Know the Wireless Access
Point
The following sections describe the physical characteristics of your AP.
3.1 Back Panel
The following illustration shows the Wireless Access Point back panel:
Figure 1 back panel
Power: The receptacle where you plug in the power adapter.
LAN Port: The port connects the AP to your PC. You can config your AP through
the connection.
Reset button: Resets your AP or resets the AP to the default login settings.
Antenna: The antenna used for wireless connections. You are able to rotate
the antenna to gain the best signal reception.

Wireless Access Point User manual
Page 5 of 5
To reset the AP to the factory defaults, press and hold the Reset button for
more than five seconds. This clears the AP’s user settings, including User ID,
Password, IP Address, and Subnet mask. (Warning: your original
configurations will be replaced with the factory default settings)
3.2 LED Description
The following illustration shows the Wireless Access Point front panel:
Figure 2 front panel
Number LED Light Status Description
1 PWR ON This indicator lights green when the
Wireless AP is receiving power;
otherwise, it is off.
2 CPU ON The LED will be dark for a few seconds
when the system is started. After that,
the LED will stays green to show the
Wireless AP is working normally. If the
LED stays blink/dark that means the
system failed, you need to contact your
agent or try to reboot the system.
3 LAN Link Flashing LAN is connected.
4 LAN
Speed Flashing LAN has Activity (ACT) data being sent or
Received
5 LAN
RX/TX Flashing LAN has Activity (ACT) data being sent or
Received.
6 Wireless
RX/TX
Flashing Wireless has Activity (ACT) data being
sent or Received.

Wireless Access Point User manual
Page 6 of 6
Chapter 4 hardware connection
Begin by finding a good place to set up your wireless broadband. Some things
to consider:ٛ
Keep the access point as central in your work area as possible. Signal
strength and speed fall off with distance.
Higher is often better. For instance, set it up on the top shelf of a bookcase
rather than the bottom one, if possible.
Prior to connecting the hardware, make sure to power off your Ethernet device
and Wireless Access Point (AP). Then follow the steps below to connect the
related devices.
Step 1: Connect your computer to the LAN port.
Attach one end of the Ethernet cable with RJ-45 connector to your hub, switch
or a computer’s Ethernet port, and the other end to one of the LAN ports of your
AP.
Step 2: Connect the power adapter.
Connect the single DC output connector of the power adapter to the power jack
on the side of the AP. Then plug the Power Adapter into an AC outlet.
Step 3: Power on the following devices in this order:
HUB or Switch, AP, and PCs

Wireless Access Point User manual
Page 7 of 7
Chapter 5 Configuring Local PC to Access the
Wireless AP
You can manage the Wireless Access Point through the Web browser-based
configuration utility. To configure the device via Web browser, at least one
properly configured computer must be connected to the device via Ethernet or
wireless network. The Wireless Access Point is configured with the default IP
address of 192.168.1.1 and subnet mask of 255.255.255.0 and its DHCP server
is enabled by default. Before setting up the AP, make sure your PCs are
configured to obtain an IP (or TCP/IP) address automatically from the AP by the
steps below.
5.1 Setting up TCP/IP
5.1.1 Windows 2000
Please follow the steps below to setup your computer:
Step 1: Go to Start Settings Control Panel
Figure 3
Step 2: Double click the icon Network and Dial-up Connections

Wireless Access Point User manual
Page 8 of 8
Step 3: Highlight the icon Local Area Connection, right click your
mouse, Click Properties
Figure 4
Step 4: Highlight Internet Protocol (TCP/IP), then press Properties
button

Wireless Access Point User manual
Page 9 of 9
Figure 5
Step 5: Choose Obtain an IP address automatically and Obtain DNS
Server Address automatically, and then press OK to close the Internet
Protocol (TCP/IP) Properties window.

Wireless Access Point User manual
Page 10 of 10
Figure 6
Step 6: Press OK to close the Local Area Connection Properties window

Wireless Access Point User manual
Page 11 of 11
Figure 7
5.1.2 Windows XP/2003
Please follow the steps below to setup your computer:
Step 1: Go to Start Settings Control Panel
Step 2: Click Network and Internet Connections

Wireless Access Point User manual
Page 12 of 12
Figure 8
Step 3: Click Network Connections
Figure 9
Step 4: Highlight the icon Local Area Connection, right click your
mouse, Click Properties

Wireless Access Point User manual
Page 13 of 13
Figure 10
Step 5: Highlight Internet Protocol (TCP/IP), then press Properties
button

Wireless Access Point User manual
Page 14 of 14
Figure 11
Step 6: Choose Obtain an IP address automatically and Obtain DNS
Server Address automatically, and then press OK to close the Internet
Protocol (TCP/IP) Properties window
Figure 12
Step 7: Press OK to close the Local Area Connection Properties window

Wireless Access Point User manual
Page 15 of 15
Figure 13
5.2 Additional Settings for Wireless Client
If you chose to access the AP via a wireless client, also verify the following:
Step 1: Make sure your PC is equipped with 802.11g or 802.11b wireless
adapter and has appropriate WLAN card driver/utility and TCP/IP installed.
Step 2: Set the wireless adapter to use appropriate TCP/IP settings as
described in previous section.
Step 3: Launch the wireless adapter’s provided utility and verify that your
wireless client is configured with these settings:
Operation Mode: Infrastructure
SSID: default
Authentication: Disabled
Encryption: Off
Radio Band: 802.11B/G
If you only finished the wireless settings and didn’t configure the wireless
adapter’s TCP/IP settings, even your link status indicates a successful
connection with the AP. This connection applies to the “physical” network layer

Wireless Access Point User manual
Page 16 of 16
only. Your wireless adapter cannot communicate with the AP. Make sure to set
the TCP/IP properties as described in this previous section.
5.3 Checking PC’s IP and Connection with the AP
After configuring the TCP/IP protocol, use the ping command to verify if the
computer can communicate with the AP. To execute the ping command, open
the DOS window and PING the IP address of the Wireless Access Point at the
DOS prompt:
For Windows 98/Me: Start -> Run. Type “command” and click OK.
For Windows 2000/XP: Start -> Run. Type “cmd” and click OK.
At the DOS prompt, type the following command:
If the Command window returns something similar to the following:
Figure 14
Then the connection between the AP and your computer has been successfully
established.
If the computer fails to connect to the AP, the Command window will return the
following:

Wireless Access Point User manual
Page 17 of 17
Figure 15
Verify your computer's network settings are correct and check the cable
connection between the AP and the computer.

Wireless Access Point User manual
Page 18 of 18
Chapter 6 Web Configuration
6.1 Logging In
In order to make the whole network operate successfully, it is necessary to
configure the Wireless AP through your computer has a WEB browser installed.
Please follow up the steps listed below.
Step 1: Start your Web browser and type http://192.168.1.1 in the Address
field. This address is the default private IP of your AP.
Figure 16
If the AP’s LAN port has been changed with new IP address, enter the new
IP address instead.
Step 2: After Pressing Enter, you will be able to see the Wireless Access Point’s
web-based configuration utility. From now on the Wireless Access Point acts as
a Web server sending HTML pages/forms at your request. You can click the
menu options at the left to start the configuration task.
Don’t forget to change the Password in configuration’s Authentication to
ensure the security. When first configuring your AP, it is recommended that you
have an Ethernet cable connected to the AP. Performing the INITIAL
configuration using a wireless connection is not secure and is not recommended.
After you have finished the initial configuration of the AP, your connection will
be secure and you can safely use either a wired or wireless connection.
In the home page of the Wireless AP, the left navigation bar shows the main

Wireless Access Point User manual
Page 19 of 19
options to configure the system. In the right navigation screen is the summary
of system status for viewing the configurations. You can usually get context
sensitive help by clicking on the Help link at the top right of the page.
Figure 17
To apply any settings you’ve altered on any page, click the Save button.
Otherwise you change settings would be lost after the AP reboot.
6.2 Status
This page shows most of the basic configuration parameters of the AP. It is the
first page shown after login.
Table of contents
Other Netis Wireless Access Point manuals
Popular Wireless Access Point manuals by other brands

D-Link
D-Link DWL-2700AP - AirPremier Outdoor Wireless Access... user manual
Aruba
Aruba AP-515S installation guide
TRENDnet
TRENDnet TEW-670AP user guide
NETGEAR
NETGEAR WN802T-100NAS Reference manual
Extreme Networks
Extreme Networks AP60C Hardware user's guide
Meru Networks
Meru Networks AP832 installation guide
Ruijie
Ruijie RG-AP680-L Hardware installation and reference guide
Honeywell
Honeywell Field Device Access Point user guide
EnGenius
EnGenius EOA7530 user manual
Quantum
Quantum QN-H-245 Quick setup guide
extronics
extronics iWAP XN3 Installation and operating manual
TRENDnet
TRENDnet TEW-676APBO Quick installation guide
