netvox Z809D User manual

ZigBeeTM-Range Extender
User Manual
Range Extender
With backup battery
Model: Z809D
For Home Automation
20120831

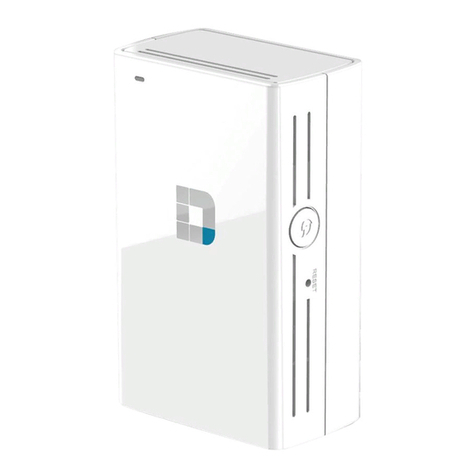
Range Extender
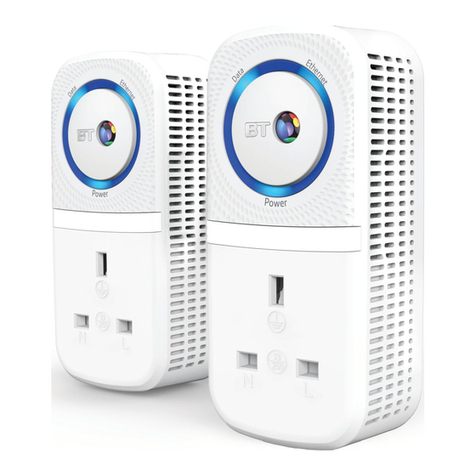
Figure: Z809D (different plug head is provided for different region)
Binding key

Introduction
NETVOX Z809D is a dedicated network range extender. It is designed to have electrical
outlet which inherent the look of its Z809A neighbor. The difference between them is that
Z809D doesn’t have power consumption monitoring nor does it support wireless on/off
control. User may use it as a simple range extender.
Z809D is equipped with a battery backup power in time of power cut.
Z809D is IEEE802.15.4 ZigBee HA compliant and is applicable in any ZigBee Pro HA
Protocol network.
What is ZigBee?
ZigBee is a short range wireless transmission technology which defined for a minimum
complexity, low power consumption, low data rate, cost effective wireless solution. ZigBee
lies in between wireless markup technology and Bluetooth. ZigBee is based on
IEEE802.15.4 standard, the mutual co-ordination between thousands of sensors to
exchange data. Sensor to sensor or node-to-node communication is achieved through
relays of control data between devices with only a fraction of energy use which denoted
for highly transmission efficiency.
Note: Wireless communication, in some real use cases, can be limited by the signal
blockage. Please consult your service provider or place of purchase.
Product Specification
Fully IEEE 802.15.4 compliant (ZigBee Pro)
Utilizes 2.4GHz ISM band, up to 16 channels
Signal power: 7dBm (max); Rx sensitivity: -101dBm
AC Input: 100-240VAC, 50/60HZ power
Operating Temperature: -10oC to 50oC;
Storage temperature: -40oC to 85oC;
Up to 150 meters (line-of-sight)
Simple operation and device configuration
Operating
Ambient
Temp: -10oC ~50oC
R.Hum: 5% ~ 85%
Storage
Ambient Temp: -40oC ~85oC
Backup
Battery
Lasts 10 hr. approx.

Setting up the Z809D and network
To allow Z809D to function, it must first join to a ZigBee network. When it is given powered
it will automatically start searching for an existed network. So before you give power to
Z809D make sure it is within the wireless coverage distance (~150 meters or less) and
make sure first you have the permit-join feature enabled either on a coordinator or a
router device in the network so that Z809D will join to the network through it then give
power to Z809D and it will join into the network by itself.
*On how to enable permit-join please refer to the router or coordinator device user manual
Operation:
Ensure you have detached any home appliance from Z809D.
Step 1: Make sure you have open up permit-join function (valid for 60 seconds) of a
coordinator or a router.
Step 2: Now plug in Z809D into AC power socket to power it. Z809D device will start to
search for the network within reach.
Step 3: A non-flashing solid light indicates successful otherwise the indicator stays dark.
Setting Up Summary
(1) Startup and network association
(2) It is ready to be used.
Step 1. Startup and Network Association
If you wish to remove Z809D from previous joined network, please read Restore to
factory section of this manual first. Then come back to this section.

How to use Z809D
On/Off control
Z809D doesn’t support wireless on/off control.
Permit other device to join
Z809D is featured to be a router in the network. It permits other devices to join the network.
In normal operation, by default the router device Z809D does not permit any device to join
to the network to protect the network from unexpected or unauthorized join attempt. You
will need to open up the permit-join on Z809D or on other router device to allow new
devices (a router or an end device) to join.
Z809D is capable of holding 6 routers and 14 end devices.
Operation:
1. Short press the binding key only once. (press the 2nd time will force it to cease)
2. The permit join is now enabled for 60 seconds during which the indicator light will flash
60 times.
3. Z809D waits the new device to join in automatically. Please note that the maximum
waiting time to join is 60 seconds. Repeat the process if you missed the 60 seconds
period.
To force to stop, by pressing the binding key once again before permit-join expires.
Restore to factory setting
Z809D is capable of storing and saving includes network routing information. If you wish to
remove Z809D from an exited network, you would need to clear the saved routing
information to join to a new network by simply reset the device to restore to the factory
setting.
Step 1. Hold on to the binding key 15 seconds. Until you see indicator flash once then
release the key. Within 2 seconds, short press binding key once again.
Step 2. If successful, the indicator light flashes 10 times.
Now if you wish Z809D to join to a new network please power cycle the device again to
put the device into network search mode.

The power backup
Z809D has the ability to continue to function at the event of power outage.
There are times when user would want to disable the supplied power from backup battery
to function in the time of power outage event.
To disable:
Hold press binding key for 3 seconds, until the indicator flashes once then release the key.
If successful, the indicator would flash 10 times quickly.
To enable:
Hold press binding key for 3 seconds, until the indicator flashes once then release the key.
If successful, the indicator would flash 10 times slowly.
Backup battery power condition indication
Z809 device checks its backup battery level every 10 minutes. When the battery is bellow
2.6V, Z809 will start the battery charging cycle with its indicator flashes 10 times slowly;
and stop charging when it is above 3.0V.
When Z809D is power cycled, by default, the supplied power from backup battery is
enabled.

Clusters of Home Automation for Z809D
Home Automation device feature is defined by the endpoint which contains functional
clusters. Table 1 lists clusters for the endpoint of Z809D
Table 1: Clusters supported by the endpoint
Cluster for Z809D
Device ID: Range Extender (0x0008)
EndPoint: 0x01
Server side Client side
Basic (0x0000) None
Identify (0x0003)
Commission (0x0015)
Attributes of the Basic Information
Identifier Name Type Range Access Default Mandatory
/ Optional
0x0000 ZCLVersion 8-bit
Unsigned
integer
0x00 –0xff Read
only
0x03 M
0x0001 ApplicationVersion 8-bit
Unsigned
integer
0x00 –0xff Read
only
0x0A O
0x0002 StackVersion 8-bit
Unsigned
integer
0x00 –0xff Read
only
0x46 O
0x0003 HWVersion 8-bit
Unsigned
integer
0x00 –0xff Read
only
0x01 O
0x0004 ManufacturerName Character
string
0 – 32
Bytes
Read
only
netvox O
0x0005 ModelIdentifier Character
string
0 – 32bytes Read
only
Z809DE3R O
0x0006 DateCode Character
string
0 – 16
bytes
Read
only
20120522 O
0x0007 PowerSource 8-bit
Enumeration
0x00 –0xff Read
only
0x81 M

Attributes of the device configuration attribute set
Identifier Name Type Range Access Default Mandatory
/ Optional
0x0010 LocationDescription Character
string
0 – 16bytes Read/write Empty
string
O
0x0011 PhysicalEnvironment 8-bit
Enumeration
0x00 –0xff Read/write 0x00 O
0x0012 DeviceEnabled Boolean 0x00–0x01 Read/write 0x01 M

Important Maintenance Instructions
As the device is not water proof it is recommended to keep the device in a dry place.
Liquid and heavy moisture contains minerals that may oxidize the electronic circuitry. In
case of liquid spill, please leave the device to completely dry before storing or using.
Do not use or store the device in a dusty area. Dust may cause electronic parts to
destroy.
Do not use or store the device in an over heated place. Store in a hotter temperature
than the suggested maximum temperature may shorten the life span of the device; and
may damage the battery and causing the housing to deform.
Do not use or store the device in a very cold place than the suggested minimum
temperature. The water can be condensed inside the device when moving to an area that
is higher in temperature. This can severely damage the PCB board and circuitry. This may
shorten the life span of the device; damage the battery and cause the housing to deform.
Do not throw or strongly vibrate the device. This may damage connectivity of the
electronic parts and other sensitive components on the PCB board.
Do not use any strong chemical or washing to cleanse the device.
Do not use any coloring materials on any removable parts which my cause poor
connections and may keep the device from function properly.
All the above applies to the purchased products, battery and other packaged items. If any
unusable or damaged items are found please return the product to your nearest
authorized repairing center.

Important Notice
Under any circumstances without Netvox written approval, copy or redistribute any parts
of this document is strongly prohibited.
Netvox adhere to product development policy and therefore reserve the right to change
and/or add contents to this document without any further notice.
Under any circumstances or matters, Netvox is not responsible for data or revenue loss or
any indirect additional loss that may arise from special cases or any sudden obligations.
This documentation is provided according to the product at the time of purchase.
Netvox do not inherent any responsibility and promise or guarantee of the reliability of the
document contents –this applies but not limited to market piloting or real use case
purposes or otherwise it is legally stated. Netvox reserve the right to change and/or add
contents to this document without any further notice.
Table of contents
Other netvox Extender manuals
