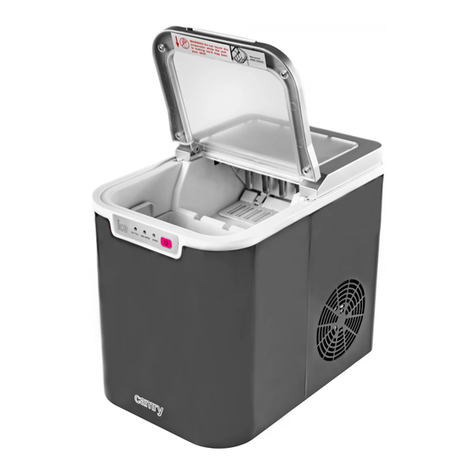
Maximum
Water Level
SECTION 4: USING YOUR ICE MAKER
4.1 How to Start the Unit
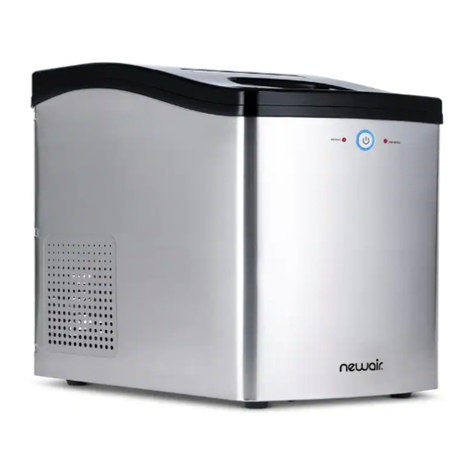
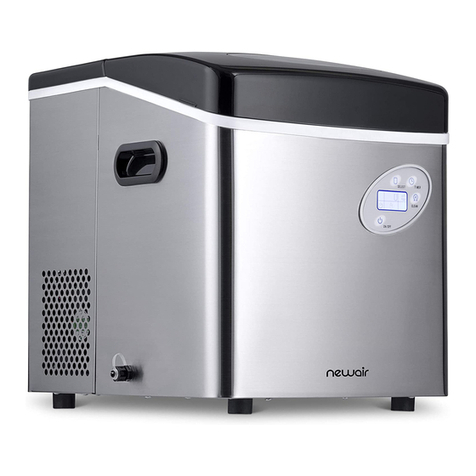
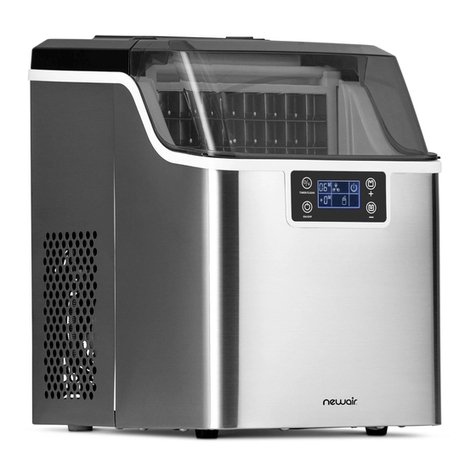
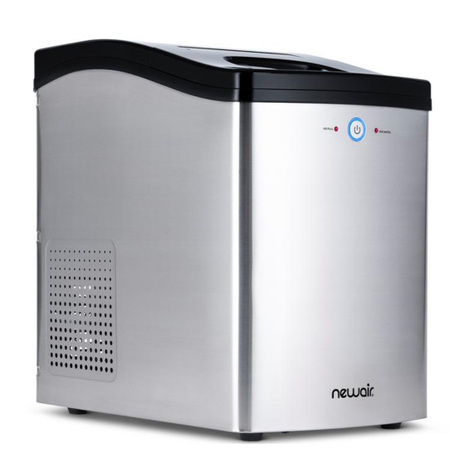
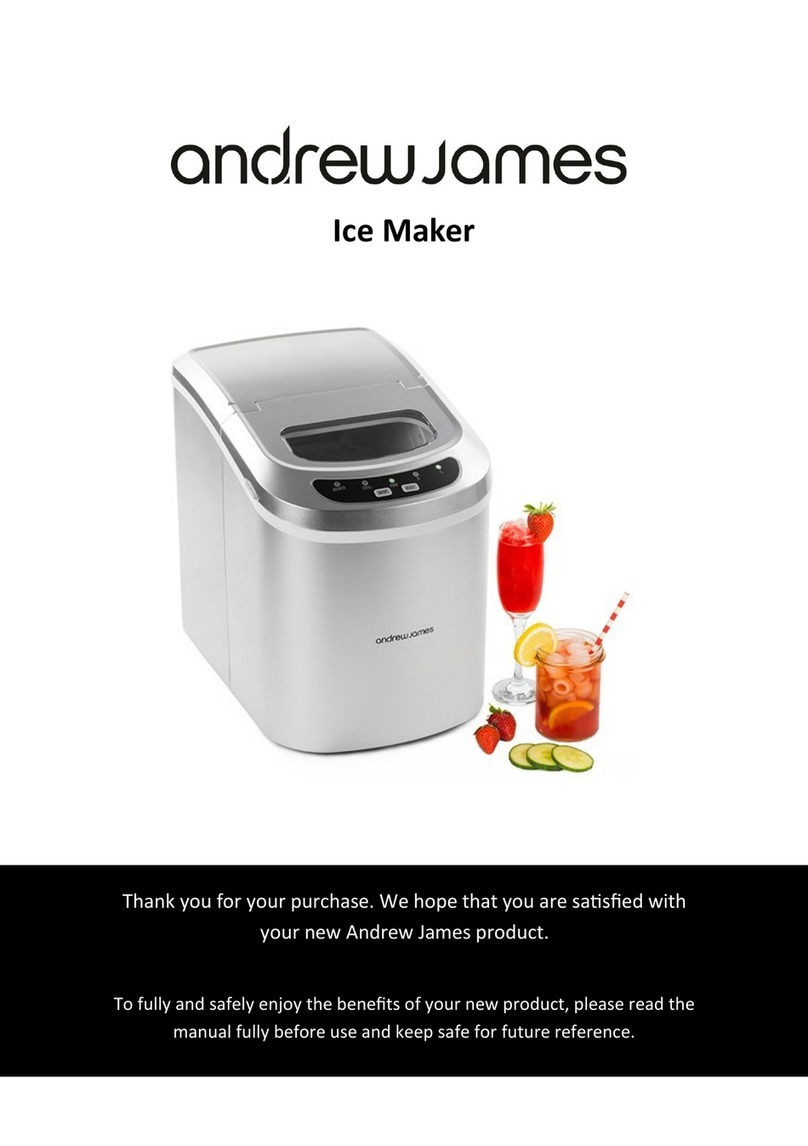
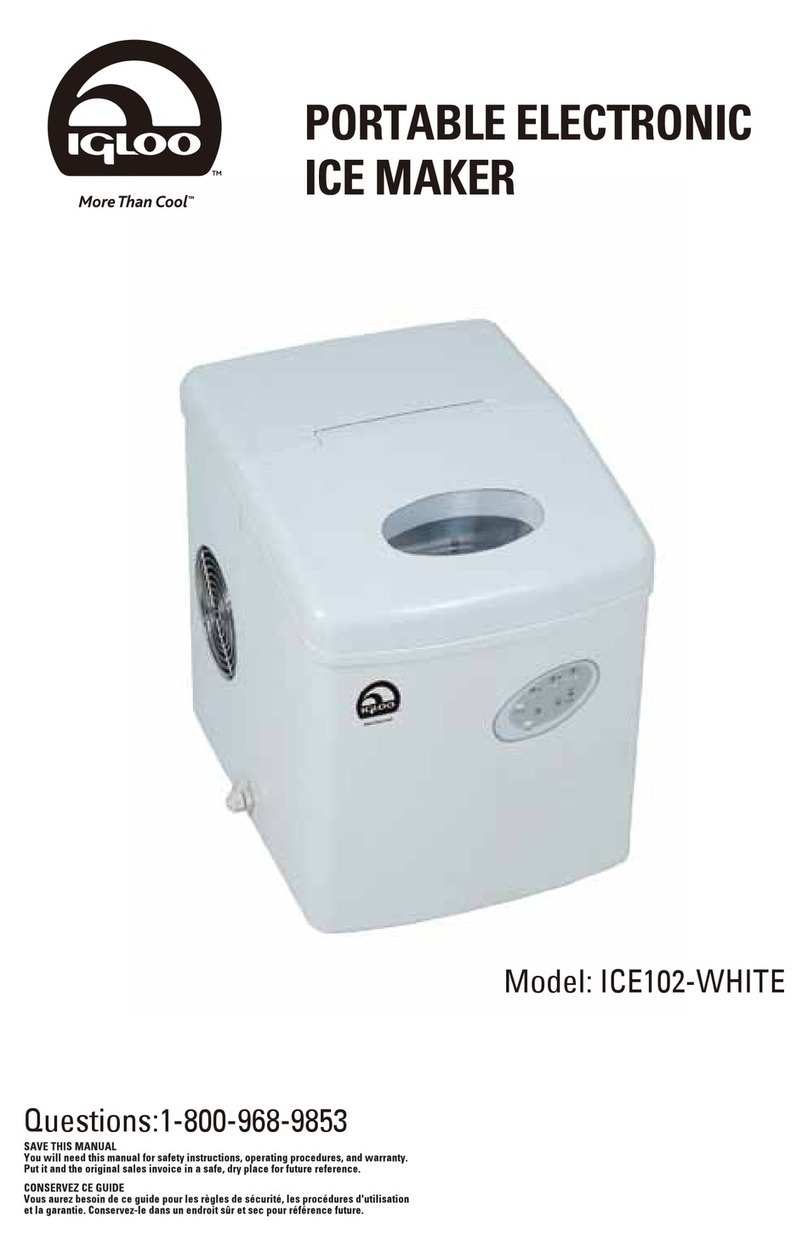
1. Open the water reservoir access door and pour clean drinking water into the water reservoir. Keep
the water level below the “MAX” water level mark.
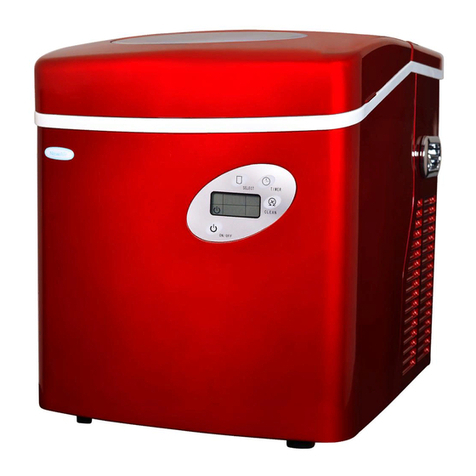
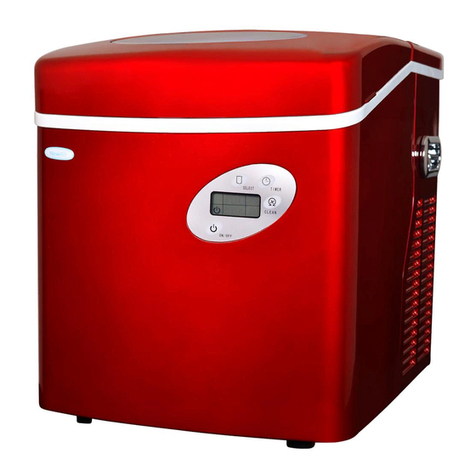
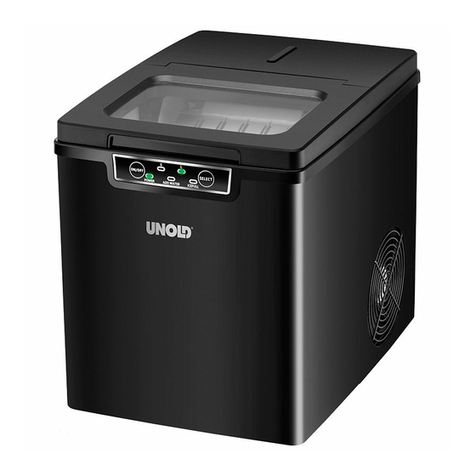
2. Press the “POWER” buon on the control panel to begin the ice making cycle.
3. The default ice cube size is set to large. To select a different ice cube size, press the “SELECT” buon.
If the ambient room temperature is lower than 60°F, we recommend selecng the small size ice
cubes, as this will prevent the ice from scking together.
4. The ice making cycle lasts anywhere from 6 to 13 minutes, depending on the size of the ice cubes
selected and the ambient temperature. The ice making me may vary significantly if the unit is
being used in extremely warm temperatures.
5. While the ice maker is on, periodically verify the water level in the reservoir. If there is not enough
water in the reservoir, the ice maker will automacally stop, and the “ADD WATER” indicator light
will turn on.
6. Once this occurs, turn off the ice maker by pressing the “POWER” buon. Allow the refrigerant
inside the compressor to sele for 3 minutes. Fill the reservoir with water up to the water level
mark and press the “POWER” buon again to restart the unit.
7. If the ice maker is full of ice, the unit will automacally stop making ice and the “ICE FULL” indicator
light will turn on.
4.2 How to Dispense Ice Cubes
1. Use a glass, cup or other receptacle to gently push the ice dispensing lever forward (part #5 in the
parts diagram). Ice cubes will be dispensed into your glass or cup from the ice cube tap. Please
Note: When dispensing ice cubes, always make sure the transparent viewing window located on top
of the ice maker is closed, as the ice maker will not dispense ice cubes if the window is le open.
2. When the ice dispensing lever is pushed, a blue indicator light will turn on. If this light does not turn
on, the ice maker will not dispense ice cubes.
Fill water
here
