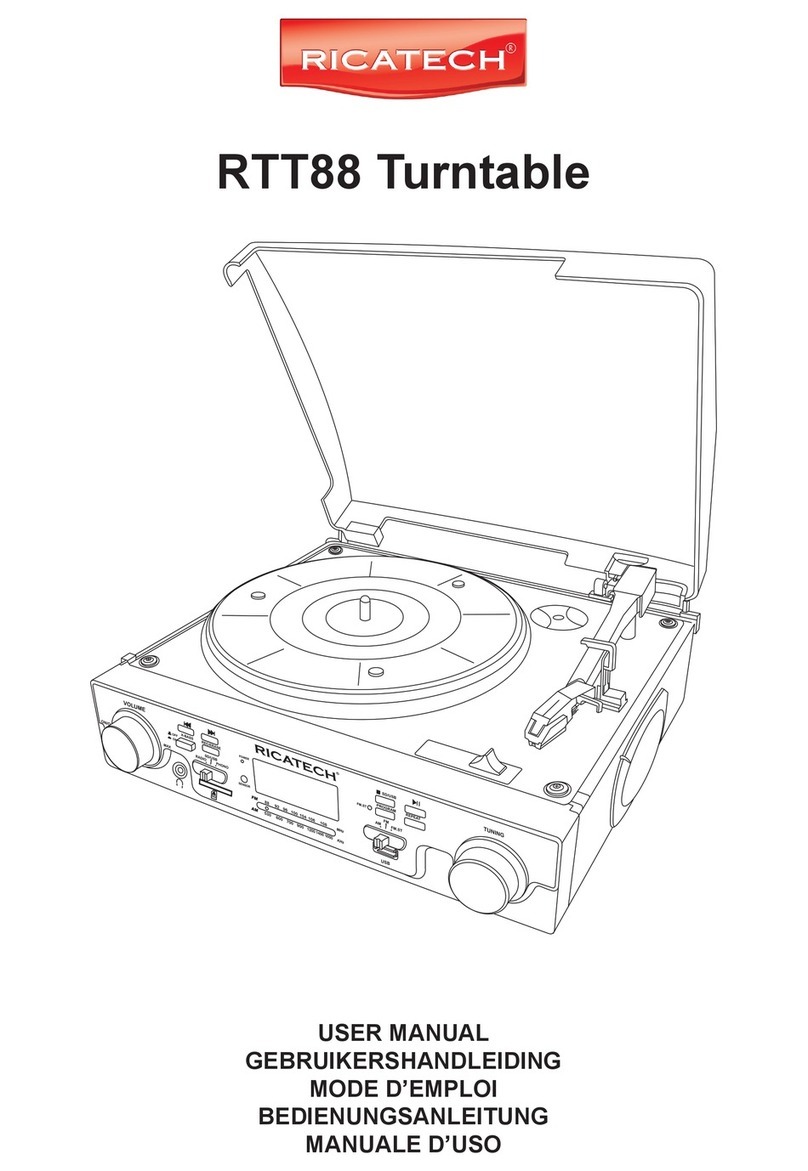
New Horizon 129 User manual

Manuale Istruzioni Rev.1
New Horizon - Viale Tiberina, 75 - 06059 Todi (PG) - Italia - tel +39 075 8948087 - www.newhorizonaudio.com
Grazie per aver acquistato un giradischi New Horizon che Vi regalerà infinite emozioni d’ascolto!
Prima di cominciare ad usare il giradischi leggete le seguenti istruzioni. Il sistema viene fornito parzialmente assemblato,
rimuovete delicatamente tutte le parti dall’imballo prima di procedere al montaggio completo. Conservate l’imballo.
ATTENZIONE: NON CAPOVOLGETE MAI IL GIRADISCHI !
Contenuto della confezione: il giradischi, questo foglio di istruzioni, la garanzia, una dima per l’allineamento della testina, il piatto, la
cinghia di trasmissione, l’alimentatore, i cavi di segnale, un contrappeso, il pesetto anti-skating, la bilancina, la chiave esagonale, il
copripolvere, l’etichetta New Horizon da applicare sul copripolvere (optional).
Coperchio (optional): rimuovete i fogli di plastica adesiva protettiva con movimenti lenti e delicati. Pulite il coperchio in plexiglas con
un panno morbido umido ed evitando assolutamente prodotti abrasivi. Il coperchio antipolvere può essere posizionato sopra al
giradischi.
Piatto: prendete il piatto dal fondo della scatola e rimuovete i fogli di plastica adesiva protettiva con movimenti lenti e delicati. Non
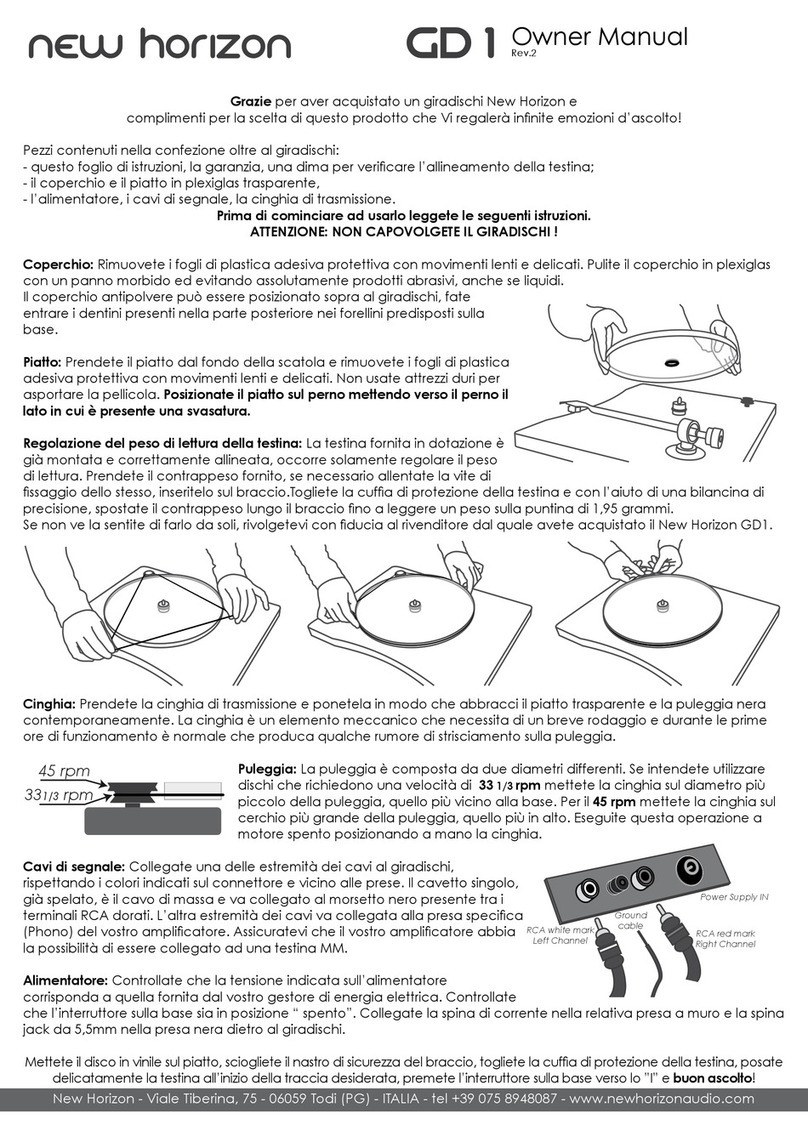
usate attrezzi duri per asportare la pellicola. Mettete il piatto sul perno tenendo la scanalatura verso il perno (fig.2).
Cinghia: a motore spento, mettete la cinghia attorno al piatto trasparente e alla puleggia (fig.5). Il diametro più piccolo della
puleggia per la velocità di 33 1/3 giri e il diametro più grande per la velocità di 45 giri al minuto (fig.4). Eseguite il cambio di velocità
a motore spento.
Cavi di segnale: il giradischi è dotato di uscite RCA dorate, collegatele al vostro amplificatore rispettando i canali destro e sinistro.
Fate riferimento ai colori indicati sul connettore e vicino alle prese (fig.3). Assicuratevi che il vostro amplificatore abbia la possibilità di
essere collegato ad una testina MM.
Alimentatore: controllate che la tensione indicata sull’alimentatore corrisponda a quella fornita dal vostro gestore di energia
elettrica. Controllate che l’interruttore sulla base sia in posizione “ spento”. Collegate la spina di corrente nella relativa presa a muro e
la spina jack da 5,5mm nella presa nera dietro al giradischi.
Regolazione del peso di lettura della testina: Se avete acquistato il giradischi con la testina fornita allora è già correttamente
allineata e il braccio tarato, occorrerà solamente regolare il peso di lettura.
Prendete il contrappeso, la bilancina e la chiave esagonale. Non inserite il pesetto dell’antiskating.
Per regolare il peso di lettura la testina deve essere fissata.
Inserite il contrappeso sulla parte della canna del braccio rivestita in silicone. Il contrappeso è dotato di una vite di fissaggio che ne
permette il bloccaggio (fig.7). Impedite al piatto di muoversi e mettetevi sopra la bilancina (fig.8). I numeri riportano il peso in grammi
e le barre sono il riferimento del peso indicato.
Rimuovete il cappuccio di protezione della puntina e poggiatela in corrispondenza del peso di lettura che volete applicare.
Muovete il contrappeso lungo l’asta fino a che la bilancina non sia praticamente orizzontale (fig.9).
Stringete, senza esagerare, la vite all’interno del contrappeso.
Il peso consigliato è:
con la testina AT-3600L (corpo bianco) : 3 gr. ±0,5
con la testina AT-91R (corpo rosso) : 2 gr. ±0,5
con la testina AT VM-520EB (corpo blu) : 2 gr. ±0,5
Taratura di braccio e testina: Nel caso vogliate installare una testina, le seguenti istruzioni vi aiuteranno nella delicata operazione di
regolazione. Per ottenere il massimo della qualità dal vostro nuovo giradischi è necessario installare correttamente la testina e
regolare bene il braccio. Un’errata taratura rischia di danneggiare seriamente la testina. Se non ve la sentite di farlo da soli,
rivolgetevi con fiducia al rivenditore dal quale avete acquistato il giradischi New Horizon e la testina.
Fissaggio e collegamento della testina: Il braccio accetta tutte le testine con fori di fissaggio standard da 1/2 pollice. Lasciate inserita
la cuffia di protezione della puntina, fissate il corpo della testina usando le viti in dotazione alla stessa. Non stringete subito le viti.
Collegate i cavi che escono dal braccio ai terminali della testina secondo il seguente schema:
° cavo bianco - positivo del canale sinistro (L+) ° cavo rosso - positivo del canale destro (R+)
° cavo blu - negativo del canale sinistro (L-) ° cavo verde - negativo del canale destro (R-)
Allineamento della testina: Utilizzate la dima fornita in dotazione per allineare correttamente la testina.
Regolazione dell’azimut: Per tracciare correttamente i solchi del disco, la puntina deve essere perfettamente verticale al disco stesso.
Prendete una buona lente di ingrandimento, muovendo il braccio ponete la puntina in un solco di un disco e controllate. Allentate la
vite presente sulla testa del perno della canna (fig.6). Non rimuovete completamente la vite. Ricordate di tirare di nuovo la vite dopo
aver regolato l’orientamento della puntina. Non eseguite questa operazione con la puntina poggiata sul disco, alzate il braccio e
riabbassatelo per la verifica, potreste rovinare irrimediabilmente la sospensione della puntina.
Regolazione della forza di anti-skating: (contrasta la tendenza della testina a scorrere verso il centro del disco)
La forza di anti-skating deve essere regolata bilanciando il peso di lettura della testina.
Infilate il filo con il pesetto nel canale guide sulla testa del perno del braccio (fig.10). Mettete il filo nell’incavo prescelto, posizionate
la vite senza testa con la chiave fornita e fate passare il filo nella gola del braccetto di sostegno (fig.11). Tirate il filo fino a che il
pesetto si posizioni all’incirca a metà altezza e stringete delicatamente la vite senza testa per bloccare il filo (fig.12).
Tagliate il filo in eccesso (fig.13).
L’incavo Aè per testine con peso di lettura fino a 1,7 gr
L’incavo Bè per testine con peso di lettura tra 1,8 e 2,2 gr
L’incavo Cè per testine con peso di lettura oltre i 2,3 gr
Mettete il disco in vinile sul piatto, sciogliete il nastro di sicurezza del braccio, togliete la cuffia di protezione della testina, posate
delicatamente la testina all’inizio della traccia desiderata, accendete il giradischi e buon ascolto!

Dear customer thank you for purchasing a New Horizon record player wich will give you an endless listening pleasure!
Please read this page carefully before operating your unit.
The deck is supplied partially disassembled and carefully packaged for safe transport.
Carefully remove all parts from the transport packaging. Please keep the packaging for future transport.
WARNING: DON’T TURN UPSIDE DOWN THE TURNTABLE !
Package contents: turntable, owner manual (this one), cartridge alignment sheet, platter, silicone belt, power supply, interconnection
signal cable, one counterweights, anti-skating weight, the sling bar, the hexagonal wrench, the dust cover, the New Horizon label to be
applied on the dust cover (optional).
Dust Cover (optional): remove the protective plastic films slowly and gently. Use only a smooth cloth to clean the surface. Do not use
abrasive and/or aggressive cleaning products. The dust cover can be placed above the turntable.
Platter: pull out the platter from the bottom of the box and remove the protective plastic films by hands, slowly and gently, to avoid any
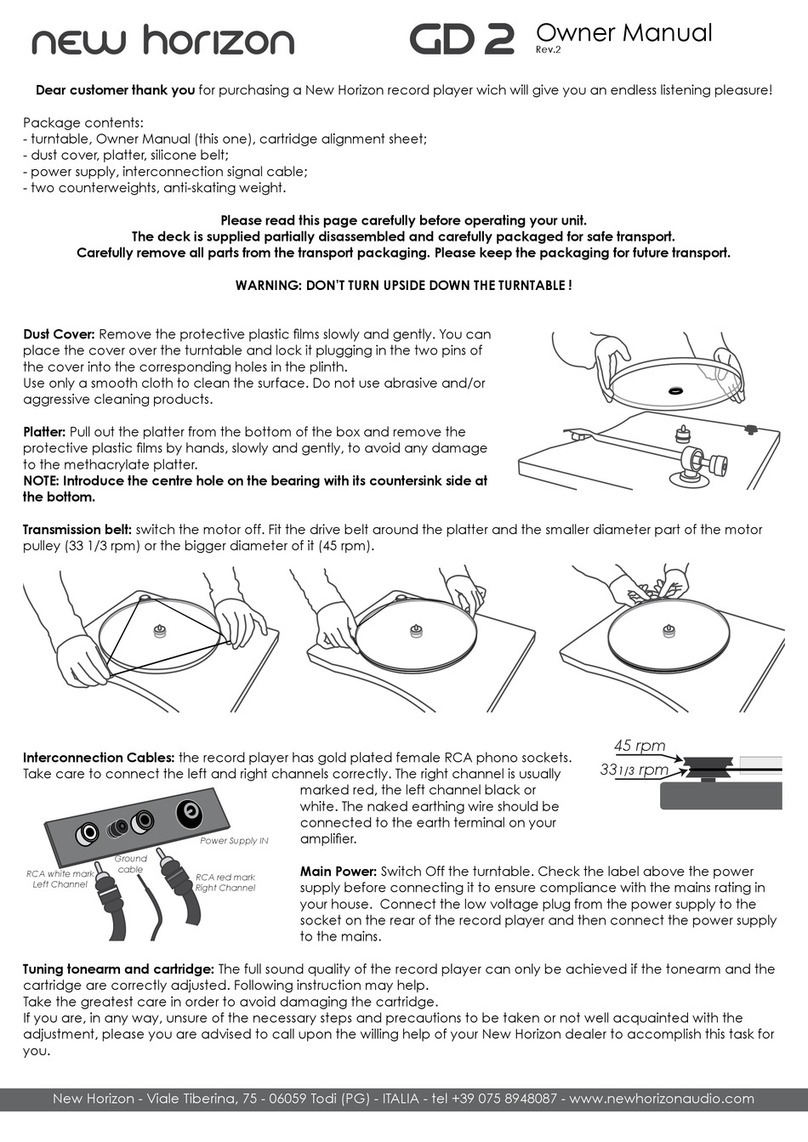
damage to the methacrylate platter. Place the plate on the pin holding the groove towards the pin (fig.2).
Transmission belt: switch the motor off. Fit the drive belt (fig.5) around the platter and the smaller diameter part of the motor pulley (33
1/3 rpm) or the bigger diameter of it (45 rpm) (fig.4). Run the speed switch with the motor off.
Interconnection Cables: the record player has gold plated female RCA phono sockets. Take care to connect the left and right
channels correctly. The right channel is usually marked red, the left channel black or white. (fig.3) Note: your amplifier should be able to
connect to a MM pick up cartridge.
Main Power: switch the turntable off. Check the label above the power supply before connecting it to ensure compliance with the
mains rating in your house. Connect the low voltage plug from the power supply to the socket on the rear of the record player and
then connect the power supply to the mains.
Cartridge downforce adjustment: If you have purchased the turntable with the supplied cartridge then it is already properly aligned
and the tonearm calibrated, will only need to adjust the downforce.
Take the counterweight, the sling bar and the hexagonal wrench. Do not insert the antiskating weight.
To adjust the reading weight the cartridge must be fixed.
Place the counterweight on the silicone-coated arm tube. The counterweight is equipped with a fixing screw that allows its locking
(fig.7). Stop the plate from moving and put on the sling bar (fig.8). The numbers show the weight in grams and the bars are the
reference of the indicated weight.
Remove the tip cap and place it at the downforce you want to apply. Move the counterweight along the bar until the bar is
practically horizontal (fig.9).
Tighten, without exaggeration, the screw inside the counterweight.
The recommended weight is:
with the AT-3600L cartridge (white body) : 3 gr. ±0,5.
with the AT-91R cartridge (red body) : 2 gr. ±0,5.
with the VM-520EB AT cartridge (blue body) : 2 gr. ±0,5.
Tuning tonearm and cartridge: In case you want to install a cartridge, the following instructions will help you in the delicate adjustment
operation. To get the full sound quality from your new turntable you need to properly install the cartridge and adjust the arm well. An
incorrect calibration is likely to seriously damage the cartridge. If you are, in any way, unsure of the necessary steps and precautions to
be taken or not well acquainted with the adjustment, please you are advised to call upon the willing help of your New Horizon dealer
to accomplish this task for you.
Fixing and connecting the cartridge: All cartridges with standard 1/2 inch mounting holes can be fitted. Leaving the needle’s
protection cover on, fix the cartridge to the headshell using the screws supplied with the cartridge. Do not tighten the nuts yet.
Connect the tonearm wires to the cartridge pins as follows:
° white wire - left channel positive (L+) ° red wire - right channel pos. (R+)
° blue wire - left channel return (L -) ° green wire - right channel return (R -)
Cartridge Alignment: Please use the New Horizon alignment tool in order to accomplish this job properly.
Adjusting the azimuth: The cartridge needle must be vertical in the record groove in order to trace the groove wall modulations
correctly. With the aid of a good magnifying glass, put the cartridge on the grooves and have a look. (Correct: your needle has to be
exactly perpendicular to the cartridge body and perpendicular to the record’s surface)
with the proper tool, slacken off the screw on the head of the barrel pin (fig.6), just enough to be able to revolve the arm tube without
applying force. Do not remove the screw completely. When you are satisfied that the needle is vertical retighten the screw carefully.
Please note: Under no circumstances should the arm tube be adjusted with the needle still in the record groove! Irreparable damage
may be caused to the cantilever suspension! The arm must be lifted to make each adjustment and lowered afterwards to check it.
Anti-skating force adjustment: The anti-skating force must be adjusted by balancing the downforce of the cartridge.
Thread the line with the weight into the guide channel on the head of the tonearm pin (fig.10). Place the wire in the chosen socket,
place the headless screw with the supplied key and pass the thread through the throat of the support arm (fig.11).
Pull the wire until the weight is positioned at about half height and gently tighten the headless screw to lock the line(fig.12).
Cut the excess wire(fig.13).
Socket Ais for cartridges with downforce up to 1.7 gr
Socket Bis for cartridges with downforce between 1.8 and 2.2 gr
Socket Cis for cartridges with downforce over 2.3 gr
Playing a record: place the vinyl disc on the platter, start the turntable then engage the tonearm lift by lifting its lever, position the
pick-up cartridge over the run-in groove or the desired track and lower the tonearm lift.
Enjoy your listening!
New Horizon - Viale Tiberina, 75 - 06059 Todi (PG) - Italia - tel +39 075 8948087 - www.newhorizonaudio.com
Owner Manual Rev.1

45 rpm
331/3 rpm
RCA white mark
Left Channel
RCA red mark
Right Channel
Power Supply IN
New Horizon - Viale Tiberina, 75 - 06059 Todi (PG) - Italia - tel +39 075 8948087 - www.newhorizonaudio.com
2
3
4
5
6
Rev.1

4
3
2.5
2
1.5
78
9
10 11
1312
Rev.1
New Horizon - Viale Tiberina, 75 - 06059 Todi (PG) - Italia - tel +39 075 8948087 - www.newhorizonaudio.com
Table of contents
Languages:
Other New Horizon Turntable manuals
