New One AR700 User manual

AR700
Avant d’utiliser votre appareil pour la première fois, il est
primordial que vous lisiez attentivement ce guide
d’instructions.
CAR RADIO CD/MP3 PLAYER
AUTORADIO LECTEUR CD/MP3
User Manual
Manuel d’utilisation
Please read the instruction carefully before operating the unit.
AR-2128 IB NEWO 001 REV0-GB.p65 2007-9-7, 11:371

GB - 2
IMPORTANT SAFEGUARDS
INSTALLATION
Wiring Connection
This unit can be installed either from the ‘Front’
(conventional DIN Front-mount) or the ‘Rear’ (DIN
Rear-mount installation using the threaded holes
on the sides of the chassis). For details, refer to
the following illustrated installation methods.
Before installing the unit, please remove the two
transit screws.
Choose a mounting location where the unit will not distract the driver.
Be sure to connect the color coded leads according to the diagram. Incorrect connections may cause the unit to
malfunction or damage the vehicle’s electrical system.
Be sure to connect the speaker (-) leads to the speaker (-) terminal. Never connect the left and right channel speaker
cables each other or to the vehicle body.
Make sure all the connections are completely correct before turning on your unit.
When replacing the fuse(s), the replacement must be of the same amperage as shown on the fuse holder
If installation angle exceeds 30° from horizontal, the unit may not perform properly.
Do not block vents or radiator panels. Blocking them will cause heat to build up inside and may result in fire
After completing the installation and beginning to play the unit(including replacing the battery), please remove the front
panel at first, and then press RESET button on the base with pointed object (such as ball-point pen) to set the unit to
initial status
Use only the parts included with the unit to ensure proper installation. The use of unauthorized parts can cause
malfunctions.
Do not attempt to modify the unit, modifying the unit may cause an accident.
Avoid installing the unit where it will be subject to high temperature, such as from direct sunlight, or from hot air, from
the heater, or where it would be subject to dust, dirt or excessive vibration.
Stop the vehicle before carrying out any operation that could interfere with your driving.
1.
2.
3.
4.
5.
6.
7.
8.
9.
10.
11.
12.
DIN mounting options
GB - 1
1. Dashboard
2. Nut (5mm)
3. Spring washer
4. Screw (5x25mm)
5. Screw
6. Strap
Note: Be sure to use the strap to secure the back of the
unit in place. The strap can be bent by hand to
the desired angle.
7. Plain washer
Removing the unit
1. Frame
2. Release Frame Key
Insert the release frame key into the groove at the
right side of the frame, then prize out to remove
the frame (You can also use the key to remove the
frame from the left side.)
3. Release Unit Key
After releasing the frame, insert the release unit
keys supplied with the accessory into the grooves
at both sides of the unit as shown in figure until
they click. Pulling the keys makes it possible to
remove the unit from the dashboard.
METHOD B : DIN rear-mount
1. Factory-installed radio bracket
2. Car radio mounting bracket
3. Screw
4. After aligning the car radio mounting bracket with
the factory-installed radio bracket,tighten the
screws (M5x4mm) at 2 places on each side.
5. When fixing factory-installed radio bracket with the
screws, use a standard-tipped screwdriver to pry
the tabs of the car radio mounting bracket to make
them fit into holes in the factory-installed radio
bracket.
6. Movable panel frame.
METHOD A : DIN front-mount
Installing the unit
1. Dashboard
2. Holder
After inserting the holder into the dashboard, select
the appropriate tab according to the thickness of
the dashboard material and bent them inwards to
secure the holder in place.
3. Screw
USING THE DETACHABLE FRONT PANEL
Removing the front panel
1. Press the RELEASE button on the front panel.
2. Pull off the front panel.
ISO CONNECTOR
Violet: Rear Right +
Violet/Black: Rear Right -
Grey: Front Right +
Grey/Black: Front Right -
White: Front Left +
White/Black: Front Left -
Green: Rear Left +
Green/Black: Rear Left -
Yellow: Battery B+ (10A FUSE)
Black: GND B-
Red: ACC
Blue: ANT
AR-2128 IB NEWO 001 REV0-GB.p65 2007-9-7, 11:372

TUNING THE UNIT ON/OFF
Turn on the unit by pressing any button (except REL button or EJECT button) or by inserting a disc in the DISC SLOT.
When system is on, press PWR button to turn off the unit.
VOLUME
Press VOL+ / - button to adjust the volume level.
Press the SELECT button repeatedly to cycle through the following sound adjustment choices: VOL (volume) BAS
(bass) TRE (treble) BAL (balance) FAD (fader)
Press VOL+/- button to adjust the desired sound quality.
Press and hold SEL button to go to MENU mode. Once you are in the MENU mode, press the SELECT button repeatedly
to cycle through the following setup choices: BEEP ON/OFF P-VOL ESP ON/OFF CLK ON/OFF 12/24
HOUR
Select the desired item by press VOL+/- button.
LOUDNESS FUNCTION (LOU)
In DISC or AUX mode, press the BAND/ LOUD to engage the LOUDNESS mode to reinforce the output of bass frequencies.
Press again to turn off LOUDNESS.
*In RADIO mode, press and hold the BAND/LOUD to turn on/off LOUDNESS.
DISPLAY BUTTON (DISP)
1. Adjusting time:
Press and hold DISP until the clock begins blinking. You can press VOL+ to adjust hour and press VOL- to adjust minute.
2. Information display
- In case of receiving a RDS station
In RADIO mode: FREQ PTY CLK PS
In DISC or AUX mode: PS FREQ PTY CLK FUNC
- In case of not receiving a RDS station
In RADIO mode: (NO PTY) CLK FREQ
In DISC or AUX mode: FREQ (NO PTY) CLK FUNC
Note:
- Only you select FM band, the PTY, PS and “NO PTY” icon show on the LCD.
- FUNC: Such as information of MP3.
MUTE FUNCTION (MUTE)
To turn off the sound instantly, press the MUTE/ button, To return it to the prior sound level, press MUTE again.
EQUALIZER (EQ)
Press the EQ button repeatedly to cycle through the following EQ mode: EQ CLASSIC POP ROCK
DSP OFF
* In CD/MP3 mode, press and hold the EQ button to select EQ mode.
MODE SELECTION (MODE)
Press MODE button to select the following mode: CD AUX IN TUNER
LCD DISPLAY
Exhibits the current frequency and activated functions on the LCD.
ESP FUNCTION (ESP)
The unit features an anti-shock feature, which buffers a certain amount of the recorded program into memory so that if the
unit skips due to rough road conditions, the music or video will be uninterrupted. The time of the buffered content varies
depending on the disc type: CD: 40 seconds; MP3: 100 seconds
WARNING LED
The LED will flash if the front panel is not inserted into properly the main unit.
RESET FUNCTION (RESET)
The RESET button is to be activated for the following reasons:
- Initial installation of the unit when all wiring is completed.
- All the function buttons do not operate.
- Error symbol on the display.
* RESET button must be activated with either a ballpoint pen or thin metal object. If after pressing RESET button the unit
still does not function properly, use a cotton swab soaked in isopropyl alcohol to clean the socket on the back of front panel.
RADIO OPERATION
Selecting frequency band
Press BAND button repeatedly to select the MW,FM.
3. Place the front panel into the protective case provided.
Installing the Front Panel
To install the front panel, insert the panel into the housing and
make sure the panel is properly installed. If the panel is not
properly seated in the housing, some of the keys or the display
may not function properly. If this occurs, remove and reinsert
the front panel.
Detach the Front Panel
Press REL button in the upper right corner, and then the
front panel will be folded down.
LOCATION OF THE CONTROLS
Power button (PWR)
Disc Loading slot
LCD Display
Eject button ( )
TUNING Knob
Release button (REL)
Volume +/- button (VOL + / -)
Select button (SEL)
Display button (DISP)
MODE / ENTER button
Play / Pause ( ), MUTE button
Track Down / Track Skip Backward button (TRK-)
Track Up / Track Skip Forward button (TRK+)
Repeat (RPT) / Alternative Frequency (AF) button
Intro Scan (SCN) / Equalizer (EQ) button
Shuffle button (SHF)
Band / Loudness (BAND / LOU), MP3 button
Mono / Stereo selector (MONO), Traffic
Announcement button (TA)
RESET button
Warning indicator
1.
2.
3.
4.
5.
6.
7.
8.
9.
10.
11.
12.
13.
14.
15.
16.
17.
18.
19.
20.
OPERATION
GB - 4GB - 3
Precautions when handling
1. Do not drop the front panel.
2. Do not put pressure on the display or control buttons when removing or installing the front panel.
3. Do not touch the contacts on the front panel or on the main unit body. It may result in poor electrical contact.
4. If any dirt or foreign substances are present on the contacts, they can be removed with a clean and dry cloth.
5. Do not expose the front panel to high temperatures or direct sunlight.
6. Do not allow any volatile liquids such as benzene, paint thinner or insecticides to contact the front panel.
7. Do not attempt to disassemble the front panel.
8. For the sake of safety, always shut down the generator and take out the key from the ignition before cleaning. Never
keep your finger or any metal device touch the connector directly.
Cleaning the Connector
If the connector between the main unit and the front panel
is dirty, it may result the unit in abnormal working condition.
To avoid such problems happening, please detach the front
panel, and clean the connector with an alcohol swab. Gently
clean and avoid damaging the connector.
AR-2128 IB NEWO 001 REV0-GB.p65 2007-9-7, 11:373

1. Clean your unit with a damp (never wet) cloth. Solvent or detergent should never be used.
2. Avoid leaving your unit in direct sunlight or in hot, humid or dusty places.
3. Keep your unit away from heating appliances and sources of electrical noise such as
fluorescent lamps or motors.
4. If drop-outs or interruptions occur in the music during play, or if the disc fails to play at all,
its bottom surface may require cleaning. Before playing, wipe the disc from the center
outwards with a good soft cleaning cloth.
Playing Tracks in Random Order
Press SHF button to play all tracks on the disc in random order. Press it again to cancel this function.
Searching file or directory
Press MP3 (BND) repeatedly to cycle through the following search mode: Searching by track number Searching by
directory or file name Searching from root directory Searching from current directory
Searching by track number
Press MP3(BND) button once to enter “Searching by track number” mode. The track number will blink on the LCD.
1). Press the VOL+/- button to select the track number.
2). Press MODE(ENTER) button.
Searching by directory or file name
1). Press MP3(BND) button twice to enter “Searching by directory or file name” mode.
2). Press the VOL+/- to select a character. These characters are “A-Z”, “0-9”,” _”,“-“, “+”, “space”, “*”.
3). Press SEL button to confirm entry of each character.
4). Press MODE(ENTER) to search the title. If inputted directory or file name does not exist, “NO FOUND” is show on the
LCD.
5). In this case, if the selected title is a directory, you can press the VOL+/- to browse all files in the directory.
6). Press MODE(ENTER) to start playback.
* If the selected title is a directory again, repeat the above steps.
Searching from root directory
Press MP3(BND) thrice to enter “Searching from root directory” mode.
1). Press VOL+/- to browse directory or file in root directory.
2). Press SEL or MODE (ENTER) to select.
Play the song if selected title is a file. If selected title is a directory, repeat above steps.
Searching from current directory
Press MP3(BND) for four times to enter “Searching from current directory” mode.
1). Press VOL+/- to browse directory or file in current directory.
2). Press SEL or MODE (ENTER) to select.
Play the song if selected title is a file. If selected title is a directory, repeat above steps.
Supported MP3 decoding modes
The unit supports MP3 decoding modes as below:
STEREO/MONO SELECTION
FM listening is generally done in Stereo mode. However, if the signal is weak or reception is not as good as you would like,
switching to Mono mode usually improves the overall sound quality. To switch to Mono mode, press MONO button. Press
it again to return to Stereo mode.
TUNING KNOB
Rotate TUNING knob to select a broadcasting station.
RDS (Radio Data System) Opreration
RDS allows FM stations to send an additional signal along with their regular programme signals. For example, the stations
send their station names, as well as information about what type of programme they broadcast.
AF FUNCTION
The AF function switches to a different frequency on the same network in order to maintain optimum reception.
When driving in an area where FM reception is not good, the tuner built in this unit automatically tunes in to another RDS
station, broadcasting the same programme with stronger signals. So, you can conitinue to listen to the same programme in
its fi nest reception, no matter where you drive.
Press AF/RPT button to switch AF function on or off. When the AF function is on, you can press the DISP button to browse
all Alternative Frequencies.
TA STANDBY RECEPTION
TA Standby Reception allows the unit to switch temporarily to Traffic Announcement (TA) from the current source (AUX IN
or DISC mode).
* TA Standby Reception will not work if you are listening to an MW station.
1. When the current source is FM
Press and hold the TA/MONO button to turn TA Standby Reception on or off, when TA Standby is on, “TA” appears on the
display.
- If the TA indicator fl ashes, the unit received the signals used for TA Standby Reception, but this station not broadcasting
a traffi c announcement.
- If the TA indicator lights up, the station starts broadcasting a traffi c announcement, “TRAF INF” appears on the display,
and this unit automatically switches to the station.
2. When the current source is DISC or AUX
You can press DISP button repeatedly until frequency appear on display, then rotate TUNING button to tune in a station. If
the TA indicator lights up, the station starts broadcasting a traffic announcement, “TRAF INF” appears on the display, and
this unit automatically changes the source and tunes in the station. To return to DISC or AUX mode:
1). After traffic announcement.
2). press and hold the TA/MONO button.
3. Alarm
When an emergency transmission (announcing disasters, etc.) is sent, all current function are interrupted to allow the
warning to be received.
CD/MP3 OPERATION
Loading/Remove a disc
Insert the disc into the DISC SLOT with the printed side facing up. The player will play the disc automatically.
To remove the disc, press button.
Selecting tracks in single step
Press TRK- button or TRK+ button to skip to the previous track or the next track. The track number will show on the display.
Press and hold TRK- button or TRK+ button to fast reverse or fast forward. To return to the normal mode, release the
button.
Press TRK+ to skip forward to the next track or repeatedly to skip several tracks. Press TRK- return to the beginning of the
track, or press repeatedly to skip backwards several tracks. Press and hold TRK+ or TRK- to search quickly within a track.
Play/Pause playback
Press button to pause disc playback. Press it again to resume playback.
Scanning Tracks Automatically
Press SCAN button to play first several seconds of each track on the current disc. Press it again to stop intro scan and
listen to track.
Repeat Playing
Press RPT button to set the unit to repeat the same track. Press it again to stop the repeat function.
GB - 6GB - 5
Standard
MPEG1
AUDIO
Layers 3
(44.1KHz)
Bit Rate (kbps)
32,48,64,96,128,
192,256,320
Supports mode
Stereo
If available, the unit can play the mixed-CD disc (the disc contains both CD audio tracks and MP3 files). When you insert
a mixed-CD disc into the CD slot, it starts to play the CD audio tracks. The operation is the same with the CD operation
described as above.
If you want to play MP3 files, press SHF button for several, it will search the disc over and start to play the MP3 files. The
operation is the same with the MP3 operation described as above. To return to CD mode, press SHF button for several.
In this way, you can switch between CD and MP3 mode.
CARE AND MAINTENANCE
AUX IN OPERATION
This receiver has a auxiliary input jack. It’s compatible with the audio output from iPod and other MP3 music players. If you
have plugged such a player into the AUX IN jack, press the MODE button to switch the input source to AUX.
AR-2128 IB NEWO 001 REV0-GB.p65 2007-9-7, 11:374
General
Power Requirement 12V DC, Negative Ground
Load Impedance 4
Max.Power Output 15W X 4
Tone Controls +/-14dB, Bass(at 100Hz), Treble(at 10kHz)
Chassis Dimensions 178 x 160 x 50 mm(w/d/h)
Weight Approx. 1.75kg
FM Section
Tuning Range 88-108 (MHz)
IF Range 10.7MHz
Usable Sensitivity 15dBuV (-30dB)
Signal-to-noise Radio 50dB
Stereo Separation >20dB
MW Tuner Section
Frequency Range 530-1600(kHz)
IF Range 450kHz
Usable Sensitivity 28dBuV (-20dB)
CD Player Section
Signal-to-noise Ratio >55 dB
Separation >40dB
Frequency Response: 40Hz-18kHz
Note: Due to continuous product improvement, specifications and design are subject to change without prior notice.
SPECIFICATIONS
SYMPTOM
No power.
Disc cannot be loaded or
ejected.
No sound.
Sound skips.
The front panel buttons do
not operate properly.
The radio does not work.
CASUE
The car ignition switch is not on.
The fuse is blown
Already a disc in the player.
The disc has been Inserted upside
down.
Compact disc is extremely dirty or
defective.
Condensation is present in the player.
Condensation is present in the player.
The volume level is turned all the way
down.
Wiring is not properly connected.
The disc is extremely dirty or a defective
disc.
The unit is installed at an angle of
greater than 30°.
The built-in microcomputer is not
operating properly due to electrical
noise.
The antenna cable is not connected.
The signals are too weak.
SOLUTION
If the power supply is connected to the
car accessory circuits, but the engine is
not moving. switch the ignition key to
“ACC”.
Replace the fuse
Remove the disc in the player, and then
put a new one.
Insert the compact disc with the label
facing upward.
Clean the disc or try to play a new one.
Cool off or wait until the ambient
temperature returns to normal.
Leave the player off for an hour or so, and
then try again.
Adjust volume to a desired level.
Check wiring connection.
Fix the installation so that the unit is less
than 30° from horizontal.
Clean the compact disc, and then try to
play a new one.
Press the RESET button.
Front panel is not properly fixed into its
place.
Insert the antenna cable firmly.
Select a station manually.
GB - 8GB - 7
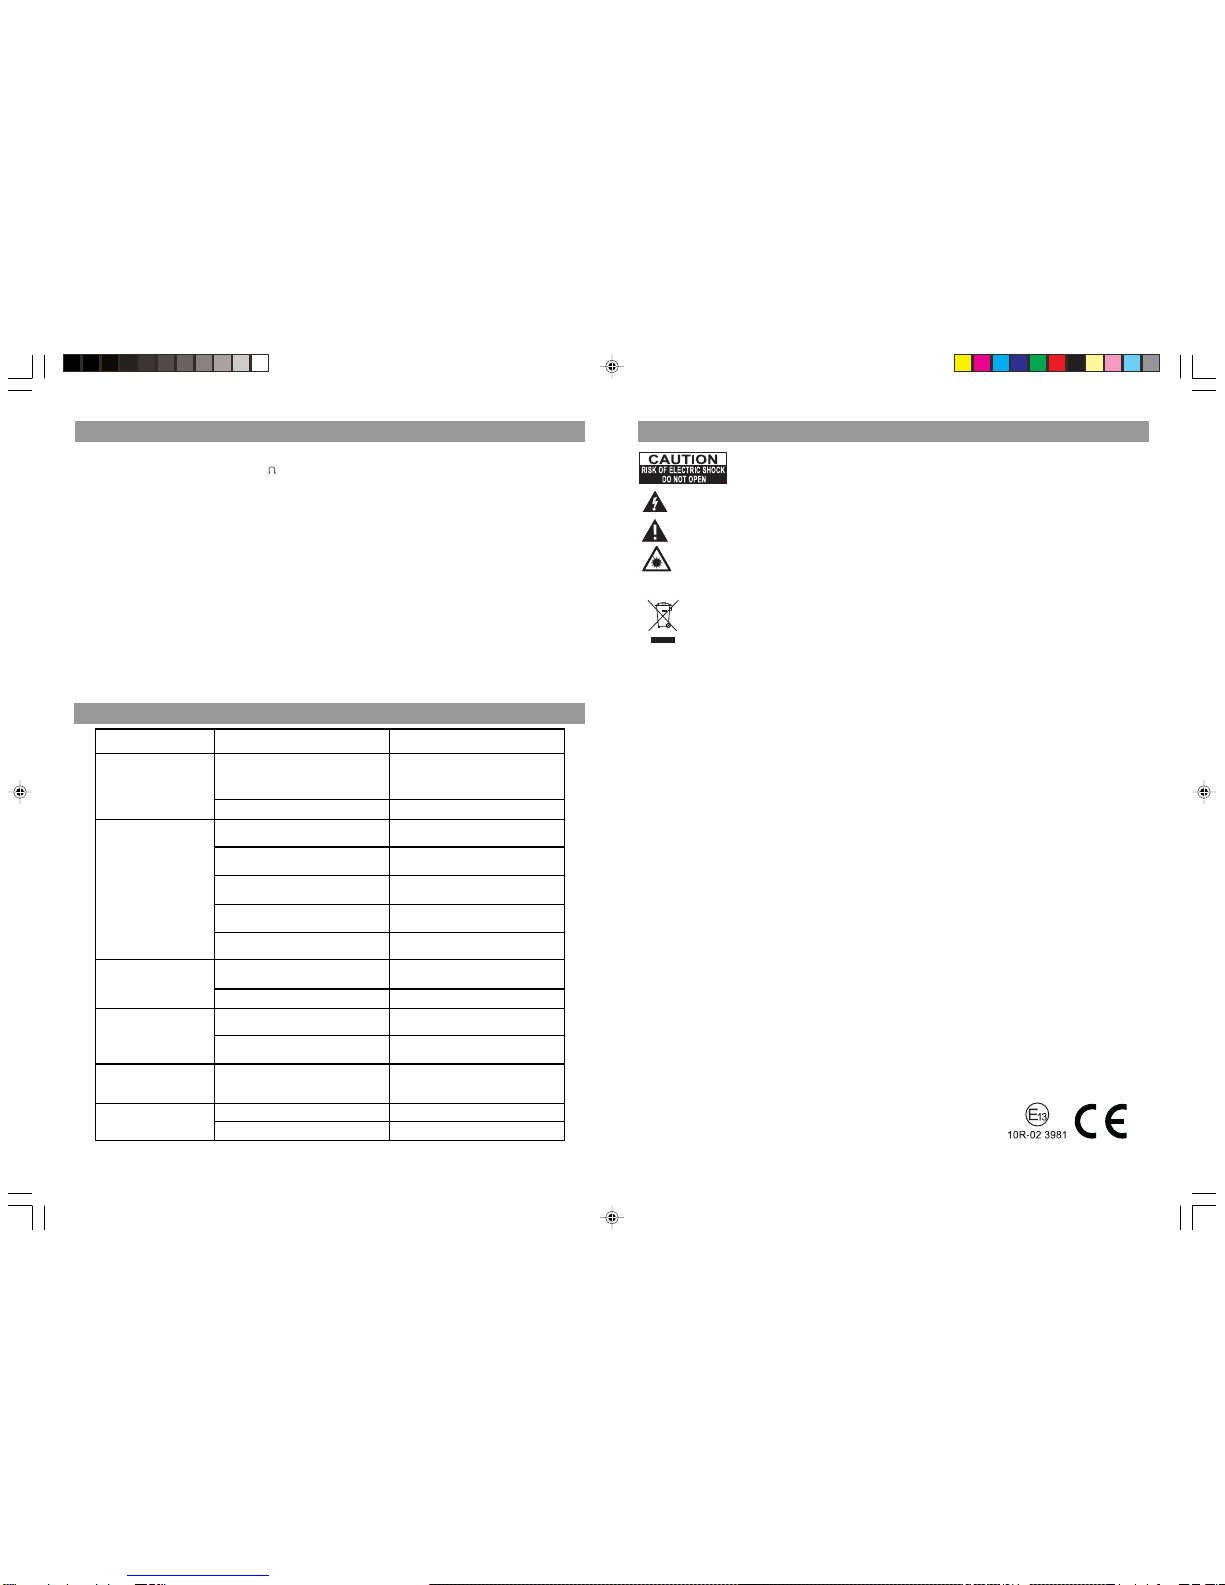
WARNINGS
ATTENTION: To reduce the risk of electric shock, do not remove the cover. There are no user
serviceable parts inside the unit. Refer all servicing to qualified personnel.
The lightning flash with arrowhead symbol within the triangle is a warning sign alerting the user of “dangerous
voltage” inside the unit.
The exclamation point within the triangle is a warning sign alerting the user of important instructions accompanying
the product.
CAUTION: Invisible laser radiation when open and interlocks defeated. Avoid exposure to beam.
WARNING - To reduce the risk of fire or electric shock, do not expose this appliance to rain or moisture.
TROUBLE SHOOTING
If at any time in the future you should need to dispose of this product please note that Waste electrical products
should not be disposed of with household waste. Please recycle where facilities exist. Check with your Local
Authority or retailer for recycling advice.(Waste Electrical and Electronic Equipment Directive)
AR-2128 IB NEWO 001 REV0-GB.p65 2007-9-7, 11:375
Table of contents
Other New One Car Receiver manuals


