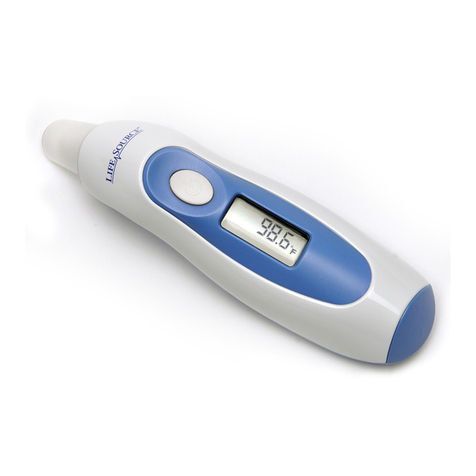
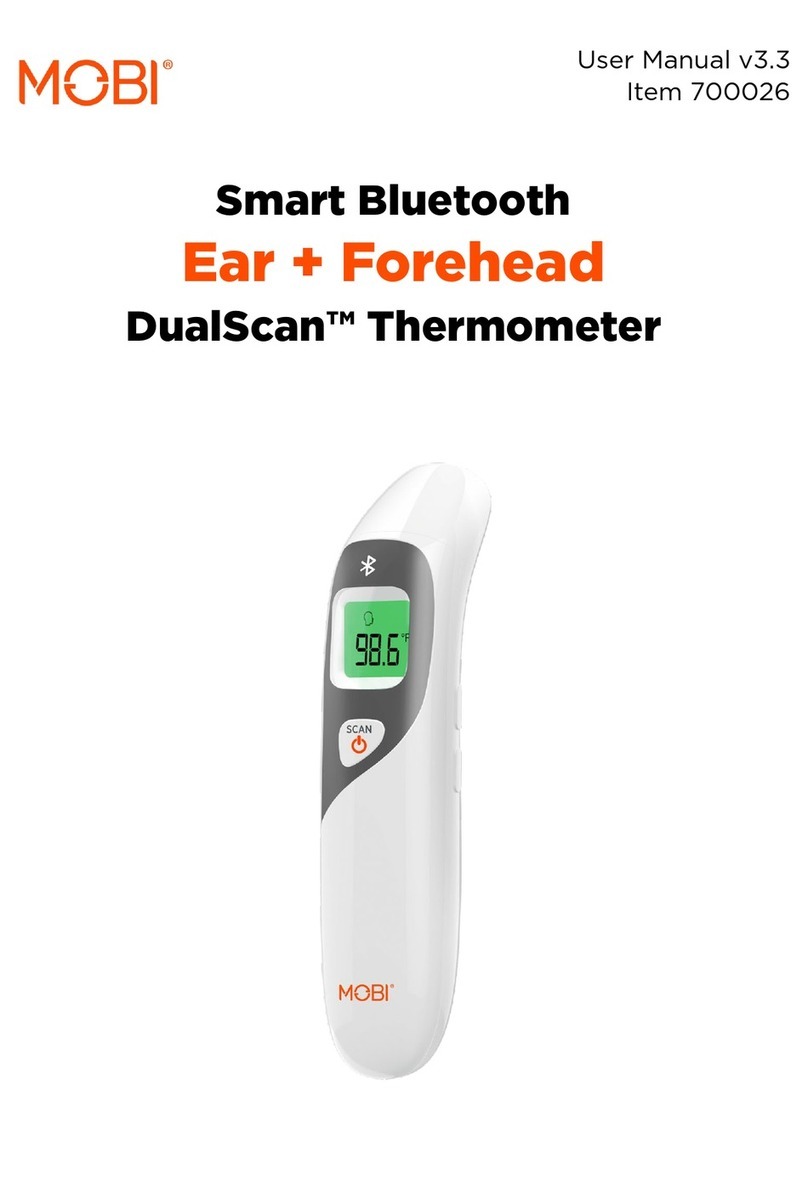
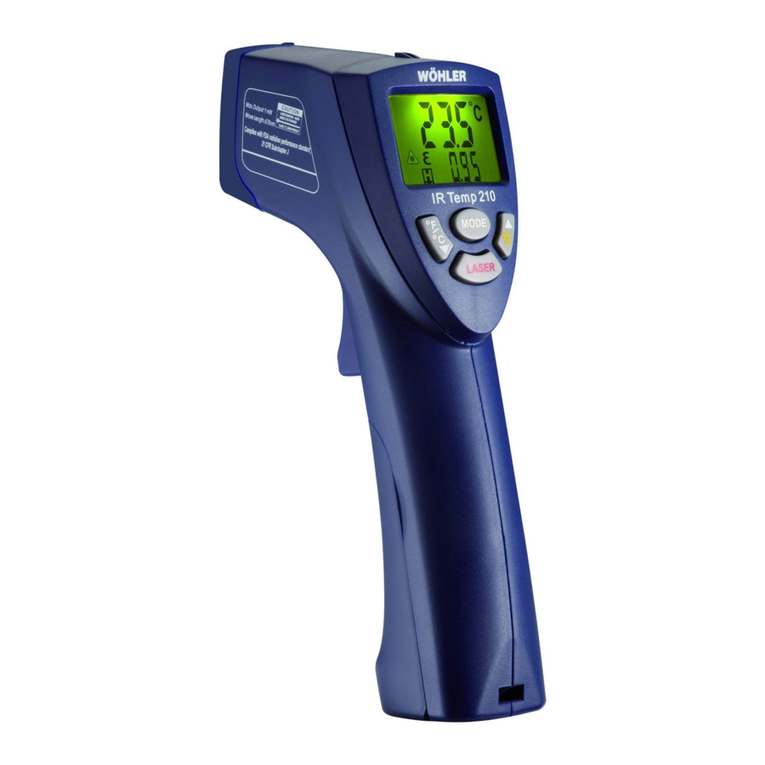
Neway TG8818H User manual

Please read this instruction carefully before use
Please keep the instructions for future reference
Infrared Thermometer
User instructions

Contents
1. Product introduction and classification
2.Product components
3.Packing list
4.Product structure
5.Screen icons
6.Specification
7.Keys
8.Methods of measurement
9.Battery replace
10.Maintenance and precautions
11.Issues and resolutions
12.Warranty and after-sales service
02
02
03
03
04
05
06
09
11
12
13
14
1.Product introduction
2.Product components
This product measures the body by collecting infrared
thermal radiation from the forehead temperature. The
operation is simple and hygienic, and the measurement is
accurate. The user only needs to align the probe, then
temperature can be measured by pressing the
measurement button.
Widely used in schools, customs, hospitals, homes.
Note: According to the difference of skin and the parts of
the body to be tested, the measured temperature will be
different. This is normal, because the more exposed the
body parts, the greater the influence of the ambient
temperature.
This product is composed of infrared sensor,
microprocessor, memory, Battery, electro-acoustic
components, display screen and casing.
01 02

3.Packing list
Thermometer*1, Manual * 1
5.Screen icons
4.Product structure
1
1
2
3
7
6
5
4
8
6
7
2
3
4
5
1
2
3
4
LCD
Infrared detectors
Battery cover“-” Button
“+” Button
Measurement button
5
6
7
Setting key 1
2
3
4
Surface temperature mode
Body temperature mode
Sound on / offTemperature value
Memory number
Fahrenheit
5
6
7
Battery voltage
8
Celsius
03 04
Surface
Body
M

This product provides five function settings such as
temperature unit, Sound, temperature alarm point,
temperature offset and measurement mode. The
measurement mode setting is set by the mode switch key,
and other settings are set in the setting menu.
The setting menu comparisons are showed below:
7.Keys6.Specification
Manu
F1
F2
F3
F4
Function
Temperature
unit ℃ °F ℃
Temperature
alarm point
Reduce
0.1℃
Down
0.1℃
Up
0.1℃ 0.8℃
Increase
0.1℃
Range
37℃-42℃
Range
0℃-3℃
38℃
Temperature
offset
Sound
On/Off Off On On
“-” “+” Initial
value Remark
05 06
Measuring way
Temperature
Time
Distance
Unit
Error Range
Display
Accuracy
Memory
Backlit
Display
Power
Auto
Power-off
Size
Weight
Operating
environment
Body: 32~42.9℃(89.6~109.22℉)
Object: 0~60℃(32~140℉)
1 S
1-5 CM
Celsius (℃)/ Fahrenheit (℉)
35-42℃(±0.2)
±0.2℃(0.2℉)
Can remember 32 groups data
Support
Two AAA batteries
30sec later
151*97*44mm
101g (without batteries)
10-40℃(50-104°F ) Humidity≤85%

When the device is on, the screen
displays the current measurement
mode (Figure 8.1). Shortly press
the "Setting" key can switch the
mode to body temperature or
surface temperature.
Press the “Setting” button for 2 seconds, when display F1
on the screen, press the “Setting” button once to enter the
F2, then press “+” to increase 0.1℃(0.1°F) temperature
unit, or press “-” to reduce 0.1℃(0.1°F) temperature unit.
Notice: The default alarm degree is 38℃(100.4°F).
Press the "Setting" key for 2 seconds, when the screen
displays F1 and the Celsius degree icon (Figure 8.2), press
"-" to select the Fahrenheit unit (Figure 8.3), press the "+"
key to select Celsius unit (Figure 8.4).
Measurement
mode setting
Temperature unit setting-F1
Temperature alarm point setting ‒ F2
Press the “Setting” button for 2 seconds, when display F1
on the screen, press the “Setting” button twice in a row to
enter the F3, then press “+” to increase 0.1℃(0.1°F) error
value, or press “-” to reduce 0.1℃(0.1°F) error value.
Press the “Setting” button for 2 seconds, when display F1
on the screen, press the “Setting” button three times in a
row to enter the F3, then press “+” to turn on the Buzzer
(screen displays Off), or press “-” to turn off the Buzzer
(screen displays On). After entering the setting operation,
if you need to modify a certain setting, you can press the
menu key continuously to select. The new settings will be
saved after the setting is completed, but the new settings
will not be saved if the machine is shut down in the
midway.
Temperature offset setting ‒ F3
Sound On/Off setting ‒ F4
(Figure8.1)
(Figure8.2) (Figure8.3) (Figure8.4)
07 08
Body

(Figure9.1) (Figure9.2)
Make sure that the measurement mode on the screen is
body temperature mode.
Aim the probe of the thermometer at the measured body
with a distance of 3-5cm. (Figure 9.1). Press the
measurement key, a “Bi” will sound in about 1 second,
measurement value displays on the screen (Figure 9.2),
then the measurement completes. If the measured value
exceeds the temperature alarm point (the default value is
38 ° C), five Buzzers will sound.
Make sure that the measurement mode on the screen is
material temperature mode.
Click "Setting" to switch to the surface temperature
measurement mode, aim the probe of the thermometer at
the object, press the measurement key, and the measured
temperature will be displayed in about 1 seconds.
Notice:
1.Please keep the sensor and probe cavity clean, before
and after use.
2.Please use the thermometer in a stable temperature
environment. When the ambient temperature fluctuates
greatly (like from indoor to outdoor), please leave it for
about ten minutes to measure.
3.Do not start measuring body temperature immediately
after measuring the temperature of an extremely high or
low temperature object. Please leave it for ten minutes to
measure.
4.When the measurement object comes from a place with
a large temperature difference from the measurement
environment, it should stay in the test environment for at
least five minutes.
5.Try not to measure the temperature while your forehead
is blown, drenched, sweating, applying cosmetics, etc. Do
not take temperature within 30 minutes after exercise,
bathing, and meals.
1)Body Mode
2)Surface Mode
8.Methods of measurement
10
09
3~5cm Body

● Please keep the inner cavity of the sensor and probe clean,
otherwise it will affect the measurement accuracy.
Cleaning methods:
1.Surface cleaning: Wipe the dirt with a clean soft cloth or cotton
swab with a little medical alcohol or water.
2.Sensor and probe cavity cleaning: Use a clean soft cloth or
cotton swab with a little medical alcohol to gently wipe the probe
cavity or the top of the sensor. Do not use until the alcohol has
completely evaporated.
● Before using, please read this instruction manual carefully and
make sure the battery is installed well.
● It is forbidden to immerse the thermometer in any liquid or be
placed in an excessively high or low temperature environment for
a long time.
● It is forbidden to collide, drop and mix with sharp objects or
disassemble by yourself.
● The thermometer should not be used under the sun or water.
● Do not use it in a strong electromagnetic interference
environment.
● Keep the thermometer out of the reach of children.
● It is recommended to practice several times to become familiar
with the measurement method, and try not to change the product
factory settings.
● Measurement results are not a substitute for physician
diagnosis.
● No special maintenance is required during use, please contact
the seller or manufacturer if any trouble occurs.
● Dispose the waste and residues of the product according to
your local laws and regulations.
1.Please do not install the batteries in wrong positive and negative anodes.
2.Use the specified batteries. Non-rechargeable batteries cannot be charged.
3.Remove the dry battery when not in use for a long time (more than 1
month).
4.Do not mix new and old batteries and batteries of different types.
5.Please replace the old batteries according to your local regulations.
When LCD displays , it means the battery is run
out of the power.
9.Battery replace 10. Maintenance and precautions
11 12
Open the battery cover, remove the batteries, insert two
new AAA batteries, then close the battery cover.
Notice:
*Please note the positive
and negative anodes

● Please keep the inner cavity of the sensor and probe clean,
otherwise it will affect the measurement accuracy.
Cleaning methods:
1.Surface cleaning: Wipe the dirt with a clean soft cloth or cotton
swab with a little medical alcohol or water.
2.Sensor and probe cavity cleaning: Use a clean soft cloth or
cotton swab with a little medical alcohol to gently wipe the probe
cavity or the top of the sensor. Do not use until the alcohol has
completely evaporated.
● Before using, please read this instruction manual carefully and
make sure the battery is installed well.
● It is forbidden to immerse the thermometer in any liquid or be
placed in an excessively high or low temperature environment for
a long time.
● It is forbidden to collide, drop and mix with sharp objects or
disassemble by yourself.
● The thermometer should not be used under the sun or water.
● Do not use it in a strong electromagnetic interference
environment.
● Keep the thermometer out of the reach of children.
● It is recommended to practice several times to become familiar
with the measurement method, and try not to change the product
factory settings.
● Measurement results are not a substitute for physician
diagnosis.
● No special maintenance is required during use, please contact
the seller or manufacturer if any trouble occurs.
● Dispose the waste and residues of the product according to
your local laws and regulations.
This product enjoys after-sales warranty service. Within 15 days of
purchasing the product, if it has any quality problems, you can
contact the seller for free replacement. Any quality problems
within one year after purchasing, can enjoy free warranty. If the
purchasing exceeds one year, the cost of repairing will be charged.
11. Issues and resolutions 12.Warranty and after-sales service
Issues
Warranty Card
Screen Displays
“LO” or ”HI”
No Display or Display Error
No Buzzer Sound
Shut Down Immediately
After Turning On
1.Reinstall the battery.
1.Please check if the Buzzer setting is off.
1.Please check the capacity of battery
and reinstall the battery.
Buttons Error
Customer Name
Purchasing Date
Purchasing Model
Serial Number
Shipping Address
Issues
After-sales Service
Notice
Resolutions
1.Please check the measurement object. In the
case of forehead blowing, dripping water,
sweating, and applying cosmetics, the
measurement cannot be guaranteed.
2.Pease check the temperature offset value. The
factory setting is 0.0.
3.Please check the operating environment.
Environmental changes have a great impact on
the measurement. If the ambient temperature
changes greatly, or the instrument has just
measured ultra-high temperature objects and
directly converted to low-temperature objects,
the test difference will occur. It should be placed
in a stable environment and left for about 10
minutes before use.
4.Please check the measurement distance
(3-5cm).
1.Reinstall the battery.
2.Please check whether it is used in the setting
status.
1.This warranty card can be used as a basis for
warranty;
2.For warranty, please fill out this after-sales
warranty card, and enjoy warranty service;
13 14
Table of contents
