manuals.online logo
Brands
  1. Home
  2. •
  3. Brands
  4. •
  5. newform
  6. •
  7. Bathroom Fixture
  8. •
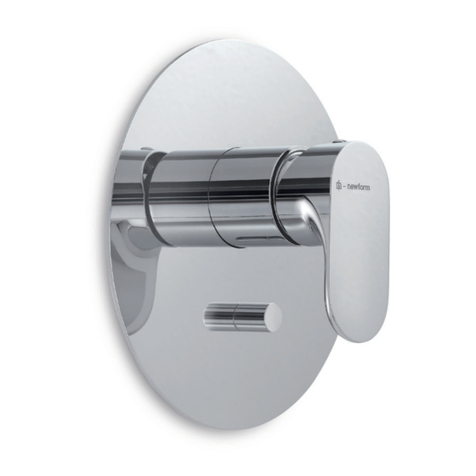
  9. newform libera 480 User manual

newform libera 480 User manual

istruzioni
instructions
instructions de montage
Bedienungsanleitung
instrucciones
480
483
484
libera
Avvertenze per l’ uso e la manutenzione
• Ilpresentemanualeèparteintegrantedelprodotto.
• E’necessarioconservarloinbuonostatoepertuttoilci-
clodivitadelprodotto.
• Viconsigliamodileggereattentamenteilpresentema-
nualeetutteledisposizioniivicontenuteprimadiutilizza-
reeinstallareilprodotto.
• L’installazionedovràessereeffettuatadapersonalequa-
licato,conformementeairegolamentiinvigore.
•
Ilcostruttoredeclinaogniresponsabilitàincasodiutilizza-
zionedelprodottoconnalitàdiversedaquellepreviste.
• Nondisperdererestidiimballaggionell’ambiente.
• Noncreareostacolialpassaggiodell’acqua.
• Evitare, in ogni caso, l’utilizzo di spugne metalliche o
abrasiveodidetergentioprodottiabrasivichepotreb-
berodanneggiarelesuperci.
•
Pulireesclusivamenteconacquaesapone.Risciacqua-
reabbondantementeeasciugareconunpannomor-
bido.
I
F
Warnings for the use and maintenance
• Thismanualisanintegralpartoftheproduct.
• Keepitingoodconditionsandathandthroughoutpro-
duct’slife.
• Werecommendreadingcarefullythismanualandallthe
instructionscontainedbeforeusingandinstallingthepro-
duct.
• Theinstallationshouldbemadebyqualiedstaffincom-
pliancewithregulationsinforce.
• Themanufacturerisnotliableincaseofuseofthepro-
ductwithpurposesotherthanthoseprovidedfor.
• Donotleavetheresiduesofthepackaginginthehome
environment.
• Donothinderthewaterow.
• Totallyavoidusingmetallicorabrasivespongesandde-
tergentsorabrasiveproductsinordernottodamagethe
surfaces.
• Cleanonlywithwaterandsoap.Carefullyrinseanddry
withasoftcloth.
Hinweise für die verwendung und reinigung
• Dasvorliegendehandbuchistbestandteildesproduktes.
• Es soll im handbereich und in perfektem zustand während
desganzenlebenszyklusdesproduktesaufbewahrtwerden.
• Es ist empfehlenswert, das vorliegende handbuch und
alledarin enthaltenen informationensorgfältig zu lesen,
bevordasproduktzumontierenundanzuwenden.
• Diemontagesollvonfachpersonalunterbeachtungder
gültigenvorschriftendurchgeführtwerden.
• Derherstellerlehntjeglicheverantwortungfürdieunsach-
gemässeverwendungdesproduktesab.
• Keine rückstände der verpackung im haushaltsbereich
unbewachtlassen.
• Diewasserdurchgängenichtverstopfen.
• Keinemetall-bzw.Abrasiveschwammen,reinigungsmittel
undschleifmittelverwenden,umzuvermeiden,dassdie
oberächebeschädigtwird.
• Nurmitwasserundseifereinigen,sorgfältigausspülenund
miteinemweichentuchaustrocknen.
D
Advertencias para el uso y manutención
• Elpresentemanualesparteintegrantedelproducto.
• Esnecesarioguardarelmanualenbuenestadoyduran-
tetodoelciclodevidadelproducto.
• Lesaconsejamosqueleanconcuidadoelpresentema-
nualytodaslasdisposicionescontenidasantesdeutilizar
einstalarelproducto.
• Lainstalacióntendráqueserefectuadaporpersonalca-
licadoconformementealosreglamentosenvigor.
• El constructor declina todo tipo de responsabilidad en
casodeutilizacióndelproductoconnalidadesdiferen-
tesdeaquellasprevistas.
• Notirenlosrestosdelosembalajesalmedioambiente.
•
Nocreenobstáculosdeningunaformaelpasajedeagua.
• Eviten,detodasformas,lautilizacióndeesponjasmetáli-
casoabrasivasodetergentesoproductosabrasivosque
podríanperjudicarlassupercies.
• Limpien exclusivamente con agua y jabón. Enjuaguen
abundantementeysequenconuntrapolimpio.
E
GB
Avertissements pour l’utilisation et entretien
• Cemanuelestunepartieintégranteduproduit.
• Ilfautleconserverenbonétatetàportéependanttout
lecycledevieduproduit.
• Nousconseillonsdelireattentivementcemanuelettoutes
lesconsignesquis’ytrouventavantd’utiliseretd’installer
leproduit.
• L’installationdevraêtreeffectuéepardupersonnelquali-
éetconformémentauxréglementationsenvigueur.
• Leconstructeurdéclinetouteresponsabilitéencasd’utili-
sationduproduitdansdesbutsdifférentsdeceuxprévus.
• Nepasabandonnerlesrésidusdel’emballagedansl’en-
vironnementdomestique.
• Nepasfaireobstacleaupassagedel’eau.
• Éviter absolument d’utiliser des éponges métalliques ou
abrasivesetdesdétergentsouproduitsabrasifsandene
pasabîmerlessurfaces.
• Nettoyeruniquementàl’eauetausavon.Rincersoigneu-
sementetsécheravecunchiffondoux.
3
480
DATI DI RIFERIMENTO_ REFERENCES_ DONNÉES DE RÉFÉRENCE
REFERENZANGABEN_ DATOS DE REFERENCIA
483
484
libera
libera
4
PROCEDURE DI INSTALLAZIONE_ INSTALLATION PROCEDURE_ PROCÉDURES D’INSTALLATION_
INSTALLATIONSANWEISUNGEN_ INSTRUCCIONES DE MONTAJE
2. RIPRISTINARE L'INTONACO DELLA PARETE2. RIPRISTINARE L'INTONACO DELLA PARETE
3. INSERIRE IL PERNO DA 1/2"
INSERIRE I TIRANTI M8 / TASSELLI
3. INSERIRE IL PERNO DA 1/2"
INSERIRE I TIRANTI M8 / TASSELLI
1. MURARE LA BASE DI FISSAGGIO (Fig. 1a)
OPPURE FORARE LA PARETE (Fig. 1b)
1. MURARE LA BASE DI FISSAGGIO (Fig. 1a)
OPPURE FORARE LA PARETE (Fig. 1b)
1a1a
1b1b
4. FISSARE CON I DADI / VITI IL SOFFIONE.
COLLEGARE IL TUBO FLEX ALLA RETE IDRICA
4. FISSARE CON I DADI / VITI IL SOFFIONE.
COLLEGARE IL TUBO FLEX ALLA RETE IDRICA
5. TESTARE LA TENUTA D'ACQUA
FISSARE IL COPERCHIO CON LE 4 VITI
5. TESTARE LA TENUTA D'ACQUA
FISSARE IL COPERCHIO CON LE 4 VITI 6. INSTALLAZIONE COMPLETATA6. INSTALLAZIONE COMPLETATA
120120
Ø12Ø12
FASE 1_PHASE 1_ÉTAPE 1_SCHRITT 1_FASE 1
I Murarelabasedissaggio(Fig.1a)oppure
forarelaparete(Fig.1b)
GB Buildintothewallthexingplate(Fig.1a)
ormakeaholeinthewall(Fig.1b)
F Murerlabasedexation(Fig.1a)oupercer
lemur(Fig.1b)
D DieBefestigungsplatte(Bild1a)einmauern
oderdieWandbohren(Bild1b)
E Encastrarelsoportedejación(Fig.1a)o
perforarelmuro(Fig.1b)
FASE 2_PHASE 2_ÉTAPE 2_SCHRITT 2_FASE 2
I Ripristinarel’intonacodellaparete
GB Restorethewallplaster
F Rétablirl’enduitdumur
D DenWandputzwiederinstandsetzen
E Restaurarlapareddeyeso
FASE 3_PHASE 3_ÉTAPE 3_SCHRITT 3_FASE 3
I Inserireilpernoda1/2”edinserireitiranti
M8/tasselli
GB Insert½”pinandM8tie/anchors
F Insérer le pivot de 1/2” et introduire les
tirantsM8/chevilles
D Den½”ZapfenunddieM8Spannstangen/
Dübeleinsetzen
E Ponerelpasadorde½”yponerlasanclas
M8
1
2
3
libera
5
PROCEDURE DI INSTALLAZIONE_ INSTALLATION PROCEDURE_ PROCÉDURES D’INSTALLATION_
INSTALLATIONSANWEISUNGEN_ INSTRUCCIONES DE MONTAJE
FASE 4_PHASE 4_ÉTAPE 4_SCHRITT 4_FASE 4
I Fissareconidadi/vitiilsofone.Collegare
iltuboessibileallareteidrica
GB Fix the head shower by the nuts/screws.
Connect the exible pipe to the water
supply
F Fixer avec les écrous / vis la tête de
douche. Connecter le tuyau exible au
réseauhydrique
D Die Kopfbrause mittels der Mutter/
Schraubenbefestigen.Den Schlauchans
Wassernetzverbinden
E Fijarconlasroscaselrociador:conectarel
tuboexiblealareddelagua
FASE 5_PHASE 5_ÉTAPE 5_SCHRITT 5_FASE 5
I Testare la tenuta d’acqua e ssare il
coperchioconle4viti
GB Testthewatertightandxthecoverbythe
4screws
F Tester l’étanchéité d’eau et xer le
couvercleavecles4vis
D Die Wasserdichtigkeit prüfen und den
Deckelmittelsder4Schraubenbefestigen
E Pruebarelestancoyjarlatapaconlas4
roscas
FASE 6_PHASE 6_ÉTAPE 6_SCHRITT 6_FASE 6
I Installazionecompletata
GB Installationcompleted
F Installationcomplété
D FertiggestellteInstallation
E Instalacióncompleta
2. RIPRISTINARE L'INTONACO DELLA PARETE2. RIPRISTINARE L'INTONACO DELLA PARETE
3. INSERIRE IL PERNO DA 1/2"
INSERIRE I TIRANTI M8 / TASSELLI
3. INSERIRE IL PERNO DA 1/2"
INSERIRE I TIRANTI M8 / TASSELLI
1. MURARE LA BASE DI FISSAGGIO (Fig. 1a)
OPPURE FORARE LA PARETE (Fig. 1b)
1. MURARE LA BASE DI FISSAGGIO (Fig. 1a)
OPPURE FORARE LA PARETE (Fig. 1b)
1a1a
1b1b
4. FISSARE CON I DADI / VITI IL SOFFIONE.
COLLEGARE IL TUBO FLEX ALLA RETE IDRICA
4. FISSARE CON I DADI / VITI IL SOFFIONE.
COLLEGARE IL TUBO FLEX ALLA RETE IDRICA
5. TESTARE LA TENUTA D'ACQUA
FISSARE IL COPERCHIO CON LE 4 VITI
5. TESTARE LA TENUTA D'ACQUA
FISSARE IL COPERCHIO CON LE 4 VITI 6. INSTALLAZIONE COMPLETATA6. INSTALLAZIONE COMPLETATA
120120
Ø12Ø12
4
5
6
libera
6
PORTATE_ FLOW RATES_ DÉBITS_ WASSERSTRÖMUNGEN_ CAUDALES
0
9,04
12,14
14,21
14,26
14,27
pressione
pressure
pression
Druck
presión
(bar)
portata
flow rate
débit
Wasserströmung
caudal
(l/min)
480
6
0
7,77
11,13
13,4
15,19
16,76
pressione
pressure
pression
Druck
presión
(bar)
portata
flow rate
débit
Wasserströmung
caudal
(l/min)
483
0
7,63
10,85
13,02
14,89
15,45
pressione
pressure
pression
Druck
presión
(bar)
portata
flow rate
débit
Wasserströmung
caudal
(l/min)
484
0
8,48
12,05
14,2
15,11
14,18
pressione
pressure
pression
Druck
presión
(bar)
portata
flow rate
débit
Wasserströmung
caudal
(l/min)
484
libera
libera
7
Smaltimento dell’imballaggio
 Gliimballaggideinostriprodottinoncontengono
materialiinquinanti:tuttelematerieutilizzaterispet-
tanol’ambienteesonoriciclabili.Vipreghiamodi
collaborare con noi e di smaltire correttamente
l’imballaggio.Nondisperderegliimballaggi,opar-
tedi essi,nell’ambiente.I sacchettidi plastica,in
particolare, possono essere fonte d’asssia per i
bambini.Separareidiversimaterialidell’imballag-
gioeconferirlialcentrodismaltimentopiùvicino.
Unosmaltimentocorrettopermetteunriciclointel-
ligentedeimaterialipreziosi.
 Sicerticachetuttelepartiecomponentidiori-
gine nazionale ed estera, contenute in questo
prodotto (L.166/2009) sono state accuratamente
controllateecollaudateneinostristabilimenti.
I
Élimination de l’emballage
 Les emballages de nos produits ne contiennent
pas de matériaux polluants, les matériaux utilisés
respectent l’environnement et sont recyclables.
Nousvousprionsdecollaboreret d’éliminercor-
rectement l’emballage. Ne pas abandonner
l’emballageoudesparties decelui-cidansl’en-
vironnement.Celles-ci,notammentlessachetsen
plastique,peuventconstituerundangerd’asphy-
xiepourlesenfants.Séparerlesdifférentsmatériaux
de l’emballage et les déposer auprès du centre
detrileplusproche.Uneéliminationcorrecteper-
met une récupération intelligente de matériaux
précieux.
F
Packaging disposal
 Thepackagingofourproductsdoesnotcontain
pollutingmaterial,thematerialsusedareenviron-
mental-friendlyandrecyclable.Pleasebehelpful
and properly dispose of the packaging. Do not
leave it, or parts of it, in the environment. In fact
itcould,particularlyconcerningthe plasticbags,
constitute a danger of asphyxiation for children.
Sortoutthematerialsofthepackaginganddeli-
verthemtothenearestwasteseparatecollection
centres. Proper  disposal allows the recycling of
preciousmaterials.
Entsorgung der Verpackung
 DieVerpackungenunsererProduktewerdenvöllig
aus umweltfreundlichen und wieder verwertba-
renMaterialenhergestellt. Bitteentsorgen Siedie
Verpackungen ordnungsgemäß. Lassen Sie nicht
die Verpackung bzw. einige Bestandteile davon
unbewacht.DasVerlasseneinessolchenHinweises
könntezurGefahrvonbeiKindernErstickungfüh-
ren,insbesonderewegendesVorhandenseinsvon
Plastiktüten.DieAusschussmaterialienausderVer-
packungaussondernundsieinsnahestenZentrum
fürMülltrennungbringen.EinekorrekteEntsorgung
ermöglichtdieintelligenteWiederverwertungvon
wertvollenMaterialien.
D
Eliminación del embalaje
 Los embalajes de nuestros productos no contie-
nen materiales contaminantes: todos los mate-
riales utilizados respetan el medio ambiente y
puedenserreciclados.Lesrogamosquecolabo-
renconnosotrosparalaeliminacióncorrectadel
embalaje.Notirenlosembalajesopartedeellos
almedioambiente.Lasbolsasdeplásticos,parti-
cularmente,puedensercausadeasxiaparalos
niños.Separenlosdiferentestiposdematerialesde
embalajeyllévenlosalcentroderecolecciónmás
cercano.Unaeliminacióncorrectapermiteunre-
cicladocorrectodelosmaterialespreciosos.
E
GB
L621/0
NEWFORM S.p.A.
viaMarconi,25/A–FrazioneVintebbio–13037SerravalleSesia–(VC)Italy
Tel.+39/0163452011(r.a.)FaxAmministrativo+39/0163458983–FaxCommerciale+39/0163459745
www.newform.itnewform@newform.it

This manual suits for next models

2

Other newform Bathroom Fixture manuals

newform LINFA 67070E User manual

newform

newform LINFA 67070E User manual

newform 70015 User manual

newform

newform 70015 User manual

newform X-STEEL 316 69655X User manual

newform

newform X-STEEL 316 69655X User manual

newform Nio 68910 User manual

newform

newform Nio 68910 User manual

newform X-STEEL 316 69614X User manual

newform

newform X-STEEL 316 69614X User manual

newform HAKA 72069E User manual

newform

newform HAKA 72069E User manual

newform ERGO OPEN 66510 User manual

newform

newform ERGO OPEN 66510 User manual

newform MINI-X PRO 67606E User manual

newform

newform MINI-X PRO 67606E User manual

newform AQUALITE 69230E User manual

newform

newform AQUALITE 69230E User manual

newform X-STEEL 316 69644X User manual

newform

newform X-STEEL 316 69644X User manual

newform BLINK CHIC 71069E User manual

newform

newform BLINK CHIC 71069E User manual

newform BLINK CHIC 71057E User manual

newform

newform BLINK CHIC 71057E User manual

newform THERMO EASY 70400E User manual

newform

newform THERMO EASY 70400E User manual

newform 27027 User manual

newform

newform 27027 User manual

newform 67706 User manual

newform

newform 67706 User manual

newform NIO 68969E User manual

newform

newform NIO 68969E User manual

newform X-STEEL 316 69676EX User manual

newform

newform X-STEEL 316 69676EX User manual

newform LINFA II 69472E User manual

newform

newform LINFA II 69472E User manual

newform PARK 69728E User manual

newform

newform PARK 69728E User manual

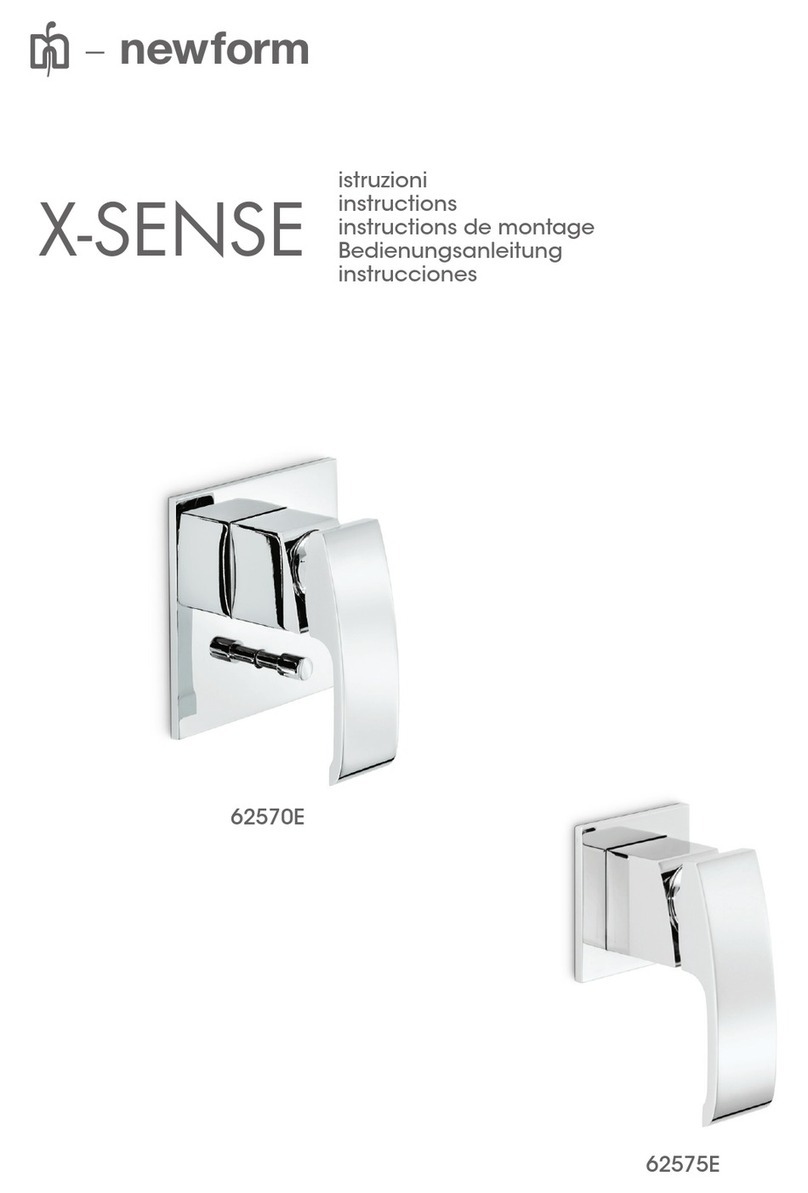
newform X-SENSE 62570E User manual

newform

newform X-SENSE 62570E User manual

newform 70001 User manual

newform

newform 70001 User manual

newform PARK 70439E User manual

newform

newform PARK 70439E User manual

newform 695 User manual

newform

newform 695 User manual

newform AQUALITE 69236E User manual

newform

newform AQUALITE 69236E User manual

Popular Bathroom Fixture manuals by other brands

Gessi 35344 Installation

Gessi

Gessi 35344 Installation

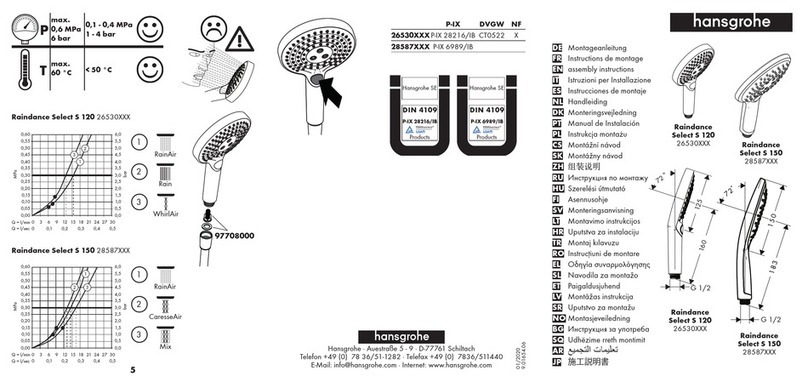
Hans Grohe 28587000 Assembly instructions

Hans Grohe

Hans Grohe 28587000 Assembly instructions

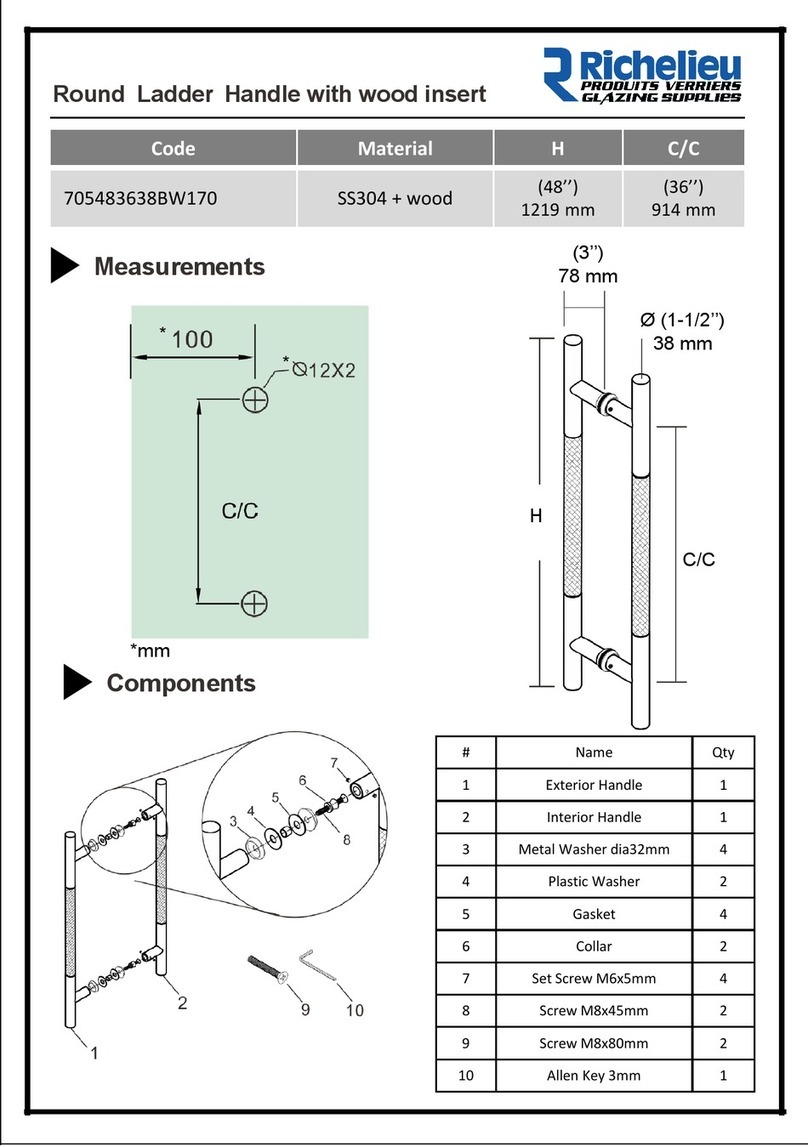
Richelieu SS304 quick start guide

Richelieu

Richelieu SS304 quick start guide

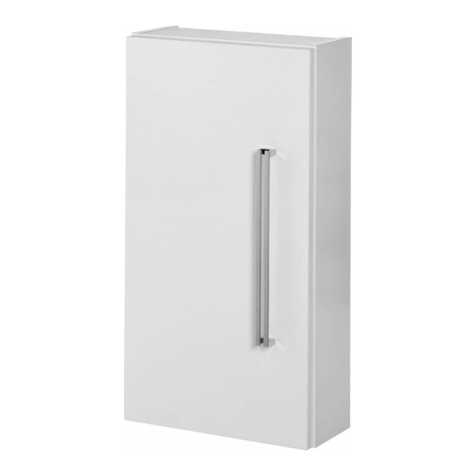
Fackelmann COMO & LUGANO 73613 Instructions for mounting and use

Fackelmann

Fackelmann COMO & LUGANO 73613 Instructions for mounting and use

VADO AXCES MATRIX AX-MAT-137-CP Installation & user manual

VADO

VADO AXCES MATRIX AX-MAT-137-CP Installation & user manual

Hans Grohe Rainfinity 26243000 Instructions for use/assembly instructions

Hans Grohe

Hans Grohe Rainfinity 26243000 Instructions for use/assembly instructions

Spectrum Brands Pfister McAllen LG89 MCA Series Maintenance & Care Guide

Spectrum Brands

Spectrum Brands Pfister McAllen LG89 MCA Series Maintenance & Care Guide

Signature Hardware Caeli 473841 manual

Signature Hardware

Signature Hardware Caeli 473841 manual

INDA CLAIRE 7100 Mounting instructions

INDA

INDA CLAIRE 7100 Mounting instructions

Brizo LITZE 696335 Series manual

Brizo

Brizo LITZE 696335 Series manual

Vents-us TT SILEN KIT 100-1 TT SILEN KIT 100-1L installation guide

Vents-us

Vents-us TT SILEN KIT 100-1 TT SILEN KIT 100-1L installation guide

Pressalit Care R8572 Mounting instruction

Pressalit Care

Pressalit Care R8572 Mounting instruction

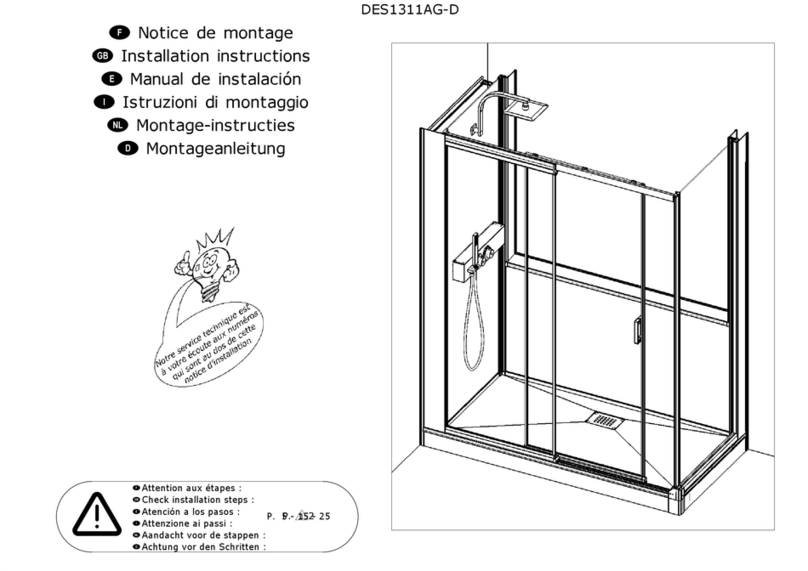
Kinedo Kinemagic Design DES1311AG-D installation instructions

Kinedo

Kinedo Kinemagic Design DES1311AG-D installation instructions

Artecristal VESTA instruction manual

Artecristal

Artecristal VESTA instruction manual

Jacuzzi caleidos installation manual

Jacuzzi

Jacuzzi caleidos installation manual

Caliber BITHIA Setting-up instructions

Caliber

Caliber BITHIA Setting-up instructions

Brizo Odin 88775 Series manual

Brizo

Brizo Odin 88775 Series manual

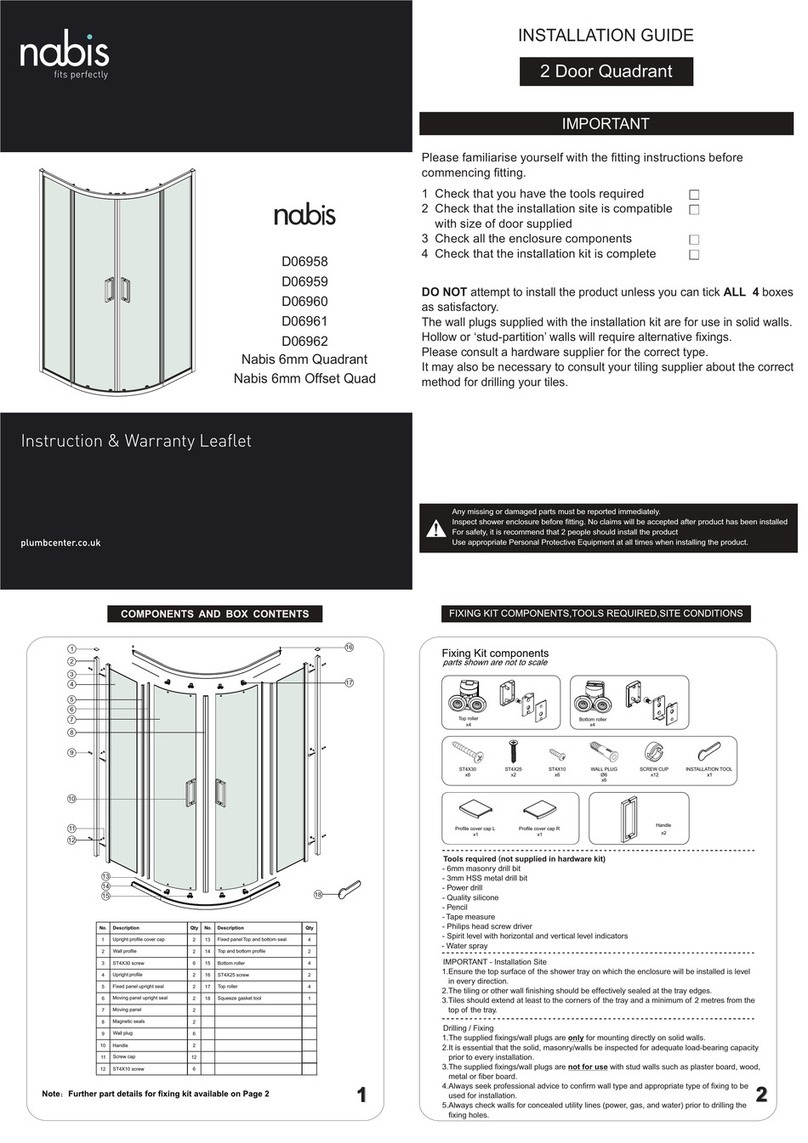
WOLSELEY nabis D06958 installation guide

WOLSELEY

WOLSELEY nabis D06958 installation guide

manuals.online logo
manuals.online logoBrands
  • About & Mission
  • Contact us
  • Privacy Policy
  • Terms and Conditions

Copyright 2025 Manuals.Online. All Rights Reserved.