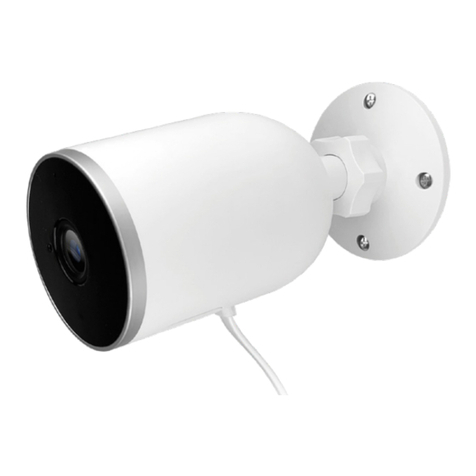
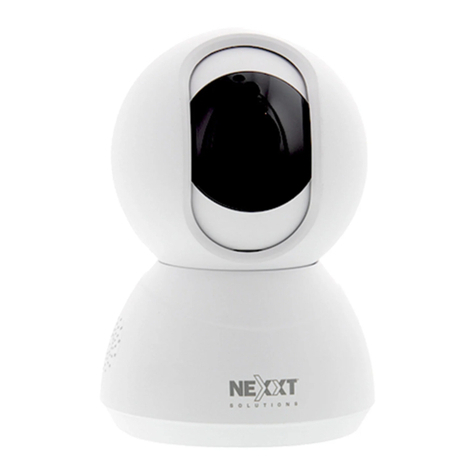
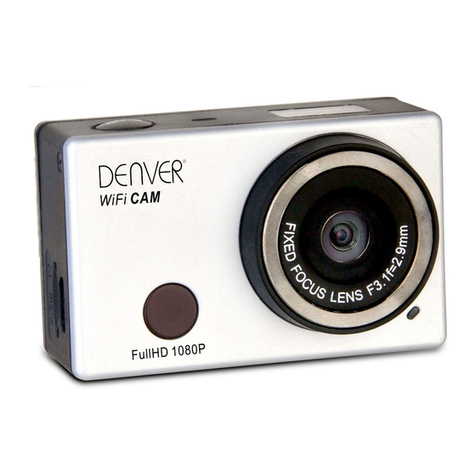
Nexxt Solutions NHC-F410 User manual

WARRANTY
nexxtsolutions.com/warranty
YEAR
2
with built-in motion detection
NHC-F410
Smart Wi-Fi mini
floodlight camera

English
User guide
Thank you for purchasing the Smart Wi-Fi oodlight
camera from Nexxt Solutions. We are excited in being a
part of making your life easier, safer and bringing peace of
mind inside and outside your home.
Product overview
1. Floodlight: eective long-range illumination of 1000
lumens per light
2. Activity and light sensor: enables the night vision and
motion illumination functions of the camera
3. Lens
4. Infrared LED lights: for night vision
5. Microphone: picks up the voice of visitors and the sound
surrounding the camera
6. Built-in speaker: allows you to be heard from your
phone via the Nexxt Home app
7. Built-in microSD™ card slot: supports local storage for a
card of up to 128GB
Reset button: press and hold this button to reset the
device. If you have modied any settings, they will return
to factory default status
8. Power cable
9. Built-in mounting bracket
1
2
6
3
5
7
8
9
4

Package content
• Smart mini-oodlight camera with bracket
• Mounting screw kit
• Power adapter with rubber cover
• Warning sticker
• Quick start guide
(1)
(1)
(1)
(1)
(1)
Preliminary steps
1. Determine the location of the camera preferably one that
oers the best viewing angle and Wi-Fi reception.
2. Unscrew the base of the bracket and use it as a template
to drill the holes. Insert the supplied screws and then
reattach the camera assembly to the bracket base.
How to insert the microSD™ card
The Wi-Fi camera comes with a built-in card slot which
supports a microSD™ card of up to 128GB. Once you insert
the storage card, the camera will automatically start to record
and store images and footage on that memory.
Step 1: Lift the rubber cover located on the base of the
camera.
Step 2: Insert the microSD™ card. Make sure to install it in the
correct direction.
Step 3: Press down the cover and make sure it is tightly
secure in place.
Smart Wi-Fi
mini- oodlight
camera
Lock the collar
to set the
camera at the
desired angle
Wall/ceiling
mounting
bracket

Step 1
Register by email. Fill in the required elds.
Installing the Nexxt Home App
Download Nexxt Home app on Google Play
or Apple App Store.
60 %
9:41 AM
Register by email
United States of America
Email
Get authentication code
60 %
9:41 AM
Nexxt Home
Nexxt Solutions Home App
Cancel
GET
Accvent LLC
Login with existing account
Create New Account
SOLUTIONS
Iniciarsesión con cuenta existente
Crear Cuenta Nueva
SOLUTIONS
60 %
9:41 AM
Nexxt Home
Nexxt Solutions Home App
Cancel
INSTALL
Accvent LLC

Step 3
Create a new password and then select Completed.
Step 2
Enter the verication code you received.
60 %
9:41 AM
Enter verication code
Verication code has been sent to your
60 %
9:41 AM
Set Password
Completed
6-20 characters, including letters and numbers

Plug in
Plug in the mini-floodlight camera using the provided AC
adapter. After 10 seconds, you will hear a first tone
indicating that the mini-floodlight camera has started
correctly. After another 5 seconds, a second tone will be
heard indicating that the mini-floodlight camera is ready to
be paired.
If you do not hear the tones, hold down the reset button for
8 seconds to reset the device.
Step 4
The Nexxt Solutions Home Account has been successfully
set up.

Add device
Step 1
Select +followed by the smart camera.
Step 2
Select next step.

Step 4
Select Continue to get the QR code. Scan the QR code from
your mobile device with the smart camera. Once you hear
the tone, click on the I heard a prompt button.
If you experience any issues, reset the camera. If a
Registered Account added the camera through the app,
then another user will be prevented from setting up that
camera in a dierent account, unless permission is granted
through the Share access option.
Step 3
You must connect to a 2.4GHz WiFi network. Enter your
network password. Make sure you enter the correct
password, otherwise the device will not connect.

Step 5
If pairing is successful, the notication Device added
successfully will be displayed on the screen.
Click on the pencil icon to rename the camera, and then
select Save to store your settings.
Camera interface

Full screen: Switches to full screen mode.
Screenshot: Takes a picture of what the camera is
viewing.
Speak: Allows voice communications through the
microphone.
Record: Starts recording a video.
Playback: If a microSD™ is installed, you can use
the playback function to watch recordings.
Gallery: Presents a list of all recorded videos and
photos stored locally or in the cloud.
Theme color: Allows users to customize the
appearance of the interface by switching to either
light mode or dark mode. The latter is the one
recommended for battery-saving purposes on
your smart device.
Private mode: It switches the camera to sleep
mode to give users peace of mind about their
privacy by blocking the lens, recording and
microphone functions when they are at home.
HDR: The High Dynamic Range is a technology that
improves the quality of scenes by enhancing the
brightness and contrast ratios of the screen.
Night mode: Provides the selection between the
Smart, Infrared and Light conguration settings.
Motion detection settings: Turns the motion
detection feature on and o.
Siren: Tap to manually trigger and stop the alarm.
Light: Lets you switch the oodlight on or o, set
the countdown timer, or program specic
illumination cycles through the schedule.
Unied controls: Use it to set up shortcuts to
control other compatible smart devices.
Messages: A quick way to view the list of push
notications sent to your mobile device.
Cloud storage: For added storage capacity, check
our cloud services available through a subscription.
HD/SD: Switches between High Denition and
Standard Denition modes.
Mute: Disables the microphone function on
the camera
Settings: Allow access to the camera parameters.

Settings Mini floodlight camera
It allows the user to change the icon, device name and
device location.

Device information
This menu will display information about the camera.
Basic function settings
Flip screen: Flips the image 180 degrees, if the camera is mounted
upside down.
Time watermark: Enables and disables the time and date stamp
shown in real time while streaming, or on the recorded videos and
photos.
High dynamic range: HDR is a technology that improves the quality
of scenes by enhancing the brightness and contrast ratios of
the screen.
Talk mode: Allows either One-way or Two-way speech.

Night vision mode
* Auto day/night vision mode: automatically switches
between both states based on environment lighting.
* IR mode: keeps the IR LEDs always enabled.
* Light mode: if you select this option, the oodlight will
remain always on, no matter the time of day or current
lighting conditions.
Siren adjustment
Siren volume: Use the sliding bar to adjust the audio level
of the alarm.
Siren duration: Determines the time you want the alarm to
sound. The maximum setting allowed is 600 seconds.

Motion detection settings
Motion detection settings: Turns the motion detection feature on and
o. It also enables or disables zone activity monitoring and human
body ltering. It changes the sensitivity levels between Low, Medium, or
High. The alarm timer settings can also be set through the Schedule
function.
Total capacity: Shows the
capacity of the microSD™card.
Used: Shows how much
memory has been used.
Remaining capacity: Shows
how much space is left on the
microSD™card.
Local recording: You can set
the camera to constantly
record 24/7. How much it
records, depends on the size of
the microSD™card.
Recording mode: You can
switch between Event
Recording and Continuous
Recording
Schedule: Lets you program when to turn the recording on
or o.
Format: This will format the microSD™card to be used on
the camera.
Memory card settings

Value-added service (VAS)
Cloud storage: Access photos and videos at any time and
from anywhere with an optional subscription plan.
Offline notification
Oine notication: Provides a selection button to
enable/disable this feature. An Oine notication will be
triggered after 30 minutes the device has remained in this
state or as a result of a power outage.

Feedback
Write feedback: Please let us know if you have any issues
setting up the product.
Add to home screen: A newly added UI interface which
provides direct access to the main controls of the device
by adding a shortcut to the main screen on your mobile
phone.
Share device
Additional users will need their own Nexxt Home Account.
Select Add sharing and then enter the-mail address of
family or friends. Tap on Completed.

To remove a user on iOS, slide the name to the left. On
Android, press and hold the name of the person you wish
to delete. When the pop-up box comes up, select Delete. A
Notication conrming that you no longer want to share
the device with the selected user will be displayed. Tap on
Conrm to permanently remove the name from the list.
Device update
Device update: Adds new features or provide updates
with a new rmware upgrade. You can choose to have it
automatically updated by clicking the button right below
on this screen.

Nexxt Solutions®is a registered trademark. All rights reserved. SD™
and microSD™ are trademarks owned by SD-3C, LLC. All other brand
names and trademarks are the property of their respective owners.
Made in China.
FCC ID: X4YHACF410

Español
Guía del usuario
Gracias por adquirir la Cámara inteligente Wi-Fi con
proyector de Nexxt Solutions. Nos complace ser parte de
la solución destinada a no sólo simplicar su vida, sino
además poder brindar mayor seguridad y tranquilidad
tanto en el exterior como al interior de su hogar.
Descripción del producto
1. Proyector: emite un haz de luz de largo alcance con una
intensidad efectiva de 1000 lúmenes
2. Sensor de actividad e iluminación: habilita las funciones
de visión nocturna y de iluminación por detección de
movimiento de la cámara
3. Lente
4. Luces LED infrarrojas: para visión nocturna
5. Micrófono: capta la voz de visitantes o el sonido en las
inmediaciones de la cámara
6. Parlante integrado: Le permite ser escuchado cuando
habla por su teléfono inteligente utilizando la aplicación
Nexxt Home
7. Ranura para tarjeta microSD™: admite el
almacenamiento local a través de una tarjeta de hasta 128GB.
Botón de reposición: mantenga presionado este botón
para reiniciar el dispositivo. De haber modicado su
conguración, se restituirán los parámetros a sus valores
originales de programación
8. Cable de alimentación
9. Soporte de montaje integrado
1
2
6
3
5
7
8
9
4

Contenido del empaque
• Cámara inteligente con proyector y soporte integrado
• Kit de herrajes para montaje
• Adaptador de corriente con protector de goma
• Calcomanía de advertencia
• Guía de conguración rápida
Cámara inteligente
Wi-Fi
(1)
(1)
(1)
(1)
(1)
Pasos preliminares
1. Determine la ubicación para montar la cámara,
preferentemente una que ofrezca el mejor ángulo de visión
y recepción inalámabrica.
2. Desatornille la base del soporte y úselo como plantilla
para perforar los agujeros. Tras insertar los tornillos que se
incluyen con el dispositivo, vuelva a jar el conjunto de la
cámara a la base del soporte.
Cómo insertar la tarjeta microSD™
La cámara Wi-Fi cuenta con una ranura integrada que
admite tarjetas microSD™ de hasta 128GB. Una vez que
inserte la tarjeta, la cámara comenzará a grabar y
almacenar en forma automática imágenes y videos en esa
memoria.
Paso 1: Levante la cubierta de goma ubicada en la base de la
cámara.
Paso 2: Inserte la tarjeta microSD™. Asegúrese de instalarla
en la orientación correcta.
Paso 3: Ejerza presión sobre la cubierta, asegurándose de
que quede asegurada en su lugar.
Anillo de rosca
para jar la
cámara en el
ángulo deseado
Soporte para
montaje en
la pared/cielo
raso
Table of contents
Languages:
Other Nexxt Solutions Digital Camera manuals
