Nice PLA17 Technical specifications

Nice
Adaptation bracket from POP to SPOP
EN - Instructions and warnings for installation
PLA17

2 – ENGLISH
ENGLISH
Complete instructions translated from Italian
CONTENTS
1 GENERAL SAFETY WARNINGS AND PRECAUTIONS . . . . . 2
1.1 General warnings . . . . . . . . . . . . . . . . . . . . . . . . . . . . . . . . . . . . . . .2
2 PRODUCT DESCRIPTION. . . . . . . . . . . . . . . . . . . . . . . . . . . . 3
2.1 List of parts making up the kit . . . . . . . . . . . . . . . . . . . . . . . . . . . . . .3
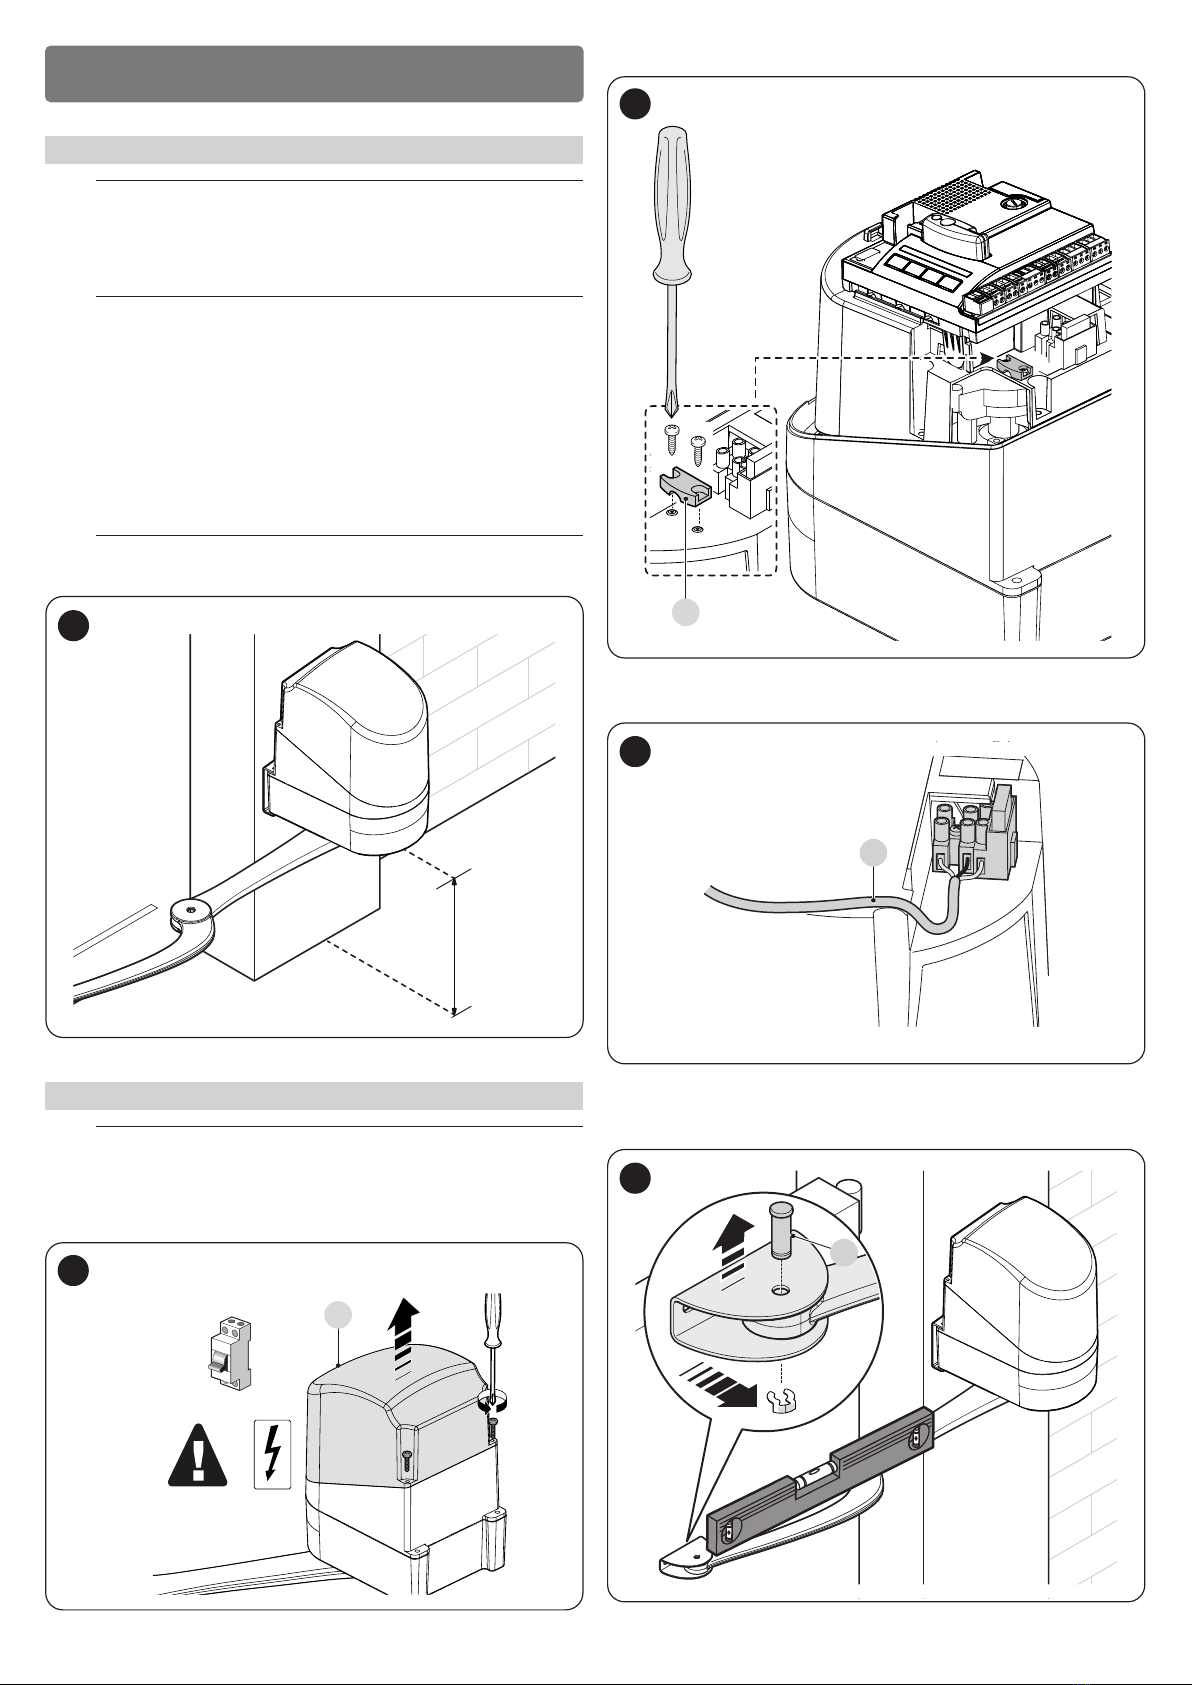
3 INSTALLATION . . . . . . . . . . . . . . . . . . . . . . . . . . . . . . . . . . . . . 4
3.1 Pre-installation checks. . . . . . . . . . . . . . . . . . . . . . . . . . . . . . . . . . . .4
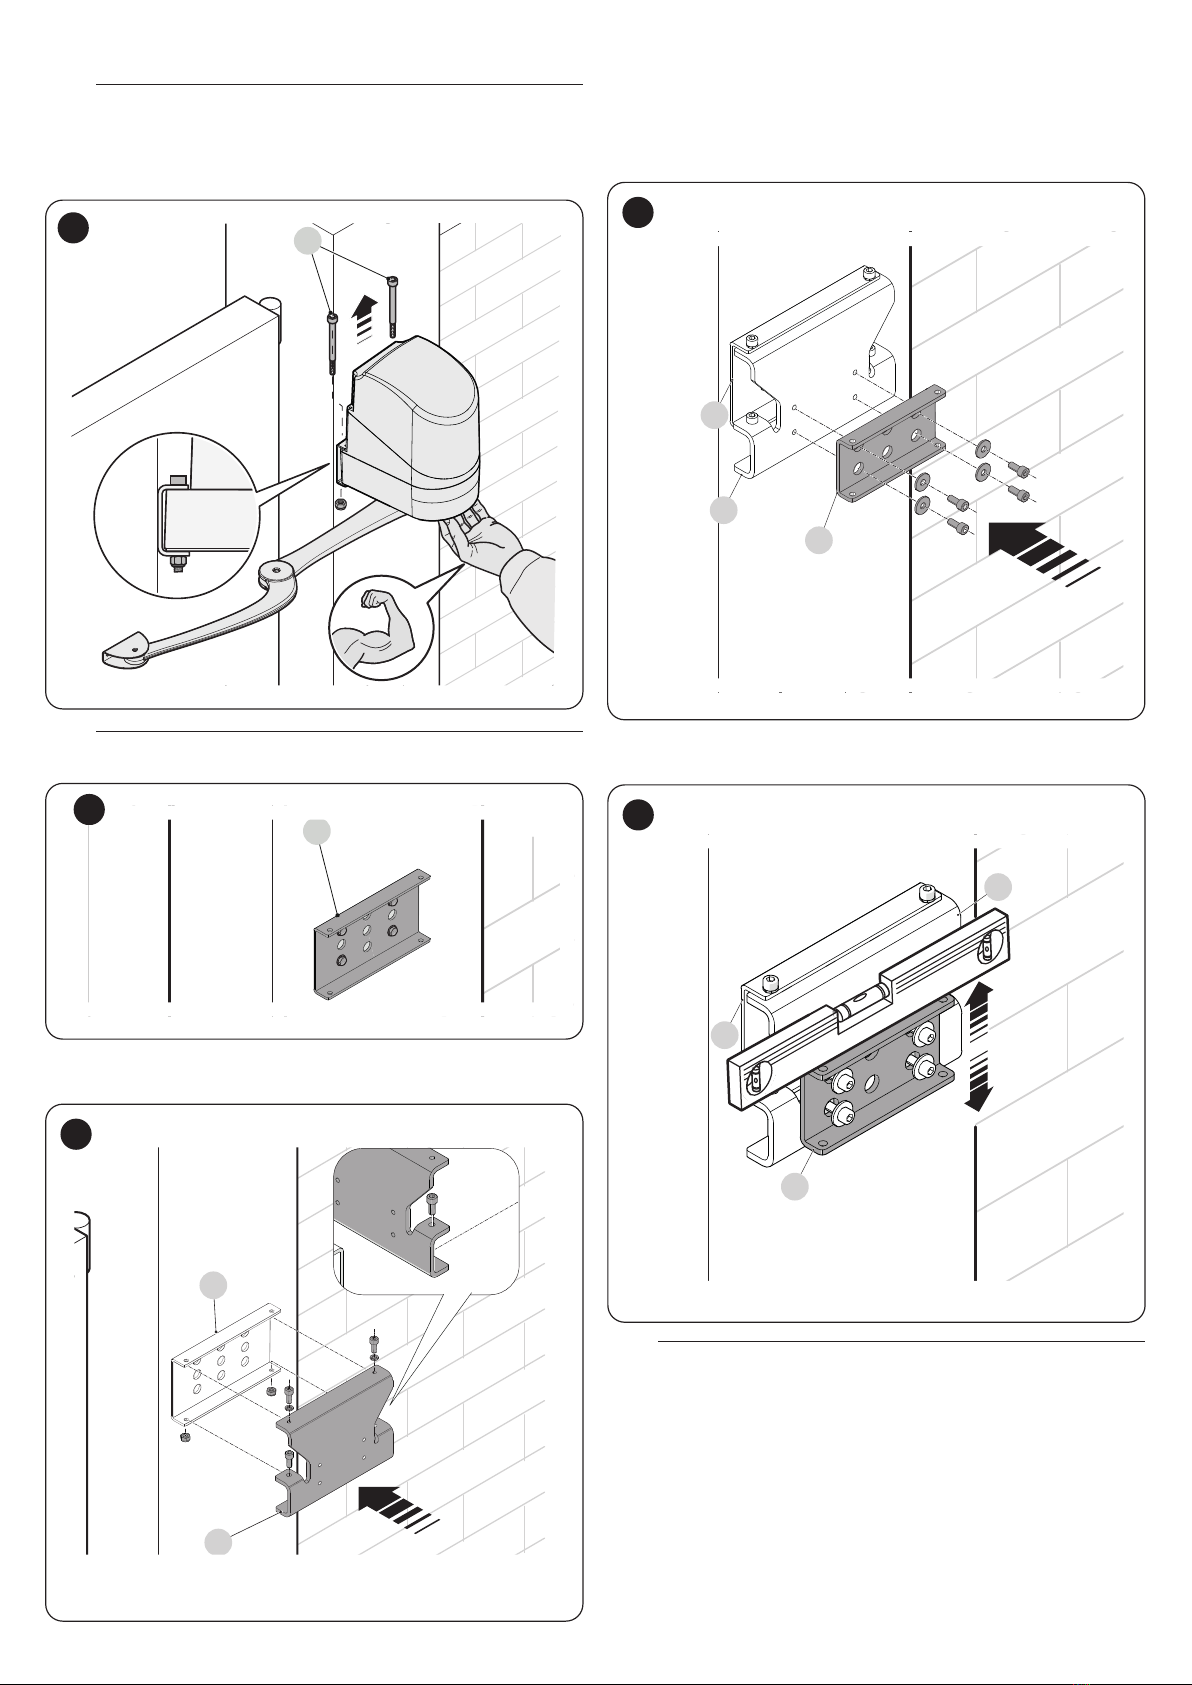
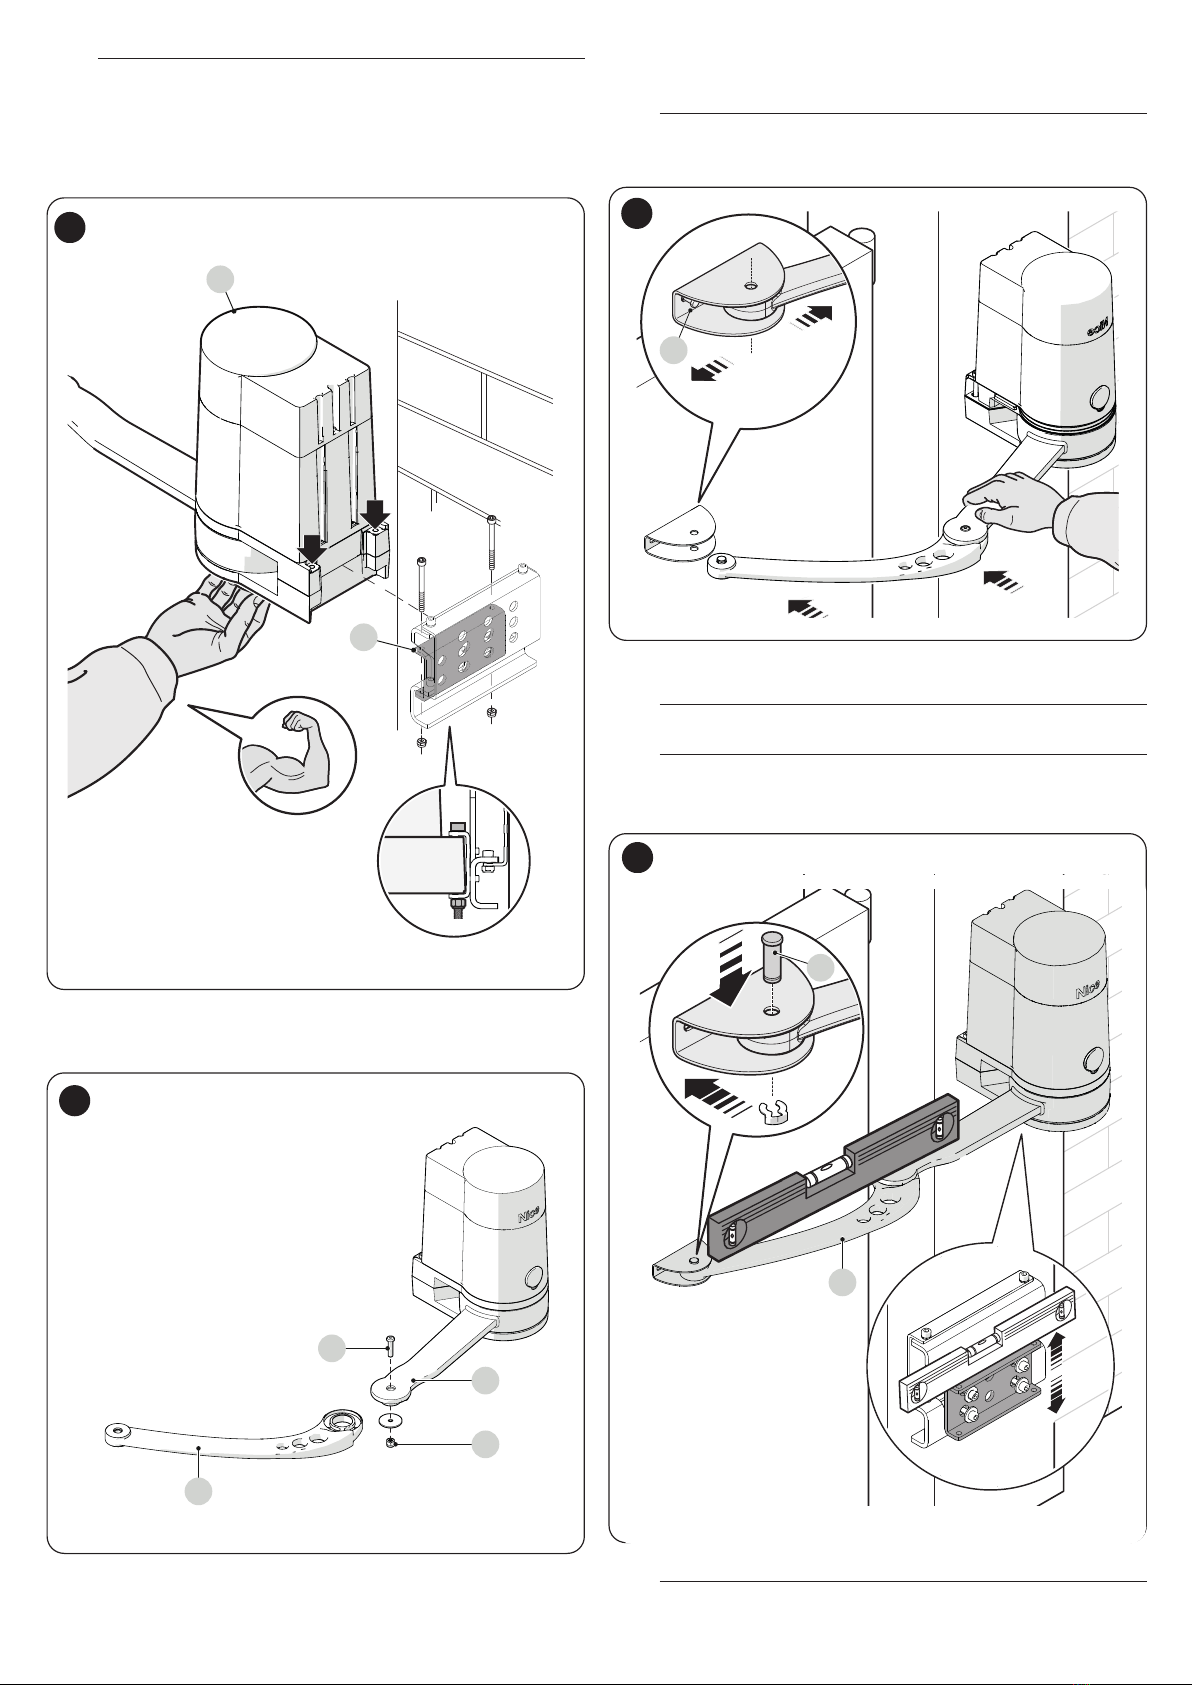
3.2 Installing the kit . . . . . . . . . . . . . . . . . . . . . . . . . . . . . . . . . . . . . . . . .4
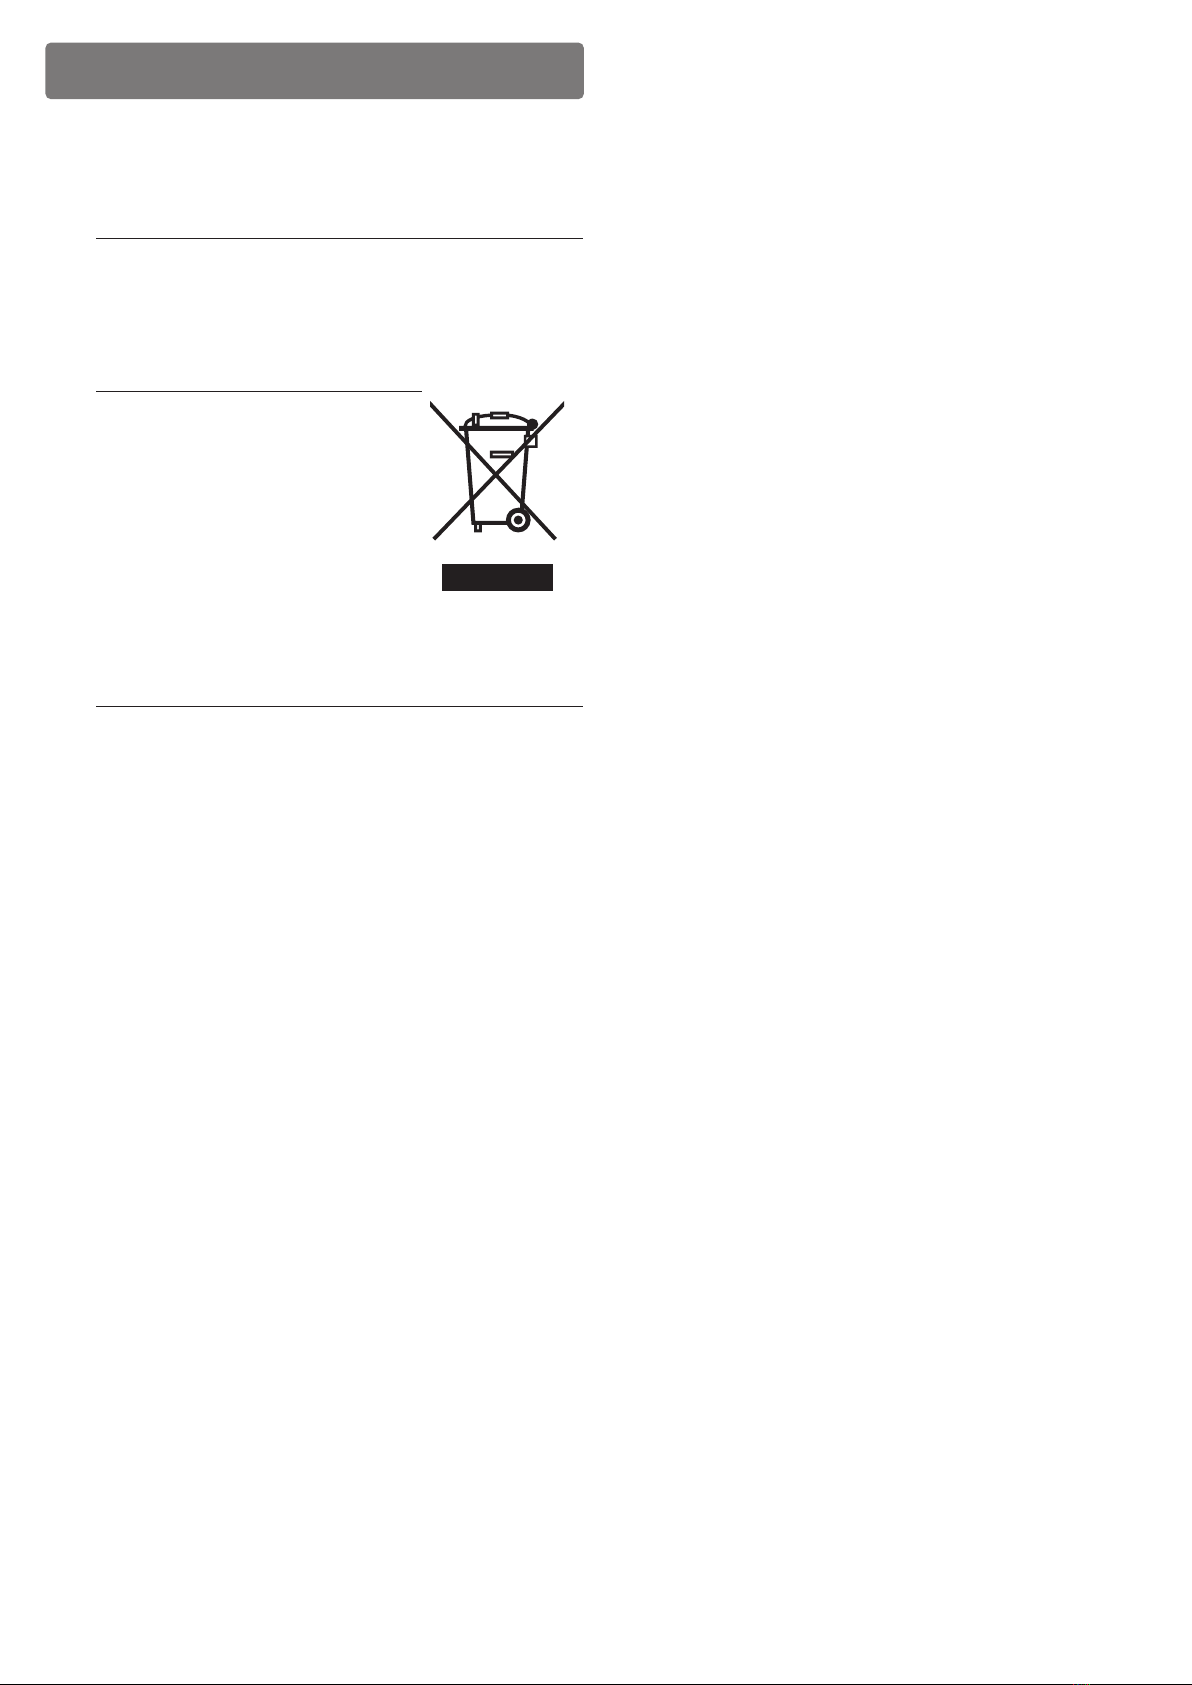
4 PRODUCT DISPOSAL . . . . . . . . . . . . . . . . . . . . . . . . . . . . . . . 7
GENERAL SAFETY WARNINGS AND
PRECAUTIONS
1
1 GENERALSAFETYWARNINGSANDPRECAUTIONS
1.1 GENERAL WARNINGS
a
WARNING! Important safety instructions. Observe all the
instructions as improper installation may cause serious
damages.
a
WARNING! Important safety instructions. It is important
to comply with these instructions to ensure personal
safety. Store these instructions carefully.
a
According to the most recent European legislation, the
implementation of an automation system must comply
with the harmonised standards set forth in the Machinery
Directive in force, which allow for declaring the presumed
conformity of the automation. On account of this, all op-
erations regarding connection to the mains electricity,
as well as product testing, commissioning and mainte-
nance, must be performed exclusively by a qualied and
skilled technician.
–Before proceeding with the product’s installation, check that all
the materials are in good working order and suited to the intend-
ed applications.
–The product is not intended for use by persons (including chil-
dren) with reduced physical, sensory or mental capacities, nor
by anyone lacking sufcient experience or familiarity with the
product.
–Handle the product with care during installation, taking care to
avoid crushing, knocks, falls or contact with liquids of any kind.
Keep the product away from sources of heat and open ames.
Failure to observe the above can damage the product and in-
crease the risk of danger or malfunctions. Should this happen,
stop installation immediately and contact Customer Service.
–The manufacturer assumes no liability for damage to proper-
ty, items or persons resulting from non-compliance with the
assembly instructions. In such cases, the warranty for material
defects is excluded.
–Cleaning and maintenance reserved for the user must not be
carried out by unsupervised children.
–The packing materials of the product must be disposed of in
compliance with local regulations.

ENGLISH – 3
PRODUCT DESCRIPTION
2
2 PRODUCTDESCRIPTION
The adaptation bracket is necessary whenever a POP motor must be replaced with a SPOP motor.
2.1 LIST OF PARTS MAKING UP THE KIT
The kit includes:
1. Adaptation bracket (1x);
2. 6x14 metric-thread socket head cap screw 8.8 UNI 5931 white galvanised (8x);
3. Elastic washer for galvanised white low head cap screw DIN 7980 (2x);
4. M6 self-locking low hexagonal nut, white galvanised UNI 7474 (2x);
5. M6 at wide washer 6.4x18x1.6 UNI 6593 ISO 7093 (4x).
1x
SPOP
PLA 17
8x 2x 2x 4x
2 43 5
F
G
H
1

4 – ENGLISH
INSTALLATION
3
3 INSTALLATION
3.1 PRE-INSTALLATION CHECKS
a
The installation must be carried out by qualied personnel
in compliance with the current legislation, standards and
regulations, and with the instructions provided in this
manual.
f
All electrical connections must be made with the sys-
tem disconnected from the mains electricity and with the
back-up battery (if present) disconnected.
Before proceeding with the product’s installation, it is necessary to:
–check the integrity of the supply;
–check that all the materials are in good working order and suitable for
their intended use;
–keep the product away from heat sources and open ames and acid,
saline or potentially explosive atmospheres; these may damage the
product and cause malfunctions or dangerous situations.
a
Before starting work, make sure that the POP motor is AT
LEAST 60 mm above the ground.
min 60 mm
1
3.2 INSTALLING THE KIT
f
Danger of electric shock: before starting work, disconnect
all the power supply sources.
1. Disconnect the control unit from the power supply.
2. Open the gearmotor’s cover (A).
A
OFF
2
3. Loosen the cable clamp (B).
B
3
4. Disconnect the power cable (C) and the cables of the ancillary
devices present.
C
4
5. Make sure that the installation was carried out by keeping the
elements (bracket-arm-motor) aligned horizontally.
6. Remove the stop ring and the relative pin (D).
D
5

ENGLISH – 5
a
The motor is heavy: sustain it with force during the dis-
mantling phase.
7. Remove the gearmotor from the bracket by loosening the two
M6x100 screws (E).
E
6
m
Do NOT remove the xing bracket (F).
F
7
8. Fasten the adaptation bracket (G) to the xing bracket (F) using the
screws, nuts and washers provided (“Figure 9”).
G
F
8
9. Fasten the SPOP bracket (H) to the adaptation bracket (G) using
the screws and washers provided, without tightening the screws
(“Figure 10”).
H
G
F
9
10. Fasten the SPOP bracket (H) to the adaptation bracket (G) making
sure that it is aligned with the horizontal axis (“Figure 11”).
G
H
F
10
a
Tighten the screws vigorously.

6 – ENGLISH
a
The motor is heavy: sustain it with force during the
assembly phase.
11. Fasten the gearmotor (I) to the bracket (H) using the two V6x70
screws and the respective M8 nuts provided with the SPOP
gearmotor (“Figure 12”).
.
I
H
11
12. Fasten the curved arm (L) to the straight arm (M) using the pin (N)
and the self-locking nut (O) (“Figure 13”).
N
O
M
L
12
13. Move the arm towards the bracket.
14. Verify that the hole of the arm in the extended position is aligned
with the hole of the bracket (“Figure 14”).
l
Loosen the xing screw (P) of the bracket and adjust the
horizontal position if necessary.
P
13
–Fasten the arm (L) to the bracket using the previously removed pin (D)
and ring (“Figure 15”).
a
Tighten the screws of the bracket vigorously.
l
Adjust the vertical position of the SPOP bracket to ensure
that the bracket and arm are aligned, should this be
necessary.
L
D
14
a
Refer to the SPOP gearmotor manual for the phases
subsequent to the assembly.

ENGLISH – 7
PRODUCT DISPOSAL
4
4 PRODUCTDISPOSAL
As in installation, also at the end of product lifetime, the disassembly and
scrapping operations must be performed by qualied personnel.
This product is made of various types of materials, some of which can be
recycled while others must be scrapped. Seek information on the recycling
and disposal systems envisaged in the local regulations in your area for
this product category.
a
WARNING
Certain parts of the product can contain pollutants
or dangerous substances that, if dispersed into the
environment, could be detrimental to the environment
itself and to human health.
l
As indicated by the symbol alongside,
disposal of this product in domestic
waste is strictly prohibited. Separate
the waste into categories for disposal,
according to the methods set forth in
the regulations in force in your area, or
return the product to the retailer when
purchasing a new equivalent product.
a
WARNING
Local regulations may envisage the application of heavy
nes in the event of improper disposal of this product.

www.niceforyou.com
Nice S.p.A.
Via Callalta, 1
31046 Oderzo TV (Italy)
IS0885A00MMD_24-10-2022_PLA17l
Other Nice TV Mount manuals
Popular TV Mount manuals by other brands

SilverStone
SilverStone FDP01 manual

Technimount System
Technimount System BRACKET PRO 75 Series user guide

Forging Mount
Forging Mount HY9400-B Installation instruction

Rack Solutions
Rack Solutions 2URAIL-R7 installation instructions

Ivation
Ivation RHACMNT8 user guide

Vivo
Vivo MOUNT-E-FD70 instruction manual

Wize
Wize RSF100 instruction manual

Digital Watchdog
Digital Watchdog DWC-PZWM quick start guide

peerless-AV
peerless-AV ACC-SB Installation and assembly

Sanus
Sanus VLF525 instruction manual

Tecnosystemi
Tecnosystemi smart clima TSSC user manual

Symmons
Symmons Temptrol Rapid Install RTS-076 installation instructions