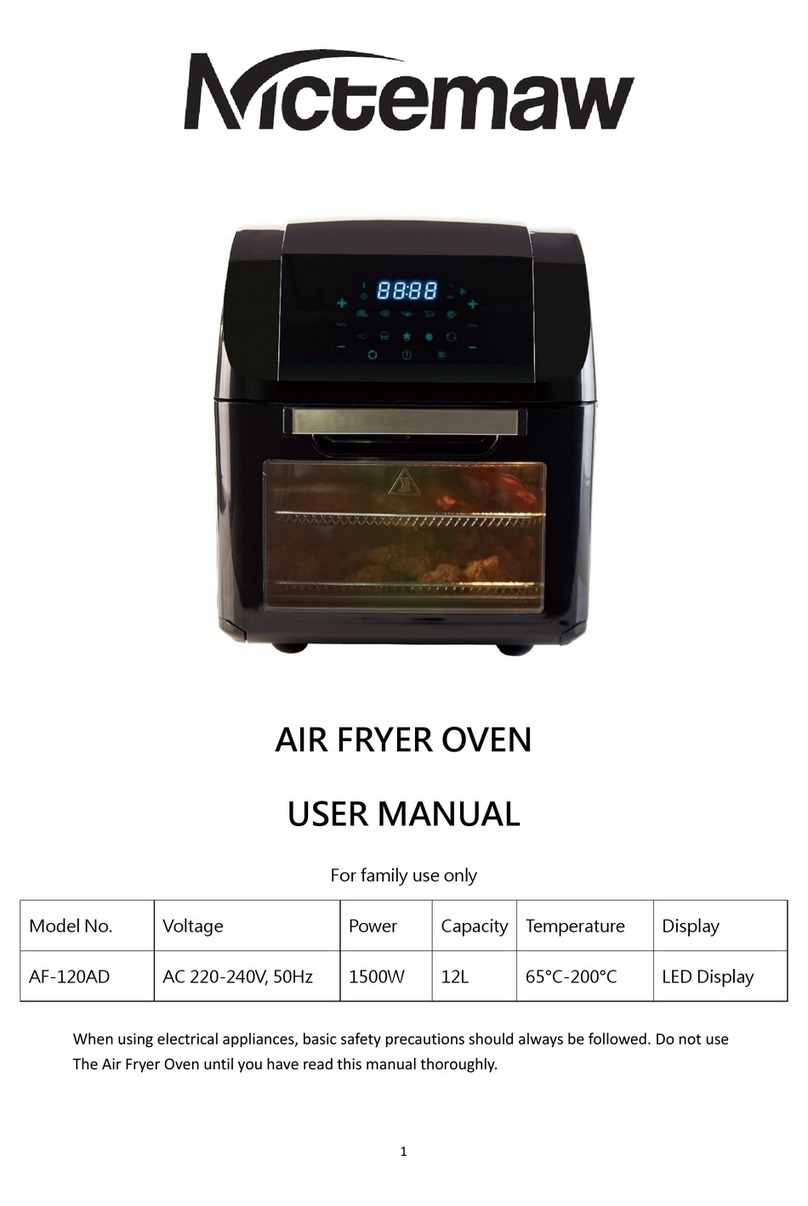
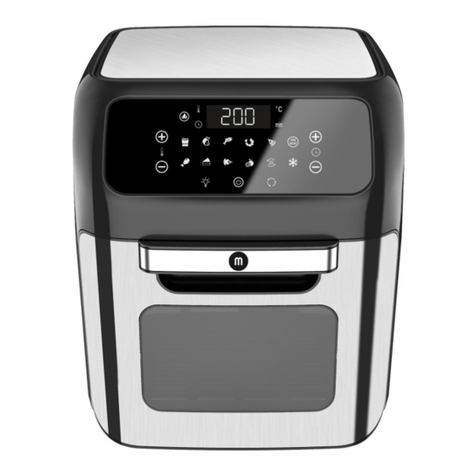
Nictemaw DLA-D023DHX-D2-M1 User manual

AIR FRYER TOASTER OVEN
MANUAL
MODEL: DLA-D023DHX-D2-M1
Specification: 120V 60Hz/1700W
Save this instruction
Only for home use
Know your air fryer
MADE IN CHINA

IMPORTANT SAFEGUARDS
When using electrical appliances, basic safety precautions should
always be followed, including the following:
1. Read this important information carefully before you use the appliance.
2. NEVER immerse the power cord, plug and the main body of the appliance in
water or any other liquid to prevent electric shock.
3. Before using this product, be sure to untie all the power cords wound around the
back feet to avoid safety accidents.
4. Never touch the inside of the appliance while it is operating.
5. Children should be supervised to ensure that they do not play with the appliance.
Keep the appliance and its power cord out of the reach of children when the
appliance is switched on or is cooling down.
6. Never swing plugs and sockets when the timer is turned on to avoid strong
currents and sparks that may cause personal injury.
7. Never hang the power cord on the edge of the kitchen cabinet/table or on a hot
surface.
8. If you find that the power cord, plug or oven is damaged, please do not stop using
it and ask a professional to repair or replace it.
9. If the power cord is damaged, you must have it replaced at an authorized service
centre or by a similarly qualified electrician in order to avoid a hazard.
10. Never excessively bend, stretch, or twist the power cord; Never place heavy
objects on the power cord.
11. Unplug from outlet when not in use to avoid electric shock or leakage fire due to
aging insulation.
12. Use the accessories correctly.
13. Place the oven in a dry environment ; Never use it outdoors.
14. Keep a space of at least 10cm around it while the appliance is operating.
15. Put it on a stable place while the appliance is operating ; Never approach
flammable materials.
16. Never put large pieces of food or metal objects into the oven for grilling to avoid
fire or danger.
17. Put a bakeware on the lower level when baking greasy and oily foods (such as
meat) to prevent oil from falling on the lower heating tube and causing flames.

18. Never put the following items in the oven for grilling, such as: paper, cards,
plastic, cloth, flammable items, etc.
19. Unplug the power cord first when moving or repairing the electric oven,and wait
for the oven to cool down before proceeding.
20. Never open the oven door to move the bakeware or other accessories while the
appliance is operating to avoid burns due to high temperature or high temperature
liquid.
21. Avoid being scratched by sharp edges.
22. Never place any objects on the oven ; Never cover or obstruct the heat dissipation
position of the electric oven.
23. Never put items on the glass door.
24. Never place bakeware or other items directly on the heating element of the oven.
25. Pay attention to baking pasta foods (such as when baking bread) to avoid fire.
26. Stop using if you can't hear a clicking sound after the timer is turned on.
27. This product is only suitable for household use. Do not use this oven for other
purposes not specified.
28. All maintenance items must be carried out by professional maintenance personnel.
29. This appliance cannot be operated with an external timer or an independent
remote control system.
30. This appliance is not intended for use by persons (including children) with
reduced physical, sensory or mental capabilities, or lack of experience and
knowledge, unless they have been given supervision or instruction concerning use
of the appliance by a person responsible for their safety.

Main Components
A:Food basket I:Shell
B:Disk clamp J:Time selection button
C:Rotisserie shaft K:Temperature / time setting button
D:Rotisserie fork L:Anti-slip feet
E: Rotisserie holder M: Cool touch handle
F: Wire rack N: Pull-down door
G: Drip pan O: Temperature selection button
H: Crumb tray P: Glass window
R: Lamp button Q: ON/OFF button
S:Function knob
Specifications:
Voltage:120V AC/ 60Hz
Total power:1700W
Tips:The illustration may differ from the actual product.

How to Use
1.Control panel:
2. Operation instructions
2-1、Put the plug in the outlet. The machine buzzer will emit a beep and the on/off
indicator circle lights up in red.It’s still off. Press the “ on/off” to turn it on. The
machine does not respond if you press other buttons.
2-2、When you press the“ on/off ”button,the screen will light up and default the
first menu function parameters of which the corresponding function indicator will
flash.
2-3、When you press the “ on/off ”button, the machine starts to work, the indicator
circle lights up in green and he corresponding function indicator lights up. The
temperature and time indicator lights are on and other irrelevant menu function
indicator lights are turned off. The time enters the countdown.
2-4、Press the“Lamp button”to turn on the stove light.
2-5、Press the “ Time selection button” or spin the “ Temperature / time setting
button” to set the time.
2-6、Press the “ Temperature selection button”or spin the“ Temperature / time
setting button” to set the temperature.
2-7、Spin the“ Function knob” to switch between different functions.
2-8、The machine has a memory function. If you open the oven door to observe the
food or add ingredients in the process of baking food, the micro switch will start, the
lamp will be lighted, the heating tube will stop working, the fan will continue to work,
all indicator lights in the display window will flash and the time stops counting down.
And if you close the oven door again, the machine will back to the operating

condition.
2-9、After the machine is finished working, the buzzer prompts 5 times, the heating
tube stops working, the display shows OFF, the fan is turned off after a delay of 60
seconds, the display is blank and the machine automatically enters the shutdown state.
Smart Menu Icon
Time, Temperature and Mode Settings of all presets menu are as follows:
Function
Time
Temp
Heating tube
1.Bottom
2.Upper inner
3.Upper outer
Broiling
Rotate
Default
Min
Adjustable
Min
Default
℉
Adjustable
℉
1
TOAST
6
1-15Min
400
180-450
1+3
Slow
2
FRIES
18
1-60Min
400
180-450
1+3
Strong
3
RIBS
18
1-60Min
400
180-450
2+3
Strong
4
CHICKEN
40
1-60Min
350
180-450
2+3
Strong
√
5
FISH
22
1-60Min
400
180-450
1+3
Strong
6
CHICKEN WINGS
16
1-60Min
400
180-450
2+3
Strong
7
CAKE
40
1-60Min
350
180-450
1+3
Slow
8
PIZZA
9
1-60Min 400 180-450 1+3
Slow
9
BAGEL
20
1-60Min
400
180-450
1+3
Slow
10
FERMENT
120
1-12H
100
Not adjustable
1
No
11
UNFREEZE
15
1-90Min
130
130-180
1
Strong
12
REHEAT
20
1-60Min
200
130-210
1
Slow
13
AIRFRY
20
1-60Min
450
180-450
1+3
Slow
√
14
STAIRFRY
15
1-60Min
450
180-450
2+3
Strong
√
15
DEHYDRATE
120
1-24H
130
120-180
2
Strong
Note: During the working process, you can press the temperature button and the time
button to adjust the time or temperature. After the adjustment is confirmed, the oven
will automatically return to the working state after beating for 3 seconds. The error of
each temperature point is ±59°F, and the reset temperature is 41~86°F. When starting
to work, the menu map to select work condition, the triangle symbol, the heating tube
symbol and related function indicator lights will flash, while other irrelevant menus
won’t light up. The time and temperature symbols are always on.

3. Button function description
3-1 . “ ”Menu function knob: Twist to select the menu, and the corresponding
menu flashes in the display; Clockwise is to select right, and counterclockwise is to
select left.
3-2.“ ”ON/OFF button: After selecting the menu, press this button and the
machine will start to work, and the indicator light will turn green when it is working;
press this button again, the machine will stop working, and the indicator light will turn
red when the work is over; the buzzer will sound once every time the button is pressed,
press repeatedly then keep ringing.
3-3.“ ”Lamp button: After the machine is turned on, you can press the lamp
button to turn on the lamp. Press it once to turn on the lamp, and press it again to turn
off the lamp.
3-4.“ ”Time button: Press this button once, and the time indicator on the display
will flash. You can turn the adjusting knob to adjust the time. The adjustment unit is 1
minute.
3-5.“ ”Temperature button: Press this button once, and the temperature indicator
on the display will flash. You can turn the adjusting knob to adjust the temperature.
The adjustment unit is 5 °F.
3-6.“ ”Temperature/time setting button: Turn the knob to adjust the
corresponding temperature and time, clockwise for increasing, counterclockwise for
decreasing.
4. Screen display function description
4-1. “ ”Bottom heating tube icon: The corresponding symbol on the display
will light up when working.
“ ”Upper inner and outer heating tube icon: The corresponding symbol
on the display will light up when working.
“ ”Upper inner and bottom heating tube icon: The corresponding
symbol on the display will light up when working.
4-2. “ ”Stove lamp icon: When the lamp is turned on, the corresponding symbol
on the display will light up, and when it is turned off, the corresponding symbol on
the display will turn off.

4-3. “ ”Fan icon: The corresponding symbol on the “ ”display will light up
when working. The fan rotates slowly when the wind gear is low, and rotates quickly
when the wind gear is strong.
4-4. “ ”Rotisserie fork icon: The corresponding symbol on the display will light
up when working.
4-5. Time display
4-6. Temperature display
Cleaning and Maintenance
1、Unplug the power plug and wait for the oven to cool down completely
before cleaning the oven.
2、When cleaning the inner and outer surfaces of the oven, the baking tray and
the grilling net, you can use a soft cotton cloth or sponge dipped in a neutral
detergent, and wipe it with clean water.
3、Do not use hard brushes and objects to scrub and scrape to avoid damaging
the inner surface of the oven and the protective layer of the bakeware and
grilling net.
4、Do not use toxic and corrosive cleaning agents such as gasoline, thinner,
polishing agent, etc. for cleaning.
5、Before using the oven, the cleaned parts must be wiped dry before plugging
in the power source.
6、Please do not wipe the heating tube, and never immerse the oven in liquids
such as water.
…………………………………………………………………………
Positioning of grill grid
Cake--Use the bottom grid and the middle grid of the inner tank.
Cake--Use only the bottom grid (toast one at a time).
Heating tube--Use the bottom heating tube and the upper outer heating tube.
Attention: Be extremely careful when disassembling the bakeware, grill or any hot
container. When removing hot items from an air rack oven, always use
rack handles or oven gloves.

Care and Cleaning
Warning: Before cleaning, be sure to unplug the oven and let it cool down.
Any splashes that come into contact with the continuous coating during the cooking
process will be oxidized while the oven is running. If necessary, wipe the walls with a
damp sponge, cloth or nylon washing pad and mild detergent. Do not use steel wool
scouring pads, abrasive cleaners, or scratch the walls with metal utensils, as all
these methods may damage the continuous cleaning coating.
All accessories should be cleaned with hot soapy water. The door can be wiped with a
wet sponge and then dried with a paper or cloth towel. Clean the outside with a damp
sponge. Do not use abrasive cleaners because it may damage the external surface.
Table of contents
Other Nictemaw Fryer manuals
Popular Fryer manuals by other brands
gourmetmaxx
gourmetmaxx LJI4-120A instruction manual
Alto-Shaam
Alto-Shaam Fry Tech ASF-60DS Specifications
Welbilt
Welbilt Frymaster FPLHDC265 Service and parts manual
Silvercrest
Silvercrest 379032 2110 operating instructions
Avantco
Avantco 177FF300N user manual

HOMEDEPOT
HOMEDEPOT FH-6138 Manual and Operating Instruction
