First Steps
8
The next procedure explains basic shooting operations using A(auto) mode.
5
. 3
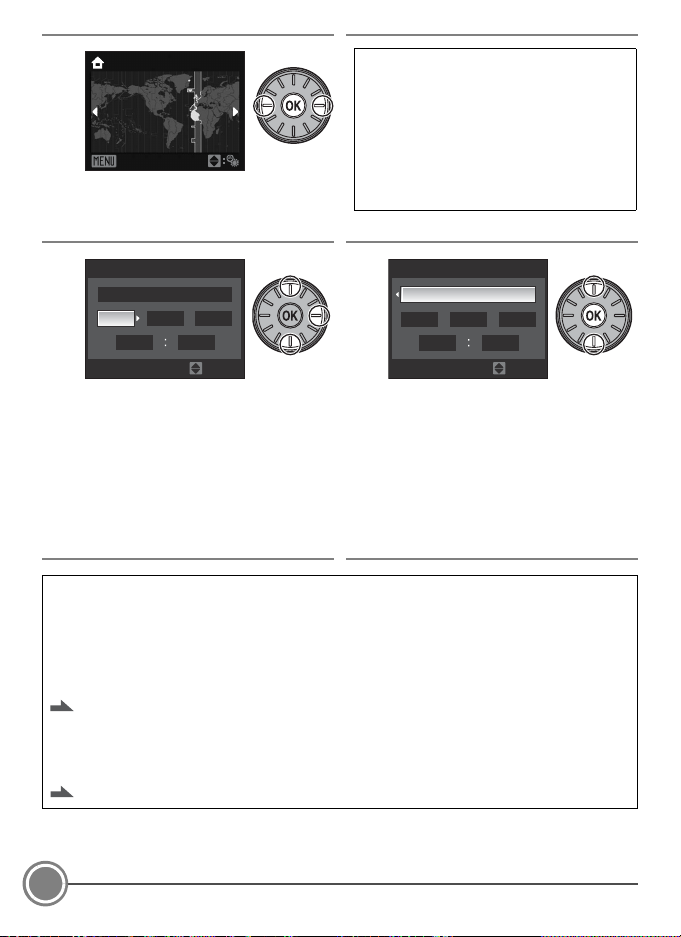
Select your home time zone (city
name) and press the kbutton.
•The Date screen is displayed.
5
. 4
Press the rotary multi selector up or
down to edit the highlighted item.
•
Press right to move the highlight in the
following order.
D
(day)
➝
M
(month)
➝
Y
(year)
➝
hour
➝
minute
➝
DMY
(the order in which the day,
month, and year are displayed).
•Press the rotary multi selector left to
return to the previous item.
5
. 5
Choose the order in which DMY are
displayed and press the kbutton.
•The settings are applied and monitor
display exits to shooting mode.
•The lens will extend at this time.
CChanging the Language, Date and Time
Select Language or Date from the ztab (setup menu) to change the settings.
•Press the dbutton and choose the ztab to display the setup menu.
•Choose Language to change the language.
•Choose Date to change the date and time. Choose Time zone from the Date option in the
setup menu to change the home time zone (city name) and daylight saving time settings.
Pages 116 and 120 of the User’s Manual
CImprinting the Date on Pictures
After setting the date and time, set the
Date imprint
setting in the setup menu. Once
Date imprint
is set, the shooting date and time can be imprinted on the image data when taking pictures.
Page 124 of the User’s Manual
Back
London
Casablanca
If daylight saving time is in effect, press the
rotary multi selector up to turn on the
daylight saving time option.
When the daylight saving time option is
enabled, Wis displayed at the top of the
monitor.
To turn off the daylight saving time option,
press the rotary multi selector down.
200901
00 00
01
Date
DMY
Edit
11
15 10
2009
15
DMY
Edit
Date